Hi Everyone, it’s Tina here. I often get messages on social media and emails asking how I make shaker cards. Kat Scrappiness has a wide selection of Shaker Cards Kits that makes it super easy for those who find it challenging. It has all you pieces you need so there is no guess work. Below you will find two examples and both cards took little time to make.
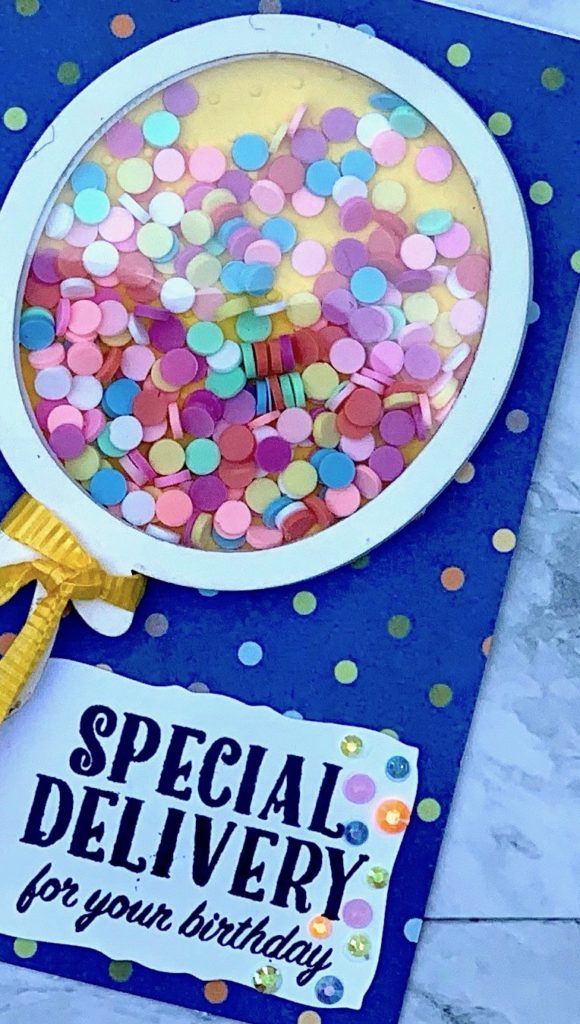
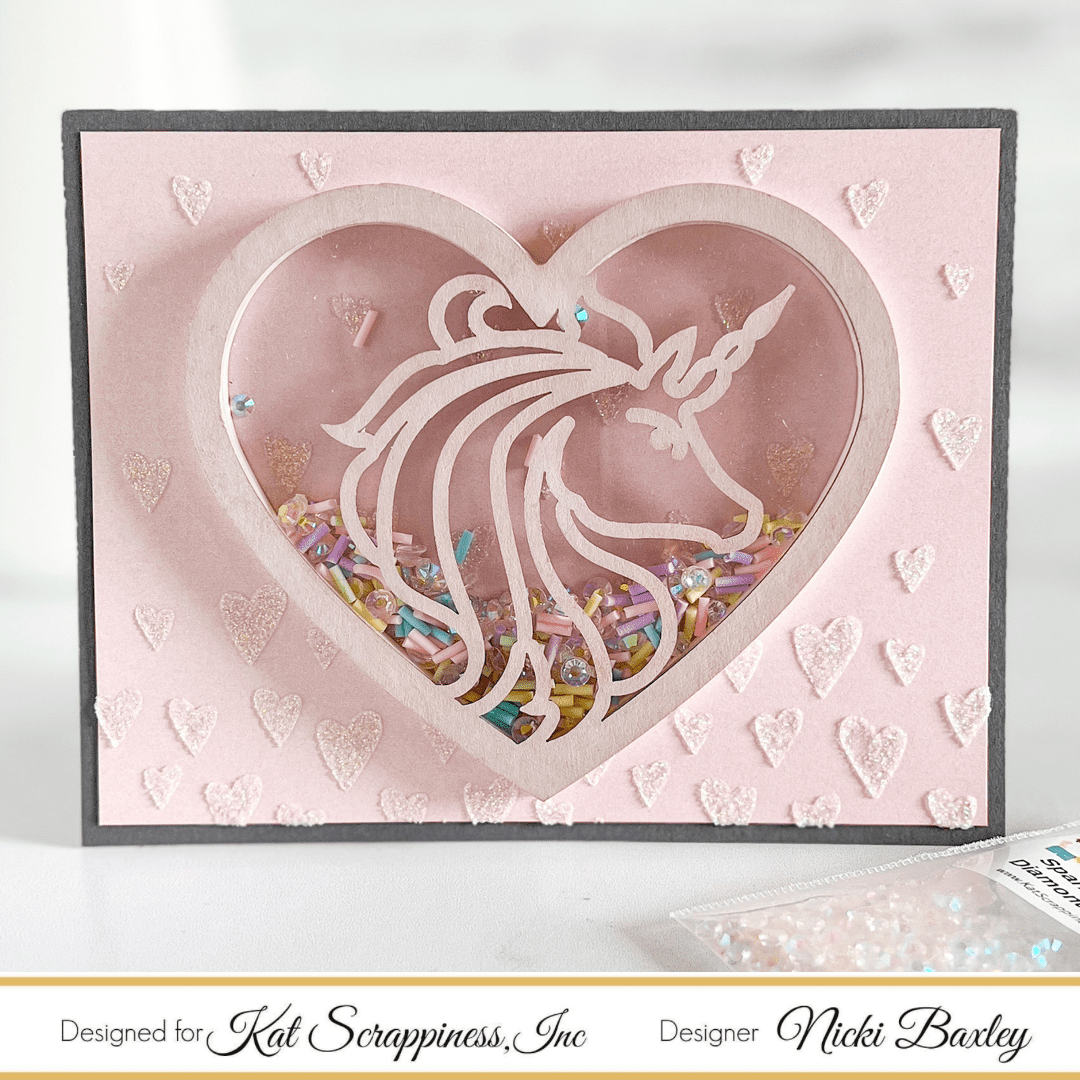
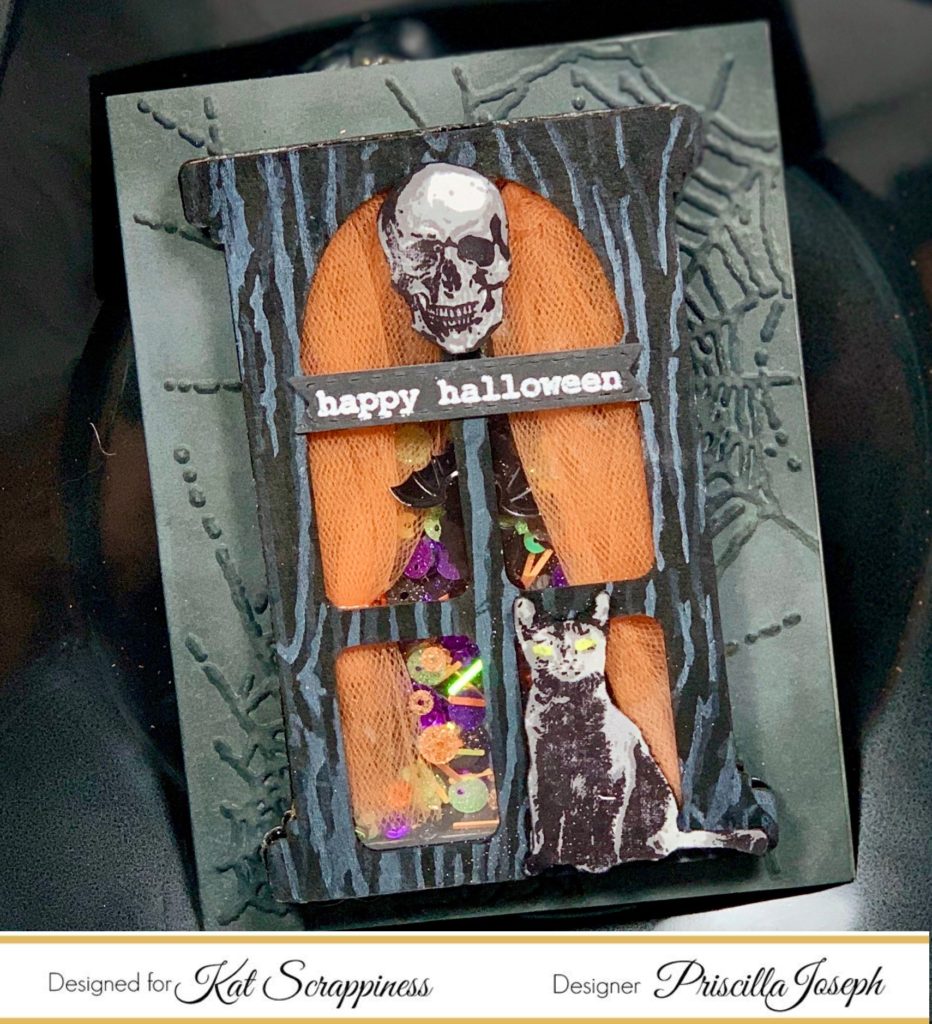
Card #1
Card #2
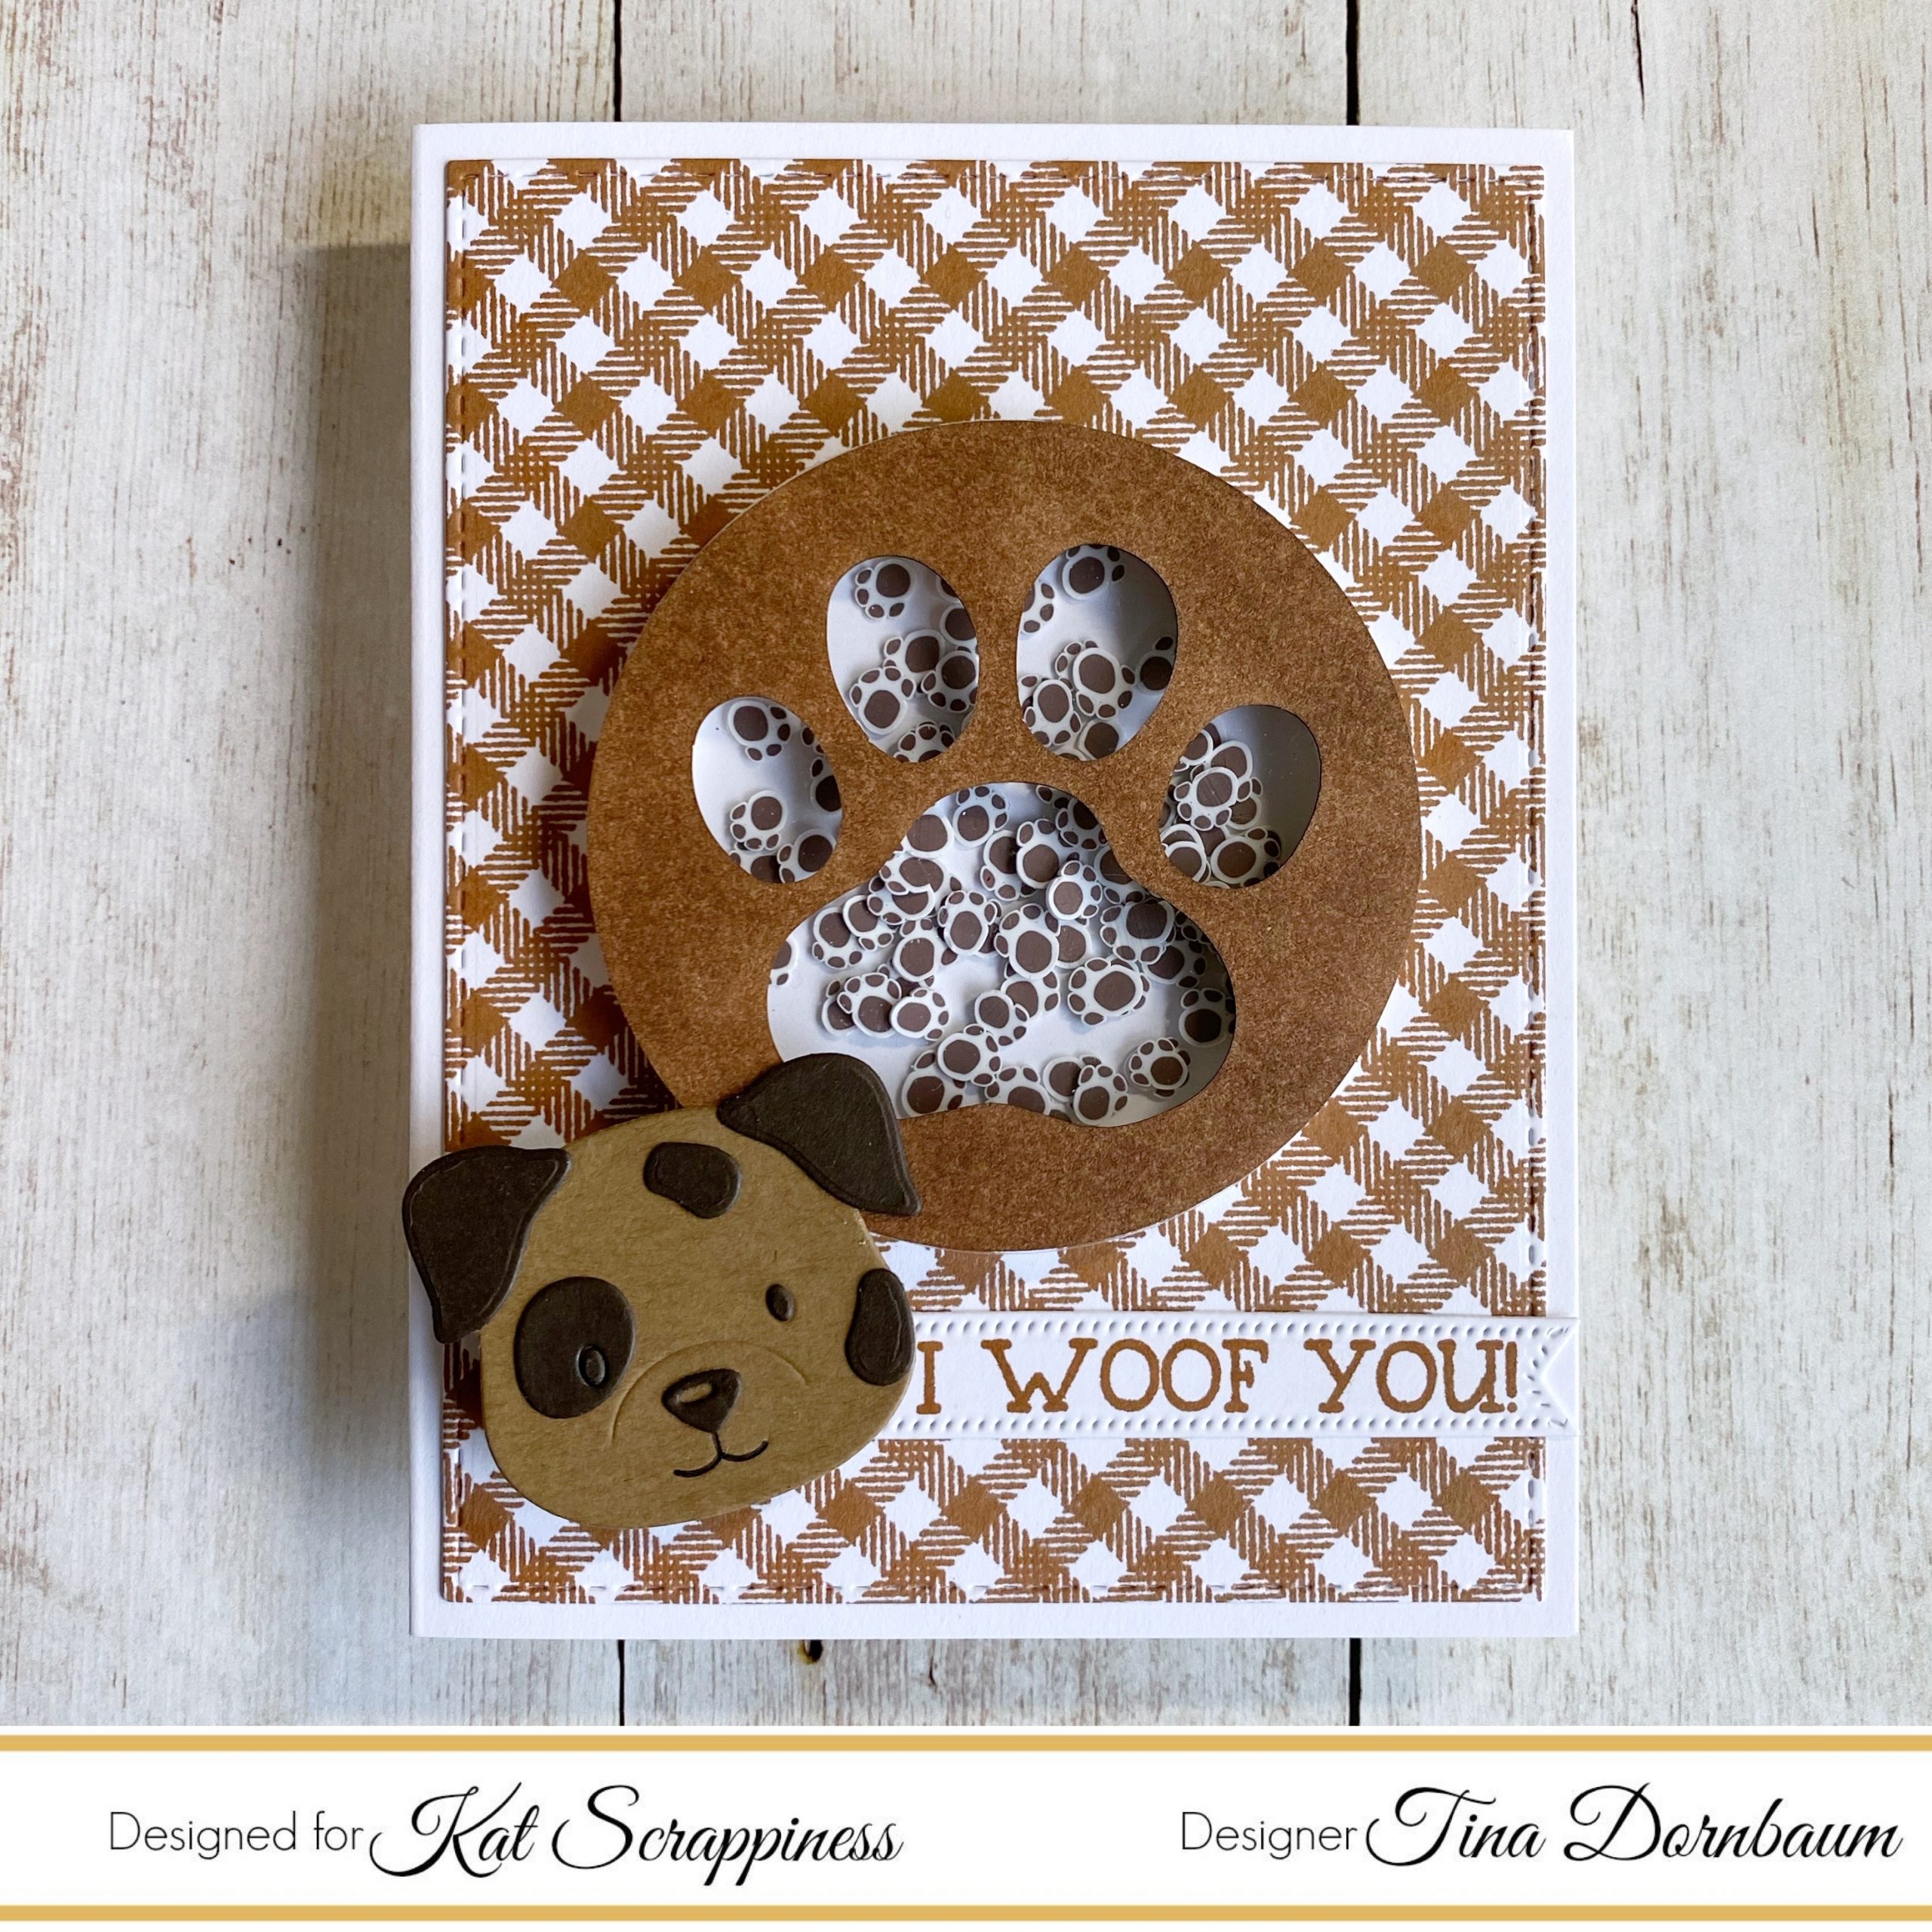
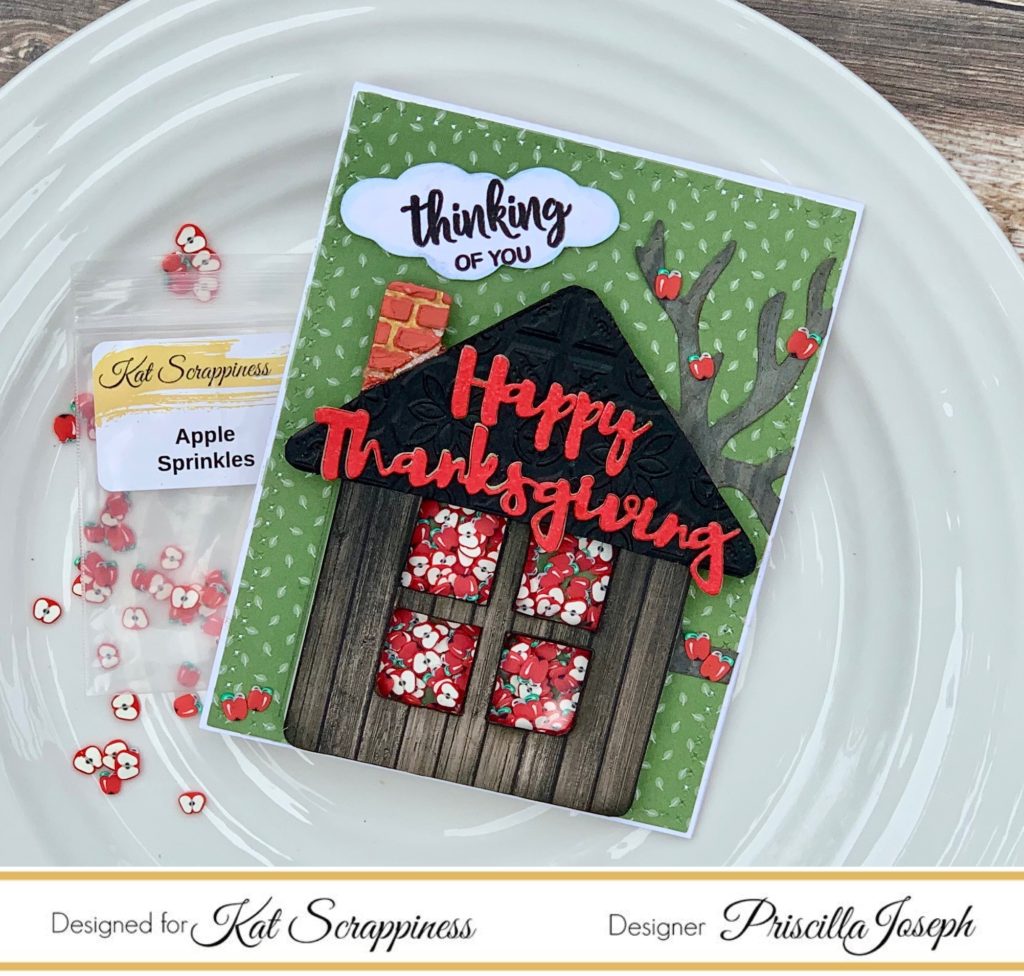
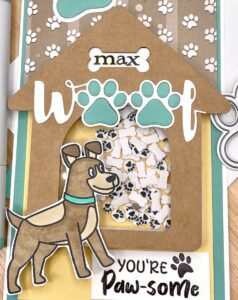
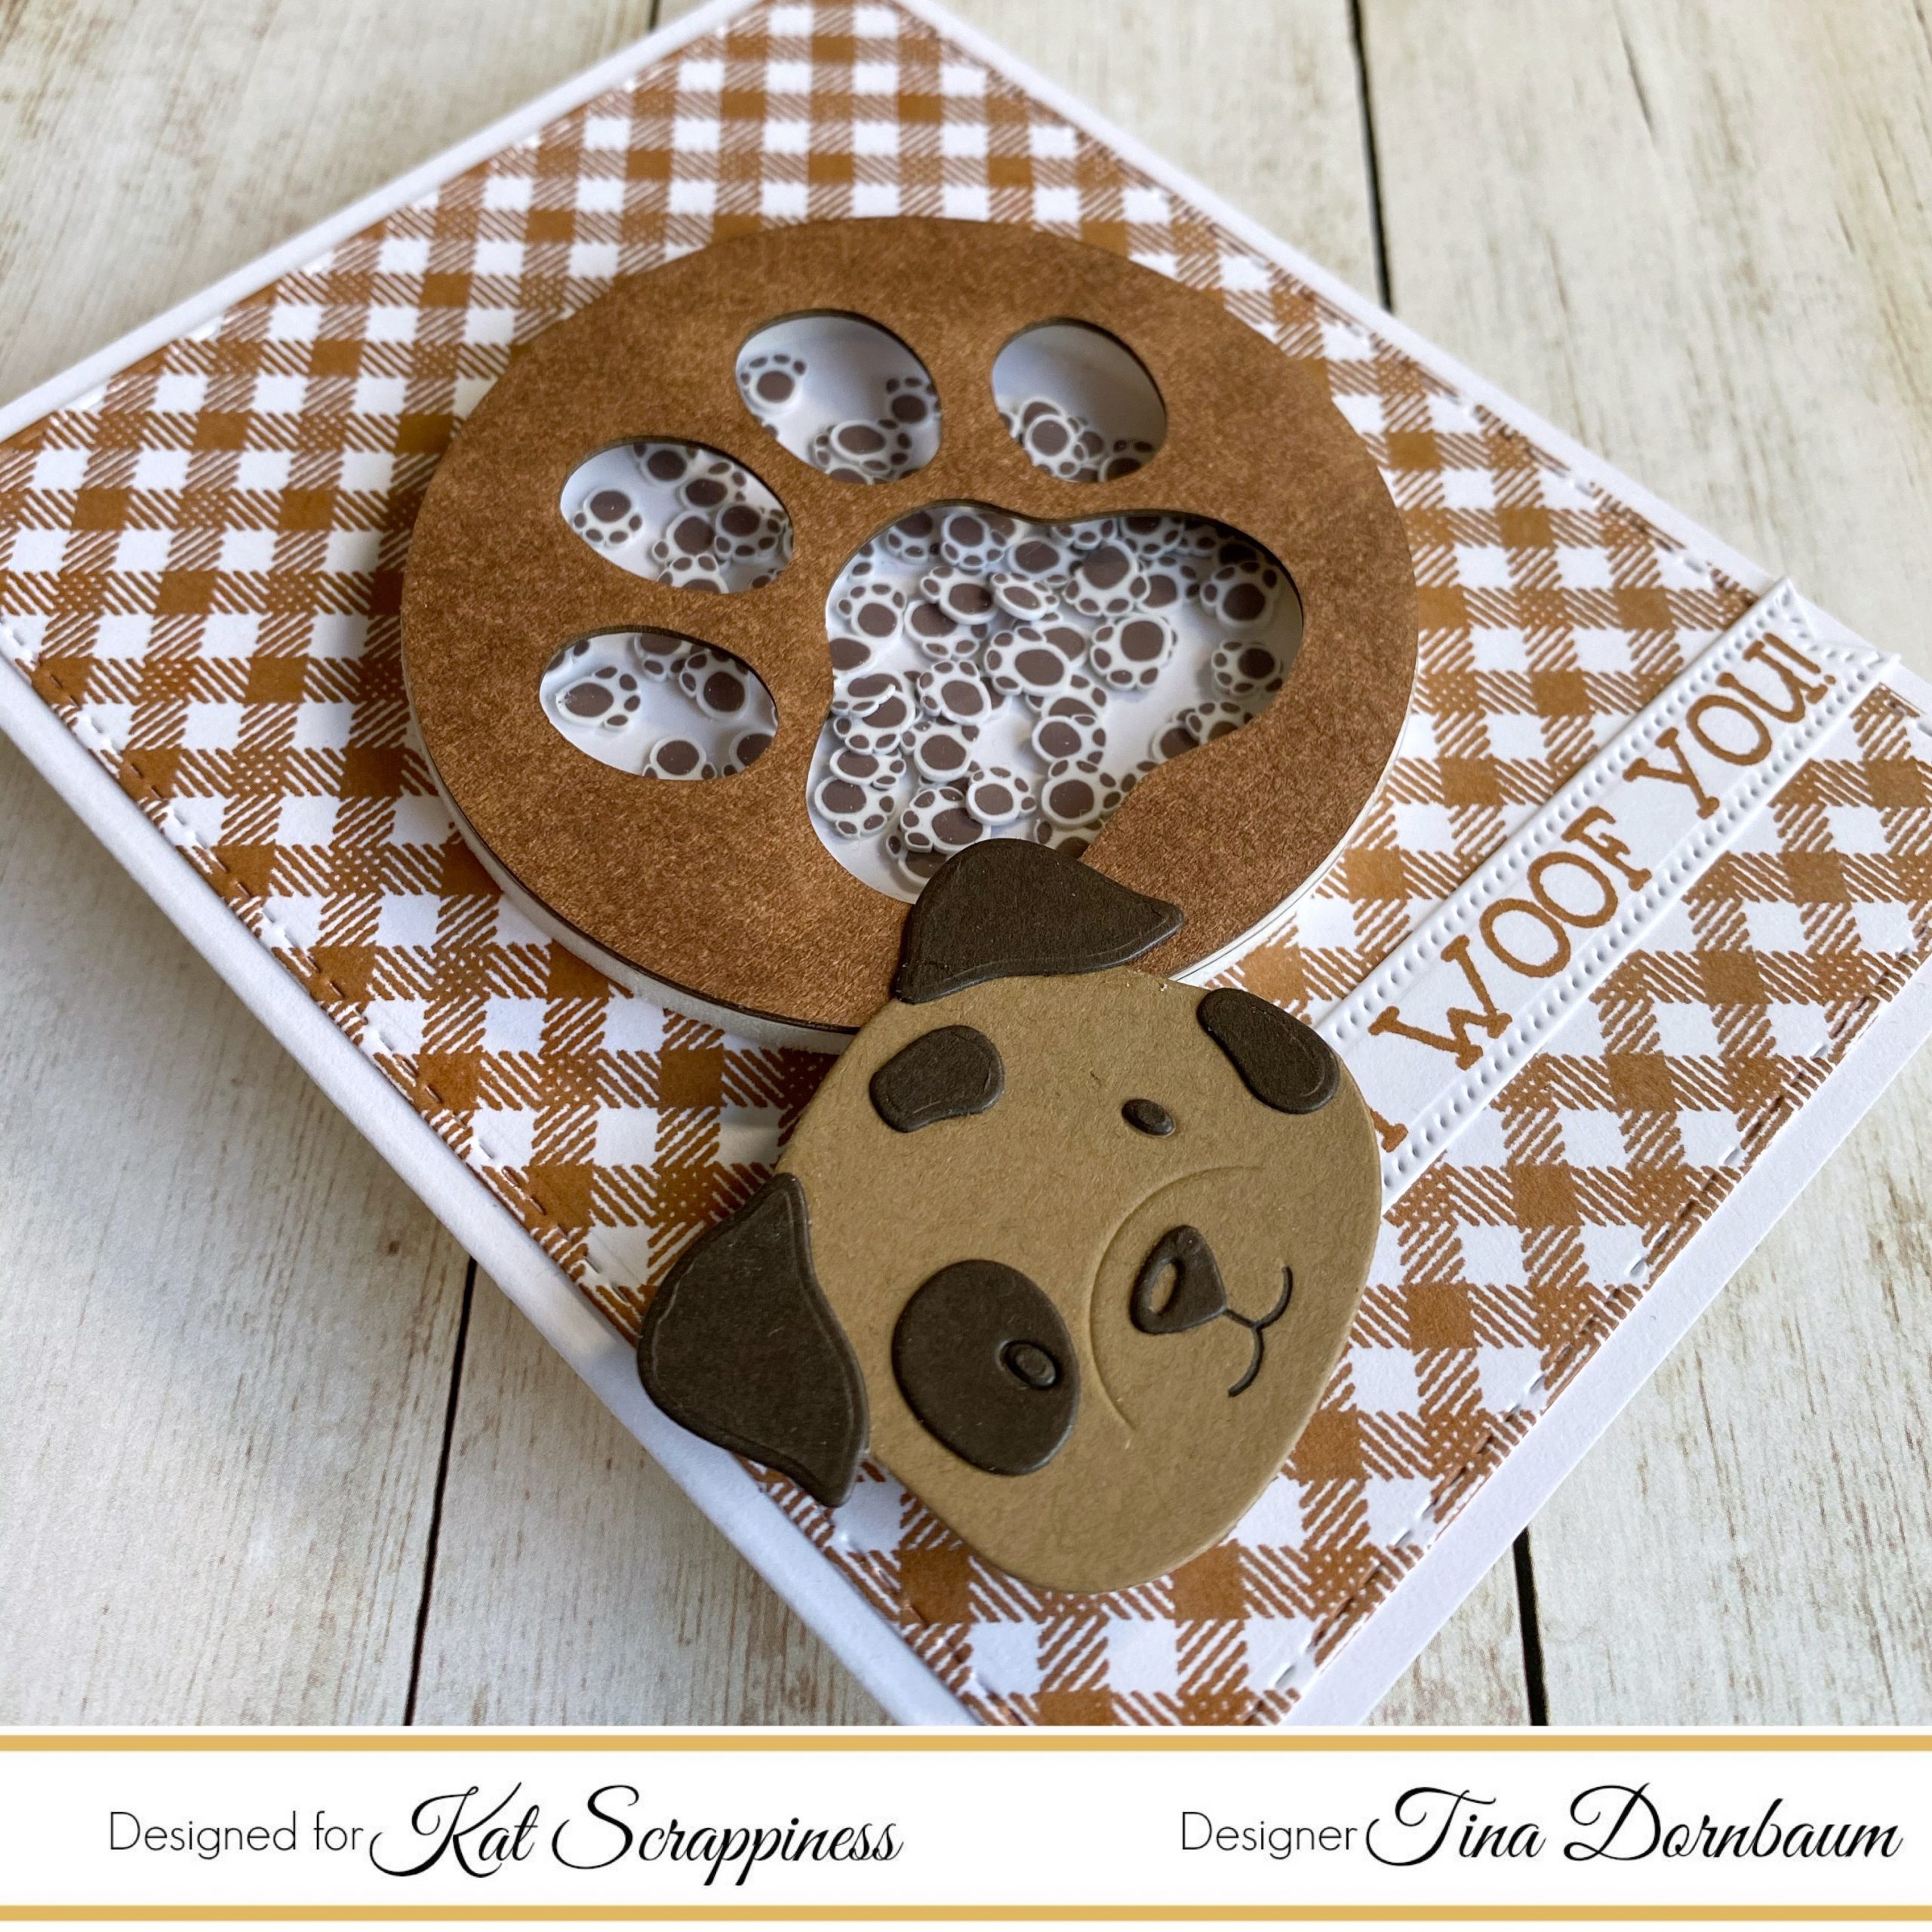
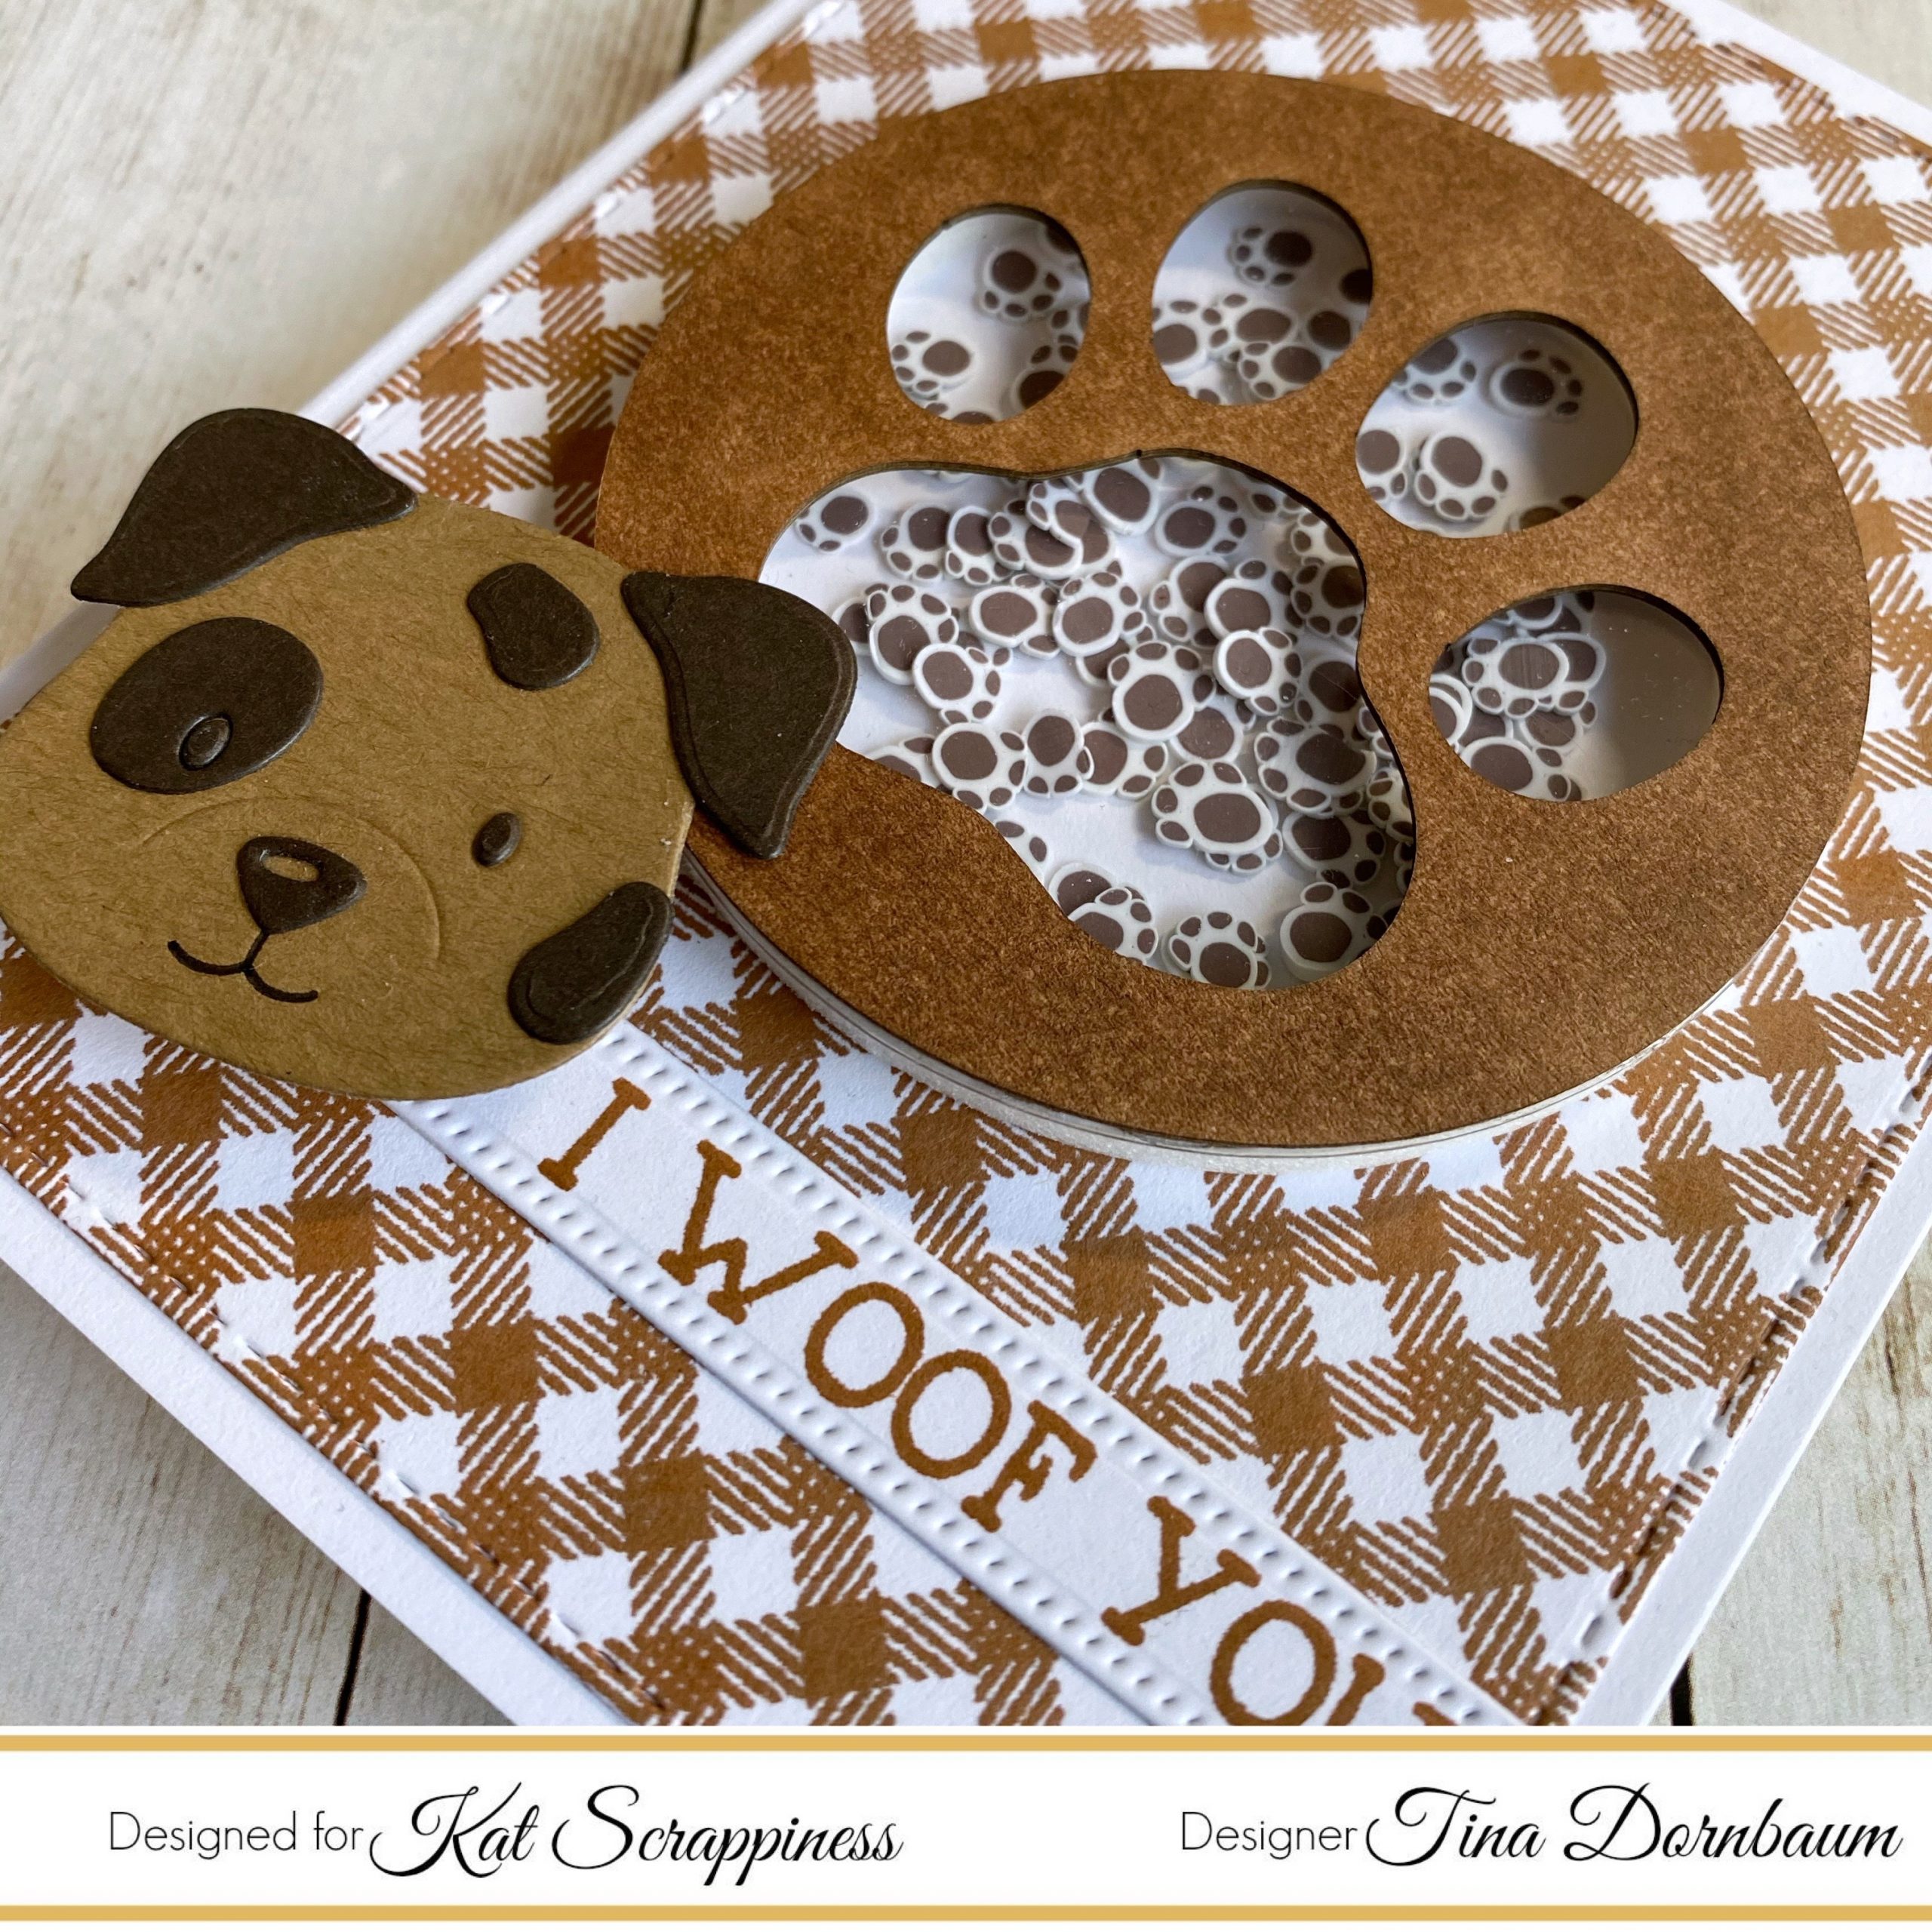
Card #1
Step 1 – Trim White Cardstock to 8 1/2” x 5 1/2”, score at 4 1/4” and fold in half for a vertical side fold card. (A2)
Step 2 – Trim Patterned Paper or DIY Background to 5 1/2” x 4 1/4”. Diecut Double Stitched Rectangles and adhere to card using Nuvo Deluxe Adhesive.
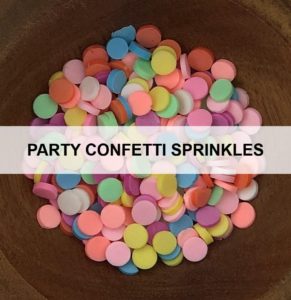
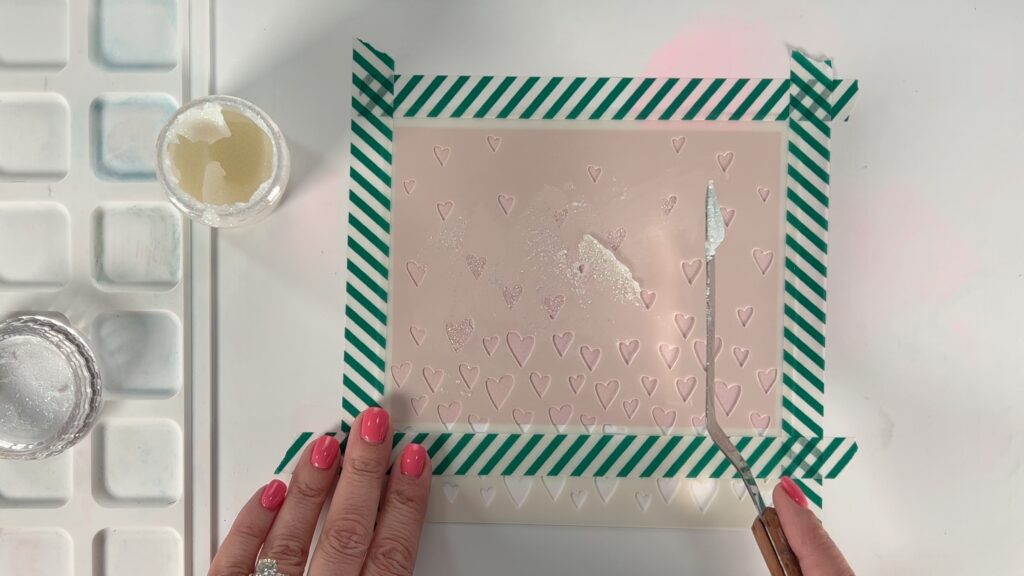
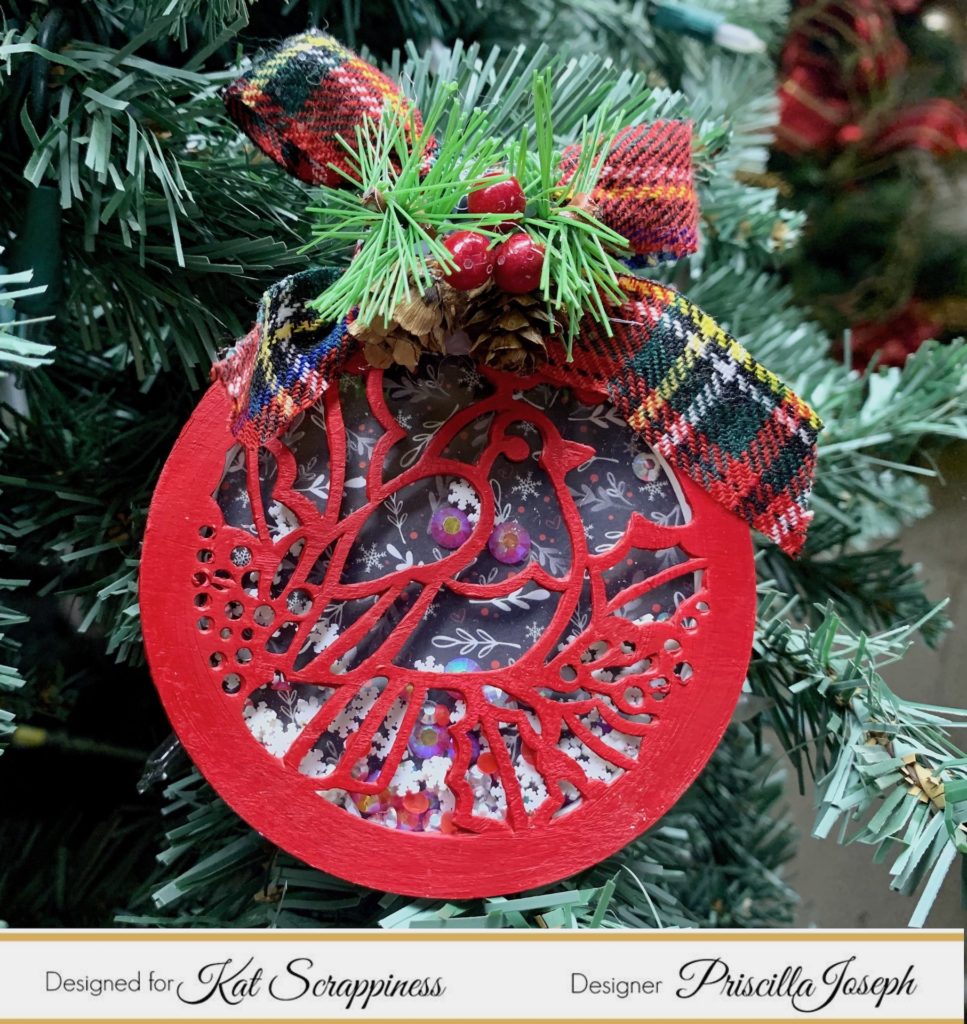
Step 3 – Apply the Shaker Element Paw Print to the card front using Nuvo Deluxe Adhesive. Fill the center with Brown Paw Print Sprinkles. Adhere the Clear Acetate on top using Nuvo Deluxe Adhesive. Decorate the Frame Overlay. I used an Alcohol Marker and adhere on top using Nuvo Deluxe Adhesive.
Step 4 – Add a Dog image or character and then a sentiment.
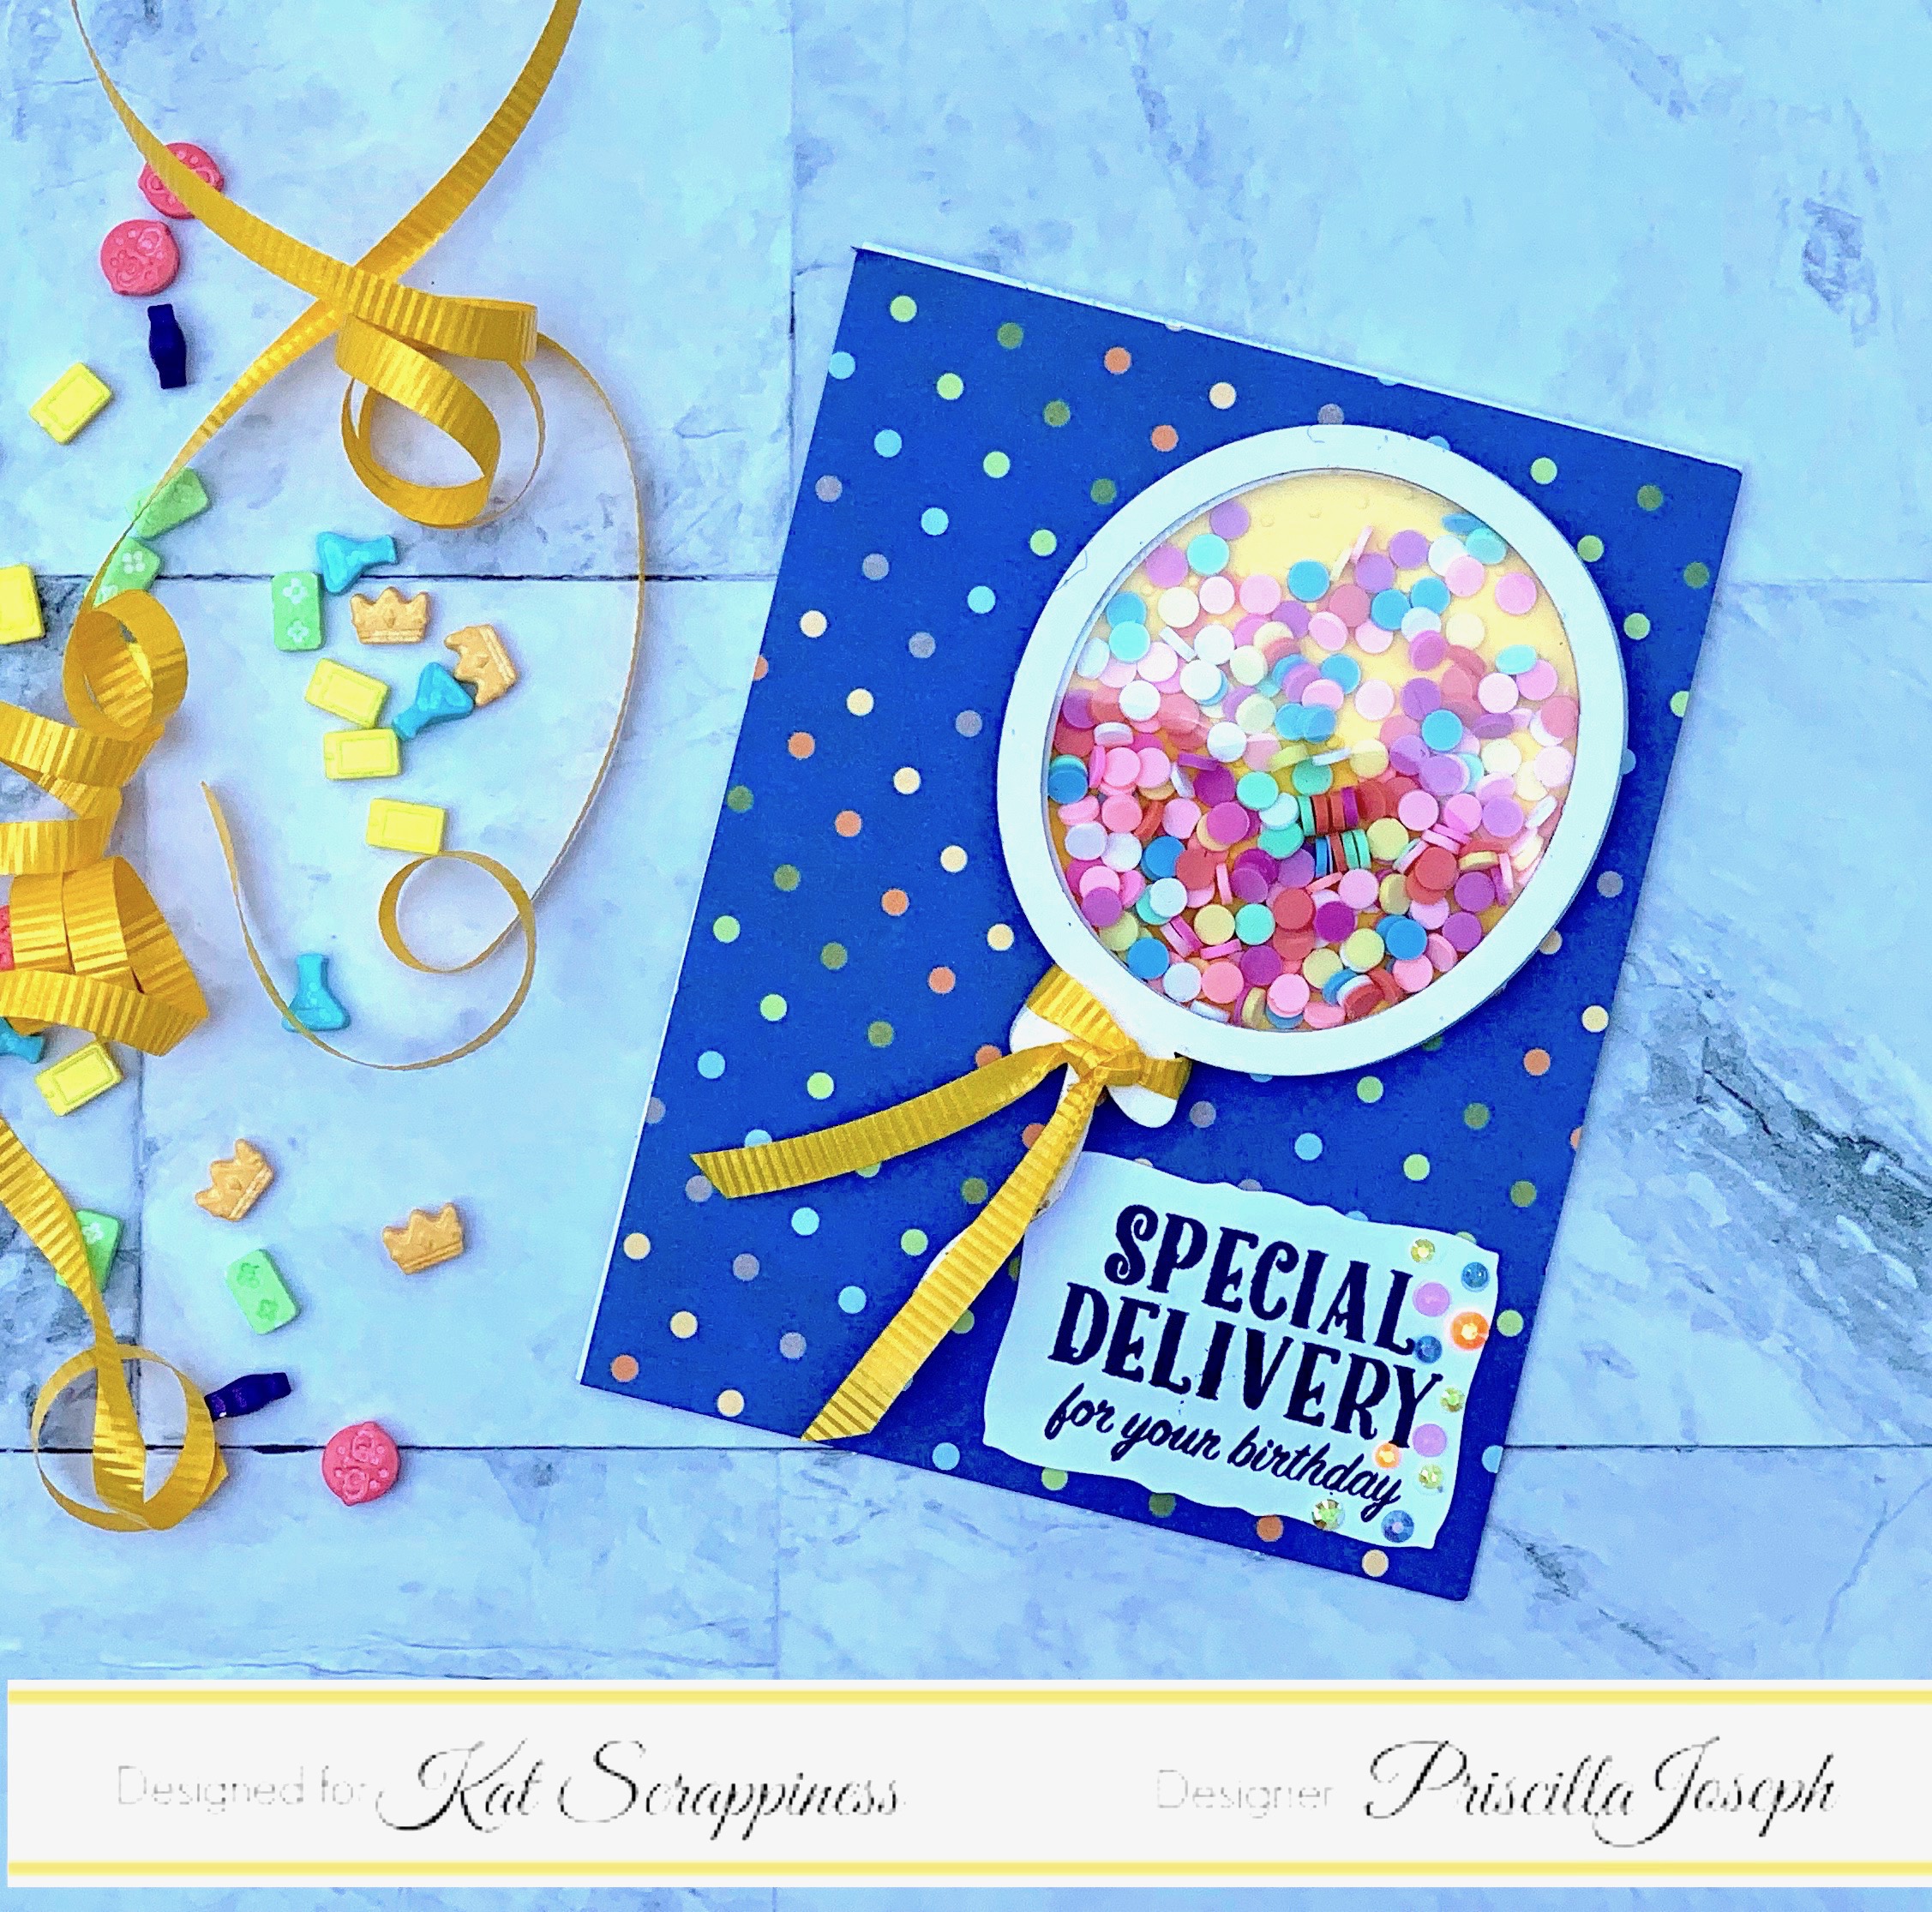
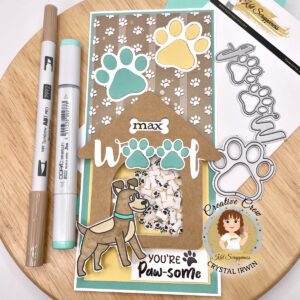
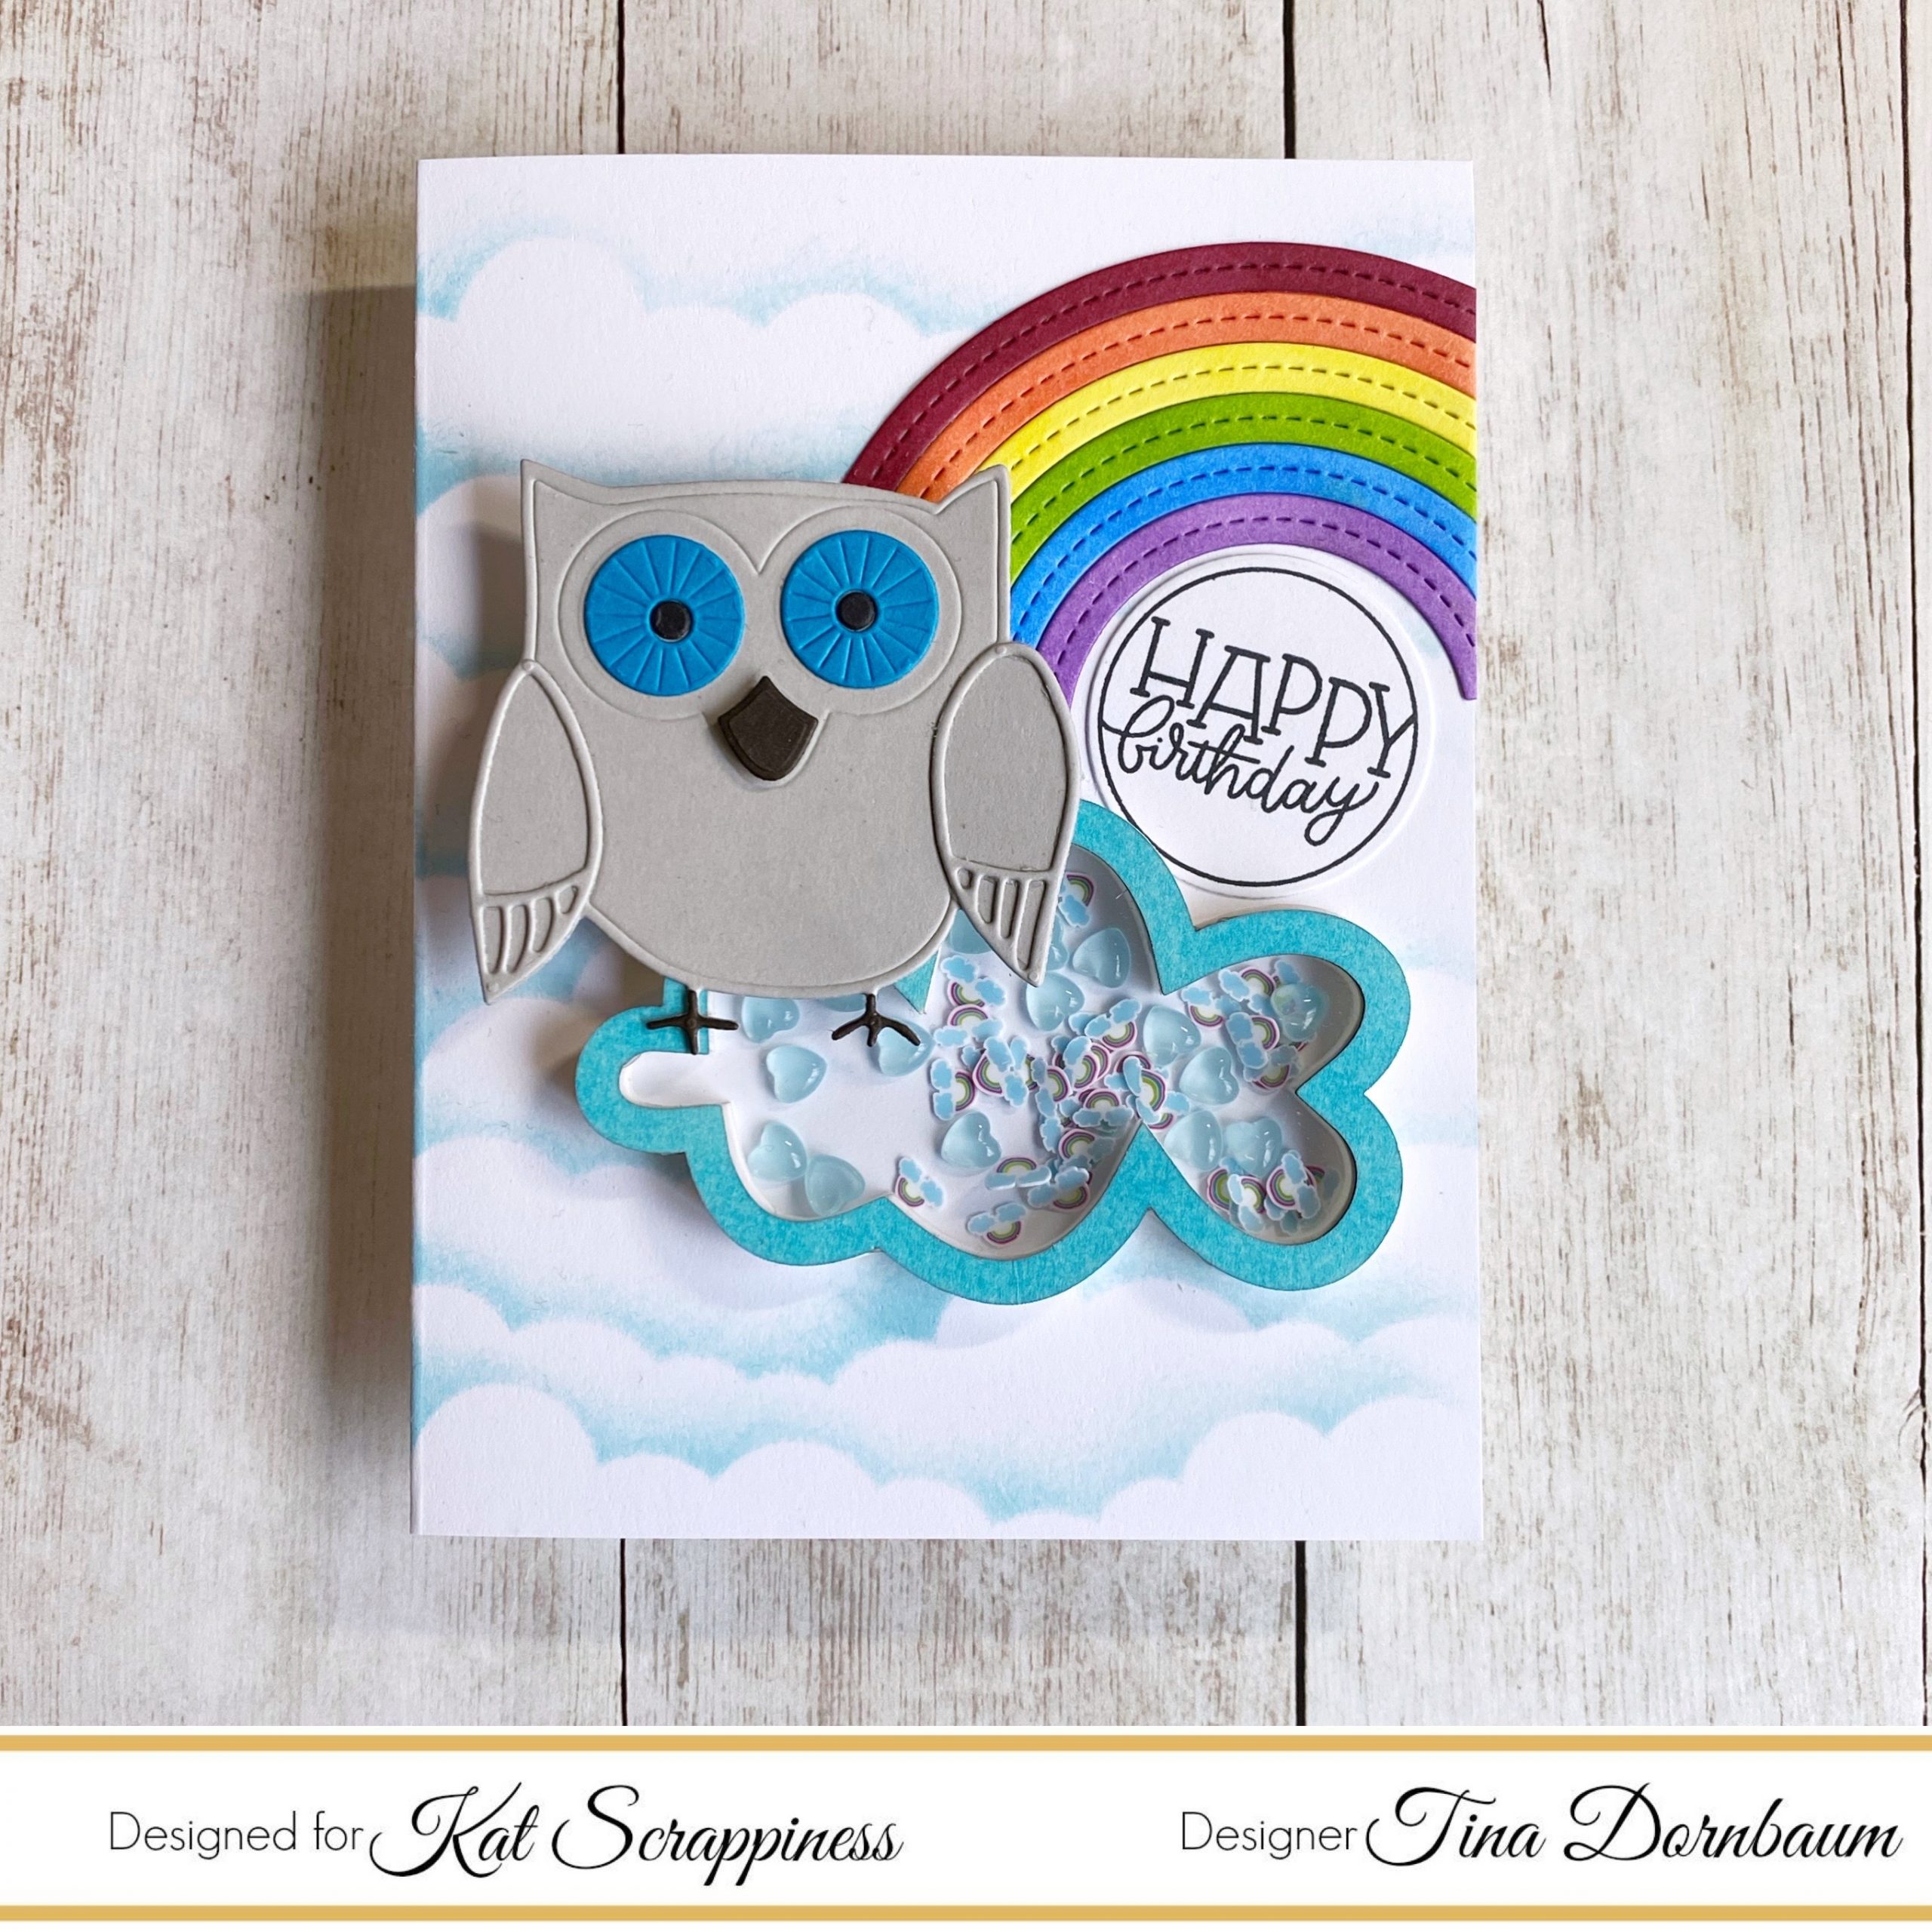
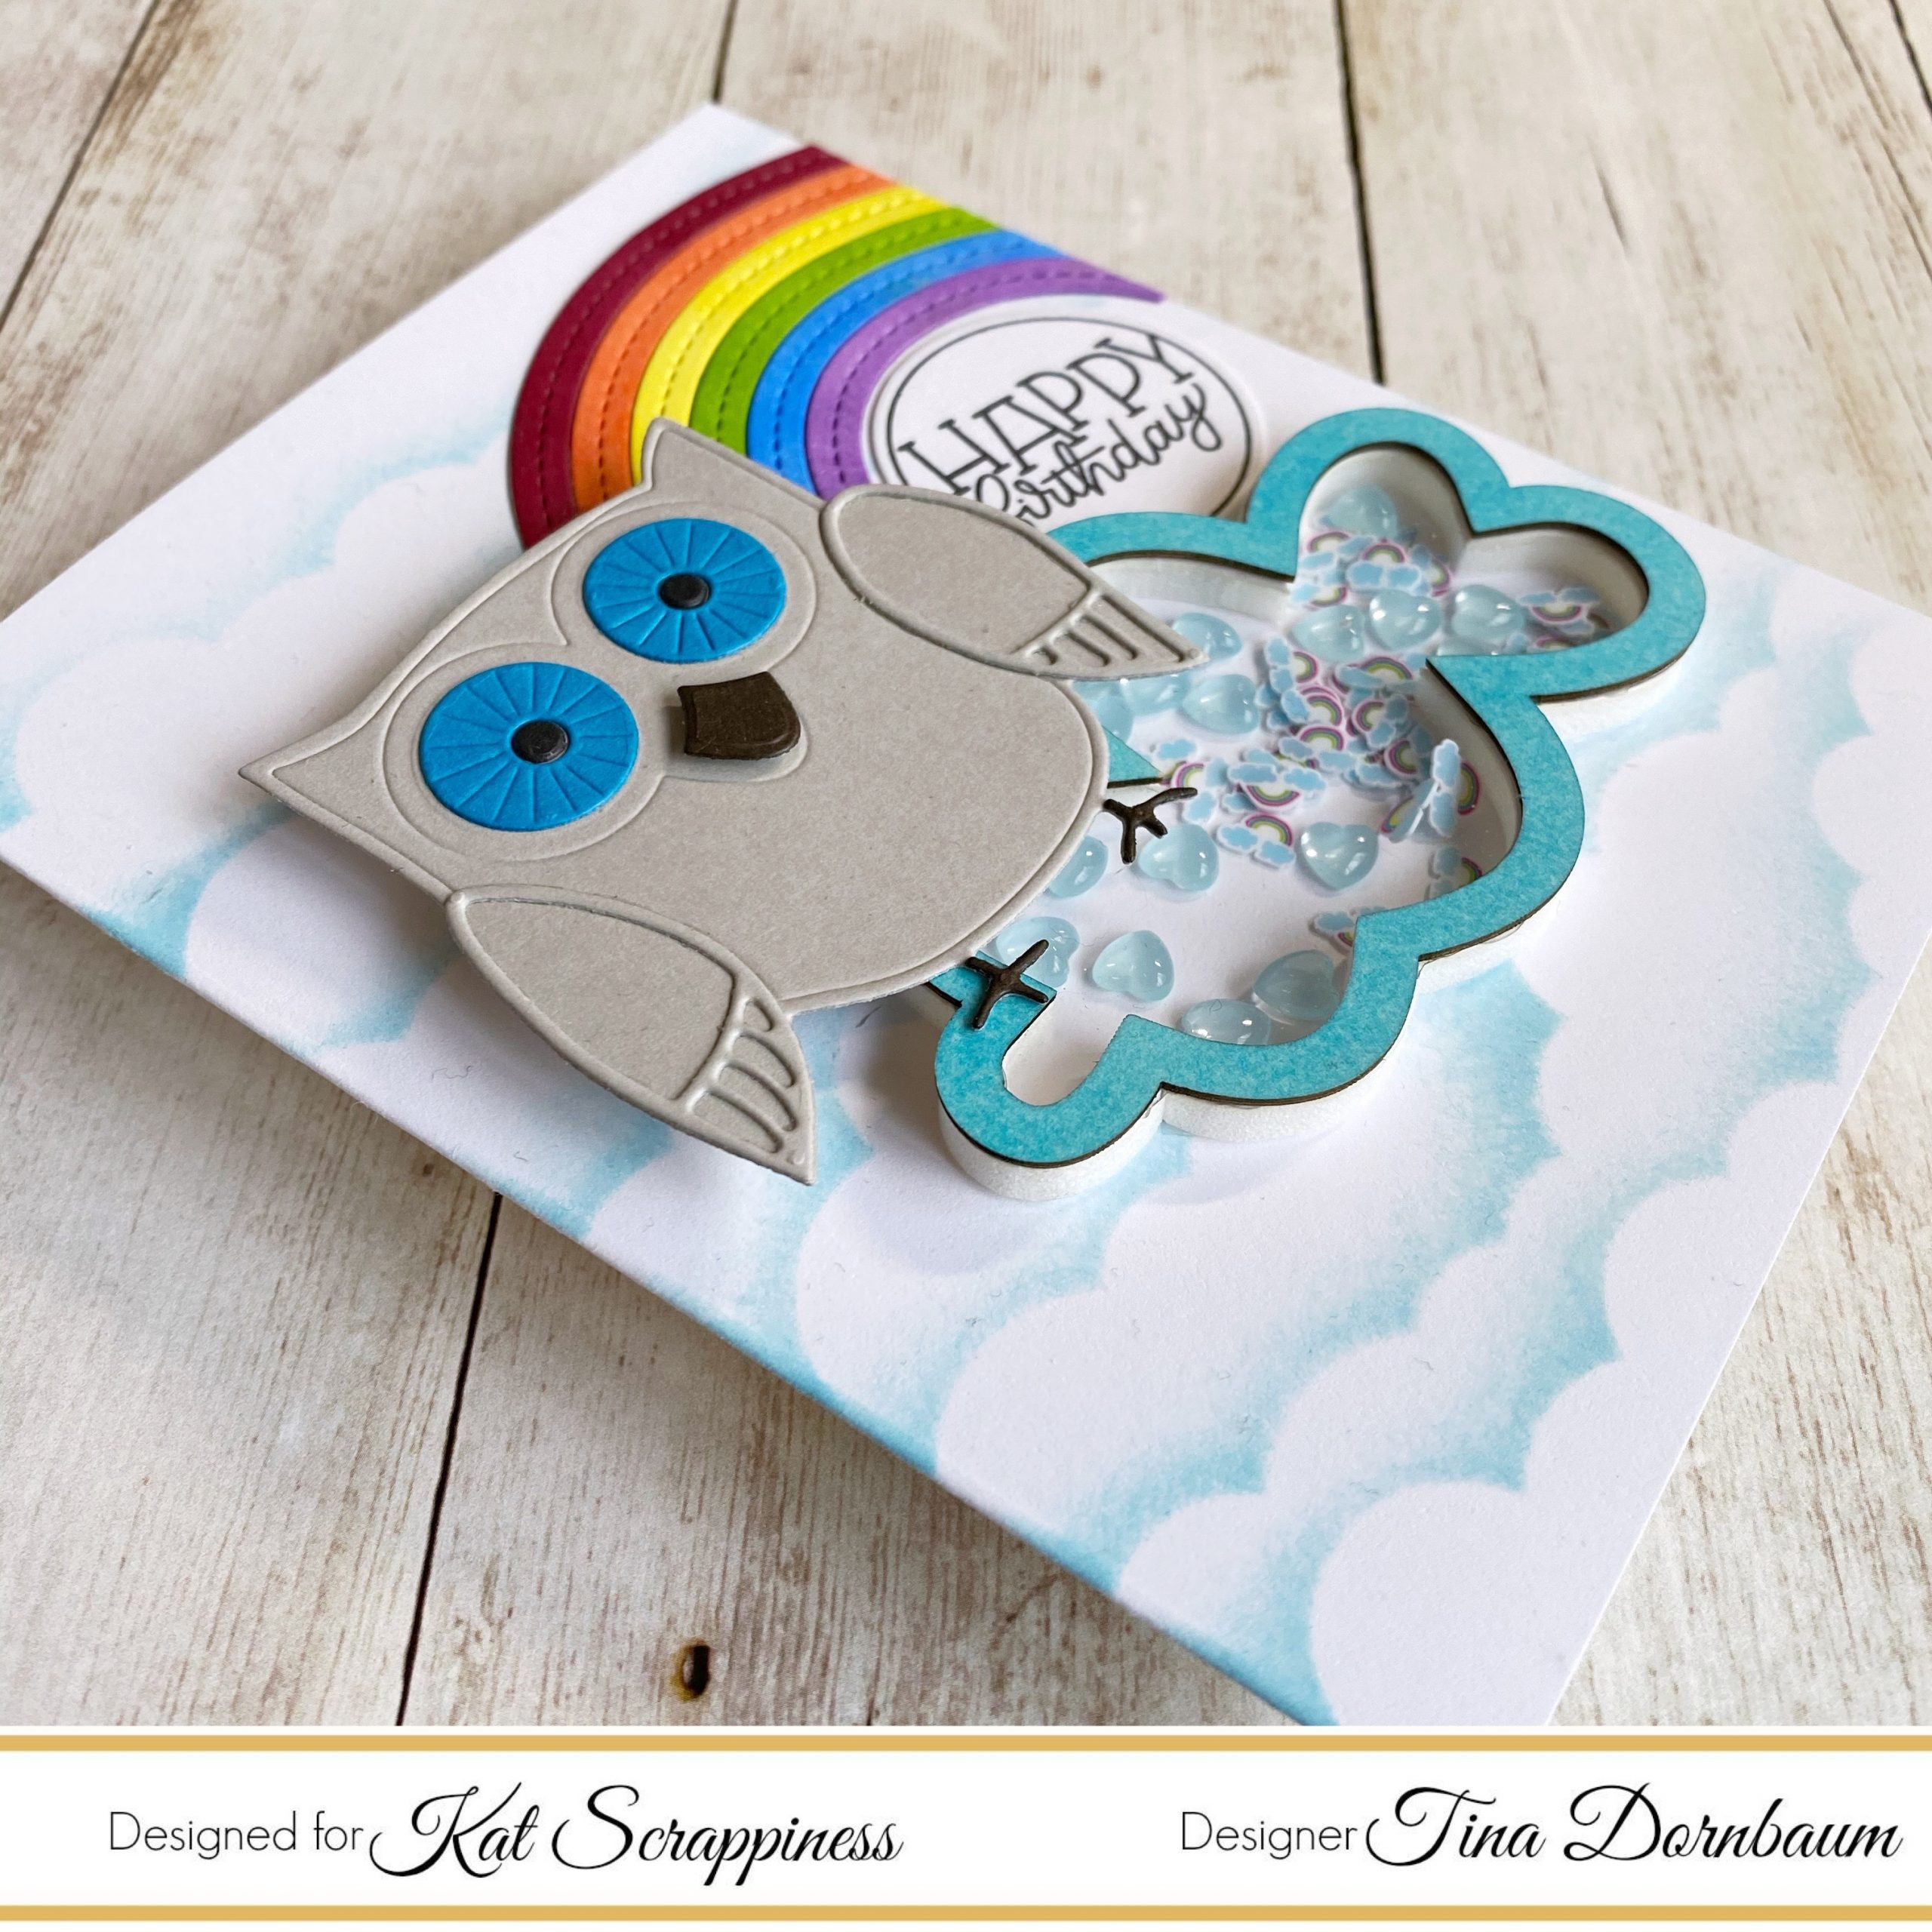
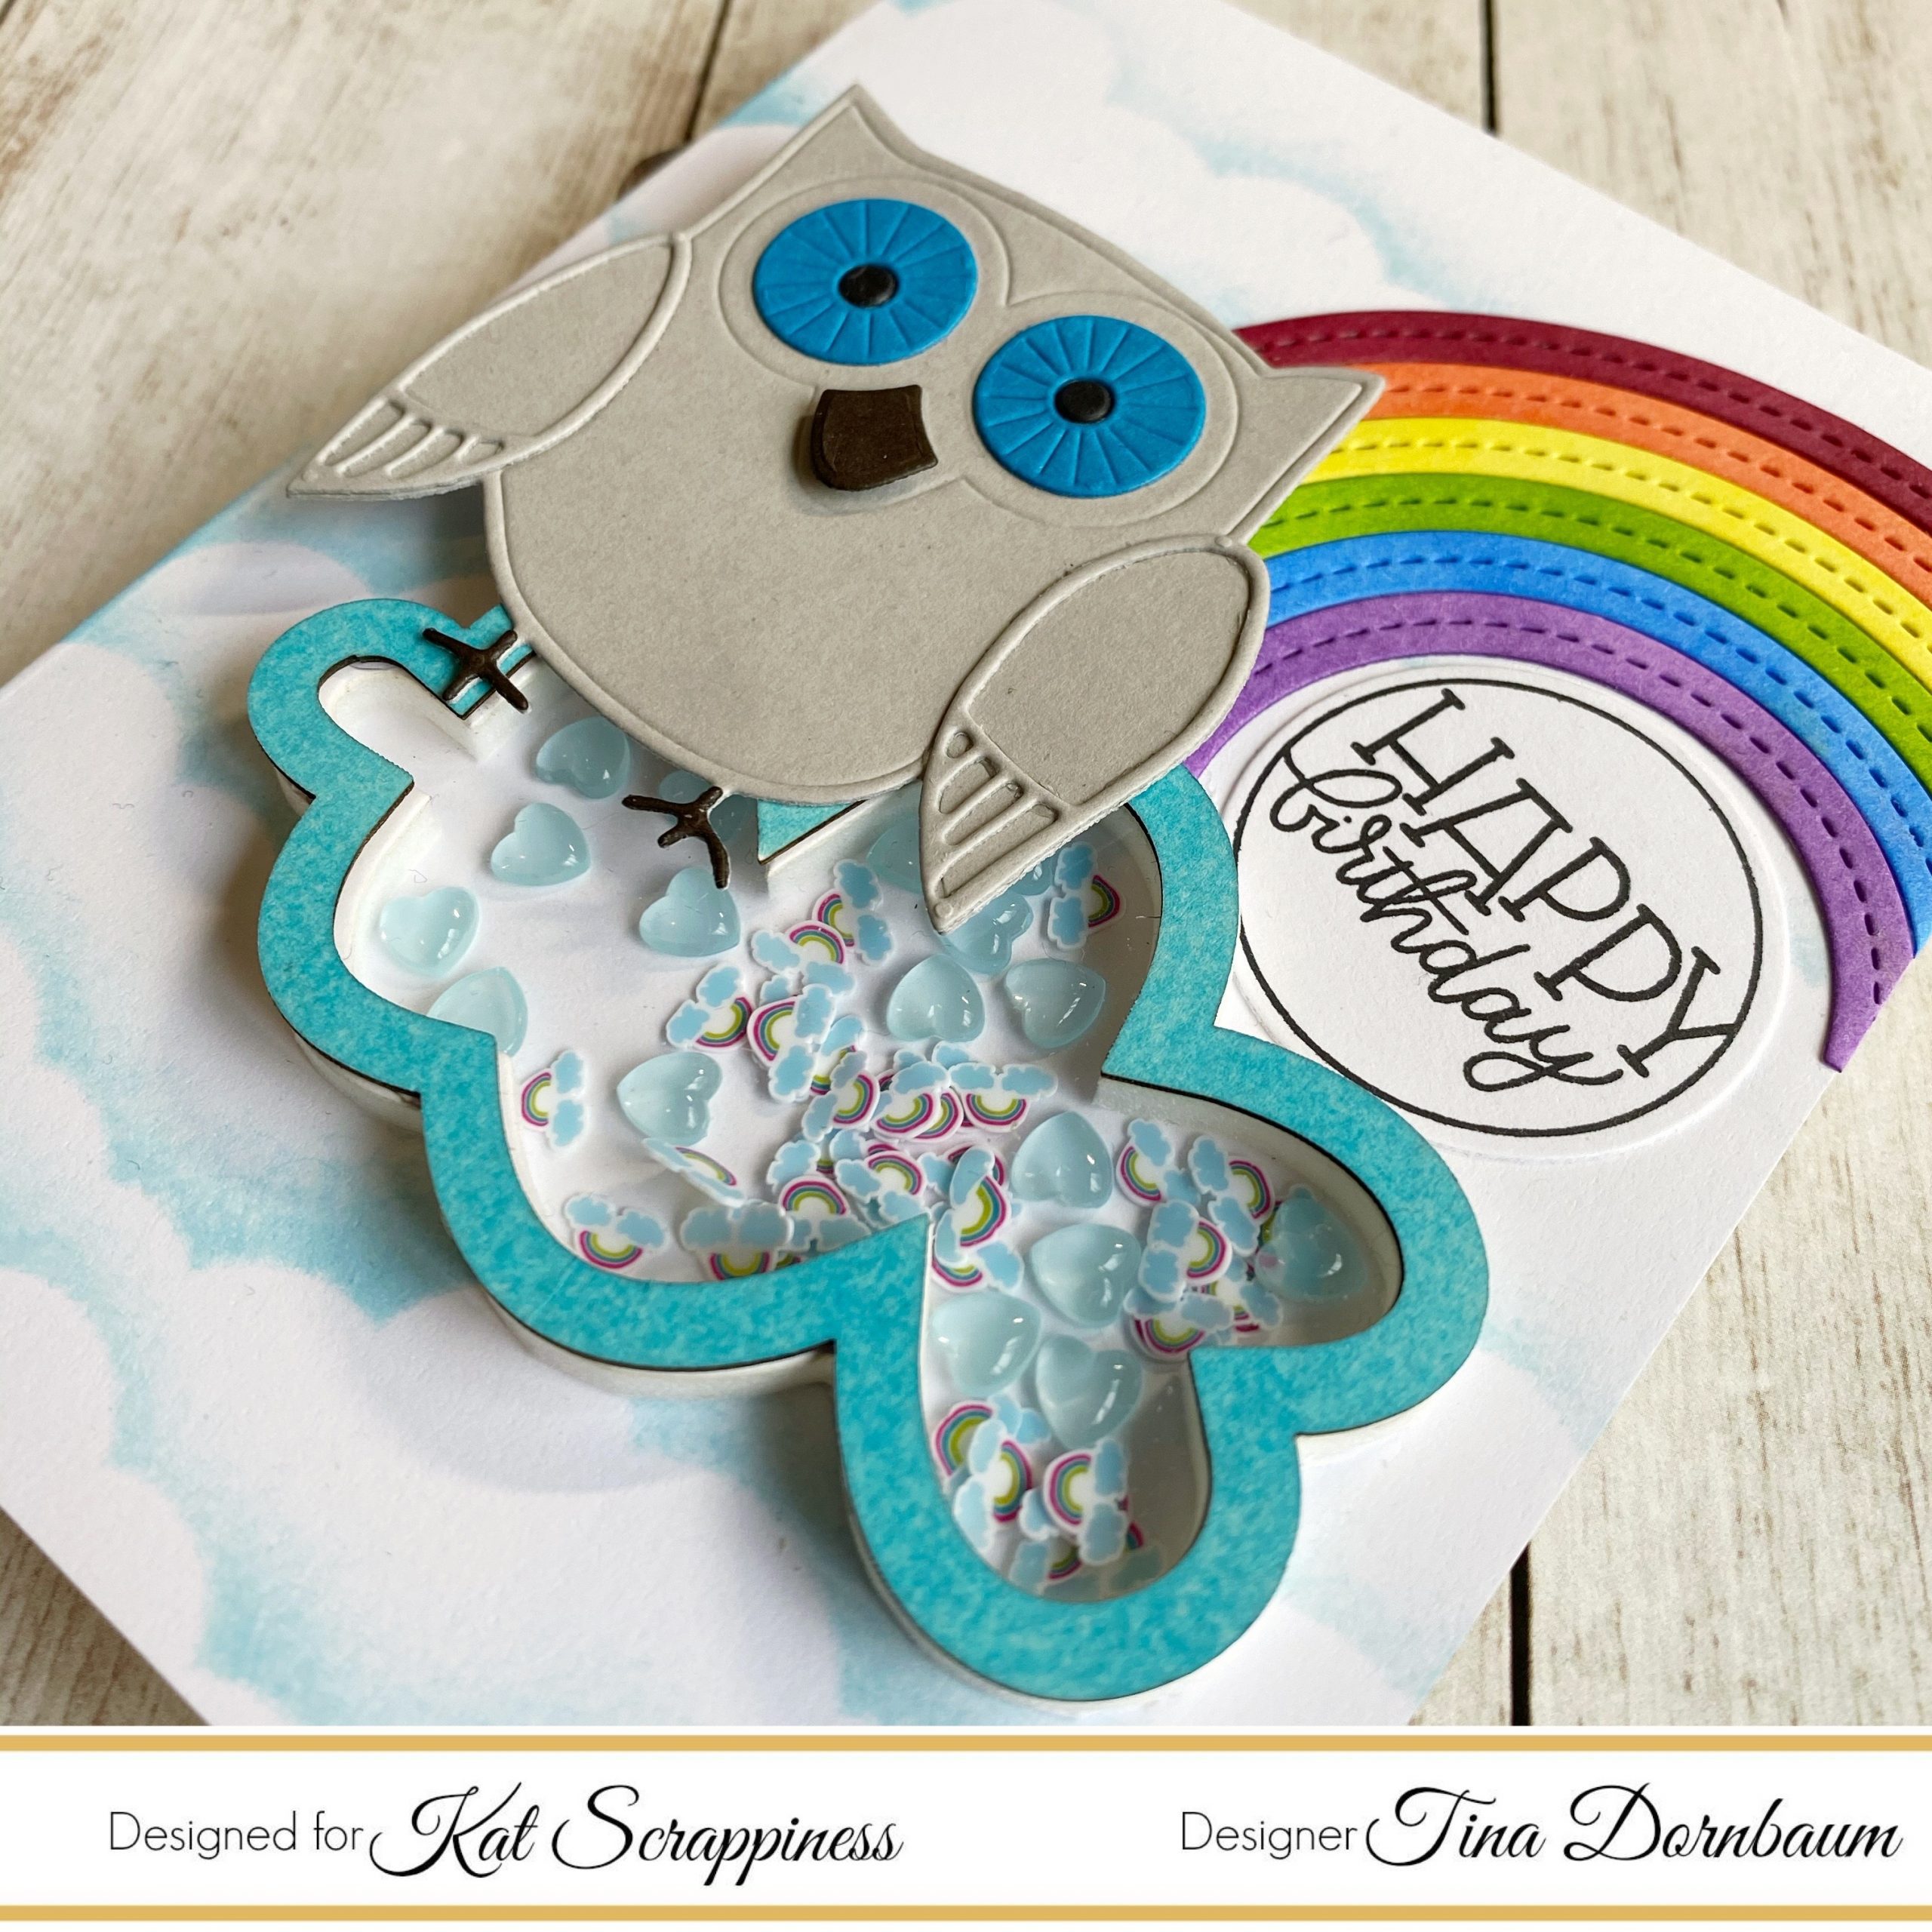
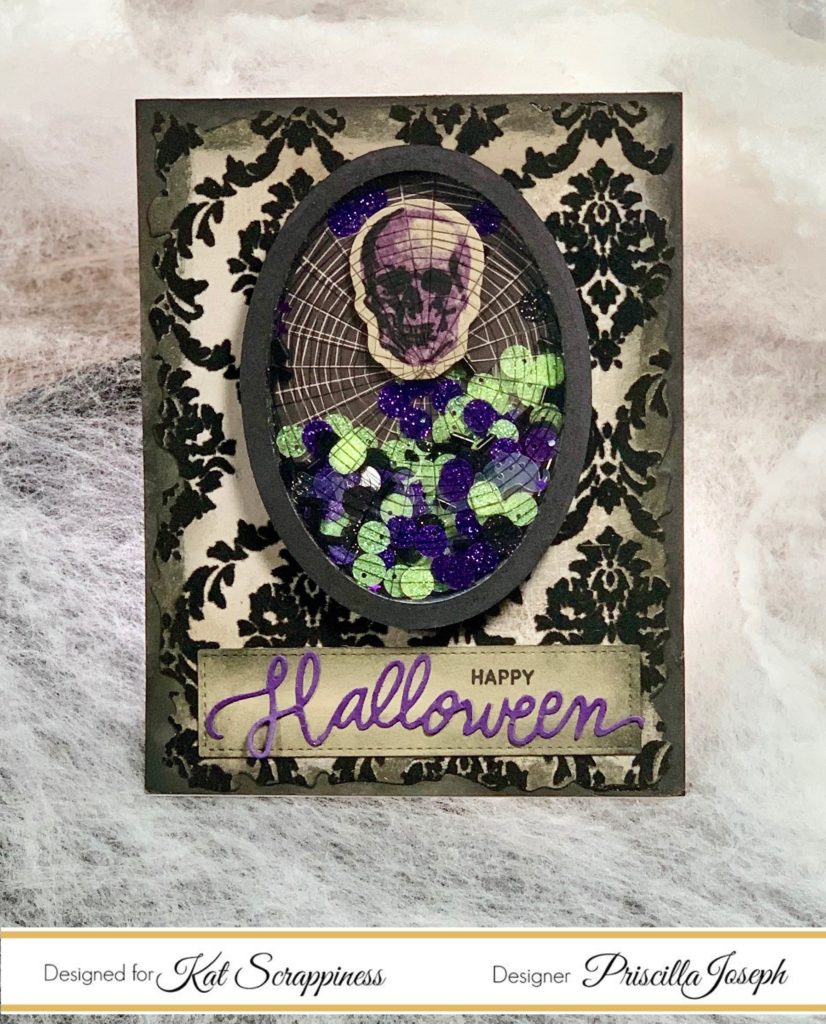
Card #2
Step 1 – Trim White Cardstock to 8 1/2” x 5 1/2”, score at 4 1/4” and fold in half for a vertical side fold card. (A2)
Step 2 – Create a Cloud Background from a diecut or cut it out freehand to use as a stencil and apply ink directly on the card front. Move the stencil around and repeat to create layers.
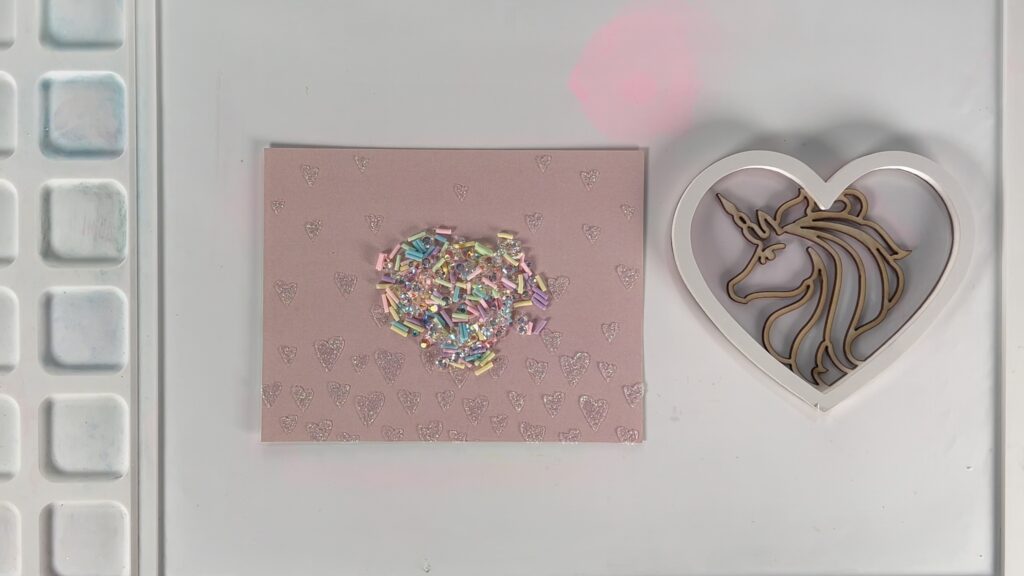
Step 3 – Apply the Shaker Element Small Cloud to the card front using Nuvo Deluxe Adhesive. Fill the center with Small Rainbow Sprinkles. Adhere the Clear Acetate on top using Nuvo Deluxe Adhesive. Decorate the Frame Overlay. I used an Alcohol Marker and adhere on top using Nuvo Deluxe Adhesive.
Step 4 – Diecut and assemble Cute Layered Owl and adhere to card using Foam Tape.
Step 5 – Diecut and colour a rainbow. If you do not have a rainbow die then diecut Never Ending Circles by using 2 dies together. Trim and adhere to card.
Step 6 – Stamp a sentiment and adhere to card.
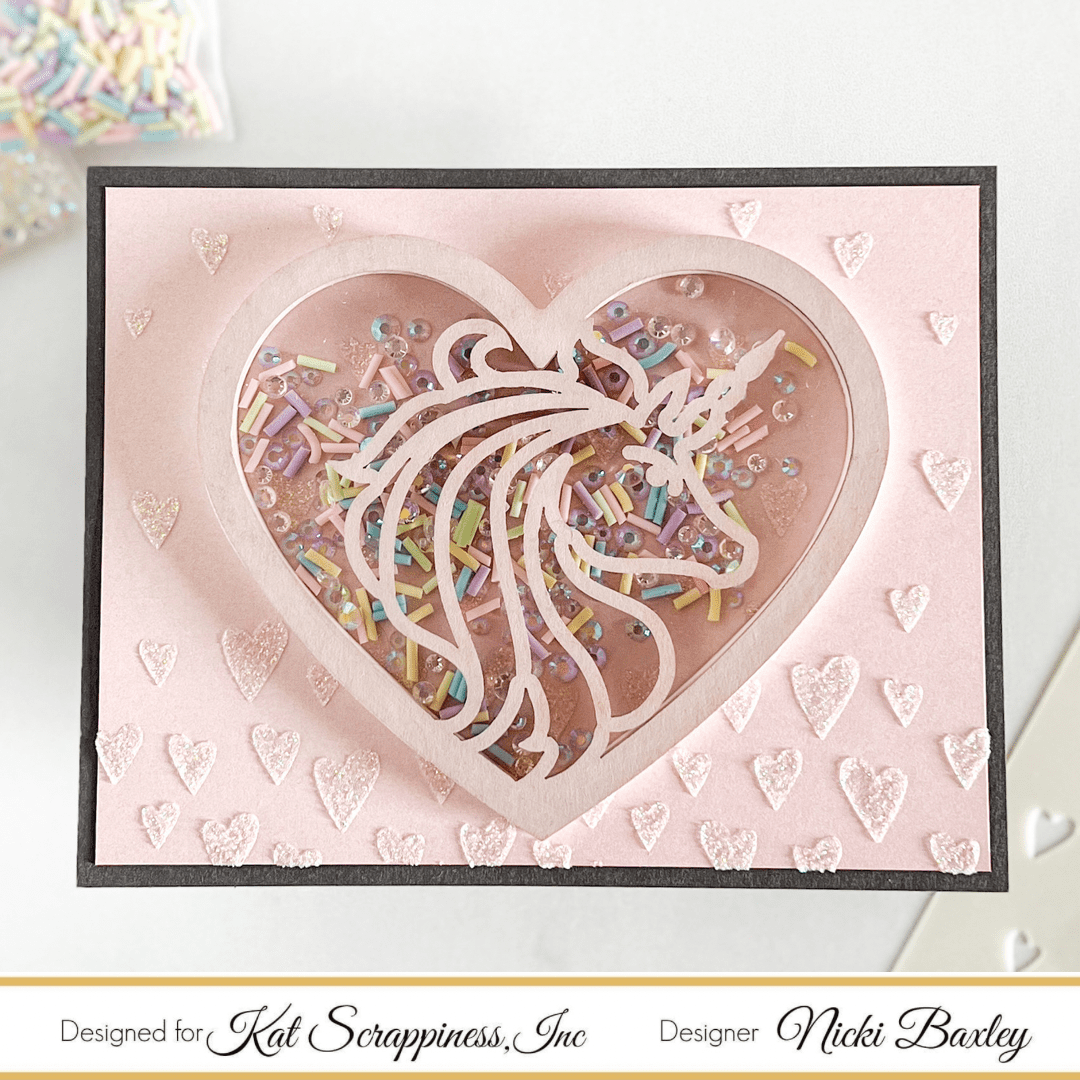
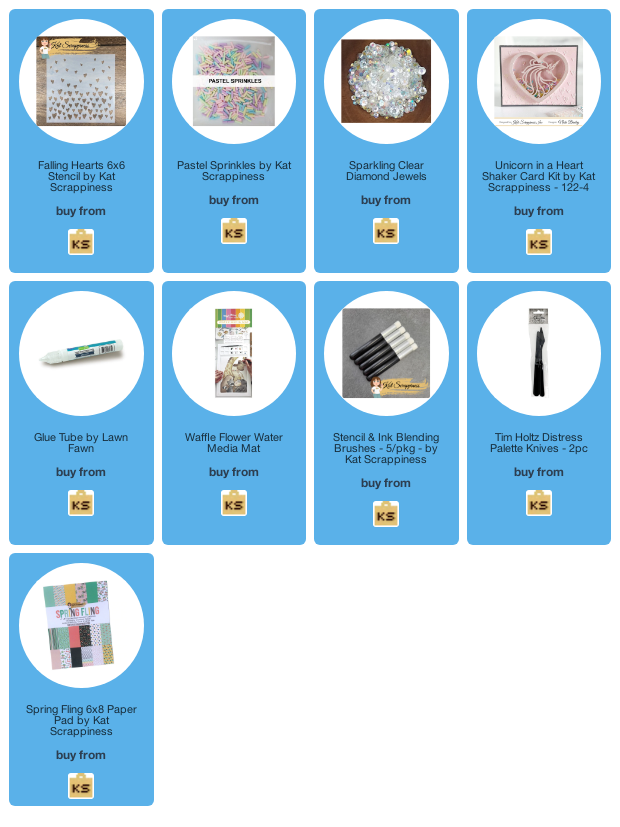
These are are quick and simple and can be used for many occasions. Below is a link to all the products used. Thank you for stopping by and Happy Crafting!
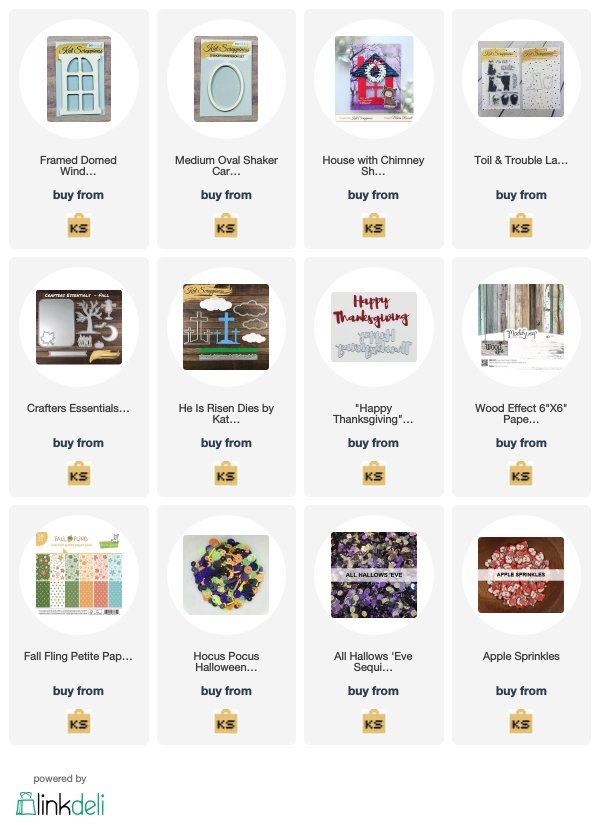
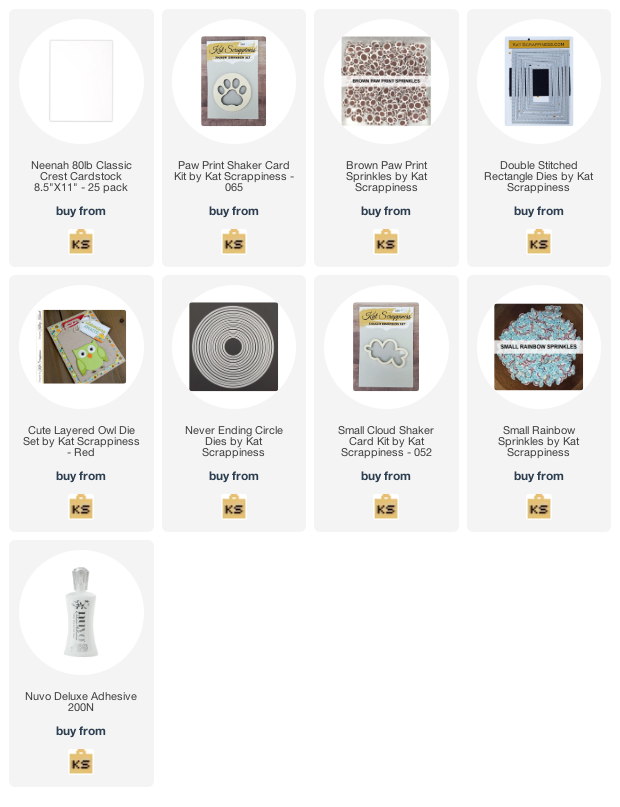
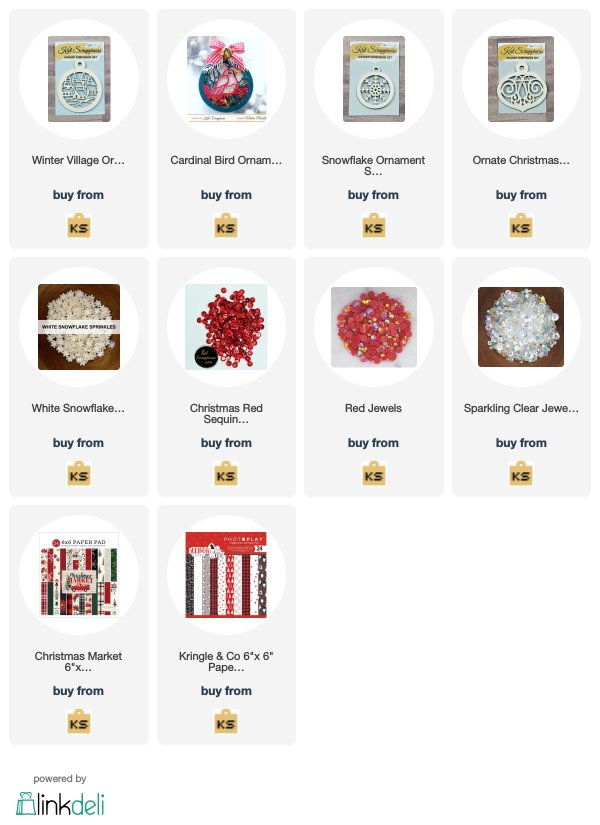
Product Used:

 .
.