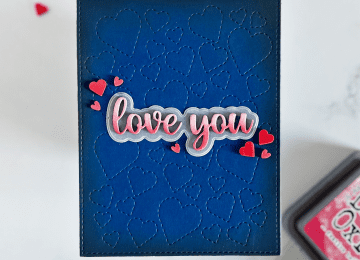
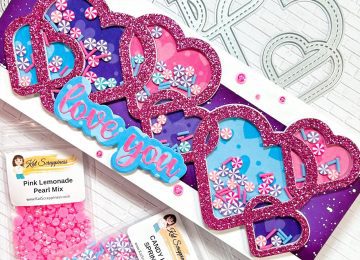
Hello Friends! Sheri from the Creative Crew here today with a Sending My Love Shaker card featuring the NEW Mail Storm Backdrop Die and Simple Sentiments Stamp & Die Bundle.
The Mail Storm Backdrop die is designed to cover an A2 size card and I wanted a white border on my card so I created a custom sized card: 4 3/4″ x 6″. I plan to use a 5″ x 7″ envelope.

Steps to Create Card:
- Create Card Base: Used Custom Size in order to have white border – 4 3/4″ x 6″ (9 1/2″ x 6″, scored at 4 3/4″). If you prefer a standard A2 card with no white border: 4 1/4″ x 5 1/2″ (4 1/4″ x 11″, scored at 5 1/2).
- Die Cut Mail Storm Backdrop die with red card stock (used Gina K Red Hot card stock).
- Cut Acetate to fit behind Mail Storm Backdrop die: 4 3/16″ x 5 7/16″.
- Assemble Window: Adhere acetate to the back of the Mail Storm Backdrop panel using strong adhesive. Next line the outer rim of the panel with foam tape to create shaker well.
- Cut Layering White card stock panel: 4 3/16″ x 5 7/16″. This is the panel you will ink blend to create your background (used a combination of Gina K Dusty Rose, Red Hot and Red Velvet). Next you will attach the blended piece directly onto your card base.
- Stamp and embossed sentiments from the Simple Sentiments Stamp & Die Bundle. Take a piece of black card stock and emboss using White embossing powder. For the best results a stamping tool is recommended.
- Die cut 3 small hearts using the smallest heart from the Layering Nested Heart die set (used Gina K Red Hot card stock).
- Pour shaker bits in the center of your card.
- Assemble shaker by attaching the Mail Storm Backdrop window to the card base.
- Attach sentiment and hearts to shaker. You can attach with foam tape or directly to the acetate window.
- For embellishment I added a bit of sparkle to the little hearts with a Spectrum Noir Clear Overlay pen and then used Glossy Accents to create a 3D embellishment.
Here’s a list of supplies I used that can be found in the store.
Affiliate Links used at no additional cost to you. Thank you for your support!
Happy Stamping!!


