Welcome to the Kat Scrappiness November Card Challenge and the announcement of the October Card Challenge Winner! PLEASE READ THE RULES before ENTERING!
First we would all like to thank everyone who entered last month’s challenge! The team really enjoyed seeing all of your creations.
And NOW the WINNER for October!

2. The Design Team’s Top Pick and winner $5.00 Gift Certificate is, Theary Chea!!!She used the Kat Scrappiness Dress Up Quokka’s, Halloween Costume Add On and made this amazing Shaker Card that Glows in the dark, please save the badge above to your computer and upload it to your blog or website to show off your accomplishments! You can link back to our blog here: http://www.KatScrappinessBlog.com!

November Card Challenge
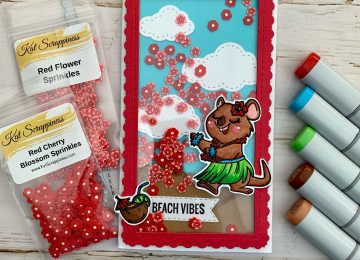
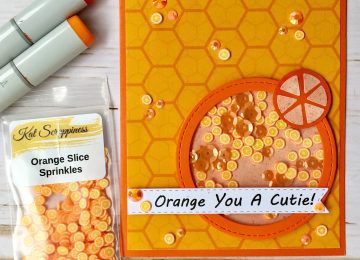
This month’s theme is “Shaker cards”. Kat Scrappiness has so many sequins and fillers for shaker cards as well as Acetate Sheets and lots of other product.
To enter our November Card Challenge all you need to do is share your Kat Scrappiness projects. You can join at the bottom of this page and view the RULES, for your chance to win $$ to the Kat Scrappiness Store! Try to use your Kat Scrappiness supplies we love to see our products in action and you will win a bigger gift card.
You can also enter our social media challenge which is ALWAYS Anything Goes. Just use Kat Scrappiness products and enter your card on our Facebook Group page and Instagram using the hashtag #katscrappinessfan for your chance at a $5 Prize.
Here are my favorite Kat Scrappiness Products:
- Kat Scrappiness Mini Slimline Dies
- Kat Scrappiness Stamps
- Kat Scrappiness Rhinestones
- Kat Scrappiness Word Dies w/Shadow
-Your project should be a new Creation. No Back Posting allowed.
-Please follow the Challenge Theme. Any Entries not following the theme will be deleted.
-We are a Multi Craft Challenge. As long as you follow the theme you may enter with any craft project.
-You may use any product you like but Kat Scrappiness Products are encouraged and will get a better prize.
-You may enter the Challenge 3 times but each must be with a new project.
What’s Happening Next?
Stay up to date on everything Kat Scrappiness!
We want you to be the first to know about giveaways, sales, challenges and so on, and the best way to do that is to subscribe to us! Here are a few ways you can keep in touch:
- Subscribe to the Kat Scrappiness Newsletter HERE
- Join the Kat Scrappiness Facebook Fan Group HERE
- Subscribe to the Kat Scrappiness Instagram HERE
Trust us, you don’t want to miss our releases and inspirations!
Below you will find the steps to create your own Shaker Card.

Step 1 – Trim White Cardstock to 7”x 6”, score at 3 1/2” and fold in half for a vertical side fold card. (Mini Slimline)
Step 2 – Diecut Mini Slimline Zig Zag using Yellow Cardstock. Adhere to card using Bearly Art Precision Glue.
Step 3 – Create a background using a Gel Plate using Distress Oxide Worn Lipstick, Festive Berries, Aged Mahogany. I spread the colors using a Brayer. Place a White Cardstock and press it to transfer the ink. Remove and let dry.
Step 4 – Diecut Heart Panel using the background created from Step 3.
Step 5 – Trim Slimline Acetate to 2 1/2” x 5 1/4”. Adhere to the backside of the panel created from Step 4 using Bearly Art Precision Glue. Adhere Darice Double-Sided Adhesive Tape to the edges. Add Red Flower Sprinkles to the card front. Remove the release sheet from the window backing and adhere to card front.


Step 6 – Stamp sentiment using Versafine Onyx Black Ink on Yellow Cardstock. Trim and create fishtails at the ends and adhere to card using Bearly Art Precision Glue.
Step 7 – Optional – For added interest randomly adhere Bumble Bee Pearls to the card front using Bearly Art Precision Glue.


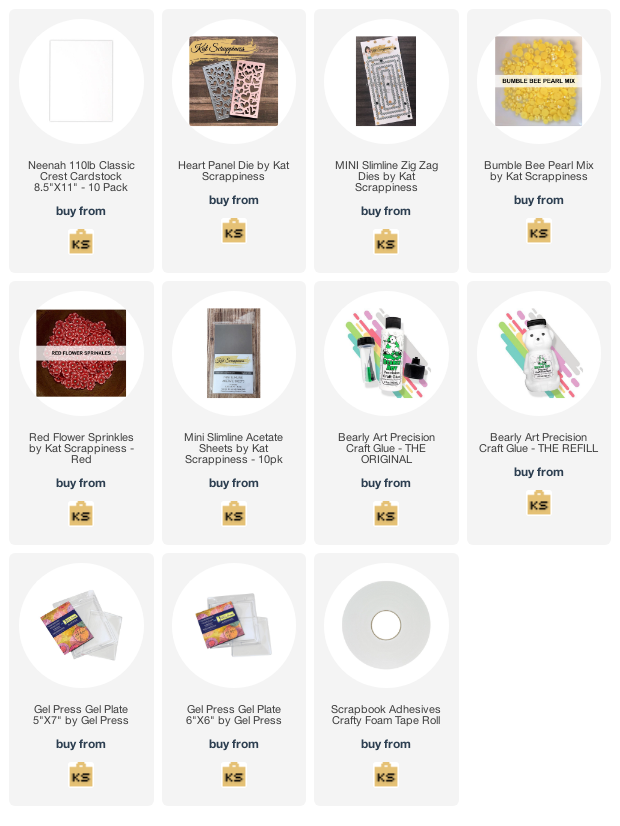
Products Used:
ENTER THE CARD CHALLENGE HERE


