Are your friends and family asking you what you want for Christmas? Struggling to figure out what to get your crafty friends and loved ones? Let us help!
The Kat Scrappiness Design Team Members all got together and each came up with their personal TOP TWO FAVORITE Kat Scrappiness products that they believe everyone needs in their craft room. So whether you are making a list for Santa or giving to a crafty friend we have what you need in our Design Team Recommended Shopping Guide!
And the BEST PART of this list?
It’s ALL ON SALE!
Beginning November 27th through December 3rd is our biggest sale of the year! BLACK FRIDAY, SMALL BUSINESS SATURDAY AND CYBER MONDAY HOLIDAY EXTRAVAGANZA!
It’s the perfect time to get amazing deals on ALL your FAVORITE products!
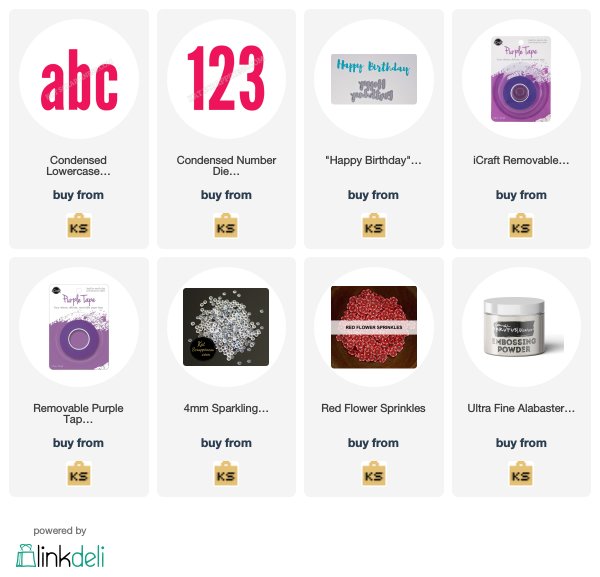
Design Team Recommended Shopping Guide!
Let’s start with design team member, Meghan Kennihan’s top two Kat Scrappiness products!
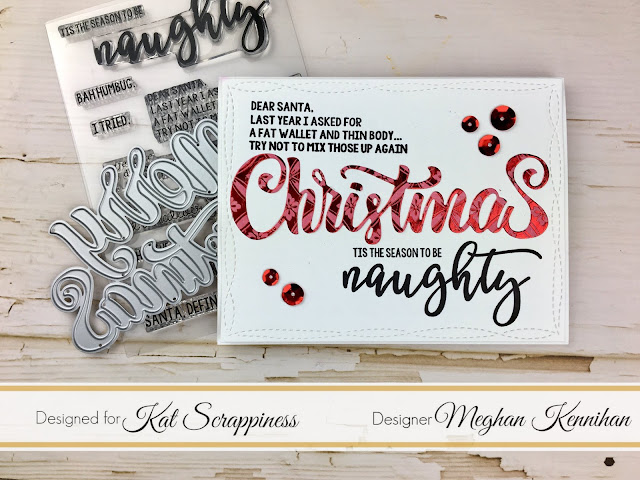
And here is a sample of this die in action:
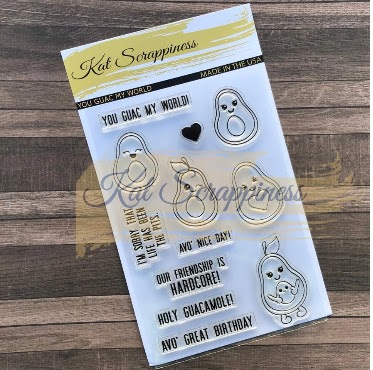
Meghan’s second choice is the Kat Scrappiness You Guac My World Stamp Set
Here is a sample of a project made with this stamp set.
Here is a project created using this die.
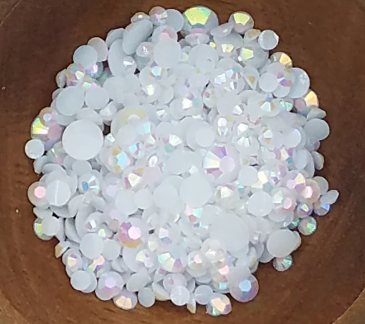
Caren’s second choice was the Kat Scrappiness White Jewels.
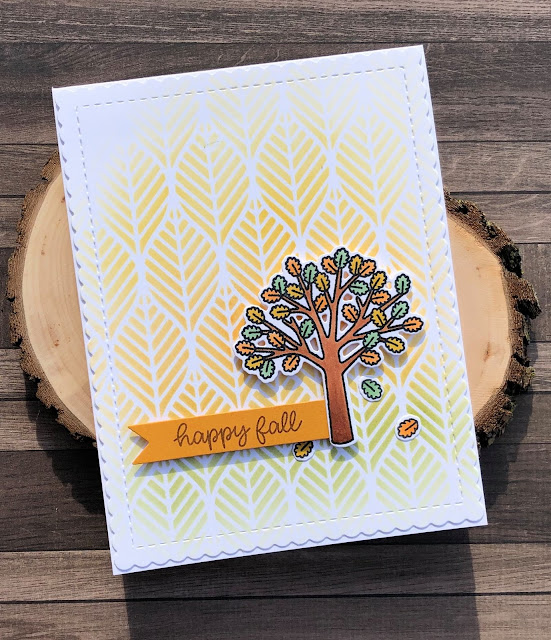
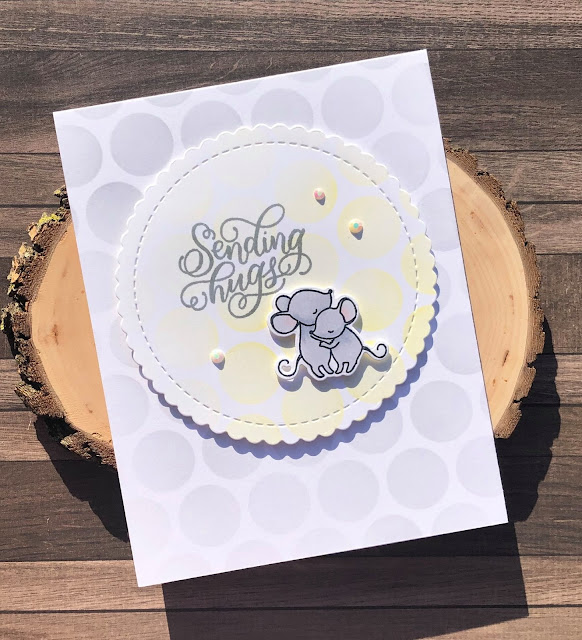
Here is a project using the White Jewels.
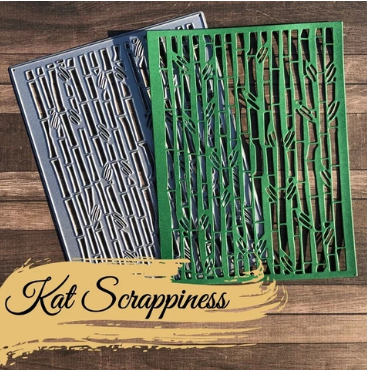
Here is a project using the Bamboo Backdrop Die.
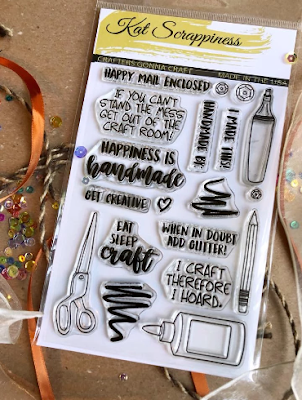
Adam’s second choice is the Kat Scrappiness Crafter’s Gonna Craft Stamp Set.
Here is a sample project that was made using this stamp set.
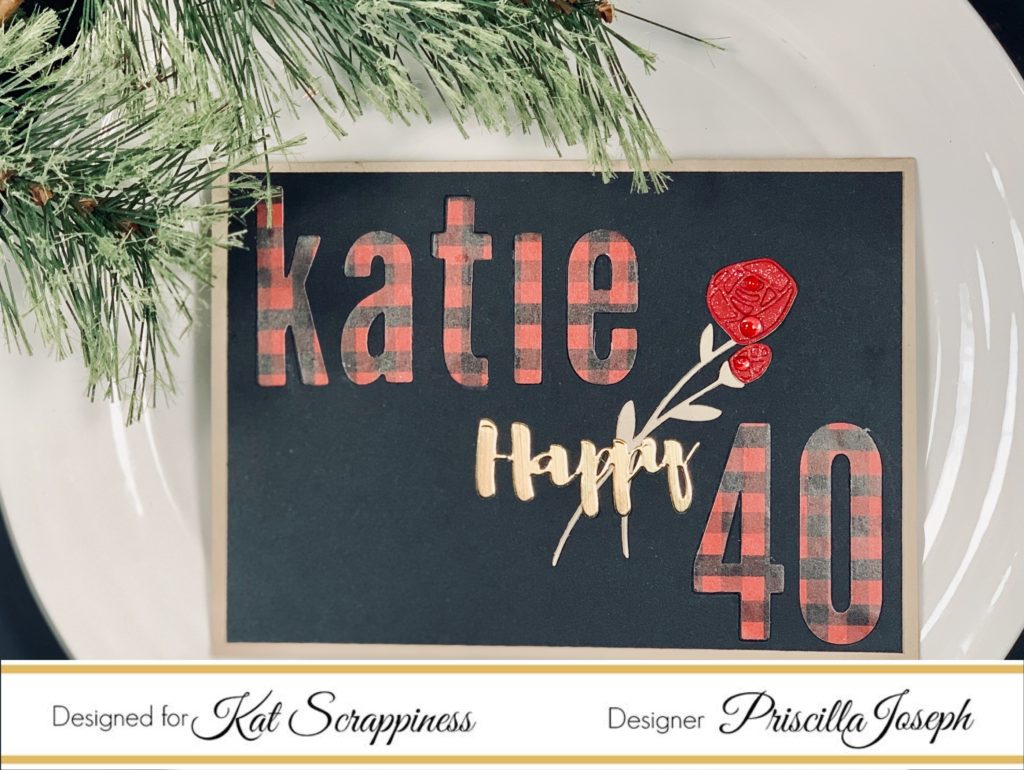
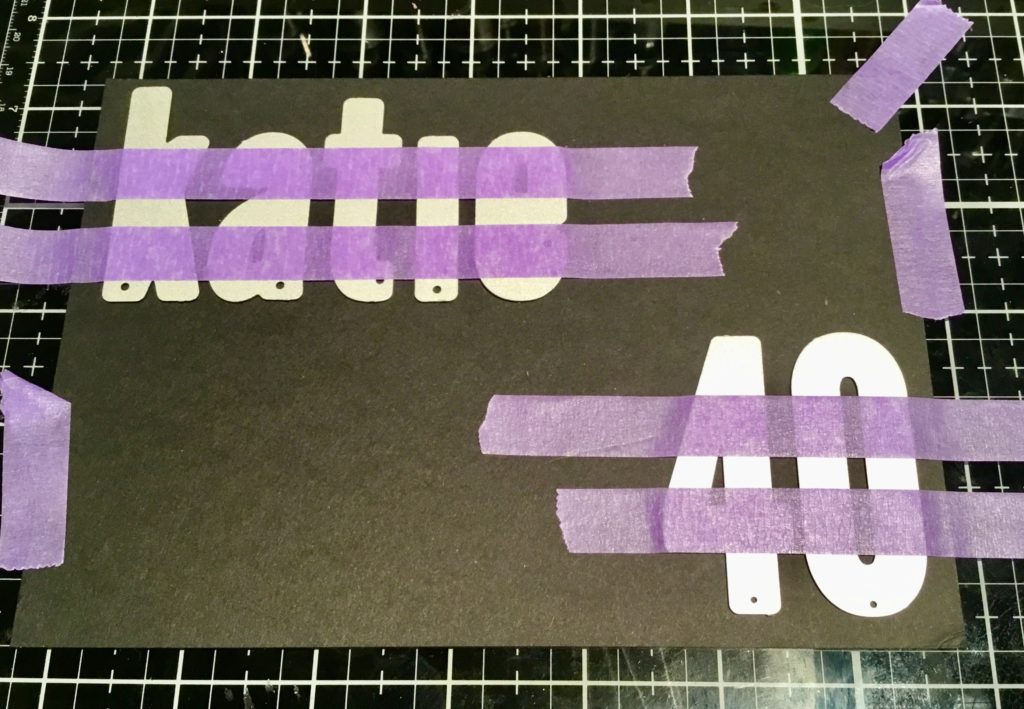
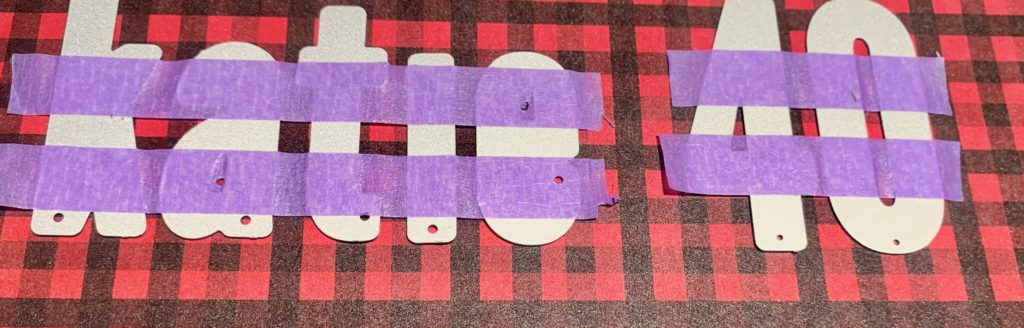
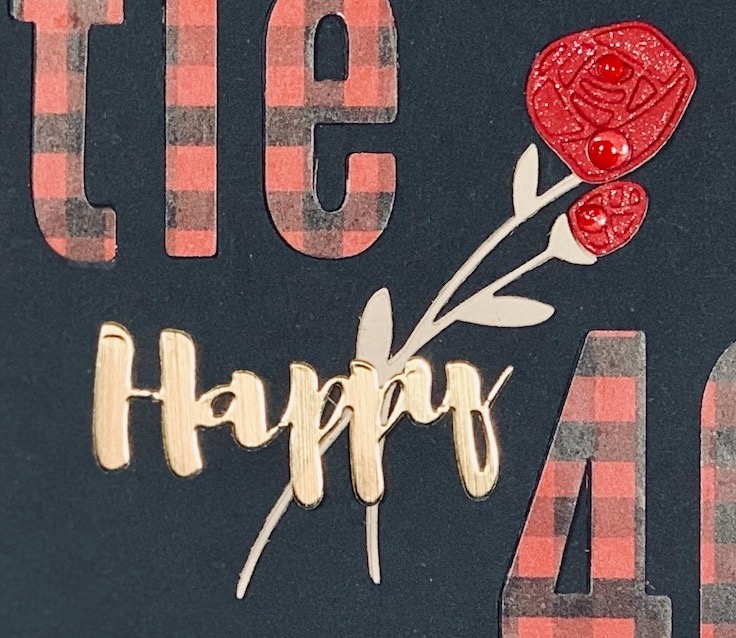
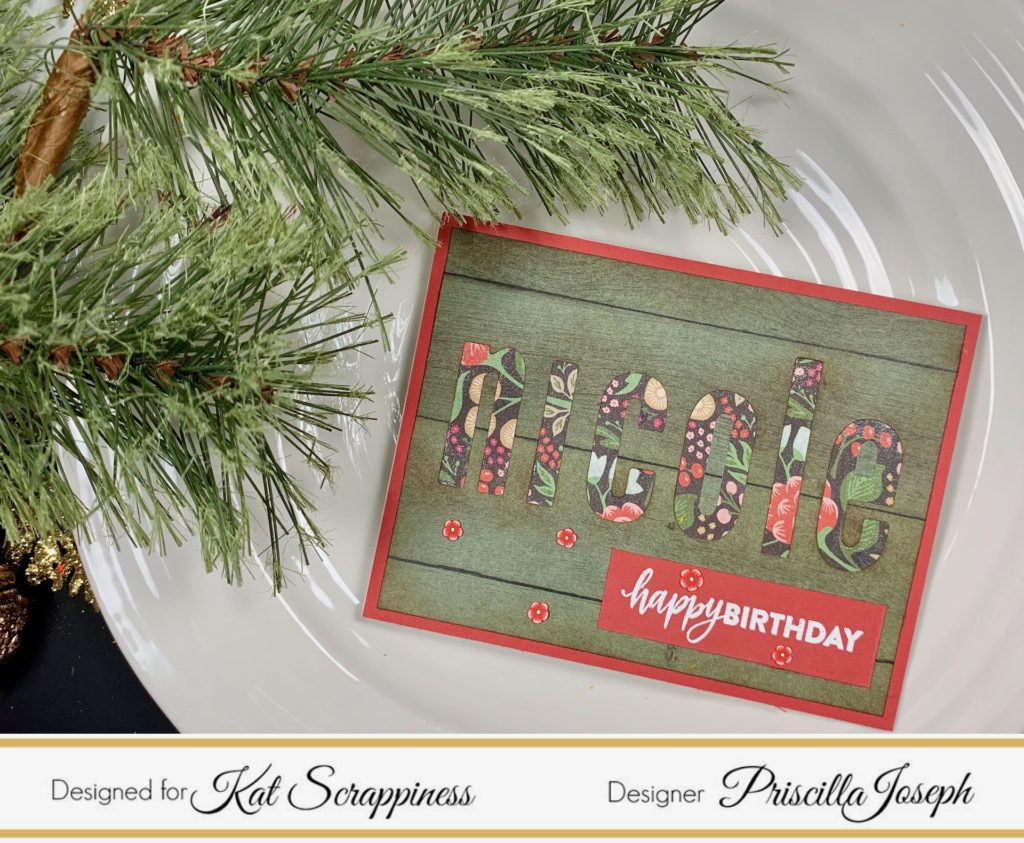
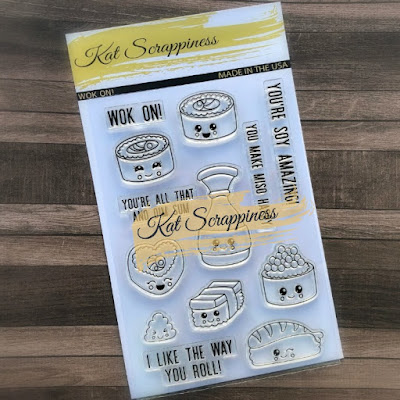
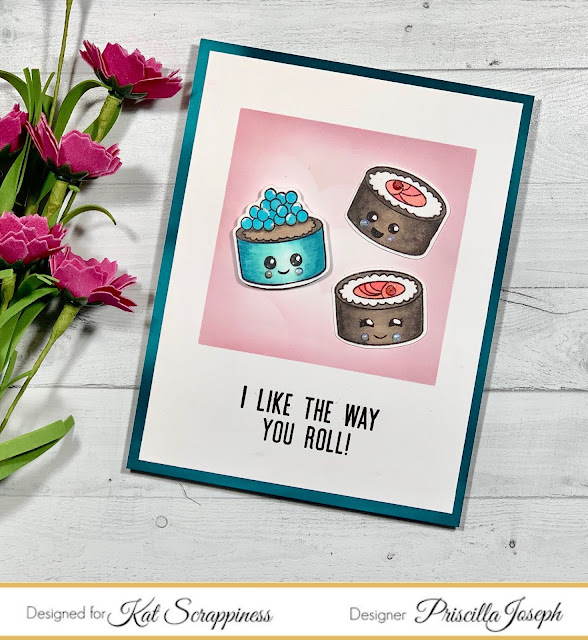
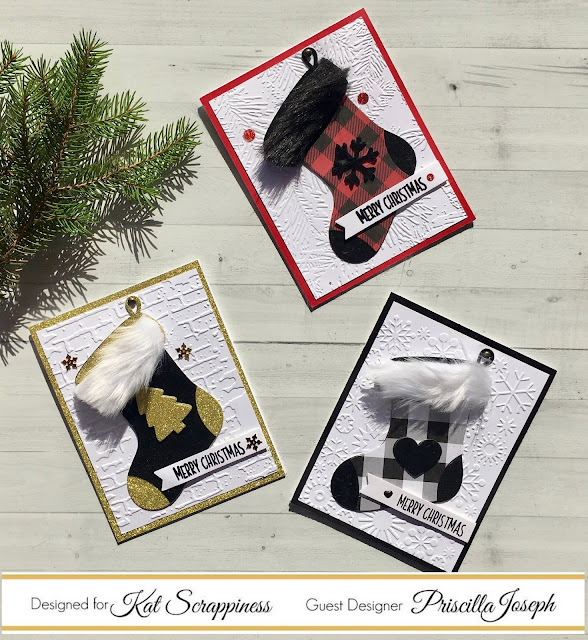
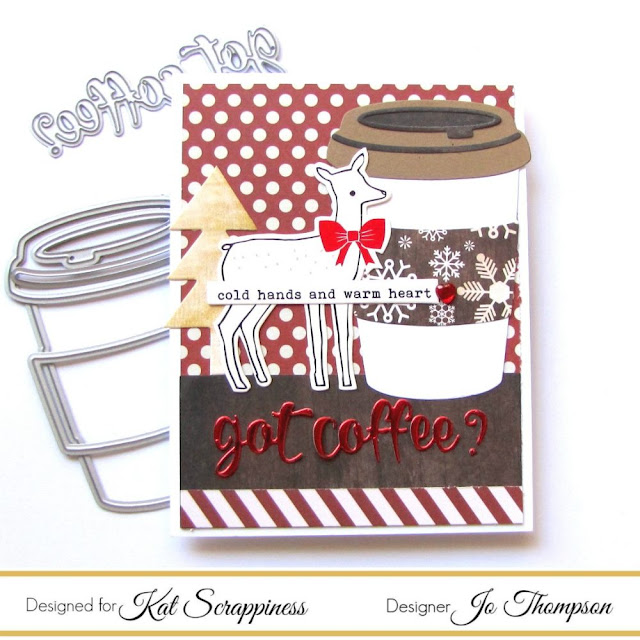
Priscilla Joseph’s Top Recommended Products include the Kat Scrappiness Wok On Stamp Set.
Here is a project using this stamp set.
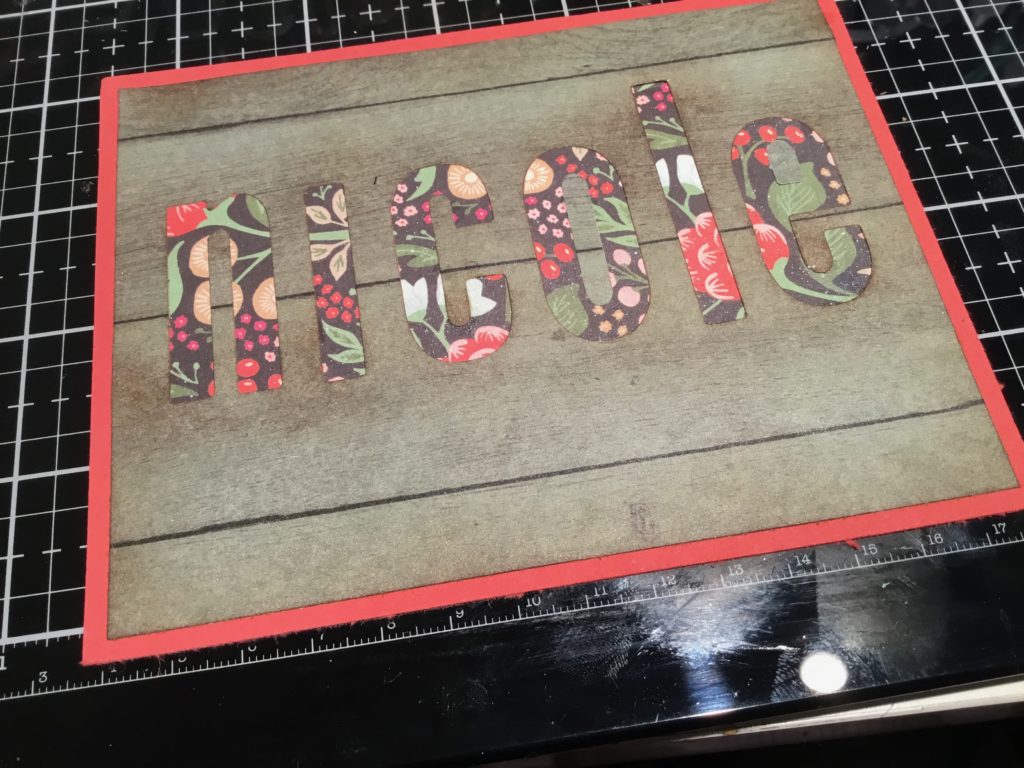
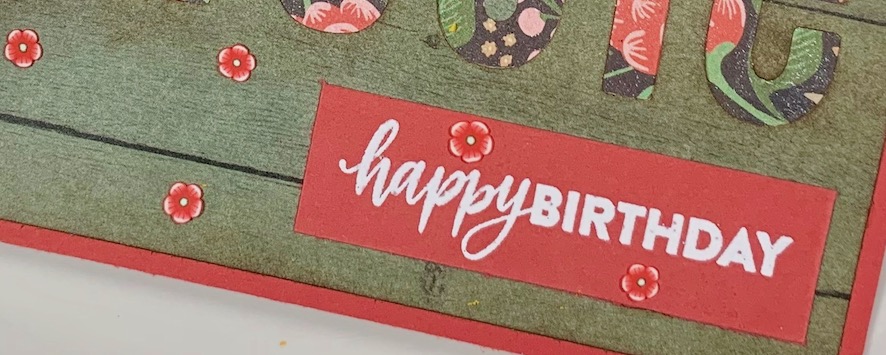
Here are a few cards she made using this die set.
Here is a beautiful shaker card she made using these dies.
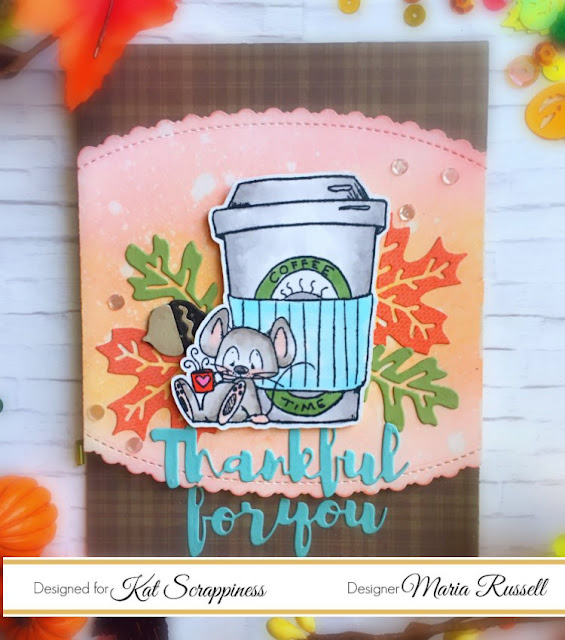
Here is a warm and cozy card she made using that die set.
Below is a clever and creative way she used this die to make the following card.
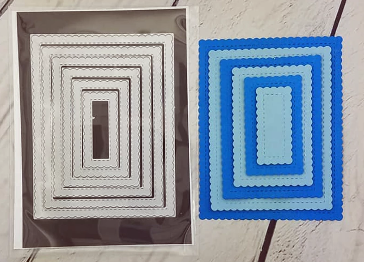
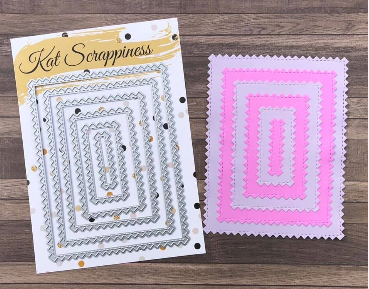
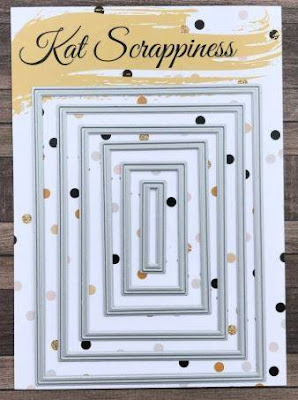
Martha’s second choice is the Kat Scrappiness Zig Zag Stitched Rectangle Dies.
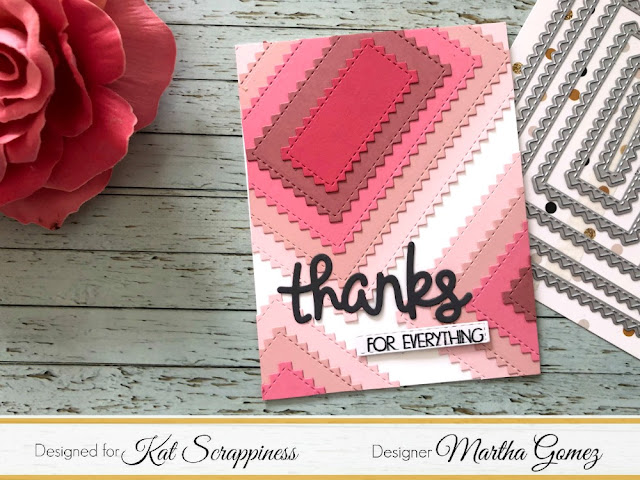
Again, a very creative and unique way to use these dies!
These cards are a great way to show off those border dies.
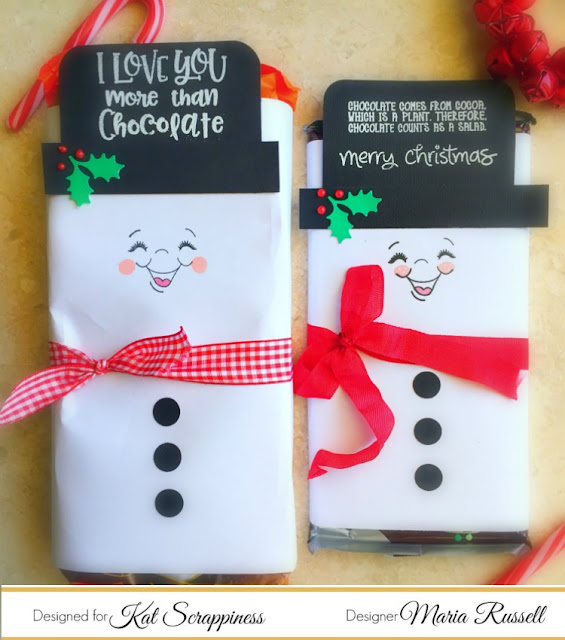
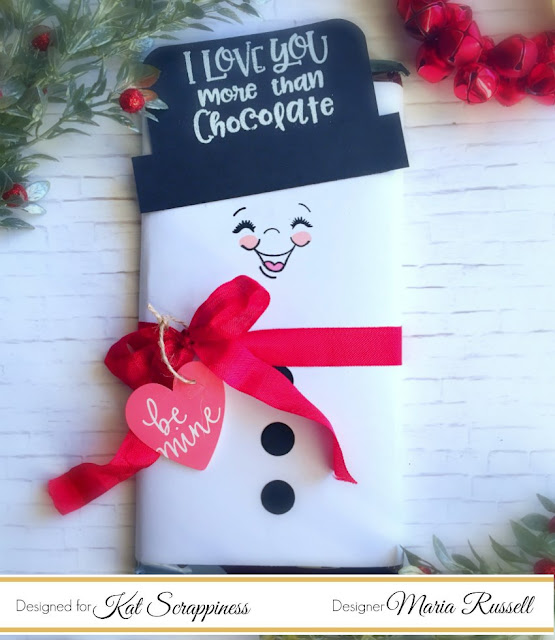
Maria’s second favorite Kat Scrappiness product is the Layered Chocolate Bar 6″x8″ Stamp Set.
Here is a sweet card made using this stamp set:
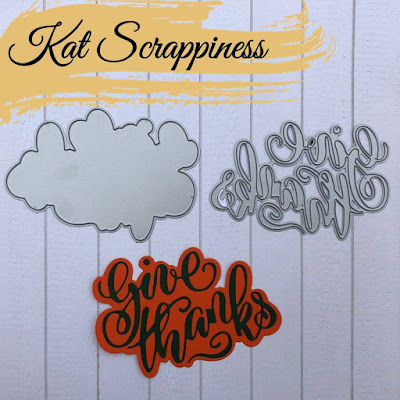
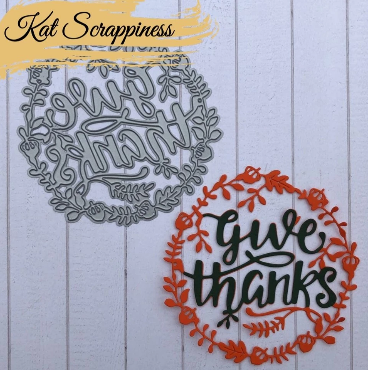
Dawn Soto’s Favorites begin with the Kat Scrappiness Give Thanks Wreath Die.
Look at all the different ways she used these dies to create these beautiful cards!
Dawn’s Second Favorite Product from Kat Scrappiness is the Woodgrain Framed Diamond Wire Die (which is one of Kat’s faves as well)
This is a fun and creative card that Dawn made using this die.
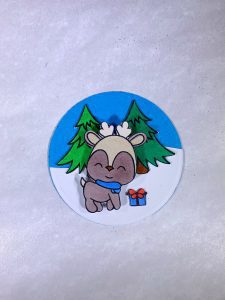
Tina Dornbaum’s Favorite Product for this year’s gift guide is the Kat Scrappiness Hoppy For You Stamp Set.
This is an adorable card that Tina made using this stamp set.
And here is a fun and festive Christmas Card Tina made using this stamp set.
AND LAST but NOT LEAST… OUR AMAZING LEADER AND CEO of Kat Scrappiness!
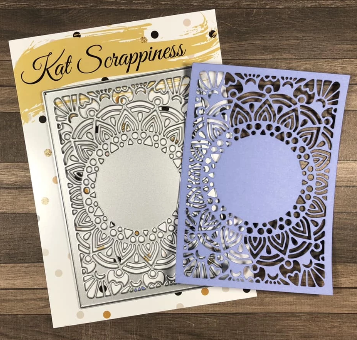
Kat Driggers’ favorite Kat Scrappiness Product is the Embossed Edge Dies. They also come in circles, ovals, squares and hearts!
And here is an example project using this die.
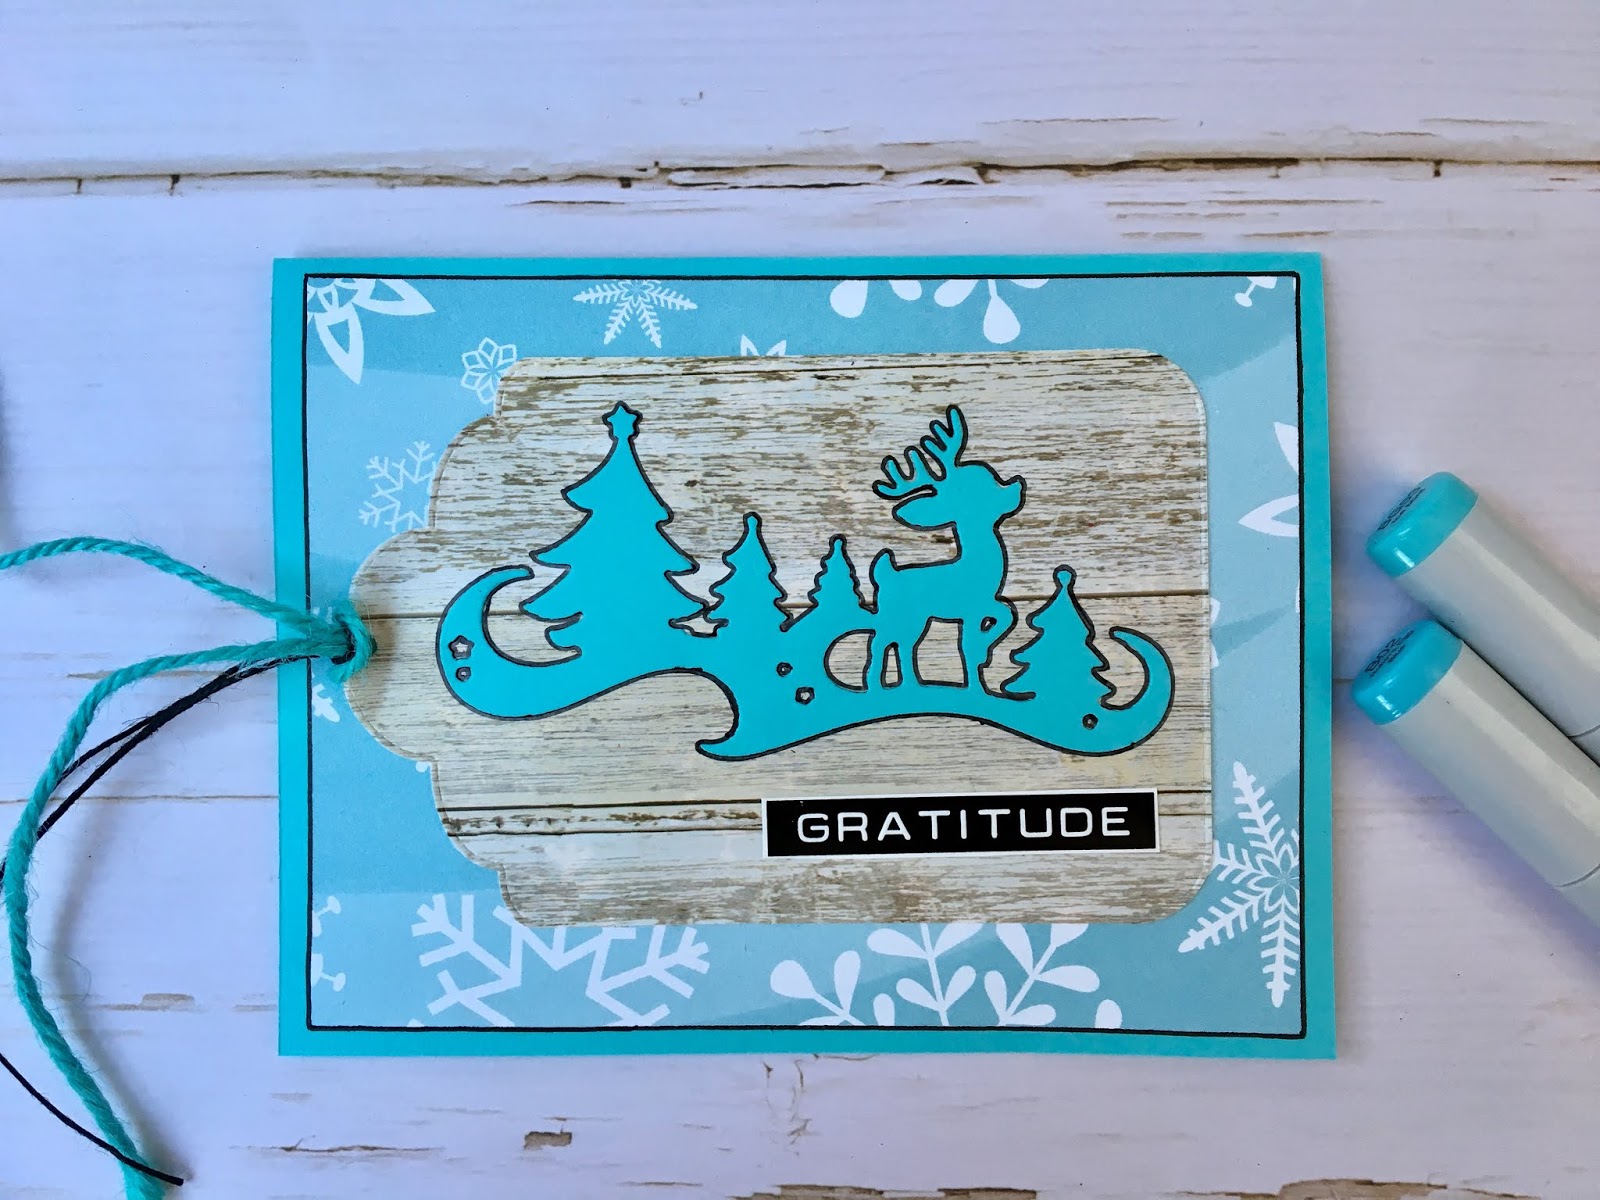
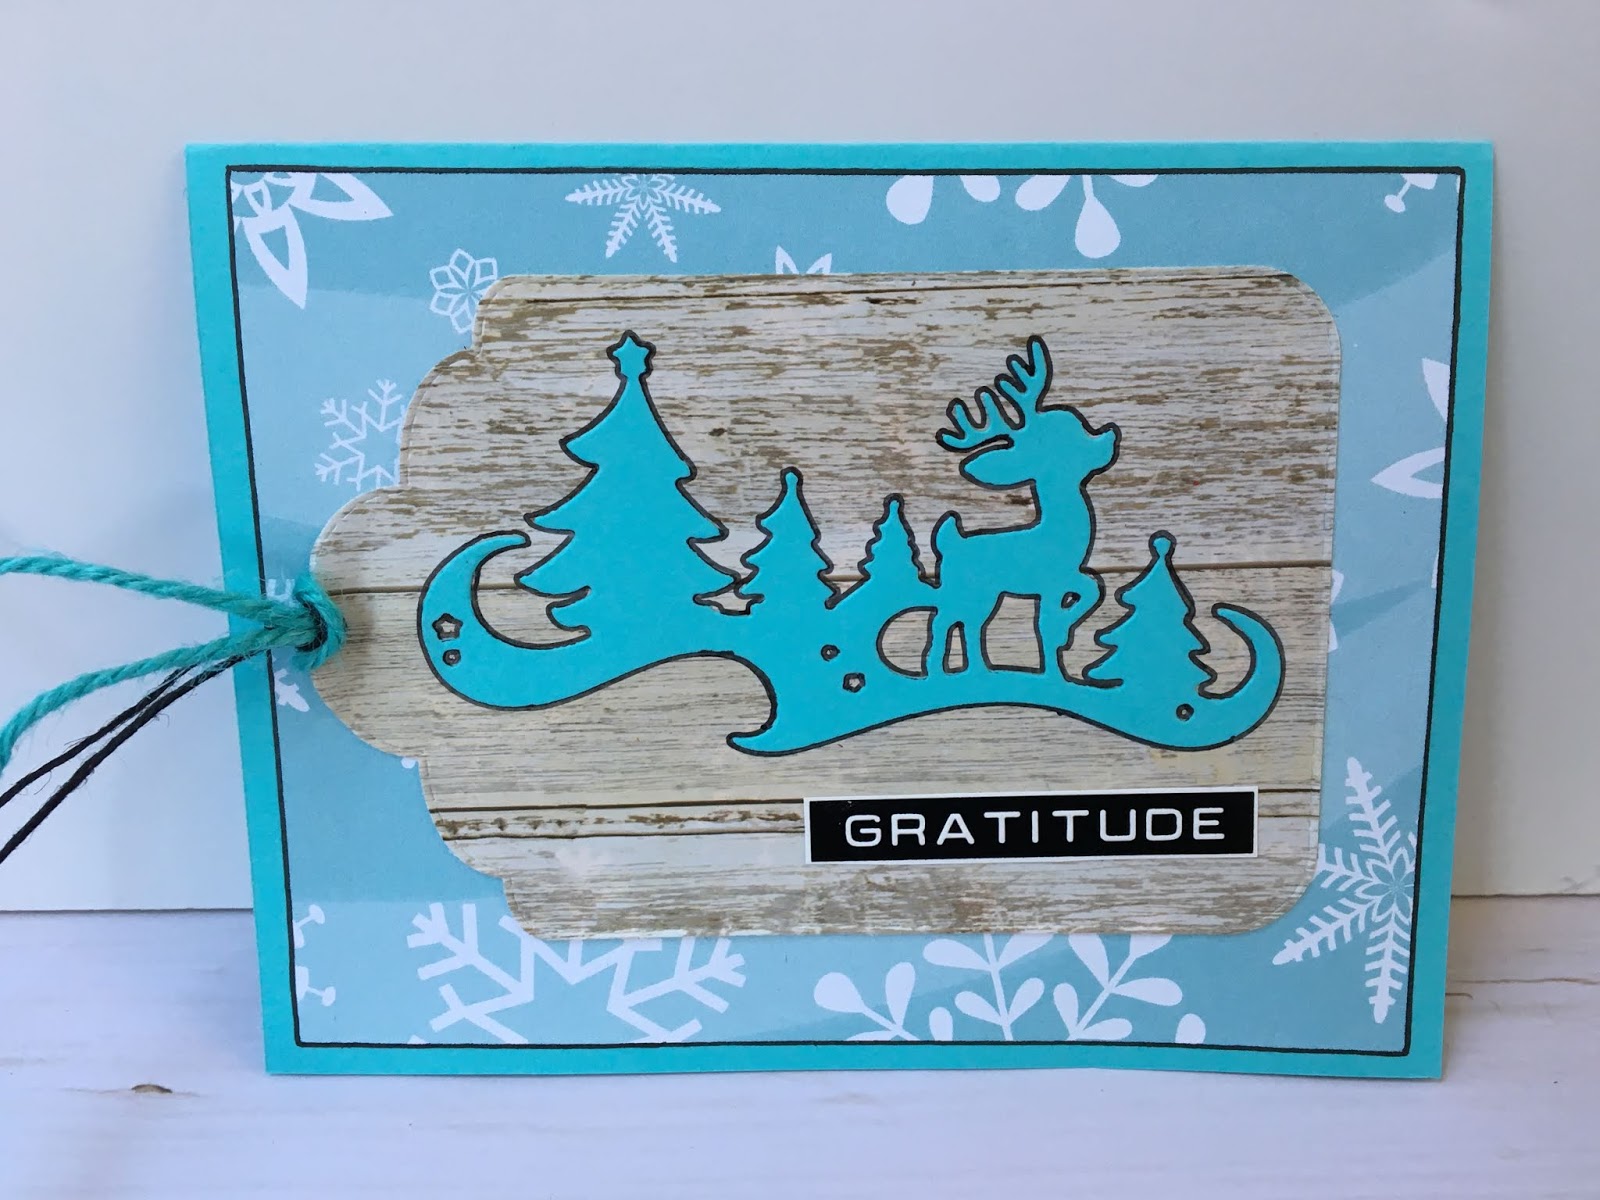
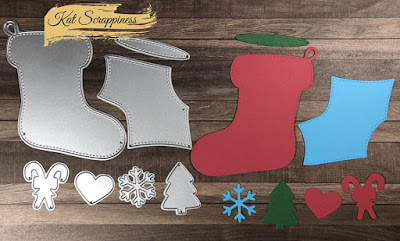
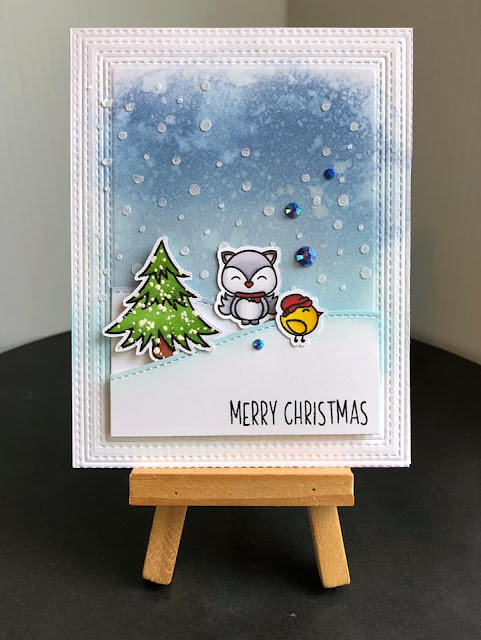
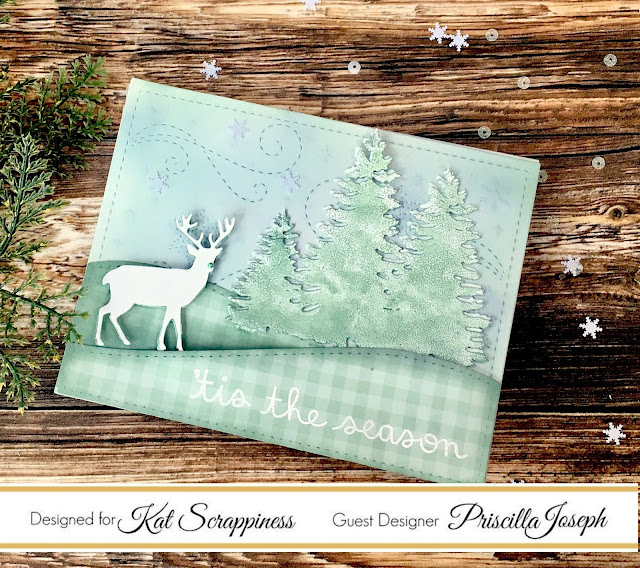
Kat’s Second Favorite Kat Scrappiness product is the Crafter’s Essentials Winter Dies.
And here is just one example of how you can use the many dies in this die set.
That’s it for our Design Team Recommended Shopping Guide for this year. Kat Scrappiness has over 660+ exclusive products including stamps, dies, embellishments, shaker card kits, a2 acetate sheets, gift cards and more! Plus we carry many of the other top crafting brands in our store as well. And…
Don’t forget our Holiday Extravaganza begins on the 29th!
- 20% off All items Eligible November 29th- December 3rd (*sale excludes Gina Marie Product*)
- Free Gift for all orders over $50
- Free Shipping for all orders over $75
- All orders over $100 will receive a raffle ticket for a drawing on January 8 ,2020 with multiple prizes/winners!