Follow:
    Design Team Projects

    Christmas Stocking

    Hi crafters, is everyone ready for Thanksgiving this week?  I’m just having a small get together with my family.

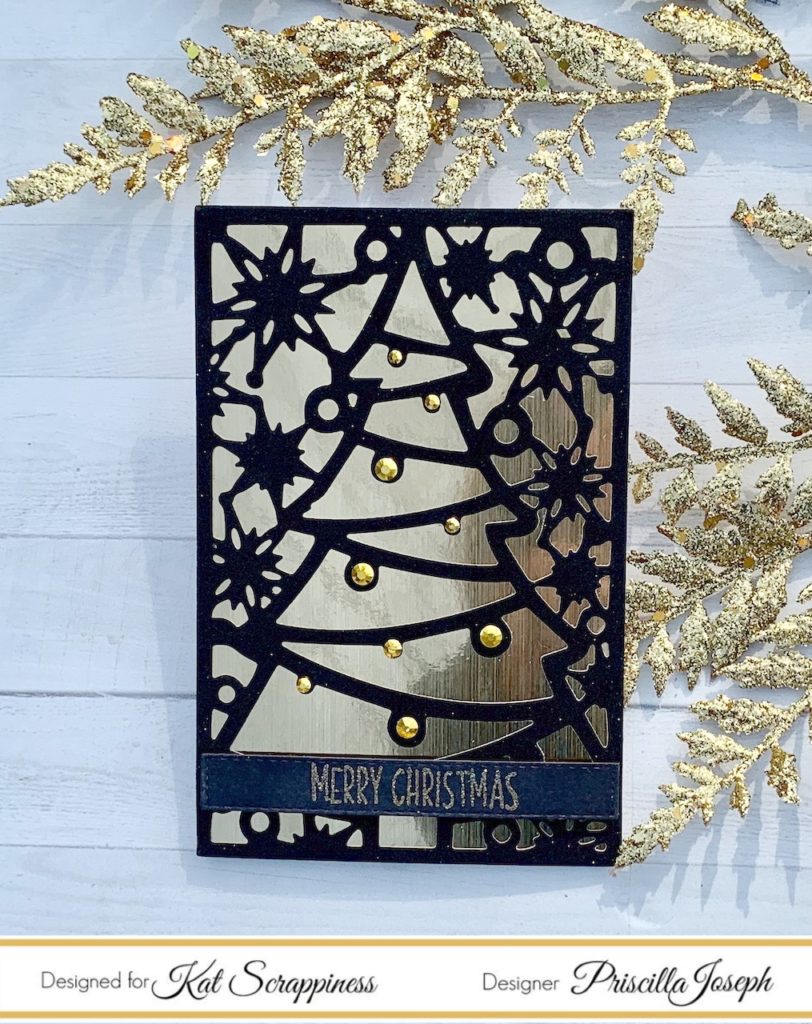
    For today, I have a card using the Build a Stocking die set.  This is such a fun and versatile die set.

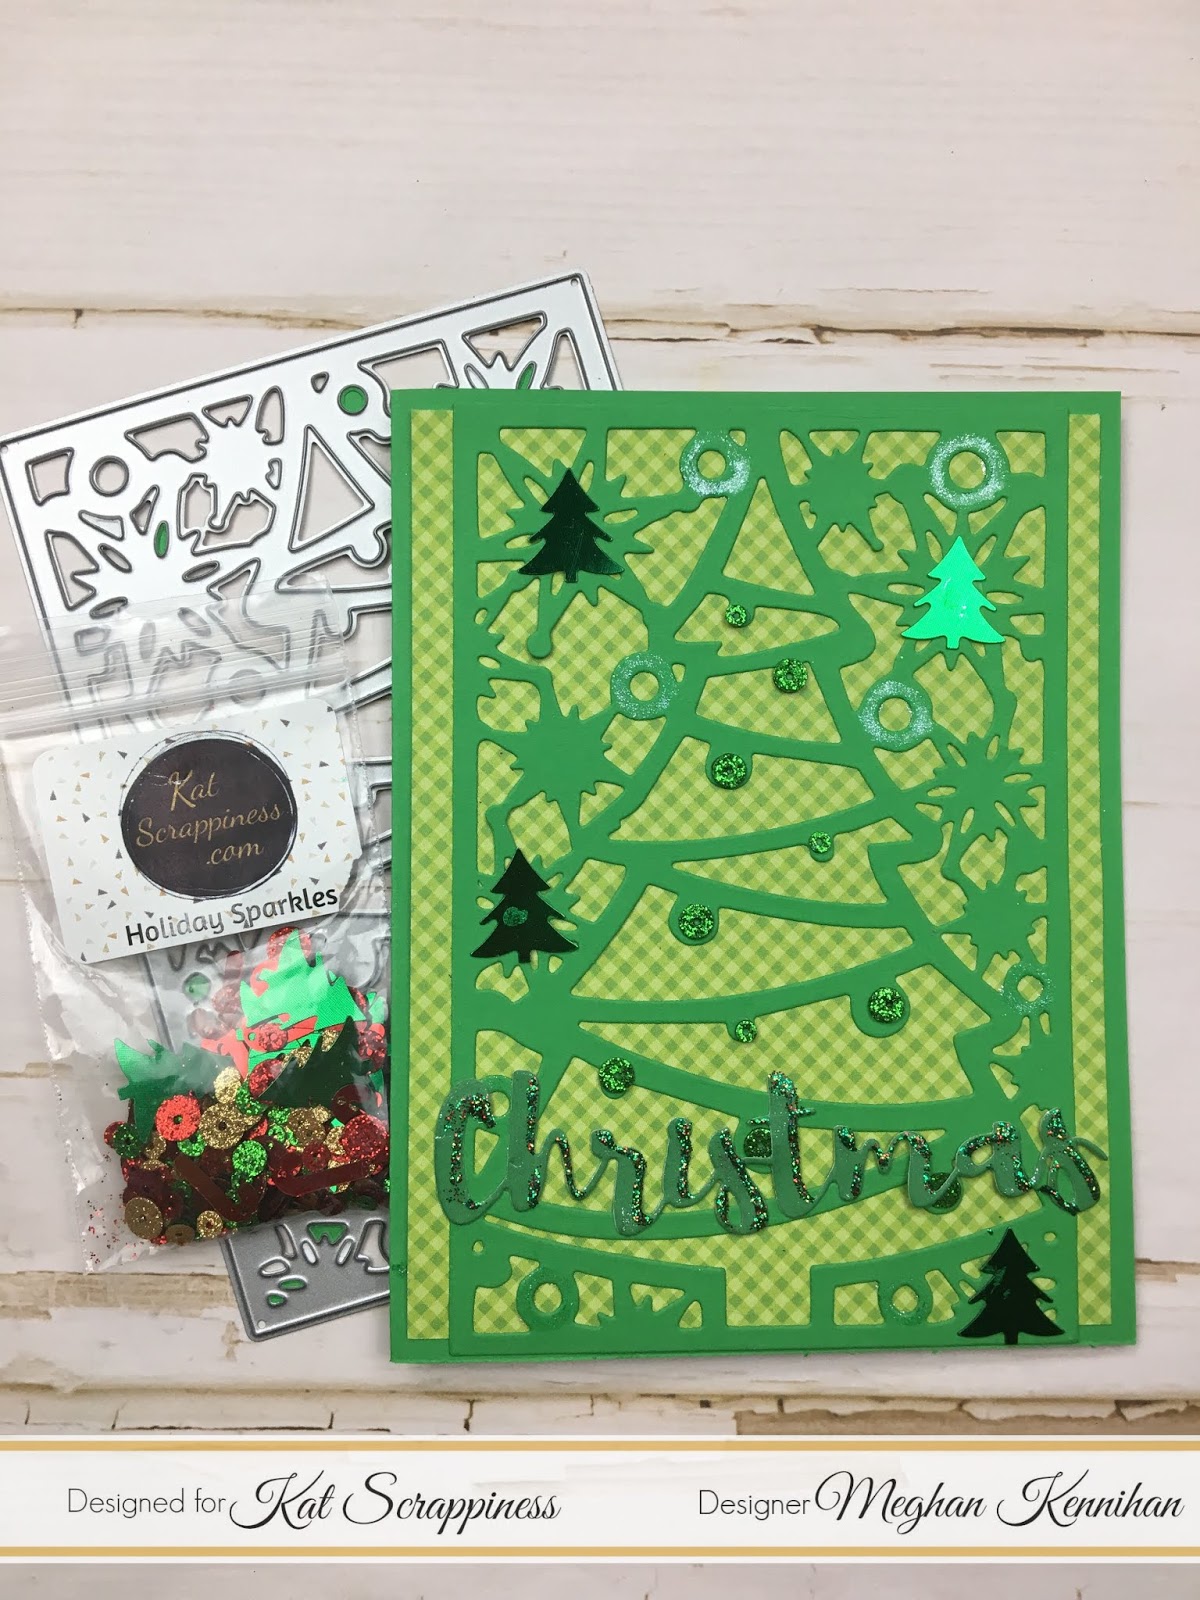
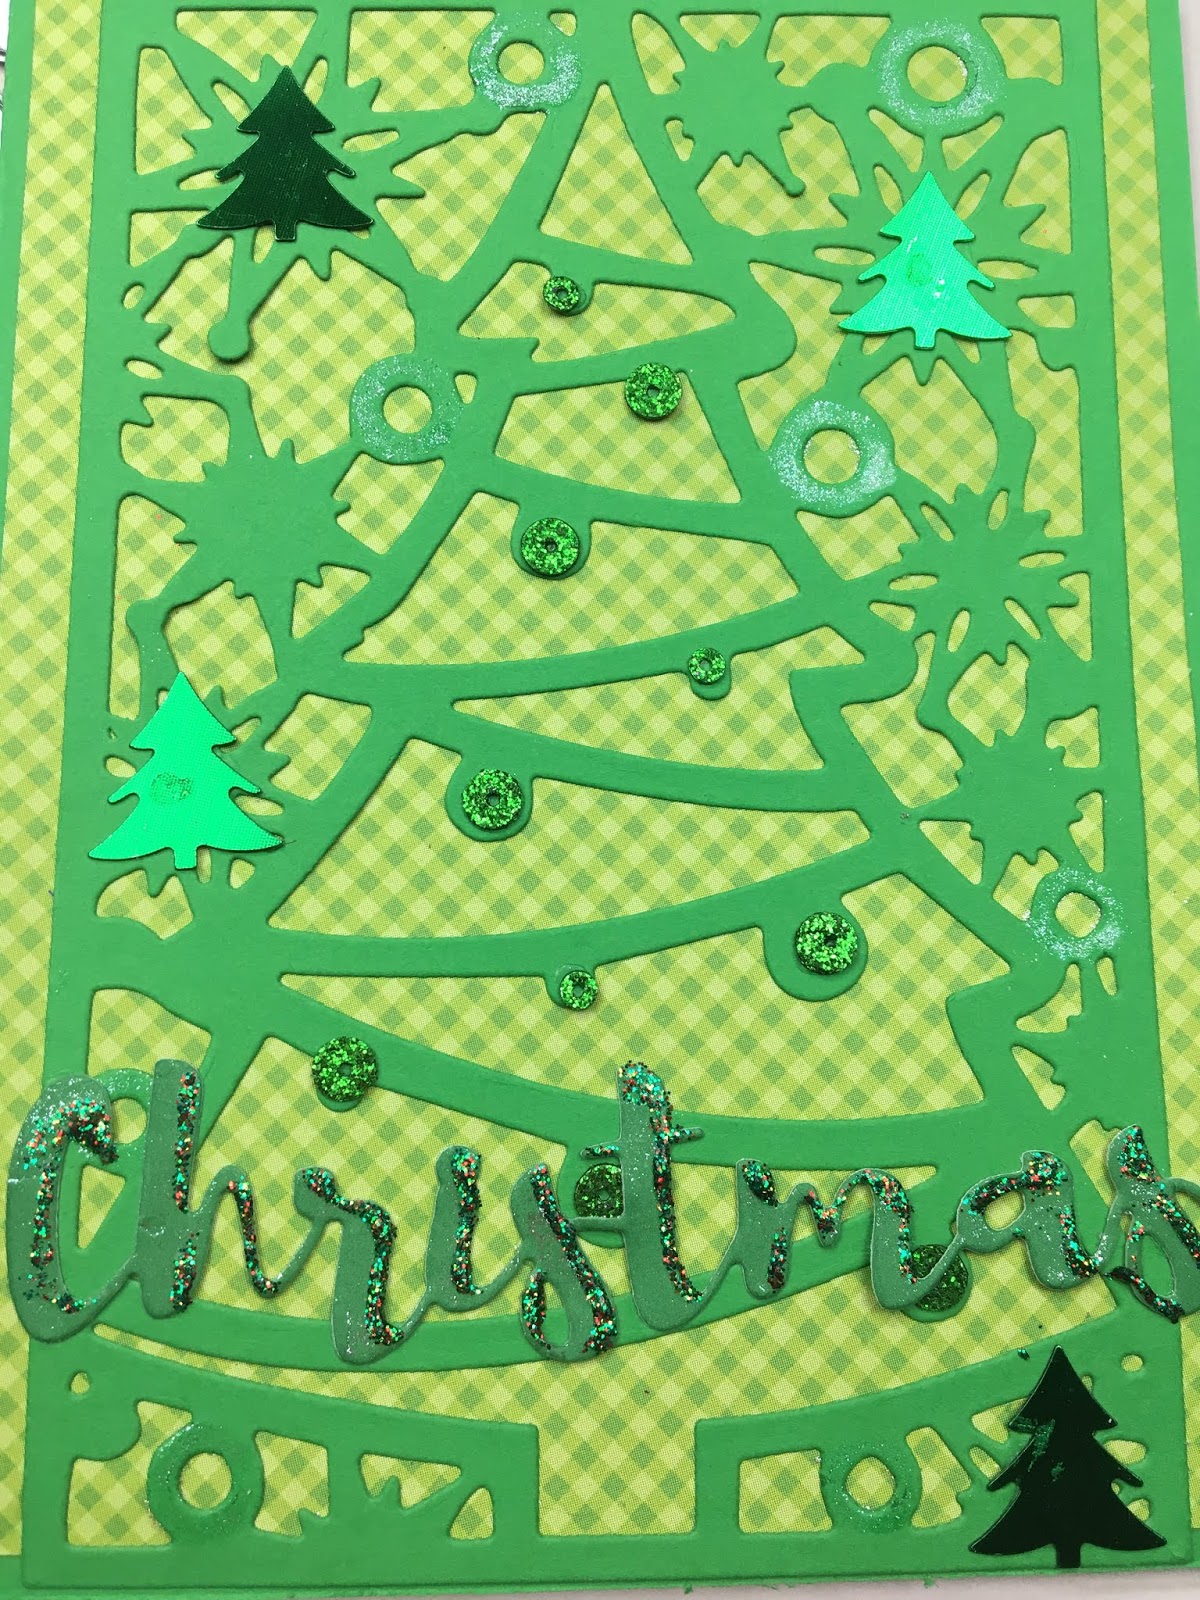
    I started by die cutting the pieces of the stocking – red card stock for the stocking, chevron pattern paper for the body of the stocking, blue glitter card stock for the opening of the stocking, and white glitter paper for the snowflake.  After putting the stocking together, I added sequins from the Retro Christmas sequin mix to the stocking.  I added glitter on the edges by using a glue pen and loose glitter.

    I used the largest Cross Stitched Rectangle die to cut out a rectangle from white card stock.  I used a snowflake stencil and mermaid lagoon distress ink to create the inked background.  I used more ink at the top of the card then gradually faded the ink toward the bottom.

    I stamped Merry Christmas from the Merry Critters stamp set on the inked panel, adhered it to my card base, and attached my stocking using foam adhesive.

    – – –– – –– – –– – –– – –– – –– – –– – –– – –– – –– – –– – –– – –– – –– – –– – –– – –– – –– – –– – –– – –– –

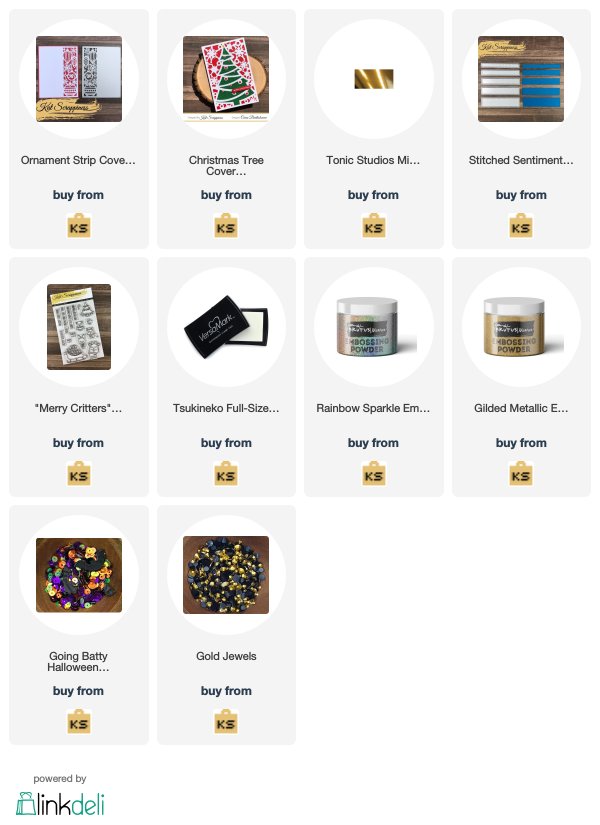
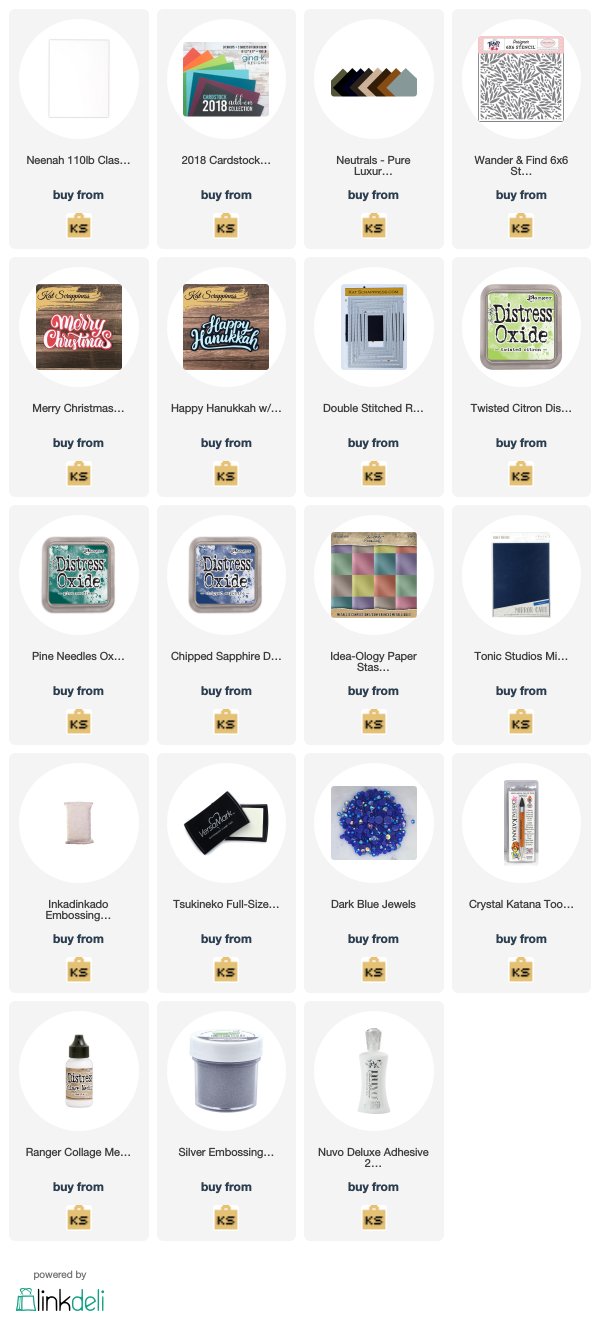
    Thanks for stopping by and happy stamping!  Here is a link to the Kat Scrappiness shop and direct links for products I used on these cards are below.  Stay tuned later this week for an awesome (early) Black Friday sale!

    – – – SUPPLIES for today’s project– – – – – – – – – – – – – – – – – – – – – – – – – – – – – – – – – – – – – – –

    Design Team Projects

    Ornament Gate Fold Card

    Hey crafters, are you ready to start making Christmas cards? I have a beautiful yet simple card to share today. This is perfect for assembly line card creating. It just requires the Kat Scrappiness Ornament Strip Cover Plate Die and a Christmas sentiment.

    I started by die cutting only the ornament portion of the die out of gold glitter paper. Need two per card so cut as many as you will need. Next cut two red rectangles equal to the size of a card front. Adhere the ornament die cuts to the red paper.

    Using white card stock cut 5 1/2 “ x 8 1/2” piece. Score and fold at 2 1/8” and 6 3/8”. This creates the gate fold card base. The decorated panels are adhered to the front two folds.

    Next the belly band is created by cutting a strip of red card stock 1/2” x 9”.  The sentiment is embossed in gold (Brutus Monroe gilded Embossing Powder) in the center. Fold the strip to fit around the card and glue the band ends together.

    I added a pearl to each side of the sentiment band and my card was complete.  Now repeat all steps as many times as cards you want to make. What a quick and pretty card to send out this holiday season.

    Supply List:

    Kat Scrappiness Ornament Strip Cover Plate Die

    Brutus Monroe Gilded Embossing Powder

    Design Team Projects

    Delicate Christmas Cover Plates By Meghan Kennihan

    Hi Crafty Friends,

    Kat Scrappiness has some BEAUTIFUL detailed Cover Plates for all your Christmas Creations! They are stunning! Here are a few samples of the gorgeous cards you can create with them!

    Make Crafty Friends Q & A:

    Q: What is your favorite Christmas Song?

    A: Me? Carol of the Bells by the Nylons

    First up, is the stunning Christmas Tree Coverplate:

    Next, is this beautiful Ornament Strip Coverplate:

    Please use the links below to grab your goodies! I would love for you to subscribe to my blog and comment for your chance to win my monthly giveaways and head to my Instagram @MadeByMeghanK for more inspiration and giveaways!

    Supplies:

    Kat Scrappiness Ornament Strip Coverplate

    Kat Scrappiness Christmas Tree Coverplate

    Kat Scrappiness Fuschia Jewels

    Kat Scrappiness Holiday Sparkles Sequin Blend

    Patterned Papers

    Design Team Projects

    Ornament Strip and Happy Hanukkah Dies

    Hello crafty friends, Martha Lucia here with you! Christmas dies are always a good tool to create a lot of cards easily and quick. Today I have two Christmas Dies from Kat Scrappiness to share with you.

    Ornament Strip and Happy Hanukkah Dies


    To create my first card I used a Night of Navy card stock for the base and I created the second layer using the Ornate Strip Cover Plate and Adhesive Glitter Sheets from Tim Holtz. These glitter sheets are wonderful and very soft. They are like a film of glitter and the adhesive works great.

    Ornament Strip and Happy Hanukkah Dies

    To finalize my card, I stamped one of the sentiments included on the stamp set Merry Critters from Kat Scrappiness that I stamped with Memento Paris Dusk.

    If you want to see the more inspiration with the Ornament Strip Cover Plate, just click HERE.

    Ornament Strip and Happy Hanukkah Dies

    My next card is a Hanukkah card created with the new Hanukkah Shadow Word from Kat Scrappines. The font of this die is simply amazing and you can separate it to combine with another sentiments. The base of my card is whisper white and the second layer is metallic silver. I used this layer as mat for the decorated layer. It is velvet paper totally amazing that I got in a Craft Store.

    Ornament Strip and Happy Hanukkah Dies

    I cut several times the Happy Hanukkah Shadow Die using Metallic Silver and stocked all with liquid glue to create a great dimension. After that I pasted the bold word over the right lower side.

    Here you can see another inspiration with the Happy Hanukkah Shadow Die.

    Design Team Projects

    Copper and Gold | Holiday Cards in Metallics

    Hi Everyone, it’s Priscilla here. Today I have two more holiday cards, this time though, glowing in metallic colors – one in copper, one in gold. Let’s get started!


    My first card uses the new Kat Scrappiness “Ornament Strip Cover Plate Die.” This die lends itself to formal and boldly designed cards, for sure!


    I die cut the front of the card using this new Cover Plate die and some black glimmer card stock from my stash. This die cuts “like butter,” by the way, even through a heavy card stock  such as this. I backed the opening with copper metallic card stock. Next I stamped the “Merry Christmas” sentiment from Kat‘s “Merry Critters” stamp set with clear embossing ink onto one of the Kat Scrappiness “Stitched Sentiments Dies” before heat setting it with copper embossing powder. A few of the copper sequins from the “Going Batty” sequin mix were the finishing touch.


    My second cards features the new Kat Scrappiness “Christmas Tree Cover Plate Die” .  This die creates an instant card just by its size!

    I again used some black glimmer card stock from my stash and die cut the front of the card using Kat’s new “Christmas Tree Cover Plate Die . I adhered this Christmas tree die cut over a layer of gold mirror glossy card stock. Similar to my first card, I stamped the “Merry Christmas” sentiment from Kat‘s “Merry Critters” stamp set with clear embossing inkonto one of the Kat Scrappiness “Stitched Sentiments Dies” before heat setting it with gold embossing powder. A few“Gold Jewels” finished this card.

    Thank you so much for stopping by! Don’t forget to check out what’s NEW in Kat’s Shop, and follow my blog and Instagram for more “Kat Scrappiness Amazingness”!

    Priscilla ?❄

    The supplies I used are listed and linked below.

    SUPPLIES

    Design Team Projects

    Large Sentiments On Busy Backgrounds

    Hi Everyone, it’s Tina here. Today I have several cards to share with you using the new large holiday sentiments dies. I get asked frequently what do you do with a busy background. Sometimes I don’t want to cover my background so I add a sentiment that way you still see the gorgeous background. Below you will see examples.

    Card #1

    Card #2

    Card #3

    Card #1

    Step 1 – Trim White Cardstock to 8 1/2″ x 5 1/2″, score at 4 1/4″ and fold in half for a vertical side fold card. (A2)

    Step 2 – Trim White Cardstock to 5 1/2″ x 4 1/4″. Apply Distress Oxide Ink Chipped Sapphire using an ink applicator. Let dry.

    Step 3 – Stamp background image of your choice using Versamark. Sprinkle Silver Embossing Powder, remove the excess. Heat set it with a heat tool.

    Step 4 – Diecut Double Stitched Rectangles using the background from Step 3. Adhere to card using Nuvo Deluxe Adhesive.

    Step 5 – Diecut Happy Hanukkah (White Cardstock for the Shadow and Imperial Blue Mirror Cardstock for the Words) Assemble and adhere to card using Nuvo Deluxe Adhesive.

    Step 6 – Optional – Stamp and colour a Menorah, fussy cut it and adhere to card using Nuvo Deluxe Adhesive.

    Card #2

    Step 1 – Trim Grey Cardstock to 8 1/2″ x 5 1/2″, score at 4 1/4″ and fold in half for a vertical side fold card. (A2)

    Step 2 – Trim Blue Cardstock to 5 1/2″ x 4 1/4″. Use a stencil with Ink to create a background. (I created the Star of David stencil using Corel and converting it to cut on my Scan N Cut – I used Distress Oxide Chipped Sapphire)

    Step 3 – Diecut Double Stitched Rectangles using the background from Step 2. Adhere to card using Nuvo Deluxe Adhesive.

    Step 4 – Diecut Happy Hanukkah (White Cardstock for the Shadow and Blue Cardstock for the Words) Assemble and adhere to card using Nuvo Deluxe Adhesive

    Step 5 – Optional – For some added sparkle randomly adhere Blue Jewels using a Crystal Katana and collage medium.

    Card #3

    Step 1 – Trim White Cardstock to 8 1/2″ x 5 1/2″, score at 4 1/4″ and fold in half for a horizontal side fold card. (A2)

    Step 2 – Trim White Cardstock to 5 1/2″ x 4 1/4″. Place a Holiday Stencil on the cardstock and apply ink. I used Distress Oxide Twisted Citron and Pine Needles.

    Step 3 – Diecut Double Stitched Rectangles using the background from Step 2. Adhere to card using Nuvo Deluxe Adhesive.

    Step 4 – Diecut Merry Christmas (Green Cardstock for the Shadow (or ink on White Cardstock the colours used on the background) and Gold Metallic Cardstock for the Words) Assemble and adhere to card using Nuvo Deluxe Adhesive.

    Below are closeups of all 3 cards.

    This technique works for any occasion. Use your background stamps or stencils with Big Bold sentiments. Below is a link to all the products used. Thank you for stopping by and have a wonderful day.

    Products Used:

    https://linkdeli.com/widget.js?1559654439292

    Design Team Projects

    Happy Holidays with Ornament Strip Cover Plate

    Hi everyone, can you believe that Thanksgiving is next week?  I can’t, and I’m definitely not ready.  I have been working on my Christmas cards though.

    Today, I’m sharing a card using the Ornament Strip Cover Plate die.  This die is so beautiful and detailed.

    I die cut the Ornament Strip Cover Plate die three times from white card stock.  I then trimmed the left side of each strip to the same size of space on the right side.  I then backed each layer with red glitter card stock.  I adhered each one, starting with the middle one, to my A2 sized card base.

    My sentiment is the Happy Holidays die from Kat Scrappiness.  I die cut it three times – one from gold foil card stock and two from white card stock.  I adhered the three layers together.  This gives the sentiment dimension without having to add foam adhesive to the die cut.  I adhered the sentiment to the card using liquid adhesive.

    It really is hard to capture all the shine and shimmer of the card in pictures, but it is!  The Ornament Strip Cover Plate makes it so easy to create beautiful cards.

    Here is a look at the introduction video for this die which shows a couple more cards using this die.  Thanks for stopping by!


    – – – Kat Scrappiness products – – – – – – – – – – – – – – – – – – – – – – – – – – – – – – – – –