
Hi Everyone, it’s Tina here. The Merry Critters Stamp Set along with the new Merry Christmas with Shadow Die is a wonderful combination to create this Holiday card. Below you will find the steps to create your own card.

Step 1 – Trim White Cardstock to 8 1/2″ x 5 1/2″, score at 4 1/4″ and fold in half for a vertical side fold card. (A2)
Step 2 – Trim White Cardstock to 5 1/2″ x 4 1/4″. Apply Distress Oxide Ink Tumbled Glass to the entire panel. Apply Distress Oxide Shabby Shutters to the edges. Add White Acrylic using a waterbrush by tapping the brush to create splatters. Let dry. Adhere to card using Nuvo Deluxe Adhesive.
Step 3 – Diecut Crafters Essentials Winter (the hillside dies) using White Cardstock. Adhere to card using Nuvo Deluxe Adhesive to the bottom diecut and Foam Tape to the top diecut.
Step 4 – Stamp Merry Critters using Gina K Amalgam Ink. Colour in images using color medium of your choice. I used Spectrum Noir Markers. Fussy cut the images and adhere to card using Nuvo Deluxe Adhesive.
Step 5 – Diecut Merry Christmas with Shadow (only using the word Merry) 3 times. The top layer using Metallic Kraft Paper and 2 White Cardstock. Glue the layers together and adhere to card using Nuvo Deluxe Adhesive.
Step 6 – Stamp Christmas sentiment using Versamark onto a scrap piece of coloured cardstock. Sprinkle White Embossing Powder and remove the excess. Heat set it with a heat tool.


I hope you enjoyed this holiday card. You can change it up by changing the colours and the order of the images. Below is a link to all the products useed. Thank you for stopping by and have a wonderful day.
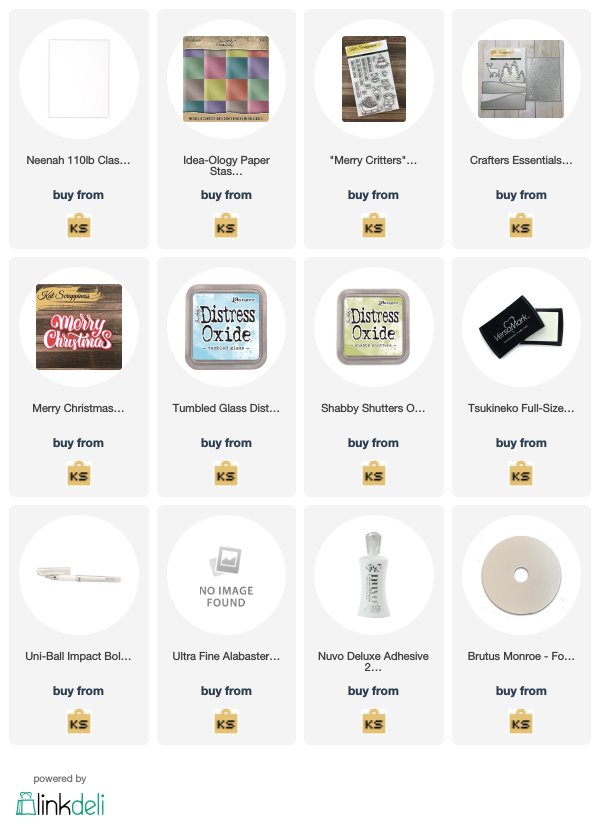
Products Used:
https://linkdeli.com/widget.js?1559654439292


No Comments