
Hello everyone!
It’s Donna Idlet here featuring the NEW A2 Smooches Coverplate Die, Love You Sentiment W/Shadow and Sending My Love Sentiment W/Shadow Dies. I hope you have enjoyed the new release so far and have had a lot of inspiration from the design team.
Here are my cards for your inspiration:
Here is how I created the cards:
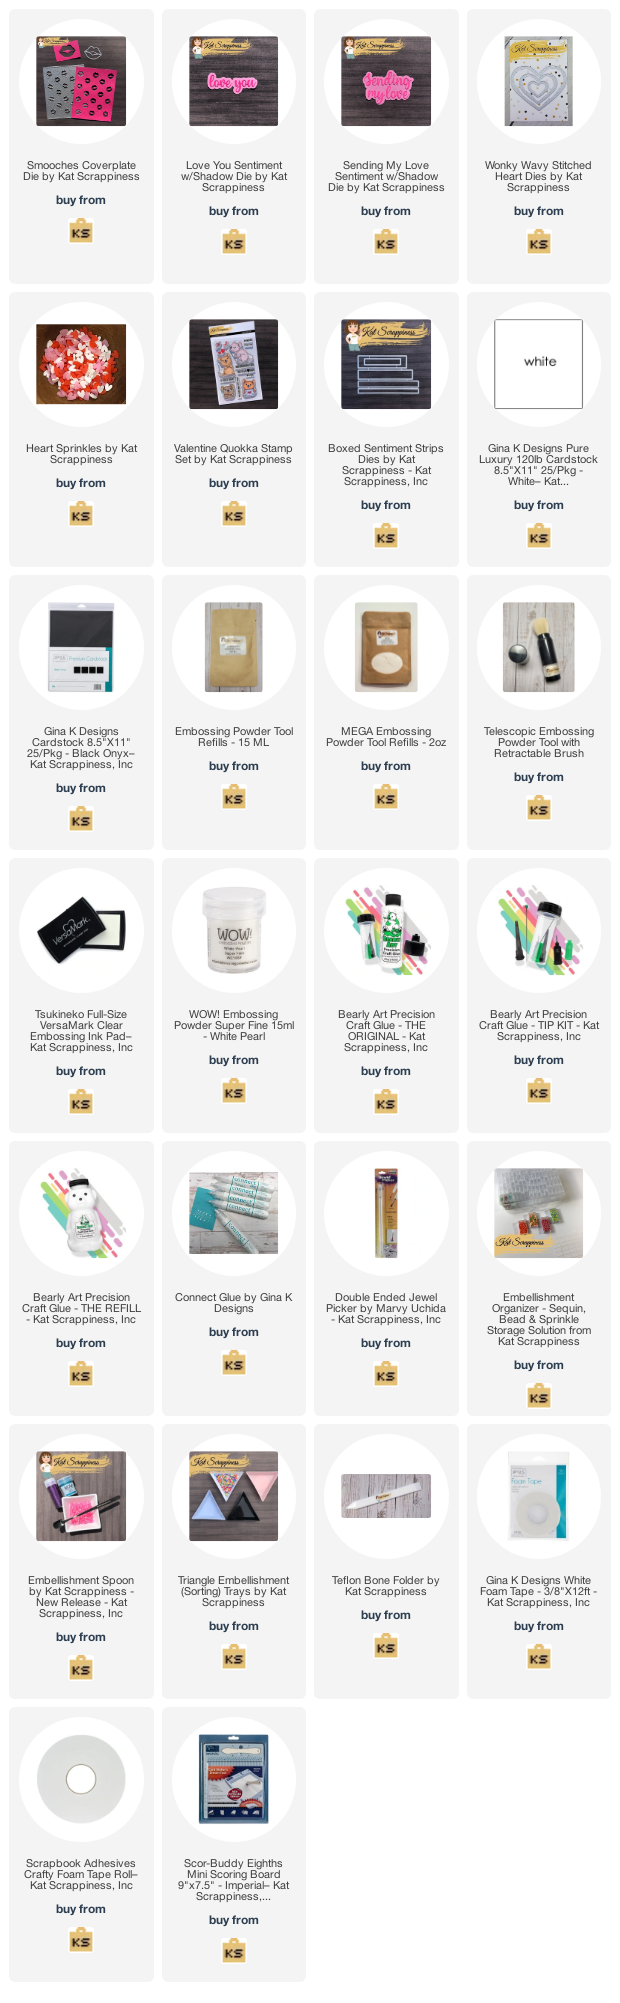
- Cut & Score White A2 Top Fold Card Base: 4 1/4″ x 5 1/5″.
- Die cut the A2 Smooches Coverplate using pink and red cardstock.
- Added double stitched adhesive to each coverplate and inlaid the red lip on the pink coverplate and the red lips on the pink coverplate.
- Die cut Love You Sentiment W/Shadow and Sending My Love Sentiment W/Shadow Dies with black card stock.
- Die cut the shadow from the Love You Sentiment W/Shadow vellum added the Love You sentiment
- Stamp and heat embossed the “MWAH!” from the Valentine Quokka Stamp Set, die cut with KS
Boxed Sentiment Strips Dies.- Die cut KS Wonky Wavy Stitched Heart Dies and Sending My Love Sentiment W/Shadow Die.
- Assembled cards and added some KS heart embellishments.

Thank you so much for stopping by.
Here is a list of supplies I used on my card, Affiliate Links used at no additional cost. Thank you for your support.
- Created a a mini slimline side-folding card base using kraft cardstock. The base measured 7.5″ (scored at 3.75″) x 6.25″.
- Cut a piece of patterned paper from the Heartfelt Wishes Slimline paper pad slightly smaller than the foliage frame.
- Used pink cardstock and adhered a heart from the Wonky Wavy Stitched Heart Die collection to the bottom of the patterned paper.
- Die cut the foliage frame using red cardstock and foam mounted it over the patterned paper.
- Stamped and colored Lola the Giraffe and cut her out using the coordinating die.
- Adhered “Lola” to the bottom of the foliage frame.
- Red heat embossed the coordinating stamp sentiment, “It’s been Sooo Long” and adhered it to the top left corner of the foliage frame.
- Adhered the finished foliage frame to the kraft cardstock card base.
- For a finishing touch, adhered 3 sprinkles from the Lots of Smooches Sprinkles collection to the leaves to the right of “Lola.”
- Cut & Score White A2 Top Fold Card Base: 4 1/4″ x 5 1/5″ (4 1/4″ x 11″, scored at 5 1/2″).
- Cut out A2 Heart Sunburst Cover Plate using White Card Stock for card frame.
- Cut out A2 Heart Sunburst Cover Plate in each of the following colors from the Spectrum of Love Paper Pad ( Red, Orange, Yellow, Green, Blue & Purple). To conserve my paper I cut it just big enough to fit behind the cover plate where I wanted it to cut out.
- Cut out 1 white heart from the Stitched Scallop Heart die set.
- Cut out 1 white heart from the Double Stitched Heart die set.
- Cut out 1 Rainbow Hugs sentiment with black card stock. Optional: cut out multiple to stack for dimension
- Assemble card by first attaching the white A2 Heart Sunburst Cover Plate directly to the card base. You will then inlay all the colored ray pieces in the order you wish. Next you will add the focal heart pieces and sentiment.
- For embellishment I added a few Clear Solid Round Confetti and a red heart from the XOXO Sprinkes.
- I cut out the background using the Stitched Hearts Coverplate die on some watercolor paper. Then using some Distress ink, I watercolored the watercolor paper with ink and water using a water brush. I stamped some ink on my glass media mat and used the water in my water brush to color the paper. I then added some white splatter.
- I then cut out the heart using one of the hearts from the Hearts of Love Shaker dies and 110lb Neenah cardstock three times and glued them on top of each other to add dimension. I then added some Glossy Accents to make the heart shiny.
- I then cut out the sentiment strip using the Kat Scrappiness Sentiment Strip dies and heat embossed the Happy Valentine’s Day from the Quokka Valentines Stamp Set with white embossing powder after I inked the sentiment strip with some Distress Ink.
- I then glued the white heart onto the card panel using Bearly Art Glue and then glued the sentiment on top of the white heart.
- After adding some Frosted Grape Pearl Mix embellishments, I glued the card panel onto a card base.


Hi, everyone! I am Nicki from the design team and I am here to share this fun card with you. This card uses inlaid die cutting as its main technique so make sure to check out my video for tips on this technique.
First, I am going to use the die to emboss an image. Then, I will use this as a pattern to put the puzzle together.

Next, I die cut the image and labeled all the pieces so it would be easier to get everything back together. After I had the pieces labeled, it was time to ink blend my rainbow.


Once the ink blending was finished, I just need to put the puzzle back together. After I had it lined up and put back together, I took the corresponding pearls and added 3 to each section. Make sure to check out the video for all the details. If you are going shopping today, please click through the link below to help support me. These links do not cost you anything. Thanks so much!

Happy Tuesday Everyone! Priscilla here from the Kat Scrappiness Design Team. Today I am sharing a a mini slimline Valentine card, perfect to send to a friend you’ve haven’t seen in a while. I love the card’s play on words, “It’s Been Sooo Long.” with an adorable giraffe image. LOL!

I used the just-released Kat Scrappiness Mini Slimline Foliage Frame Die and an older Kat Scrappiness stamp set and coordinating die called “Lola the Giraffe.”

This new foliage frame die is similar to Kat’s original A2 Foliage Frame Die, but designed especially to fit mini slimline cards. It measures approximately 3.5″ x 6,” which will leave a uniform and perfect border around the die cut. Note: This frame also comes in a regular slimline size and a 5×7 size. All 4 sizes are linked at the end of this blog post.
Card Details:

Thank you so much for stopping by! Don’t forget to check out what’s NEW in Kat’s Shop, and follow my blog, Instagram, and Facebook for more “Kat Scrappiness Amazingness”!
Stay Safe . . .
Priscilla 🦒
The supplies I used are listed and linked below. I would be so grateful if you use these affiliate links to grab your Kat Scrappiness Goodies! No extra cost to you!
Challenges & Hops, Giveaways, New Releases, WINNER
KATSCRAPPINESS VALENTINES RELEASE COMMENT WINNNER!!!

Hello Kat Scrappiness fans! The winner of the WIN the DIES, STAMP SET AND PAPER PAD FROM THIS RELEASE has been picked through Random.Org. We’ve collected all the comments (62 OF THEM) and Random.Org picked comment # 4. Thank you all for taking the time to leave a comment. We love getting your feedback. If you didn’t win this time, come back soon for another Giveaway when we showcase our next Release!


Congratulations NADINE BONTATIBUS!!!
Please claim your prize within 48 hours and send an email to: winners@katscrappiness.com. Have a wonderful day!
Hello Friends Waleska Galindo here with my first post for this 2022, I hope you had a great end of the year and you are ready for a New Year full of Crafy Time and awesome new products from Kat Scrappines. Today I wanted to share with you a card I did using the new A2 Postcard die!

Card Details:
I started by creating the background by cutting strips of red and blue cardstock. I adhered this strips to a white cardbase to make them look like an envelope pattern. I then cut the A2 Postage die from white cardstok, I love this new die there are so many things you can do with this cute postcard.

I then cut the Happy Mail Giftcard holder from the same colors of cardstock I used on the background, bacause of the size of this mailbox die I had to cut a little of the down part, at the end looks awesome. I also put some sold on this mailbox with gold cardstock.

I finally cut some envelopes from the Mini Slimline happy mail envelope die and adhere them around this adorable post card. I also added some text from the Say it with hearts stamps and I also added some hearts herea and there! I love how this card turned out! check the newest Valentine Release for Kat Scrappines here! I hope you like my card today and feel inspired to start creating your love cards!
Waleska
Sheri here today with a a FUN card featuring the NEW A2 Heart Sunburst Cover Plate and Rainbow Hugs Sentiment w/Shadow die from the January 2022 Valentine’s Release!
I don’t know about you but I LOVE all things RAINBOW!! They just make everything HAPPY!!

Steps to Create Card:
Here’s a list of the supplies I used from the store.
Affiliate Links used at no additional cost to you. Thank You so much for your support!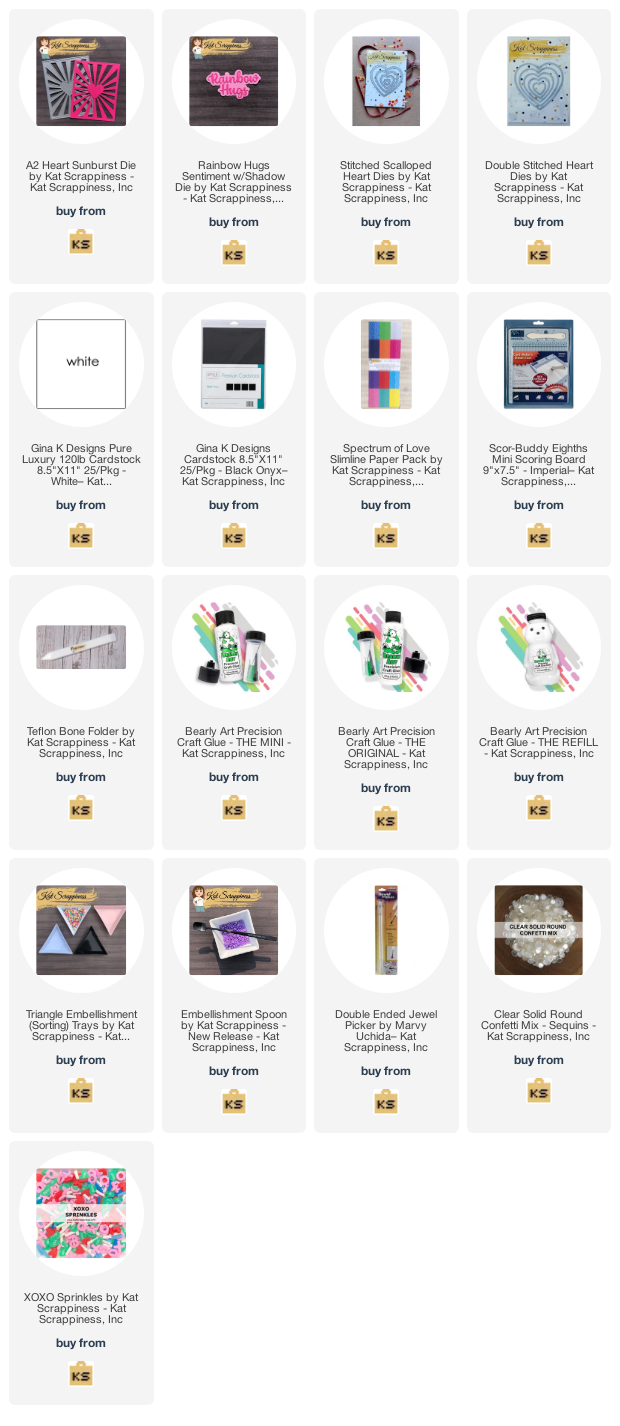


Happy Stamping!!


Happy Saturday crafty friends!!! Sammi here to show you a fun card for Valentine’s Day using the NEW Stitched Hearts Coverplate Die from the new Valentine’s Day release. If you have not checked out the new release, you are missing out! It is AMAZING! To make this card, here is what I did:
I like non-traditional colors for a Valentine’s Day card and I like how this one turned out. I LOVE this color combo so much! Thanks for stopping by and I hope you have a great day!
Here is what I used for this card:
| Stitched Hearts Coverplate Die by Kat Scrappiness – Kat Scrappiness, Inc |
| Hearts of Love Shaker Card Dies by Kat Scrappiness – Kat Scrappiness, Inc |
| Valentine Quokka Stamp Set by Kat Scrappiness – Kat Scrappiness, Inc |
| Frosted Grape Pearl Mix by Kat Scrappiness – Kat Scrappiness, Inc |
| Ranger Glossy Accents .5oz – Kat Scrappiness, Inc |
| Ranger Glossy Accents 2oz – Kat Scrappiness, Inc |
| Bearly Art Precision Craft Glue – THE ORIGINAL – Kat Scrappiness, Inc |
Neenah 110lb Classic Crest Cardstock 8.5"X11" – 25 Pack
