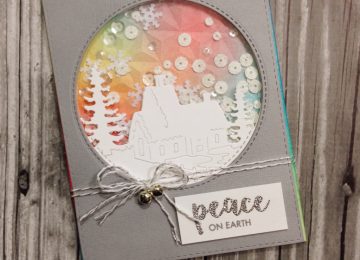
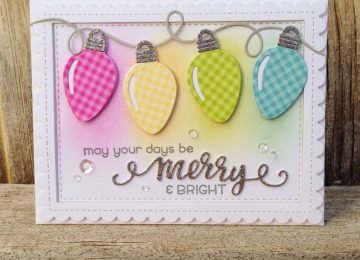
Hi, everyone! This is Nicki of Nicki Hearts Cards here today with a fun shaker card. If you have been following my @Home expo talks, you know I have been dying to make a shaker card with this word die. So, let me take you through it.

For all the details, make sure to check out the YouTube video on the Kat Scrappiness channel
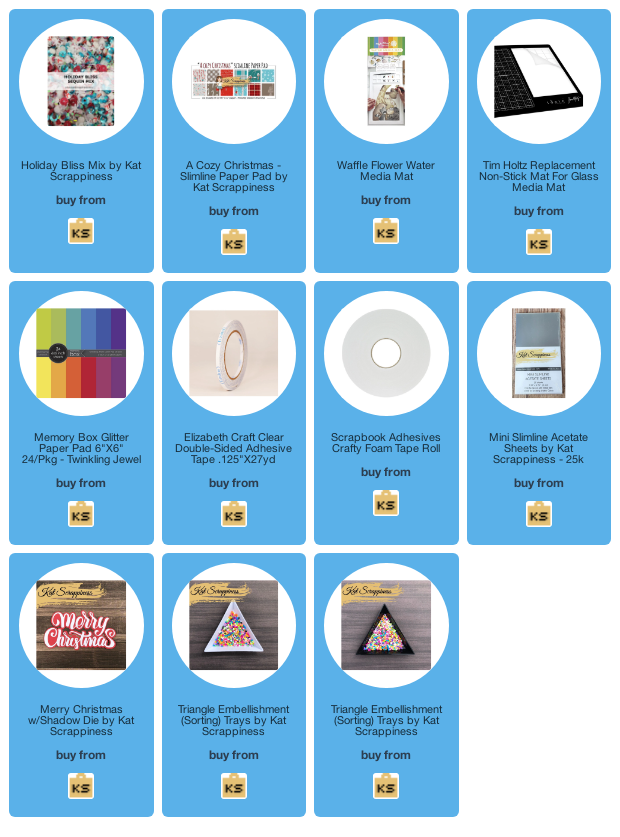
First, let’s start with lots of fun Kat Scrappiness supplies. I will put links to all of these at the end of the post.

First, let’s use the slimline paper pad and cut the shadow of “Merry Christmas” out of the center. Next, we will adhere a mini slimline acetate piece which fits this opening perfectly.
Next, we will ink blend the card base so that when you look through the acetate window you will see a complimentary color.

Once this is finished, we need to use foam tape to build our shaker window. I used two layers to create more height because some of the shaker pieces are big enough that we needed some extra height.
Next, I add a generous amount of the shaker mix to the card base and carefully place the window over the pieces. Now, we need to work on the sentiment.

After die cutting this piece, I add 2 extra layers of thick white card stock to give it height and stability. Once the glue is dry, I will add these to the shaker window with double sided adhesive.

Last, let’s add some of the cute shaker pieces to the front of the card.


I hope you enjoyed this card. Have you tried a shaker card with word dies? Let me know in the comments and make sure to check out the YouTube video. If you are interested in any of the supplies, please click through the link below to go to them on the site.

