Hey friends, how is everyone doing on their Christmas and Holiday cards? I got all mine mailed out yesterday. I…

Hey friends, how is everyone doing on their Christmas and Holiday cards? I got all mine mailed out yesterday. I…
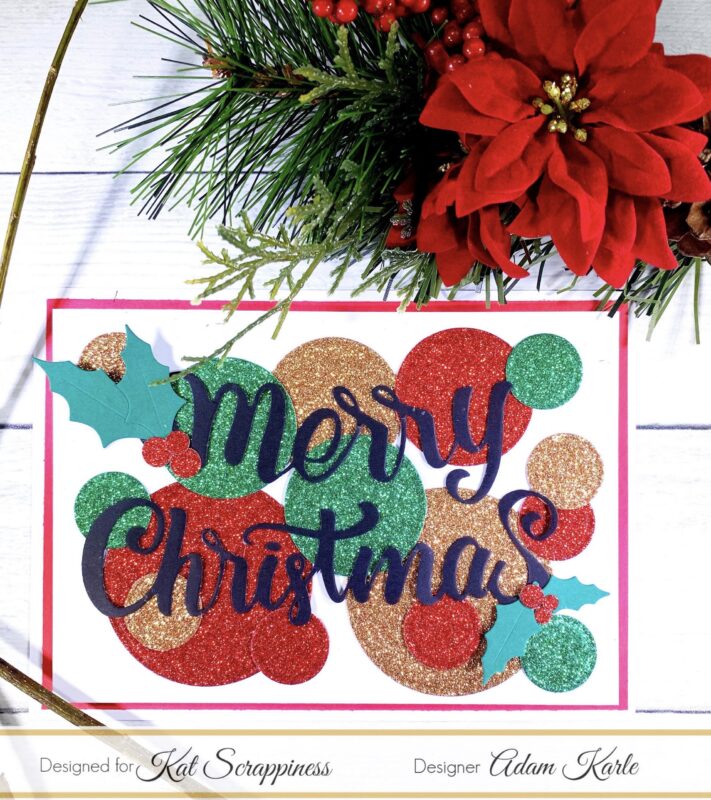
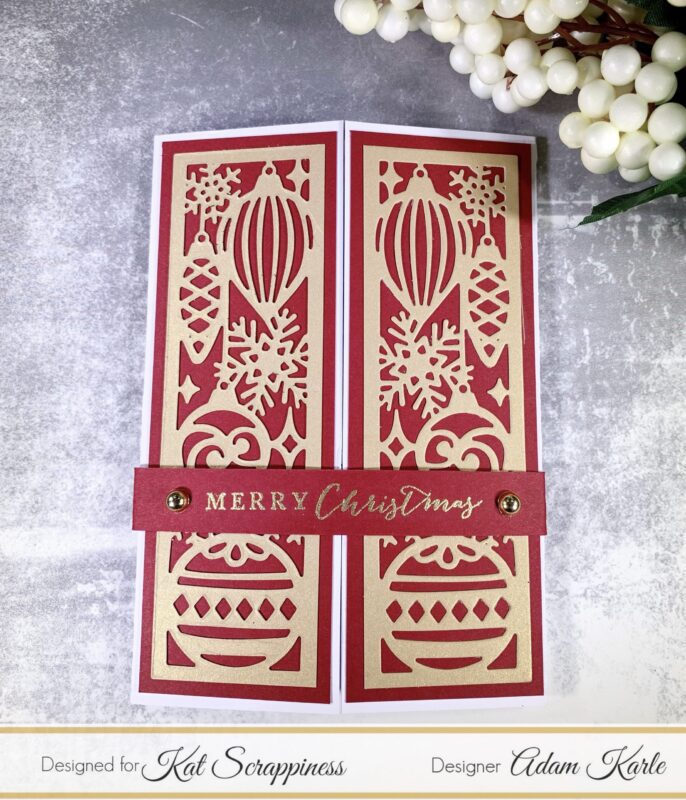
Merry Christmas crafty friends, Adam here with the fastest and easiest Christmas card using Kat Scrappiness dies and paper. Using…
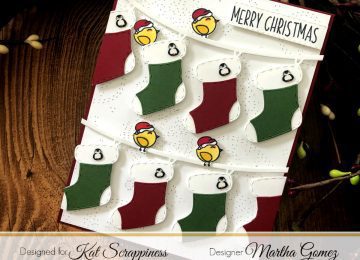
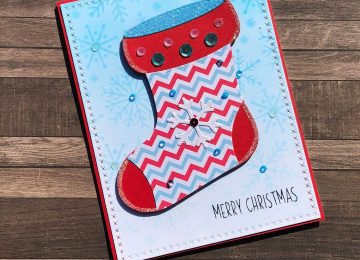
Hello crafty friends, Martha Lucia here with you! Today I am featuring the Christmas Stocking Banner Die and the Stitched…
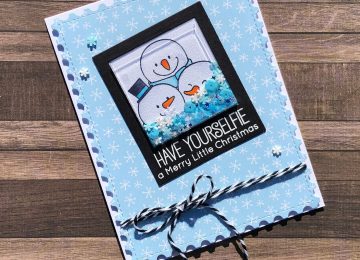
Hello, It is time to start making Christmas cards! I have a fun and easy shaker card today. I started…
Hi crafters, is everyone ready for Thanksgiving this week? I’m just having a small get together with my family. For…
Hey crafters, are you ready to start making Christmas cards? I have a beautiful yet simple card to share today….
Hi everyone, can you believe that Thanksgiving is next week? I can’t, and I’m definitely not ready. I have been…