
Hi everyone, it’s Tina here. I have another CityScape Slimline card to share with you this time in the early morning setting when the light shines just right from the reflection from the windows. I often see the downtown buildings in a radiant gold color. Below you will find the steps to create your own Sending Love card.

Step 1 – Trim White Cardstock to 7” x 8 1/2”, score at 3 1/2” and fold in half for a horizontal fold card. (Slimline)
Step 2 – Trim White Cardstock to 3 1/2” x 8 1/2” and apply clouds using ink of your choice. I used Distress Oxide Speckled Egg and Stormy Sky.
Step 3 – Diecut Double Stitched Nesting Slimline to the background created in step 2. Matte it with Black Ground about 1/8” border. Adhere to card using Nuvo Deluxe Adhesive.
Step 4 – Diecut Slimine Layered Cityscape using Kraft Metallic Cardstock. Adhere to card using Nuvo Deluxe Adhesive.
Step 5 – Diecut He Is Risen (clouds) three times using White Cardstock. Adhere to two clouds to the card using Foam Tape. Stamp tiny sentiment on the third cloud using Versafine Onyx Black Ink and adhere to card using Foam Tape.
Step 6 – For added interest and sparkle randomly adhere Sparkling Clear Jewels using a Crystal Katana and Collage Medium.


This card can be used for several occasions by changing the colours and sentiment. Below is a link to all the products used. Thank you for stopping by and Happy Crafting!
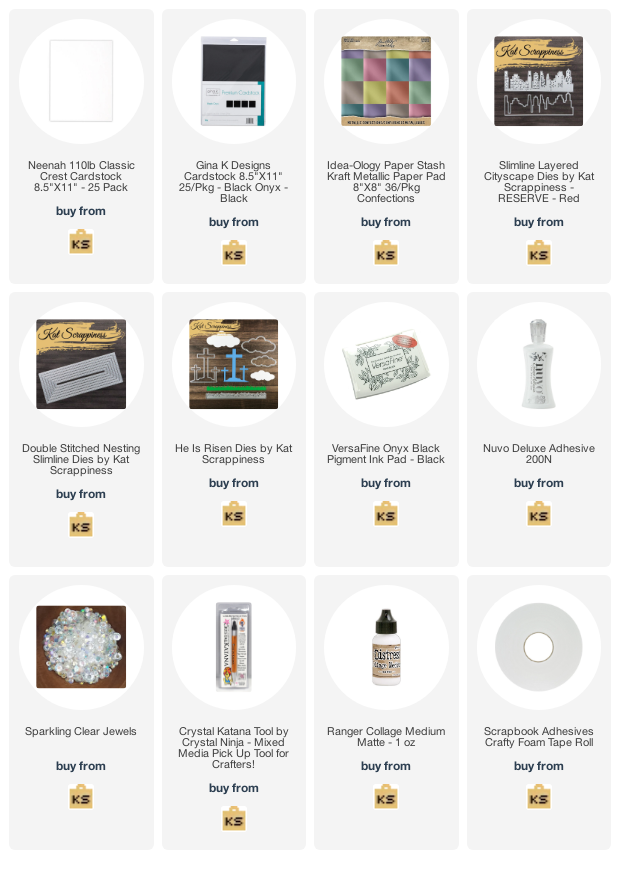
Products Used:
https://linkdeli.com/widget.js?id=f5e8378456858c916708
No Comments