Hello crafty friends! It’s Alicia a.k.a. Crafty Al and I would just like to say a BIG “Thank You” to everyone who tuned in for the LIVE card tutorial I did for Kat Scrappiness during the Card Maker Success Summit. 🙂

Here is a look at the faux shaker card I created using some of the NEW Birthday Essentials goodies from Kat Scrappiness. You can find a full list of supplies and the video below.
You can see the replay video with process, here:
Thanks for stopping by and I hope you enjoyed today’s card!
Alicia / Crafty Al
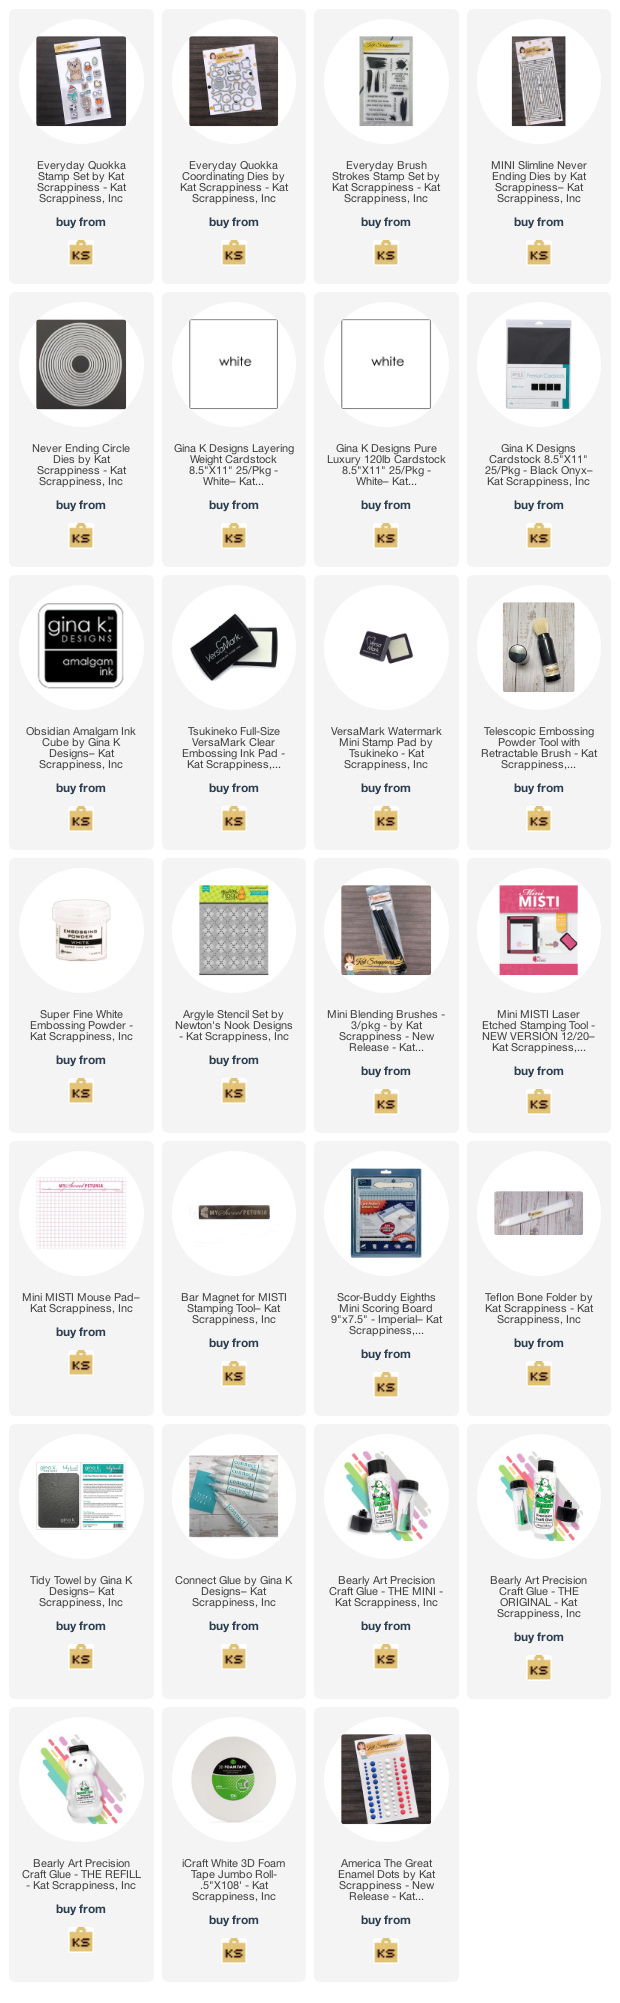
Related Products:
Kat Scrappiness
Layered Party Banner Coverplate: http://shrsl.com/3eb0m
Birthday Essentials Dies: https://shrsl.com/3d6po
Make a Wish w/Shadow Dies: http://shrsl.com/3e5jh
Bubble-licious Pearl Mix: http://shrsl.com/3e5jj
Lemon Yellow Pearl Mix: http://shrsl.com/3e5jl
Light Turquoise Pearl Mix: http://shrsl.com/3e5jp
Triangle Embellishment Tray: http://shrsl.com/37sxh
Embellishment Organizer: http://shrsl.com/37sxi
A2 Acetate Sheets – 25 pk: http://shrsl.com/3caqt
Art Glitter Glue: http://shrsl.com/37svl
**Some links above are affiliate links. I link them up for your convenience and may receive a small commission, at no extra cost to you. I hope you will consider using the links if you decide to purchase the products I share. 🙂


 Here’s a list of the supplies I used from the store.