Hi everyone, it’s Tina here. With Father’s Day around the corner I wanted to use the new Happy Father’s Day sentiment die along with the Lumber Yard Paper to create a fun shaker card. Below you will find the steps to create your own Happy Father’s Day Mini Slimline Shaker card.

Step 1 – Trim White Cardstock to 7” x 6”, trim at 3 1/2” and fold in half for a horizontal top fold card. (Mini Slimline)
Step 2 – Trim Lumber Yard to 3 1/2” x 6”, diecut Mini Slimline Double Stitched using the Lumber Yard Paper to create a frame. Adhere to center diecut to the card front using Bearly Art Precision Glue. Trim KS Acetate Slimline 3” x 5 1/2” and adhere to the backside of the frame. Add Sprinkles of your choice to the top of the card front making sure it is in the center. I used Mixed Fruit Sprinkles since my Dad isn’t a fan of Sports but he loves fruit. Add Foam Tape to the backside of the frame and adhere to the card front.
Tip 1: align the card into your scoring tool and when placing the top frame with acetate you can align it from the corner.
Tip 2: before adding the sprinkles apply anti static powder to the card front where you placed your background and to the edges of the Foam Tape. This will prevent static from the acetate.
Step 3 – Diecut Happy Father’s Day (word) using White Cardstock. Adhere to the card using Bearly Art Precision Glue.


I love that the shaker can be customized to whatever my Dad enjoys in life and that Kat Scrappiness has so many sprinkles that I am guaranteed to find something to fill my shaker card. Below is a link to all the products used. Thank you for stopping by and Happy Crafting!
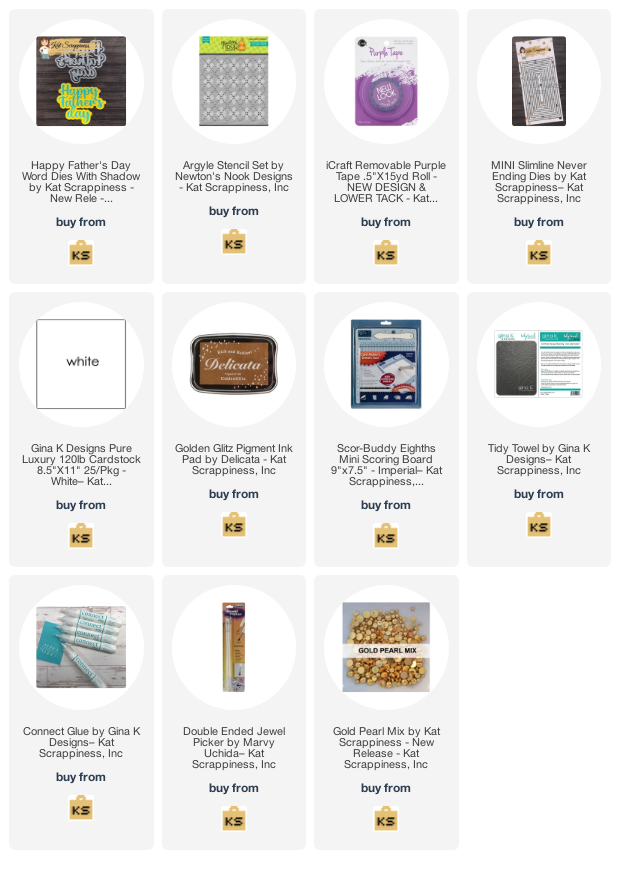
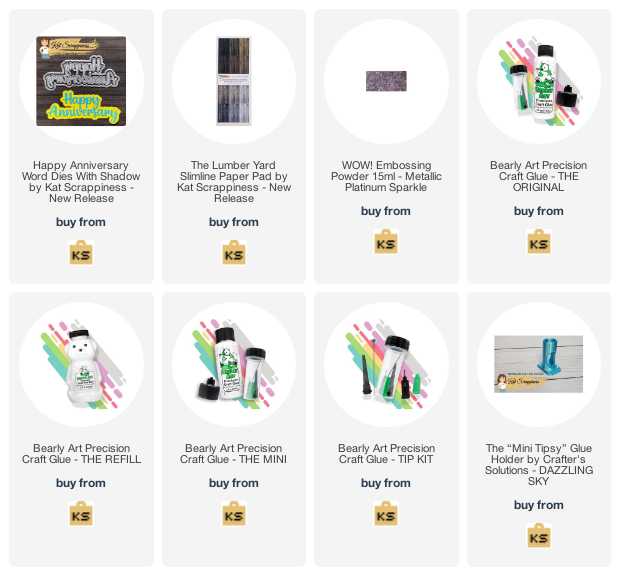
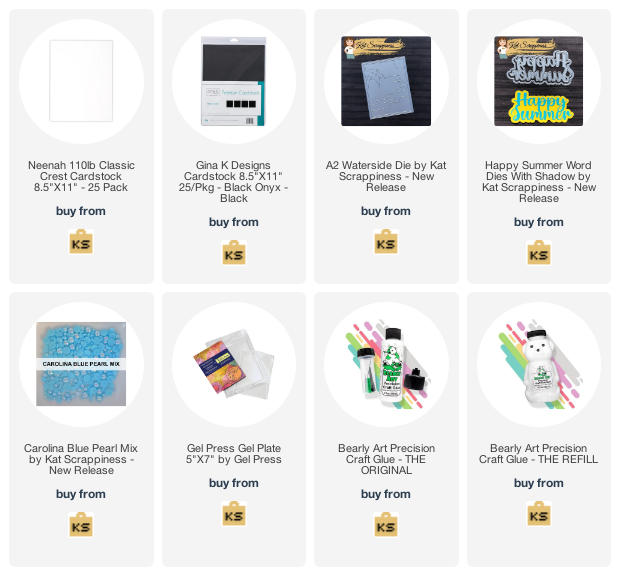
Products Used: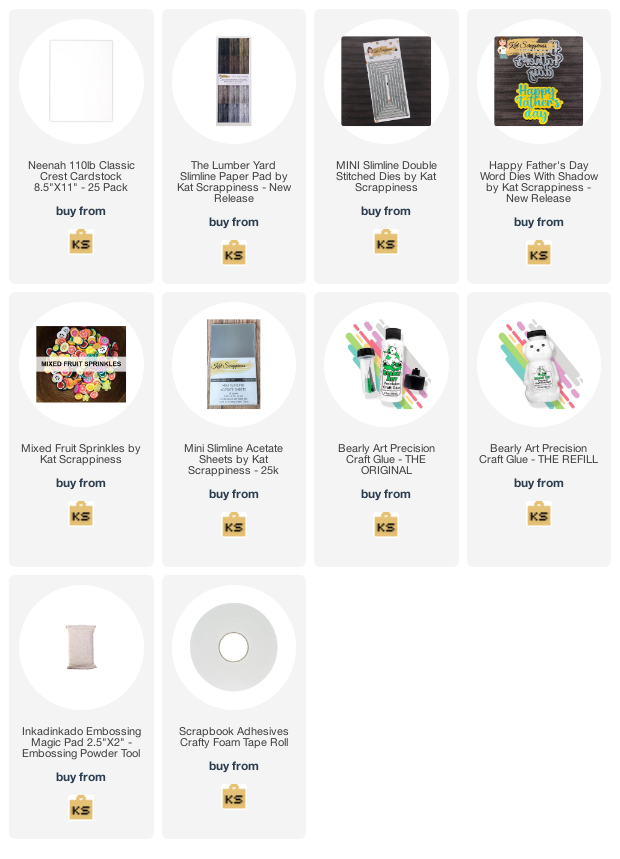
https://linkdeli.com/widget.js?id=f5e8378456858c916708