
Hi everyone, it’s Tina here. Today I am sharing two cards using the Fancy Scalloped Slimline Dies with the Stitched & Layered Snowman dies. One is using a DIY Background and the other using the new A Cozy Christmas Patterned Paper. Below are the steps to create your own cards.
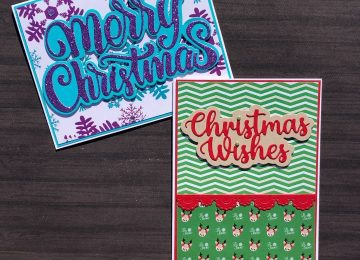
Card #1
Step 1 – Trim White Cardstock to 8 1/2” x 7”, score at 3 1/2” and fold in half for a horizontal side fold card (Slimline)
Step 2 – Diecut Fancy Scalloped Nesting Slimline using White Cardstock. Adhere to card front using Nuvo Deluxe Adhesive.
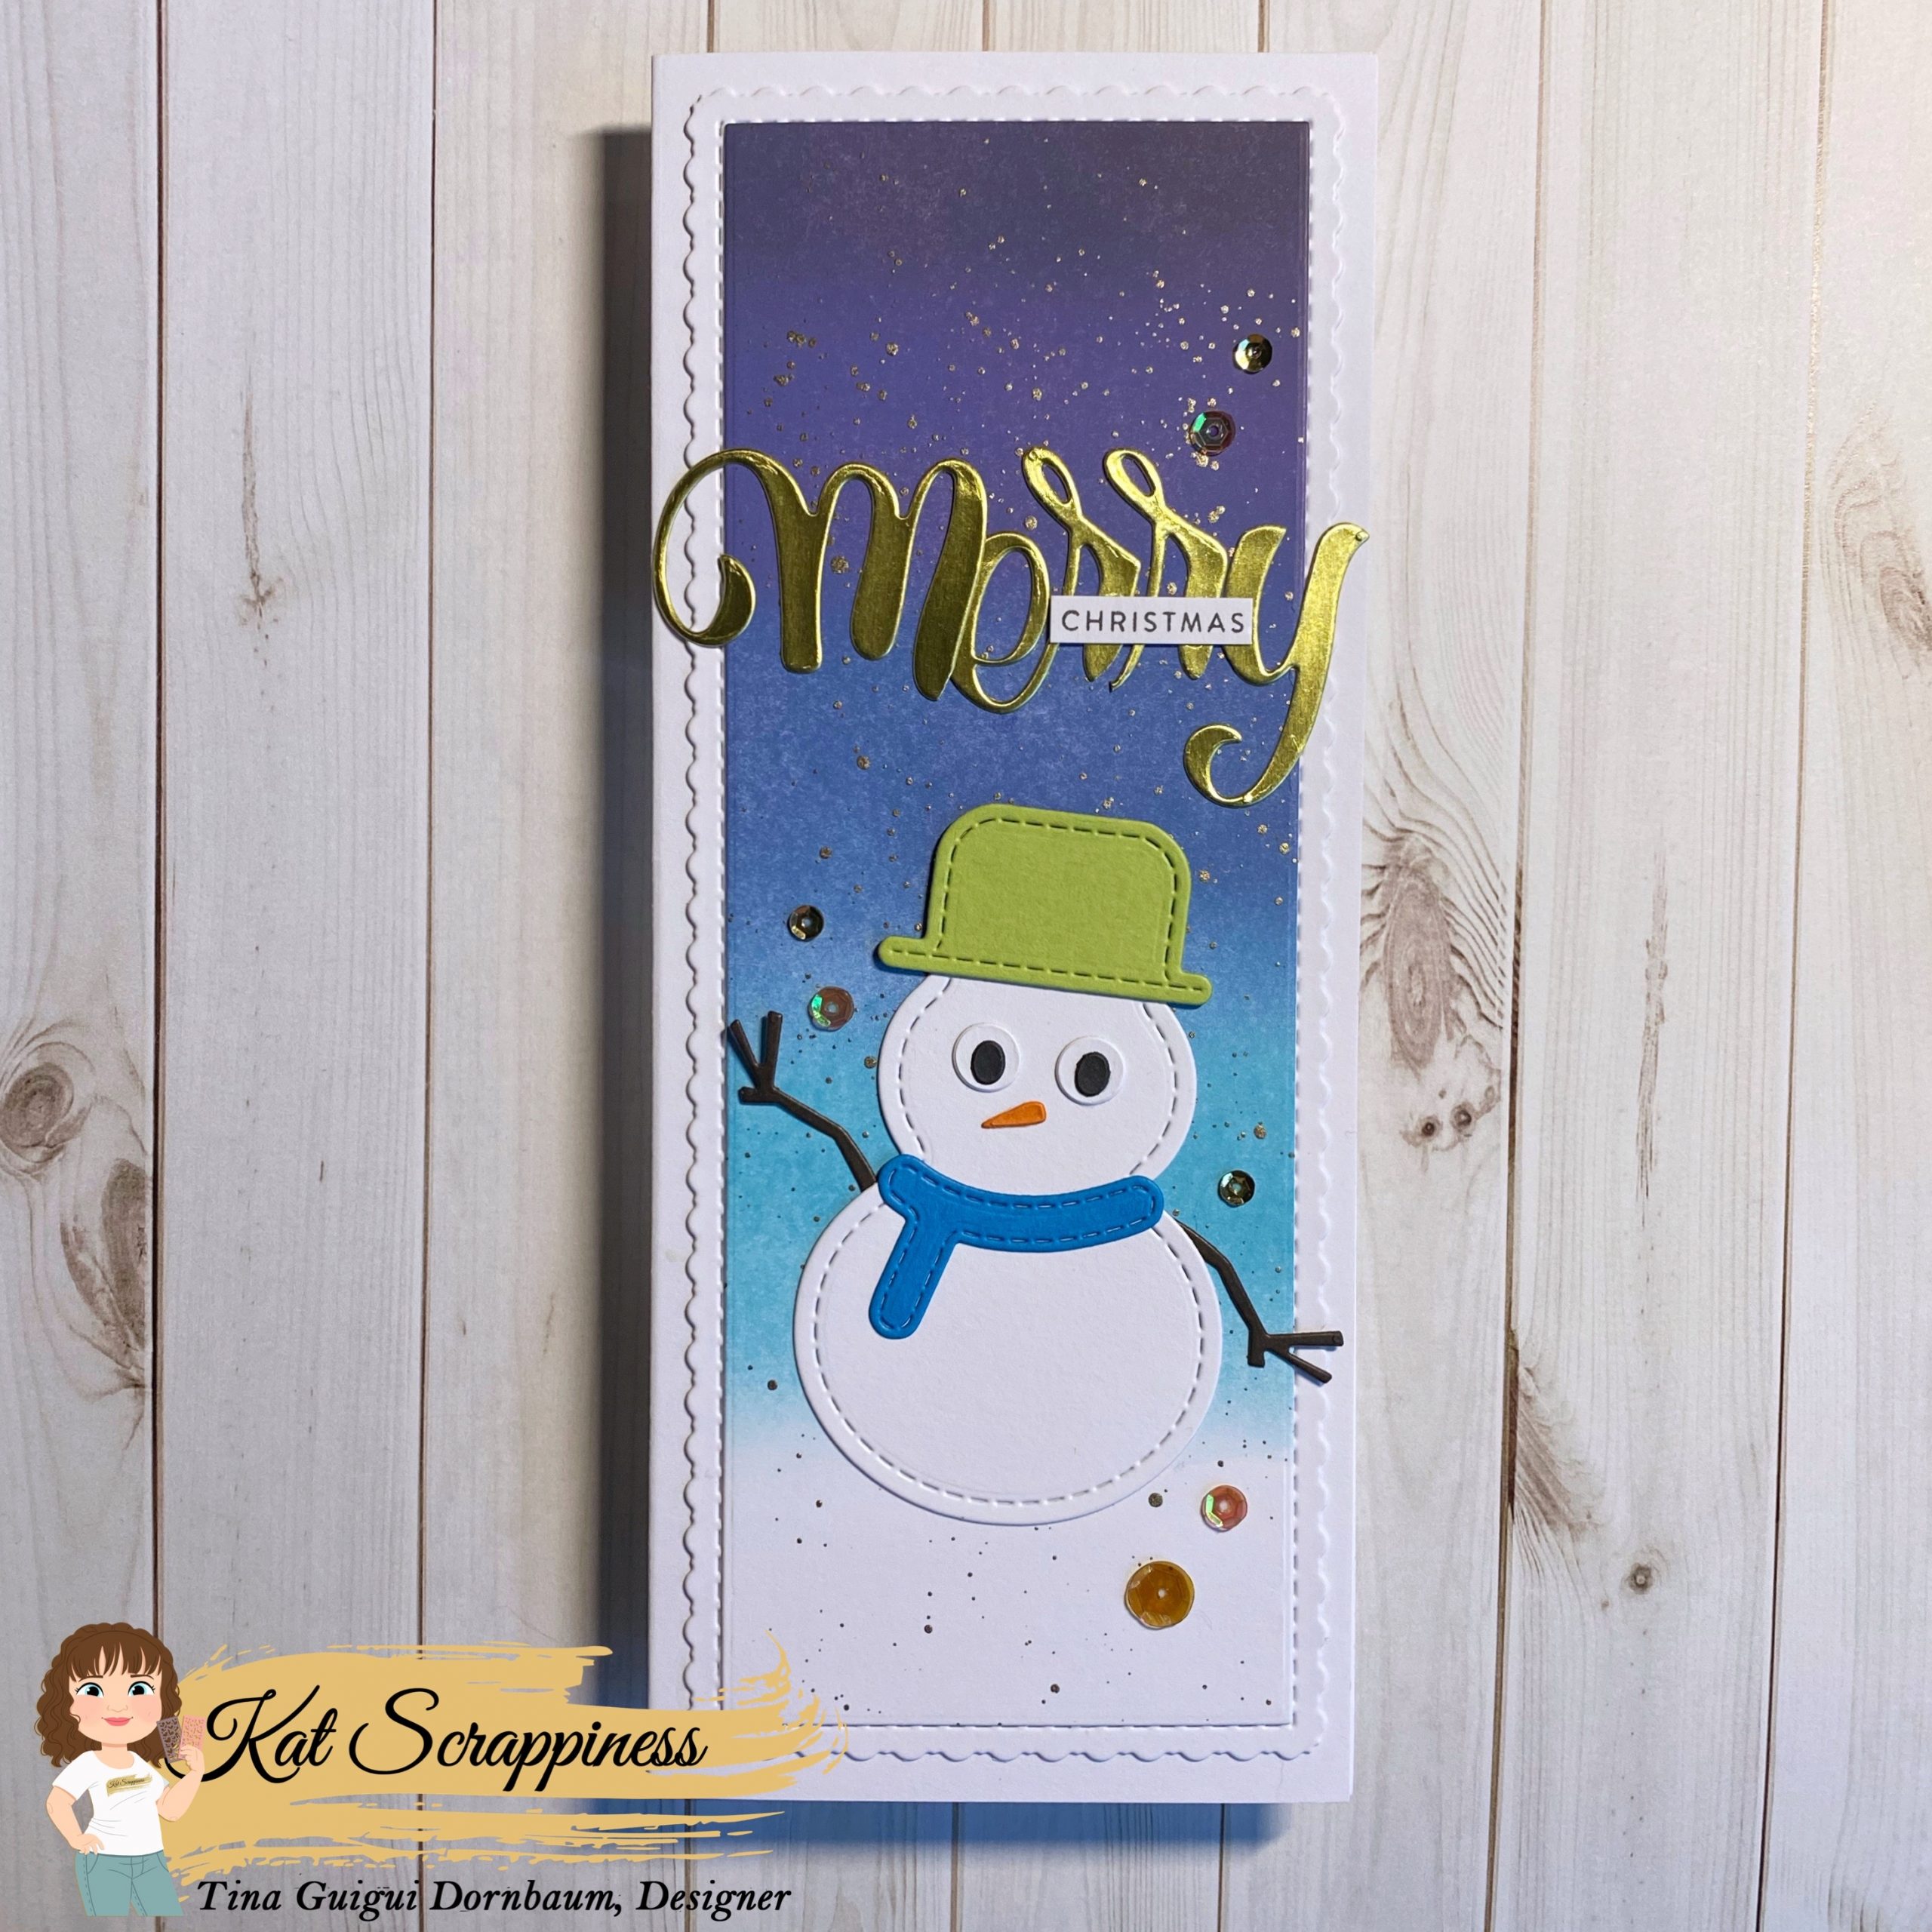
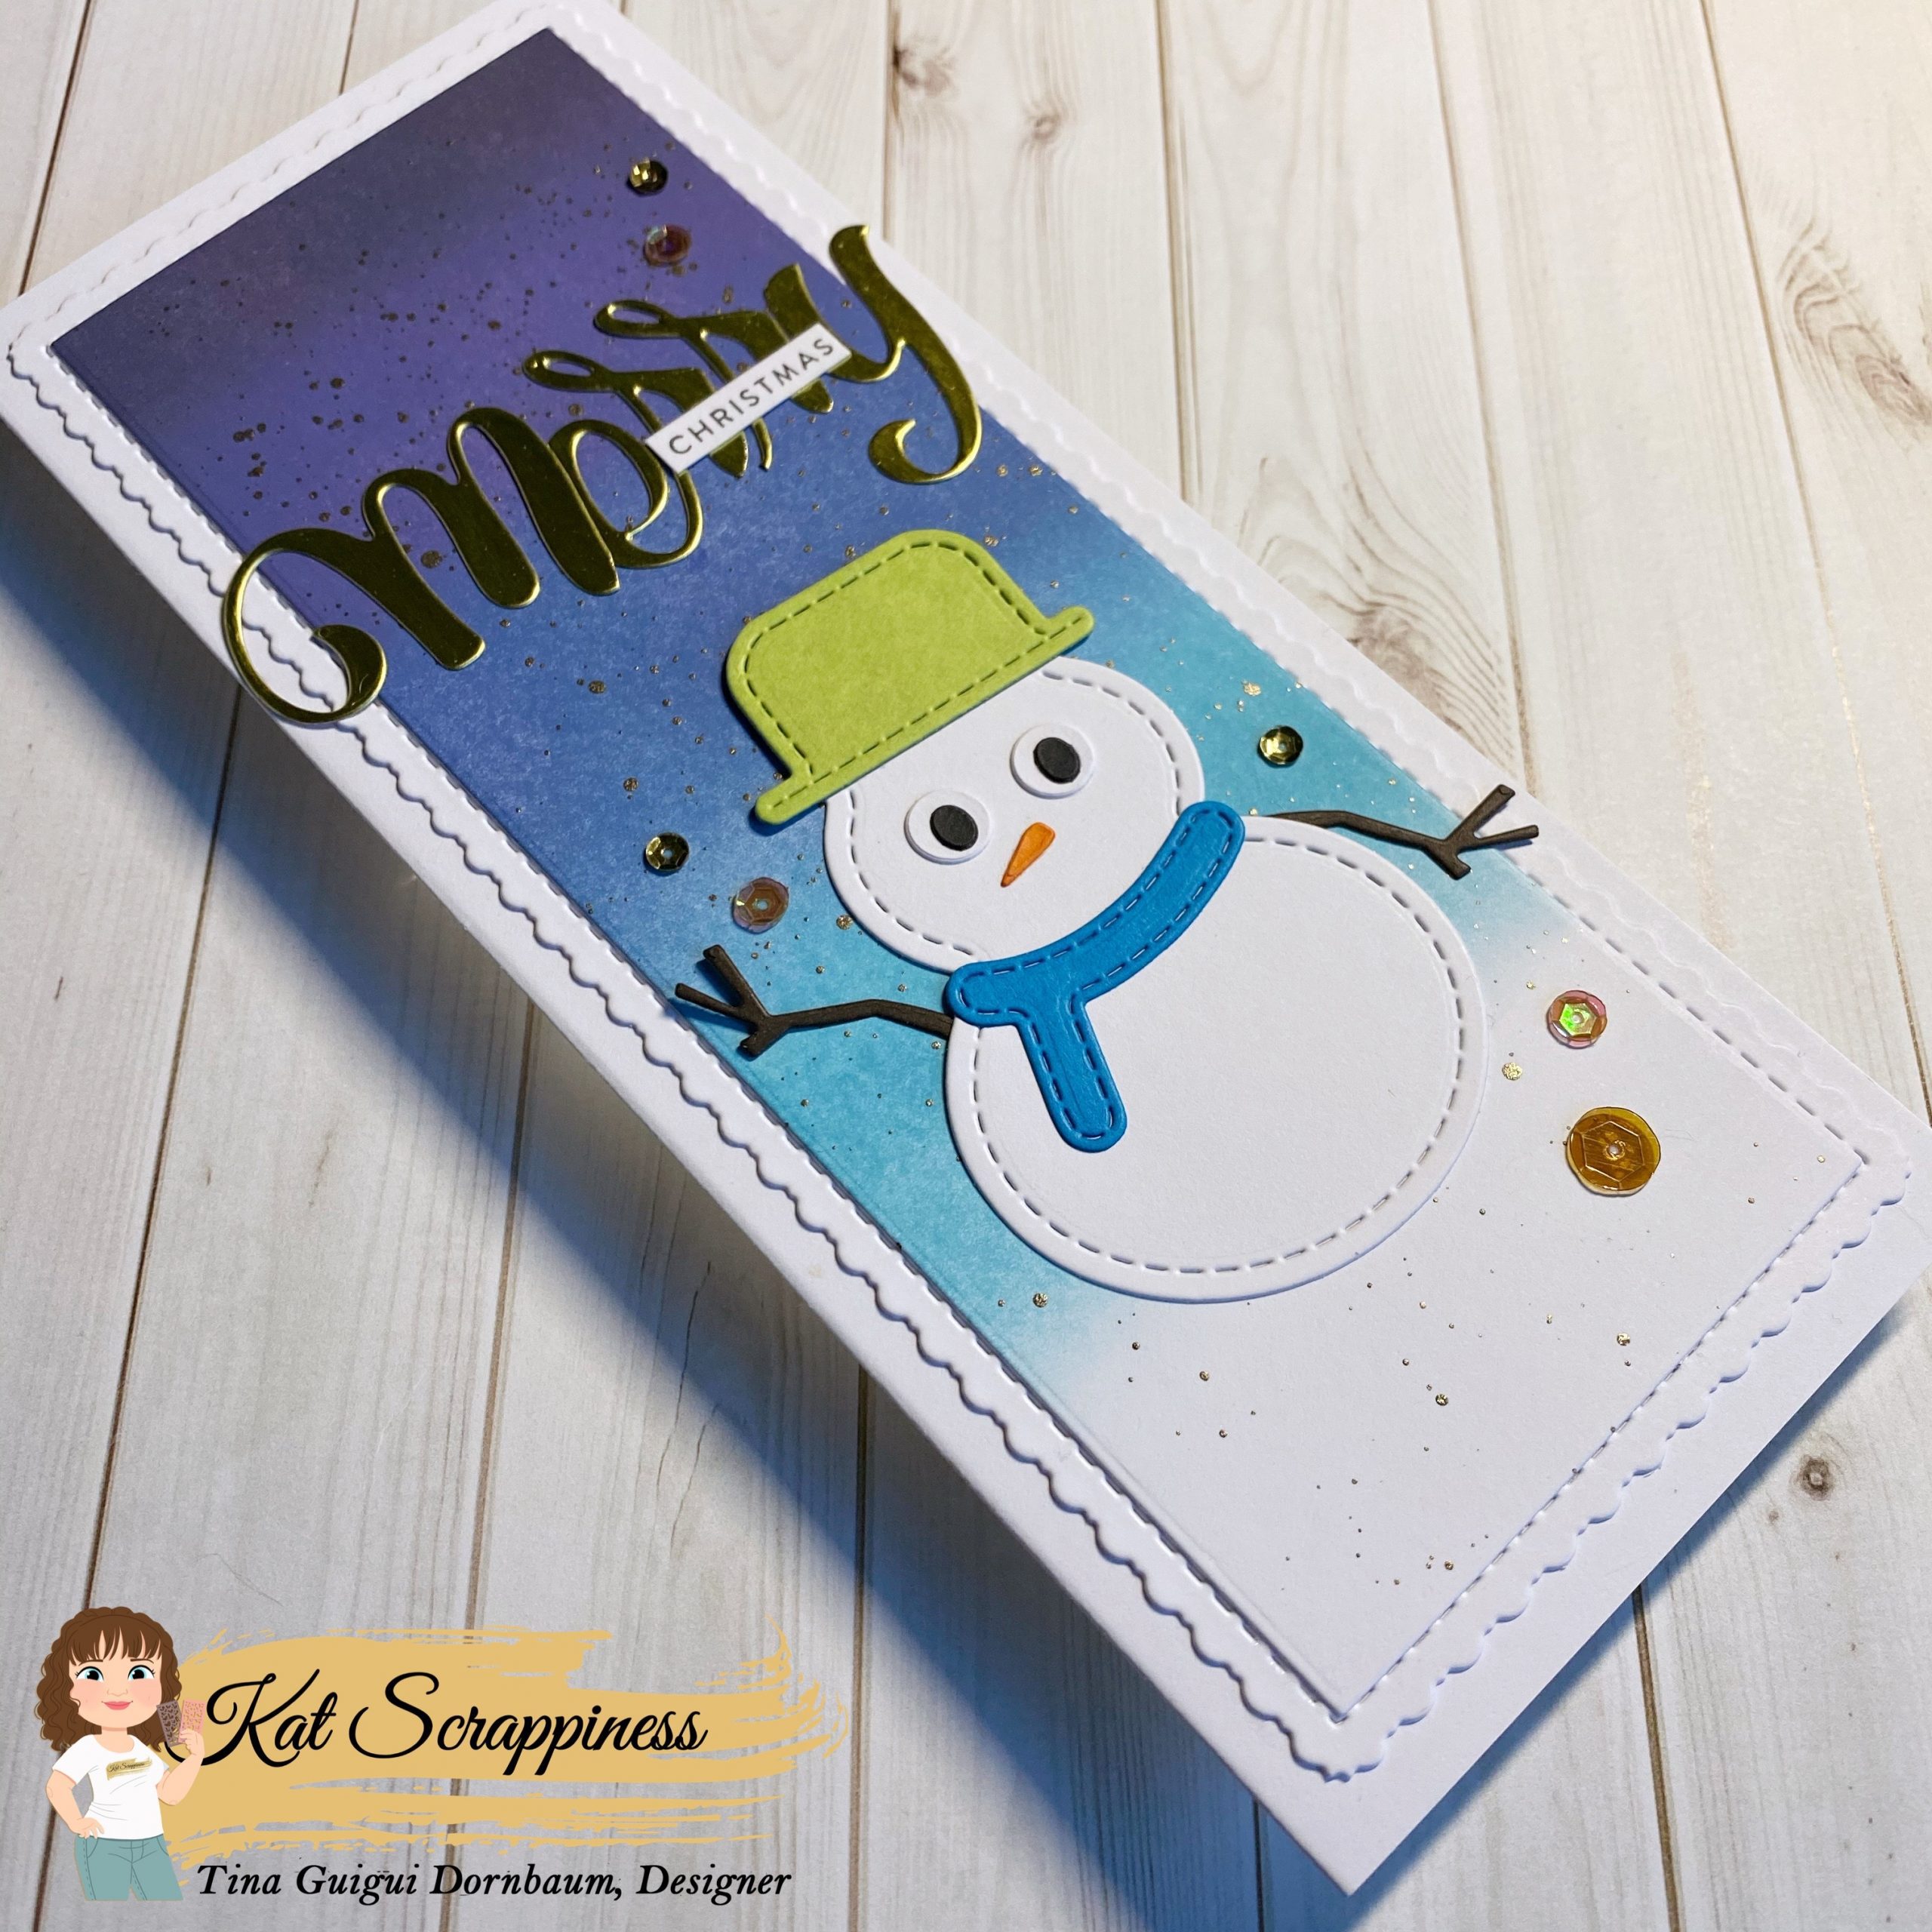
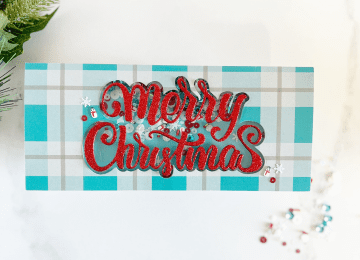
Step 3 – Trim White Cardstock to 3 1/2” x 8 1/2”. Apply Distress Oxide Ink using a Blender Blush. Starting from the bottom going up apply Tumbled Glass, Faded Jeans, Chipped Sapphire, Dusty Concord and Black Soot. Mix Perfect Pearls Perfect Gold with a little water and spatter the background using a Paintbrush. Let dry. Diecut Never Ending Slimline using the background created. Adhere to card using Nuvo Deluxe Adhesive.
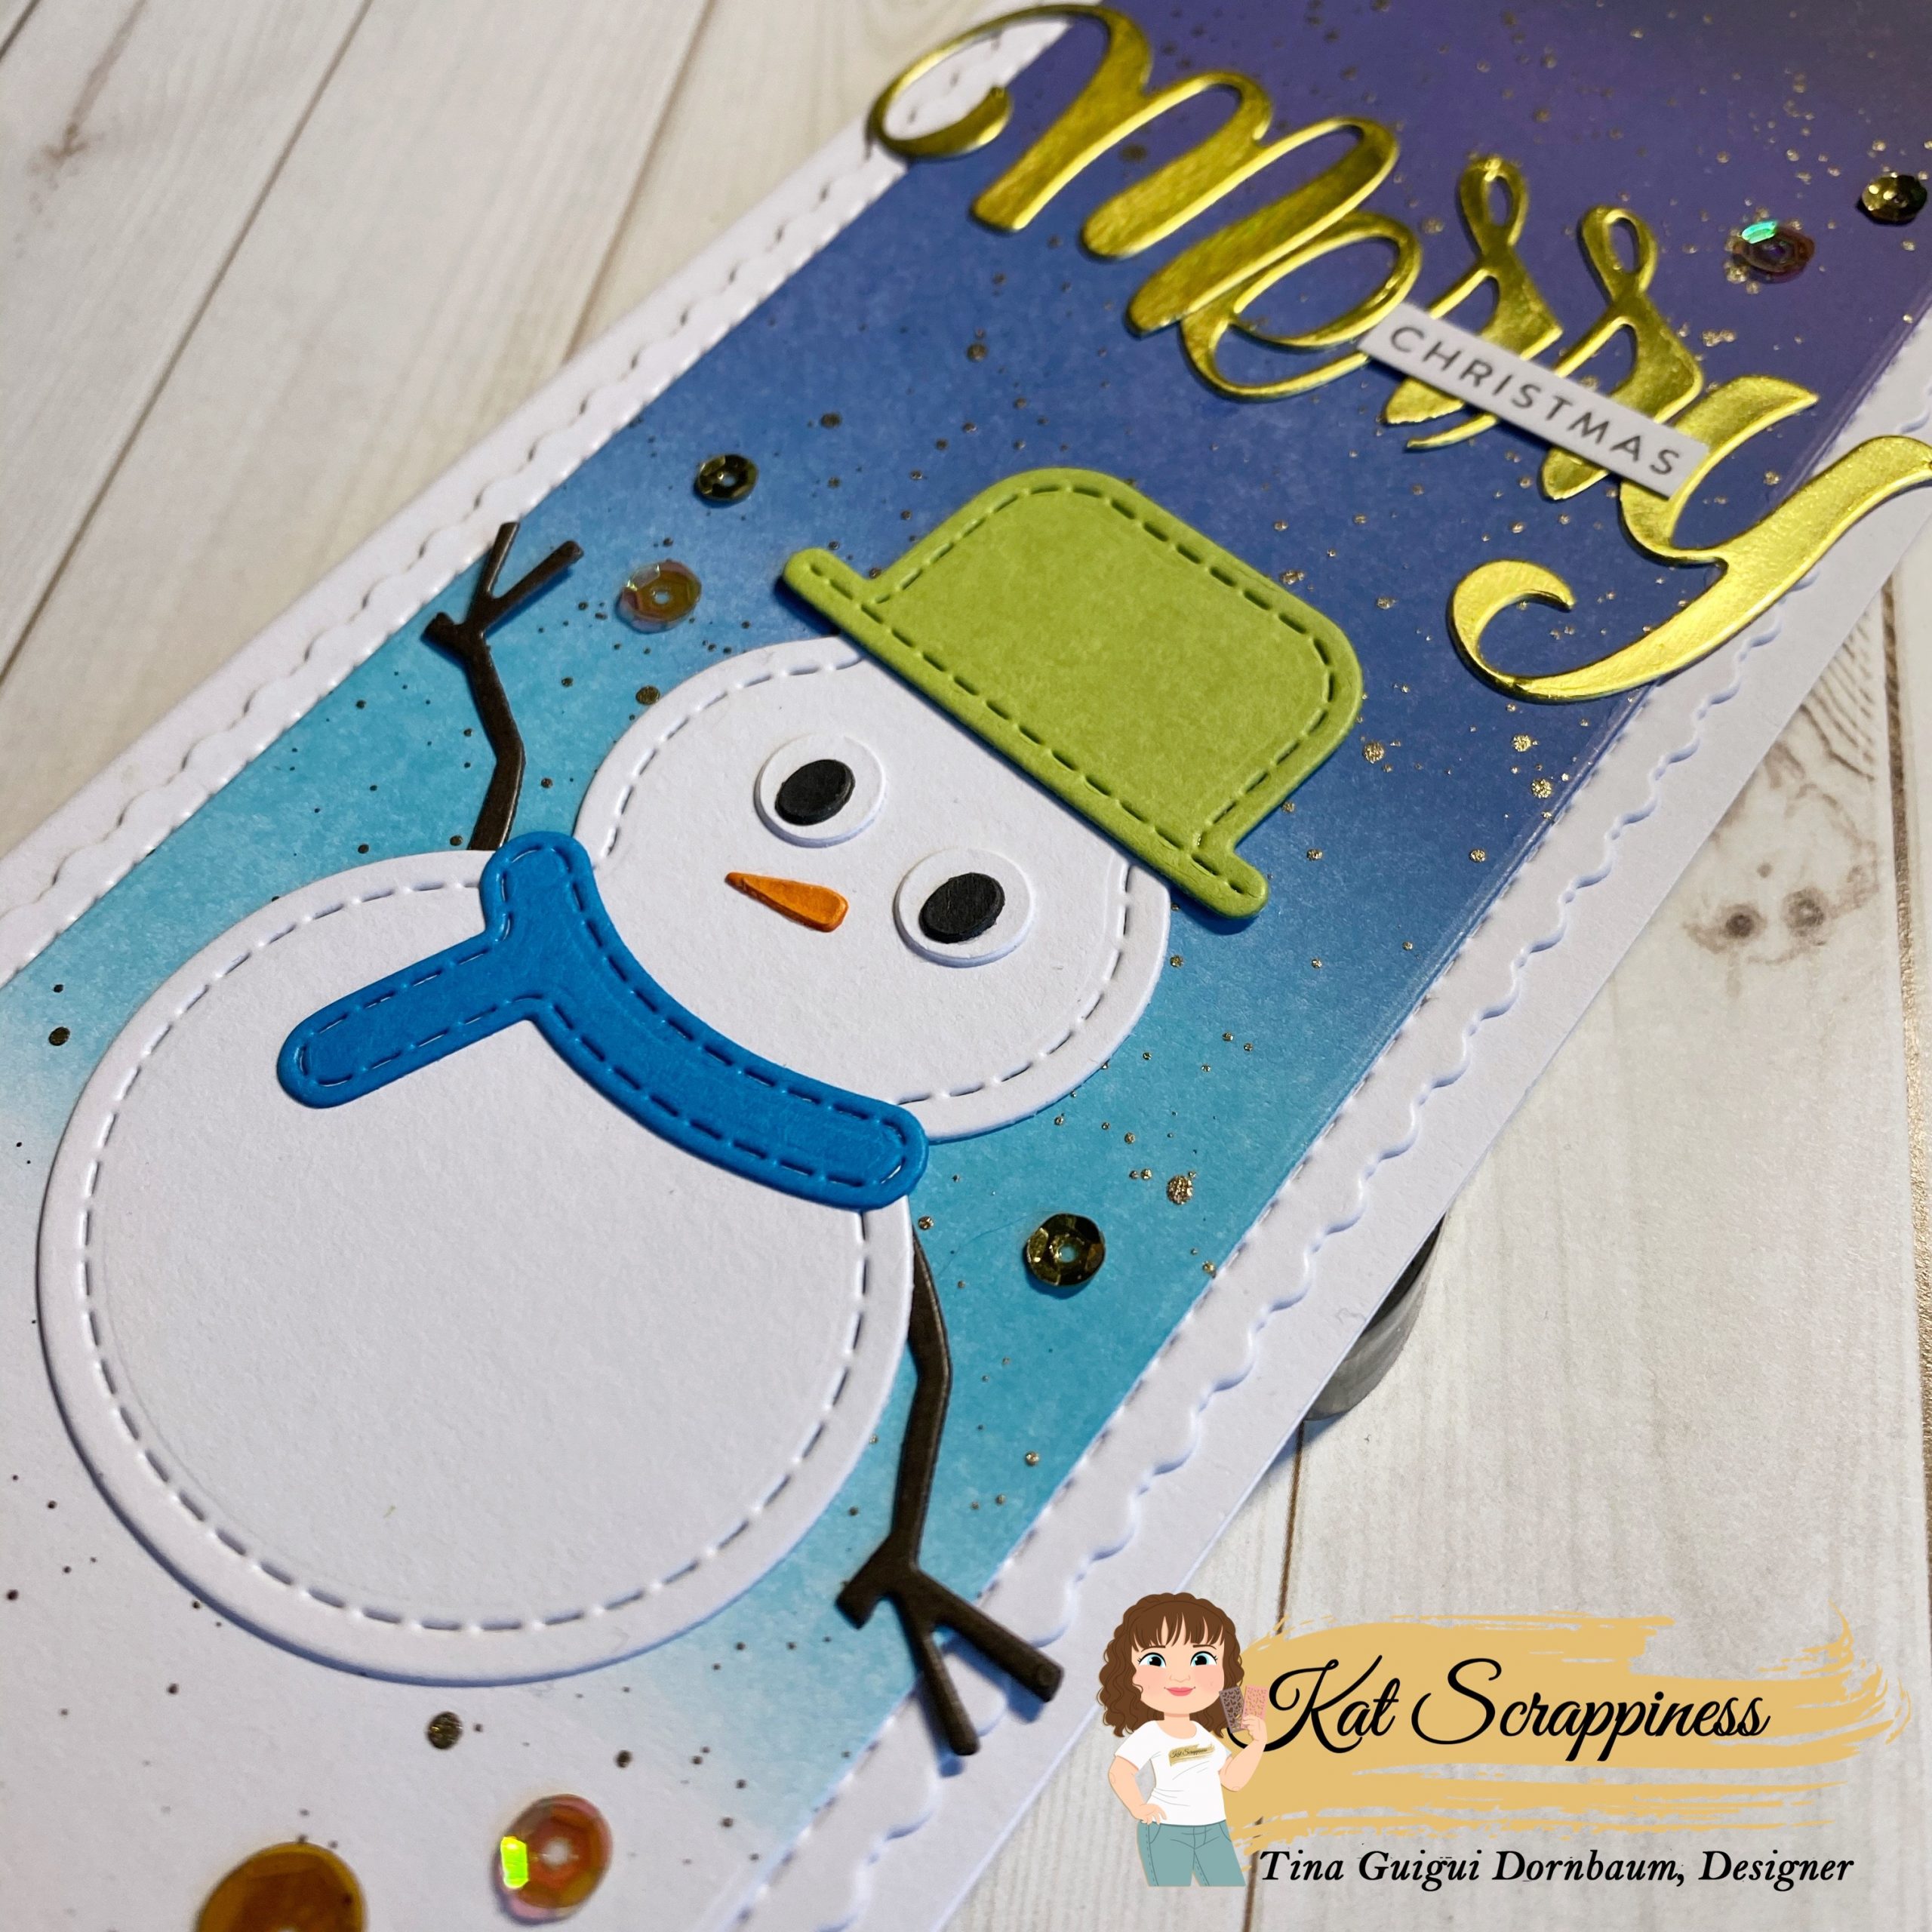
Step 4 – Diecut Stitched & Layered Snowman using White Cardstock for the body and eye and coloured Cardstock for the accessories. Assemble and adhere to card using Nuvo Deluxe Adhesive.
Step 5 – Diecut Merry Christmas With Shadow (only word Merry) using Gold Metallic Cardstock. I cut several of the letters to be able to place it on my card front. Adhere with Nuvo Deluxe Adhesive.
Step 6 – Stamp sentiment using Versafine Onyx Black Ink using White Cardstock. Trim the sentiment and adhere over the word Merry using Nuvo Deluxe Adhesive.
Step 7 – For added interest and sparkle randomly adhere Fall Blessings Sequins Mix using an Embellishment Pick Up Tool and Nuvo Deluxe Adhesive.
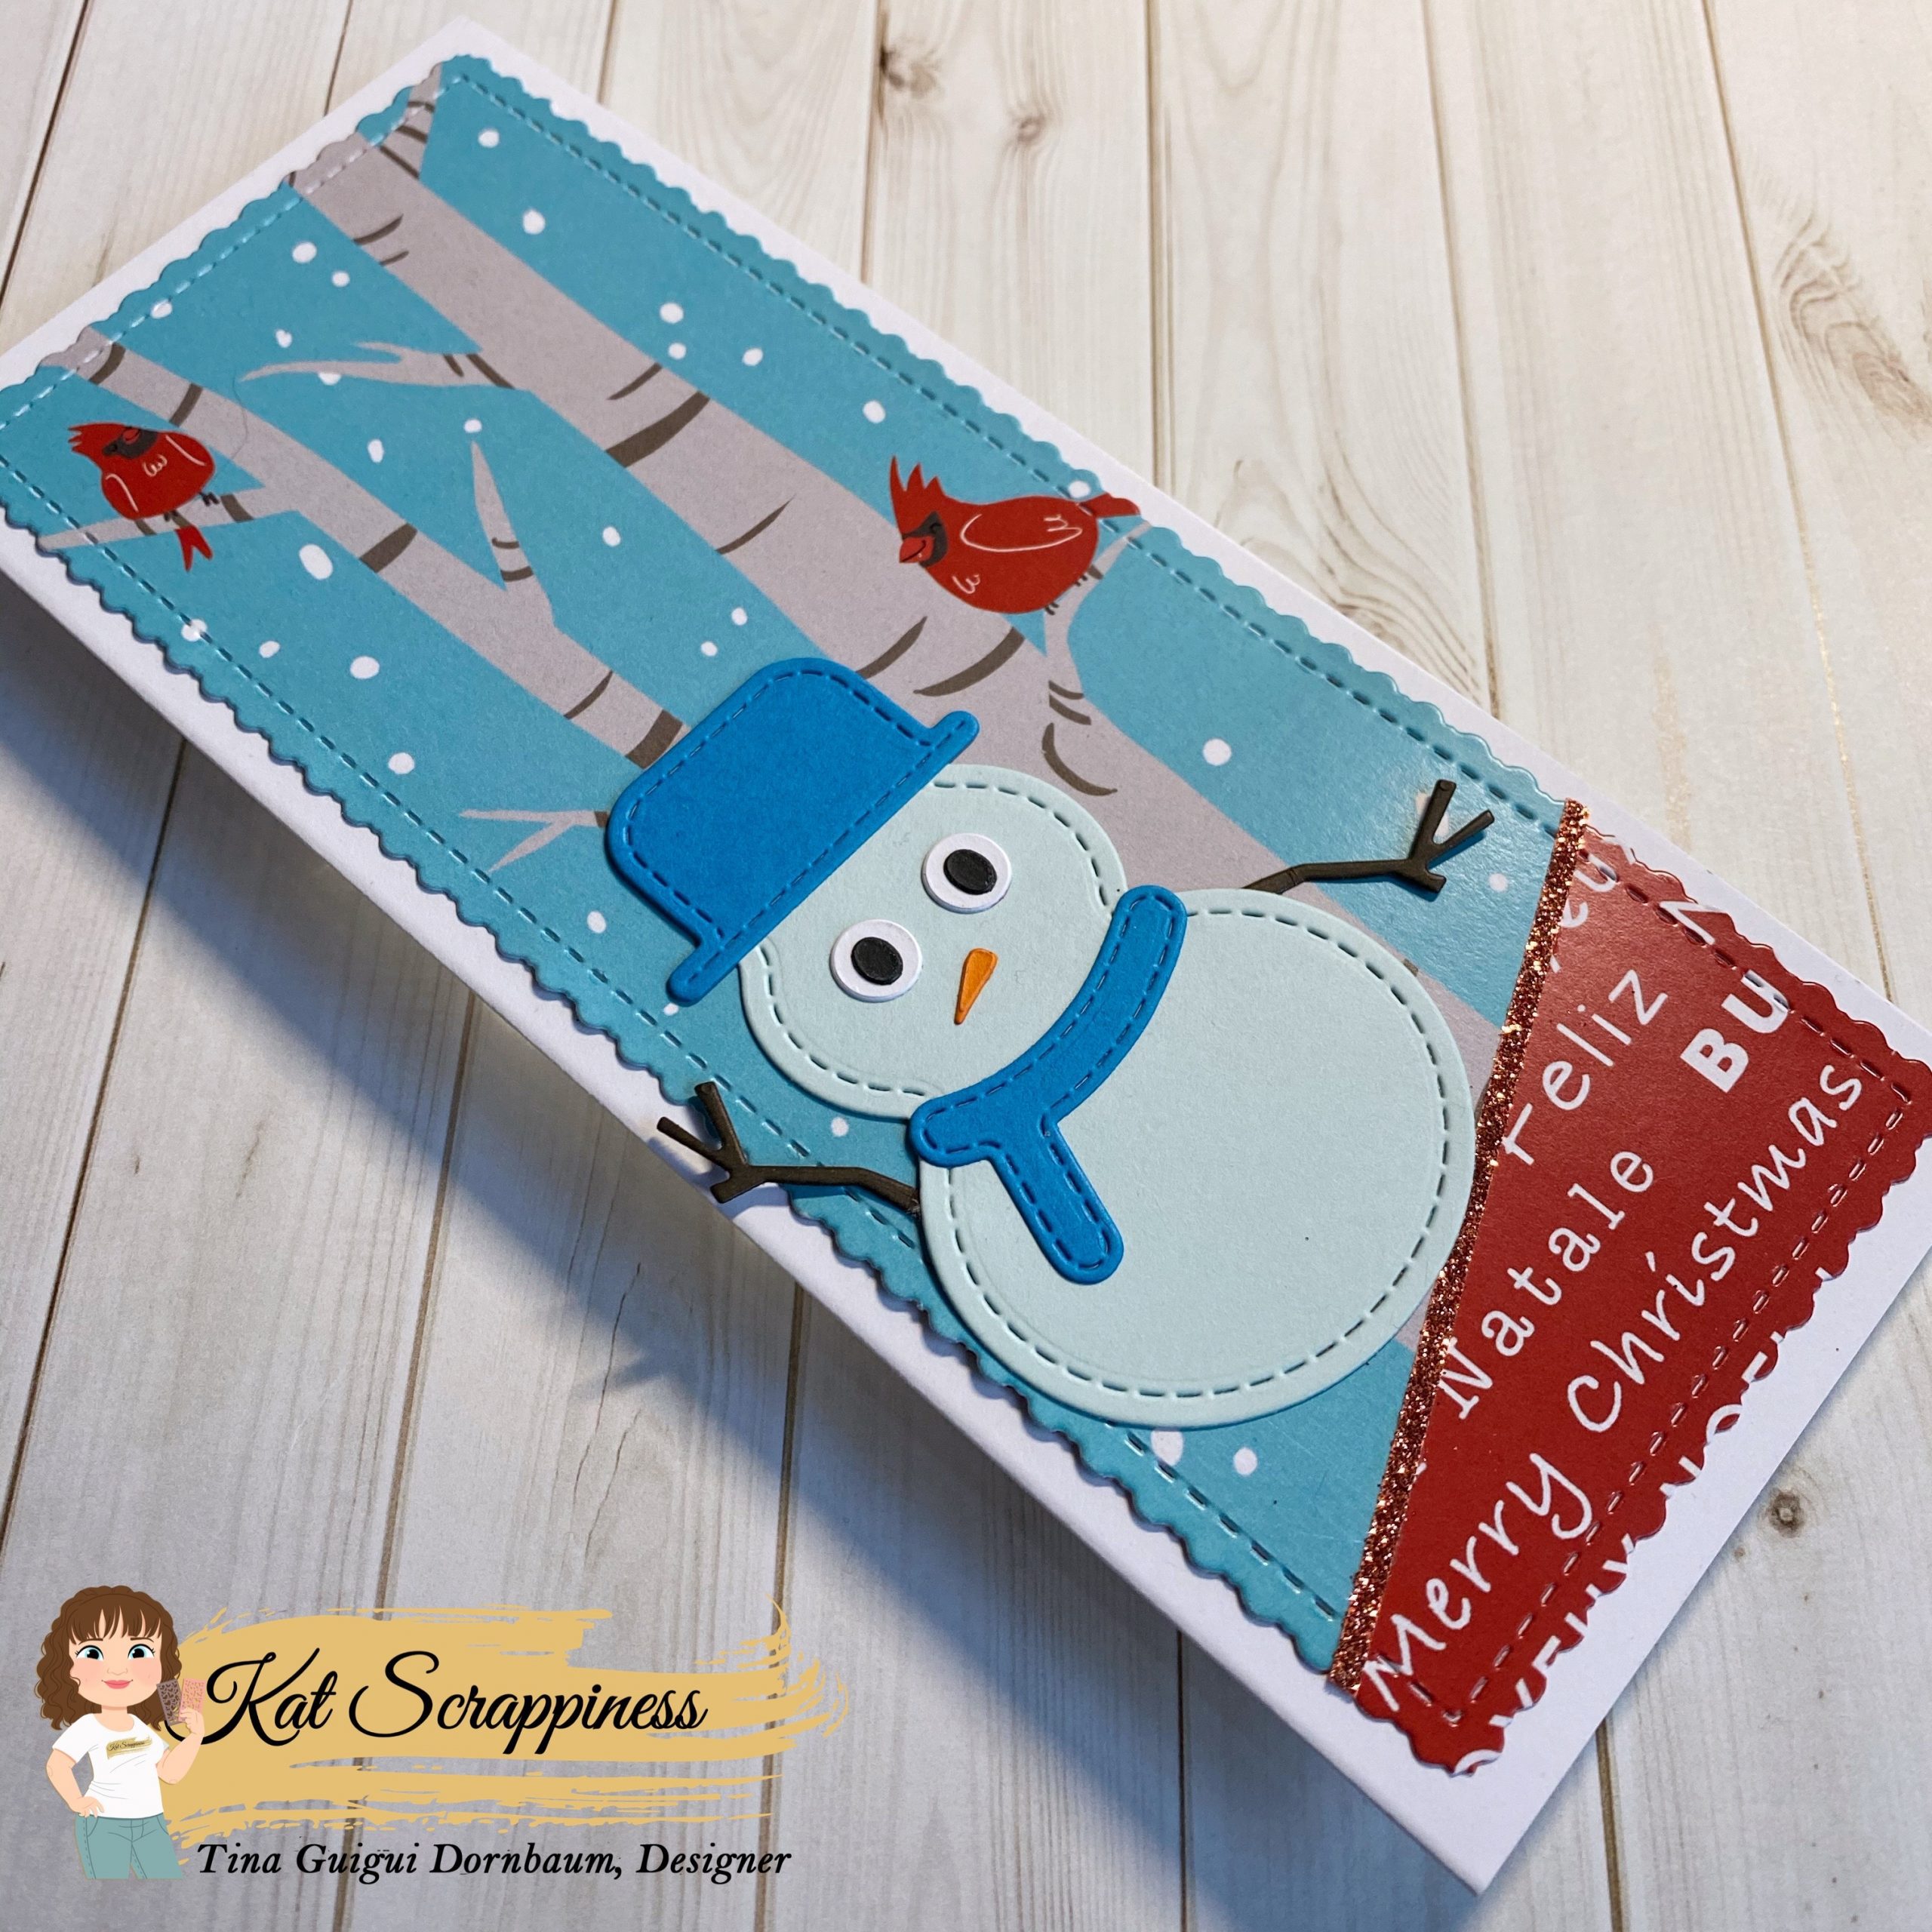
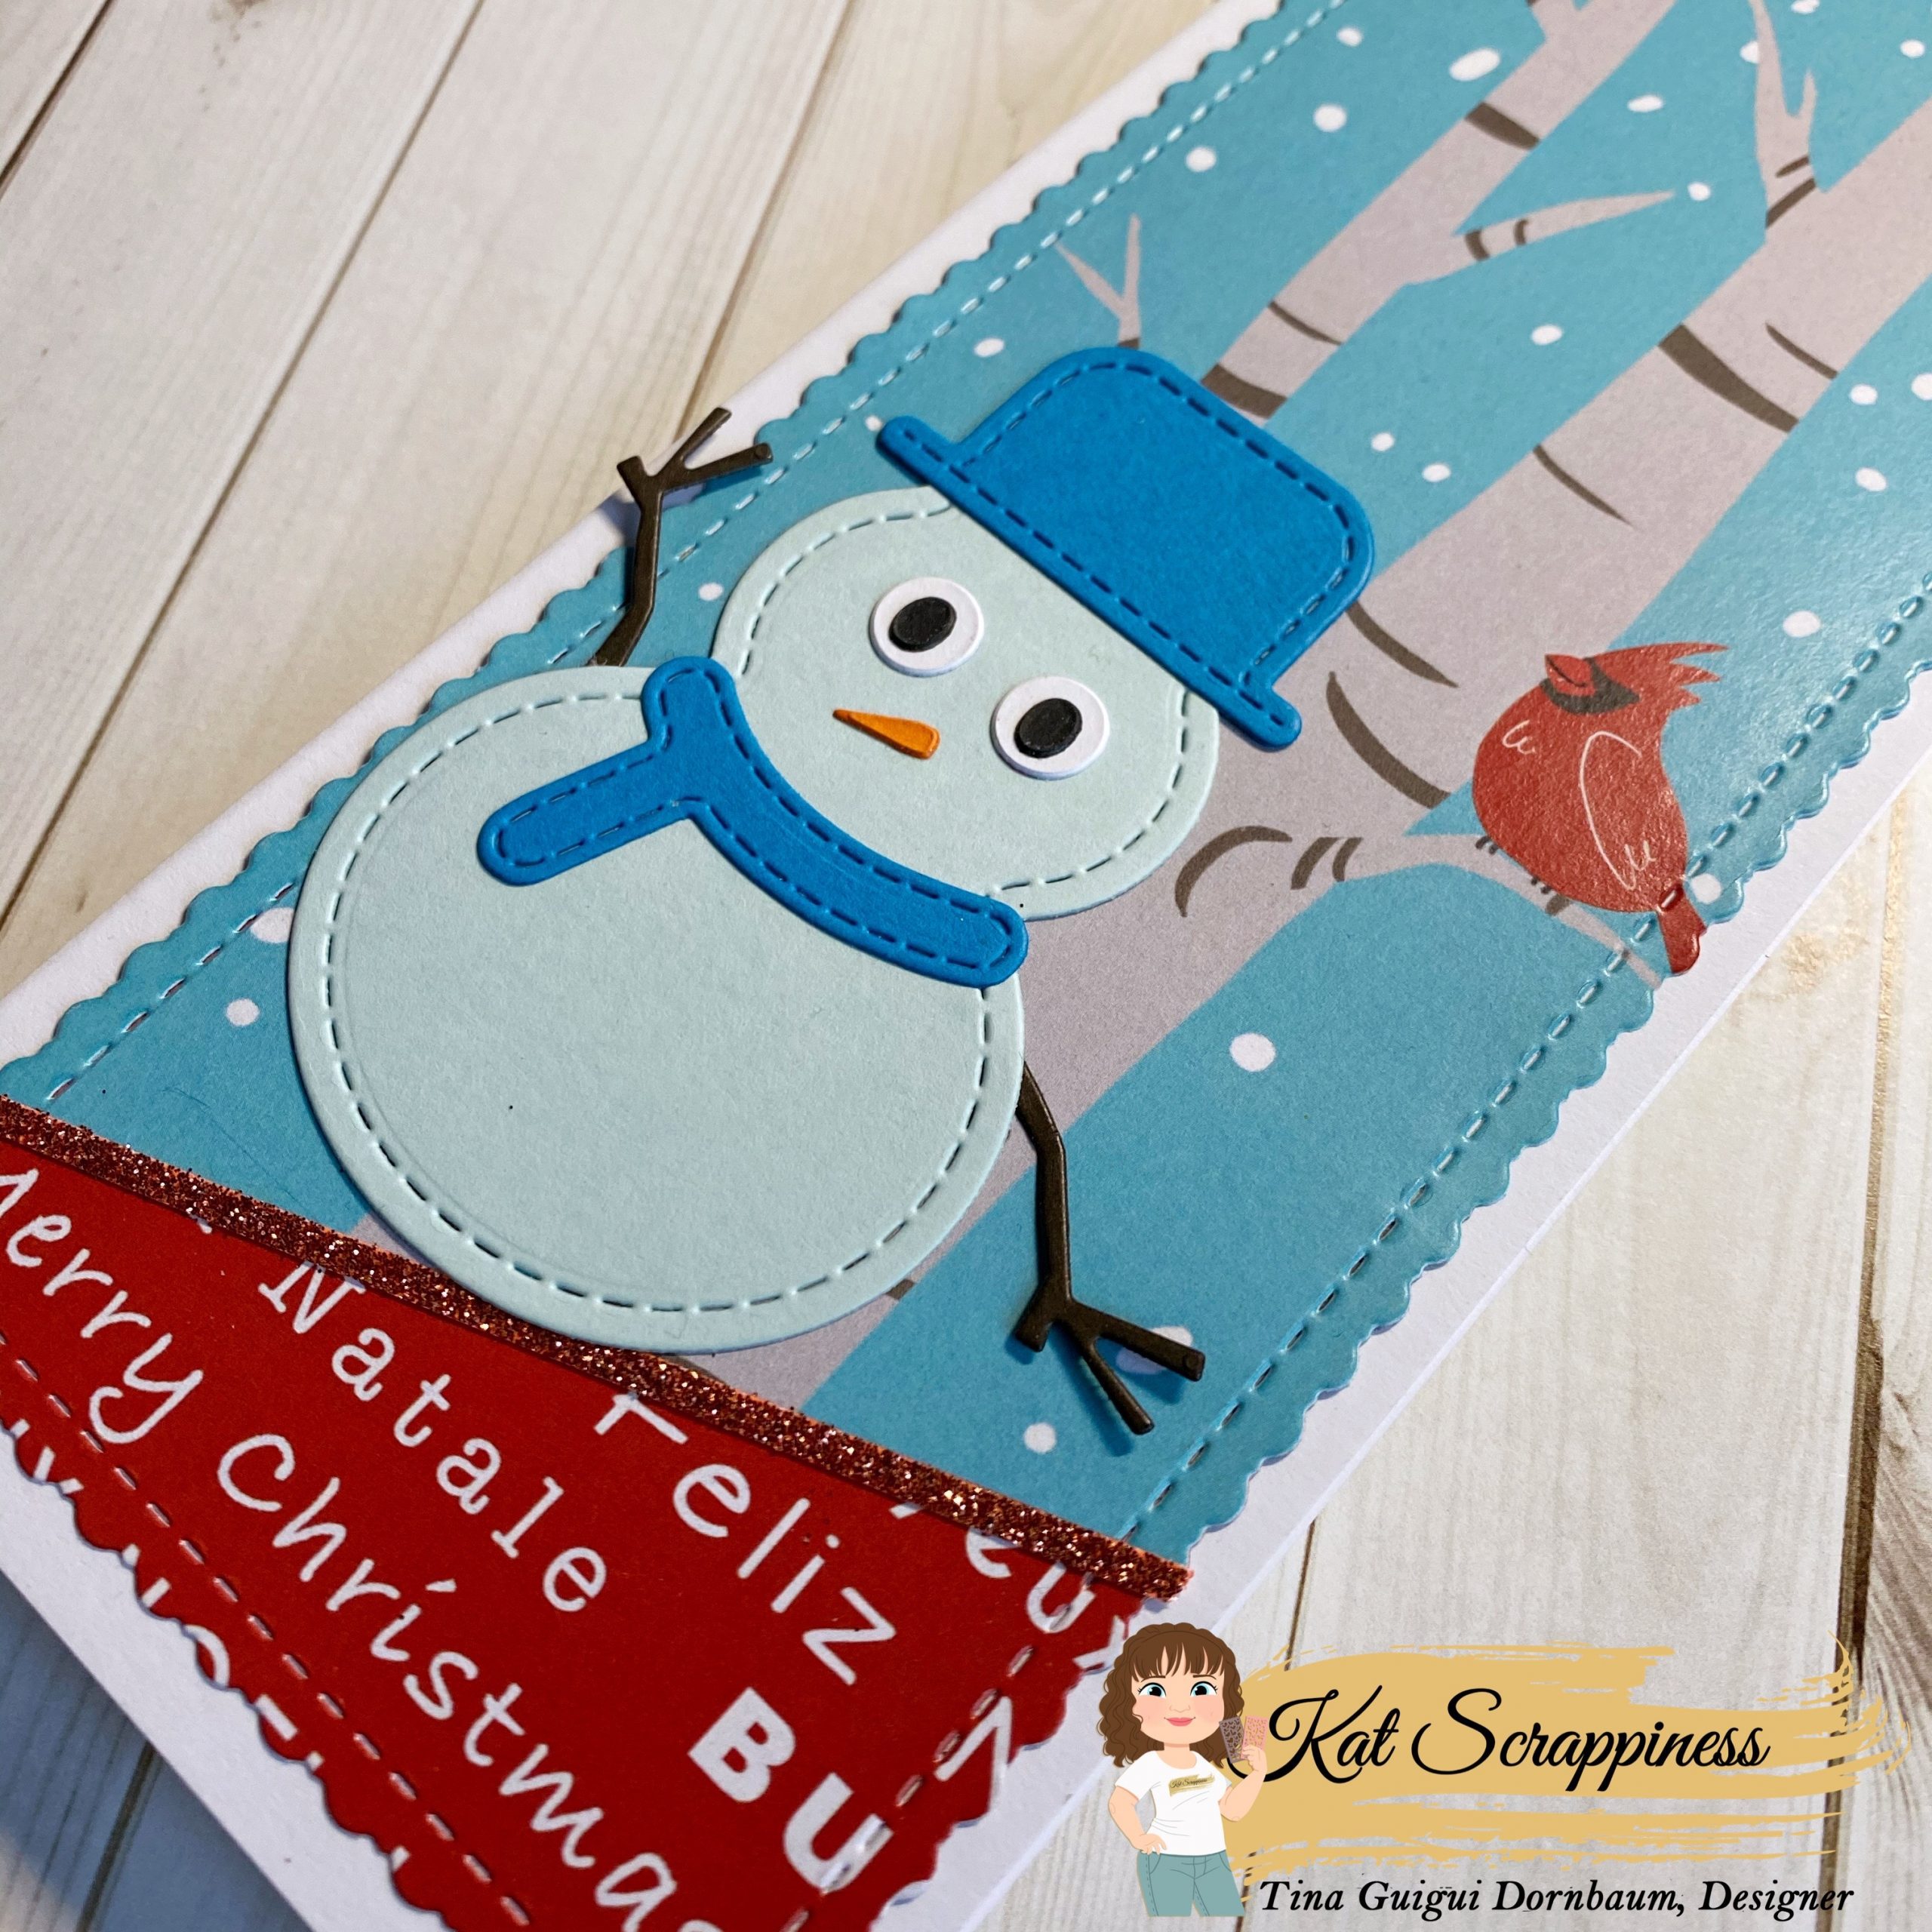
Card #2
Step 1 – Trim White Cardstock to 8 1/2” x 7”, score at 3 1/2” and fold in half for a horizontal side fold card (Slimline)
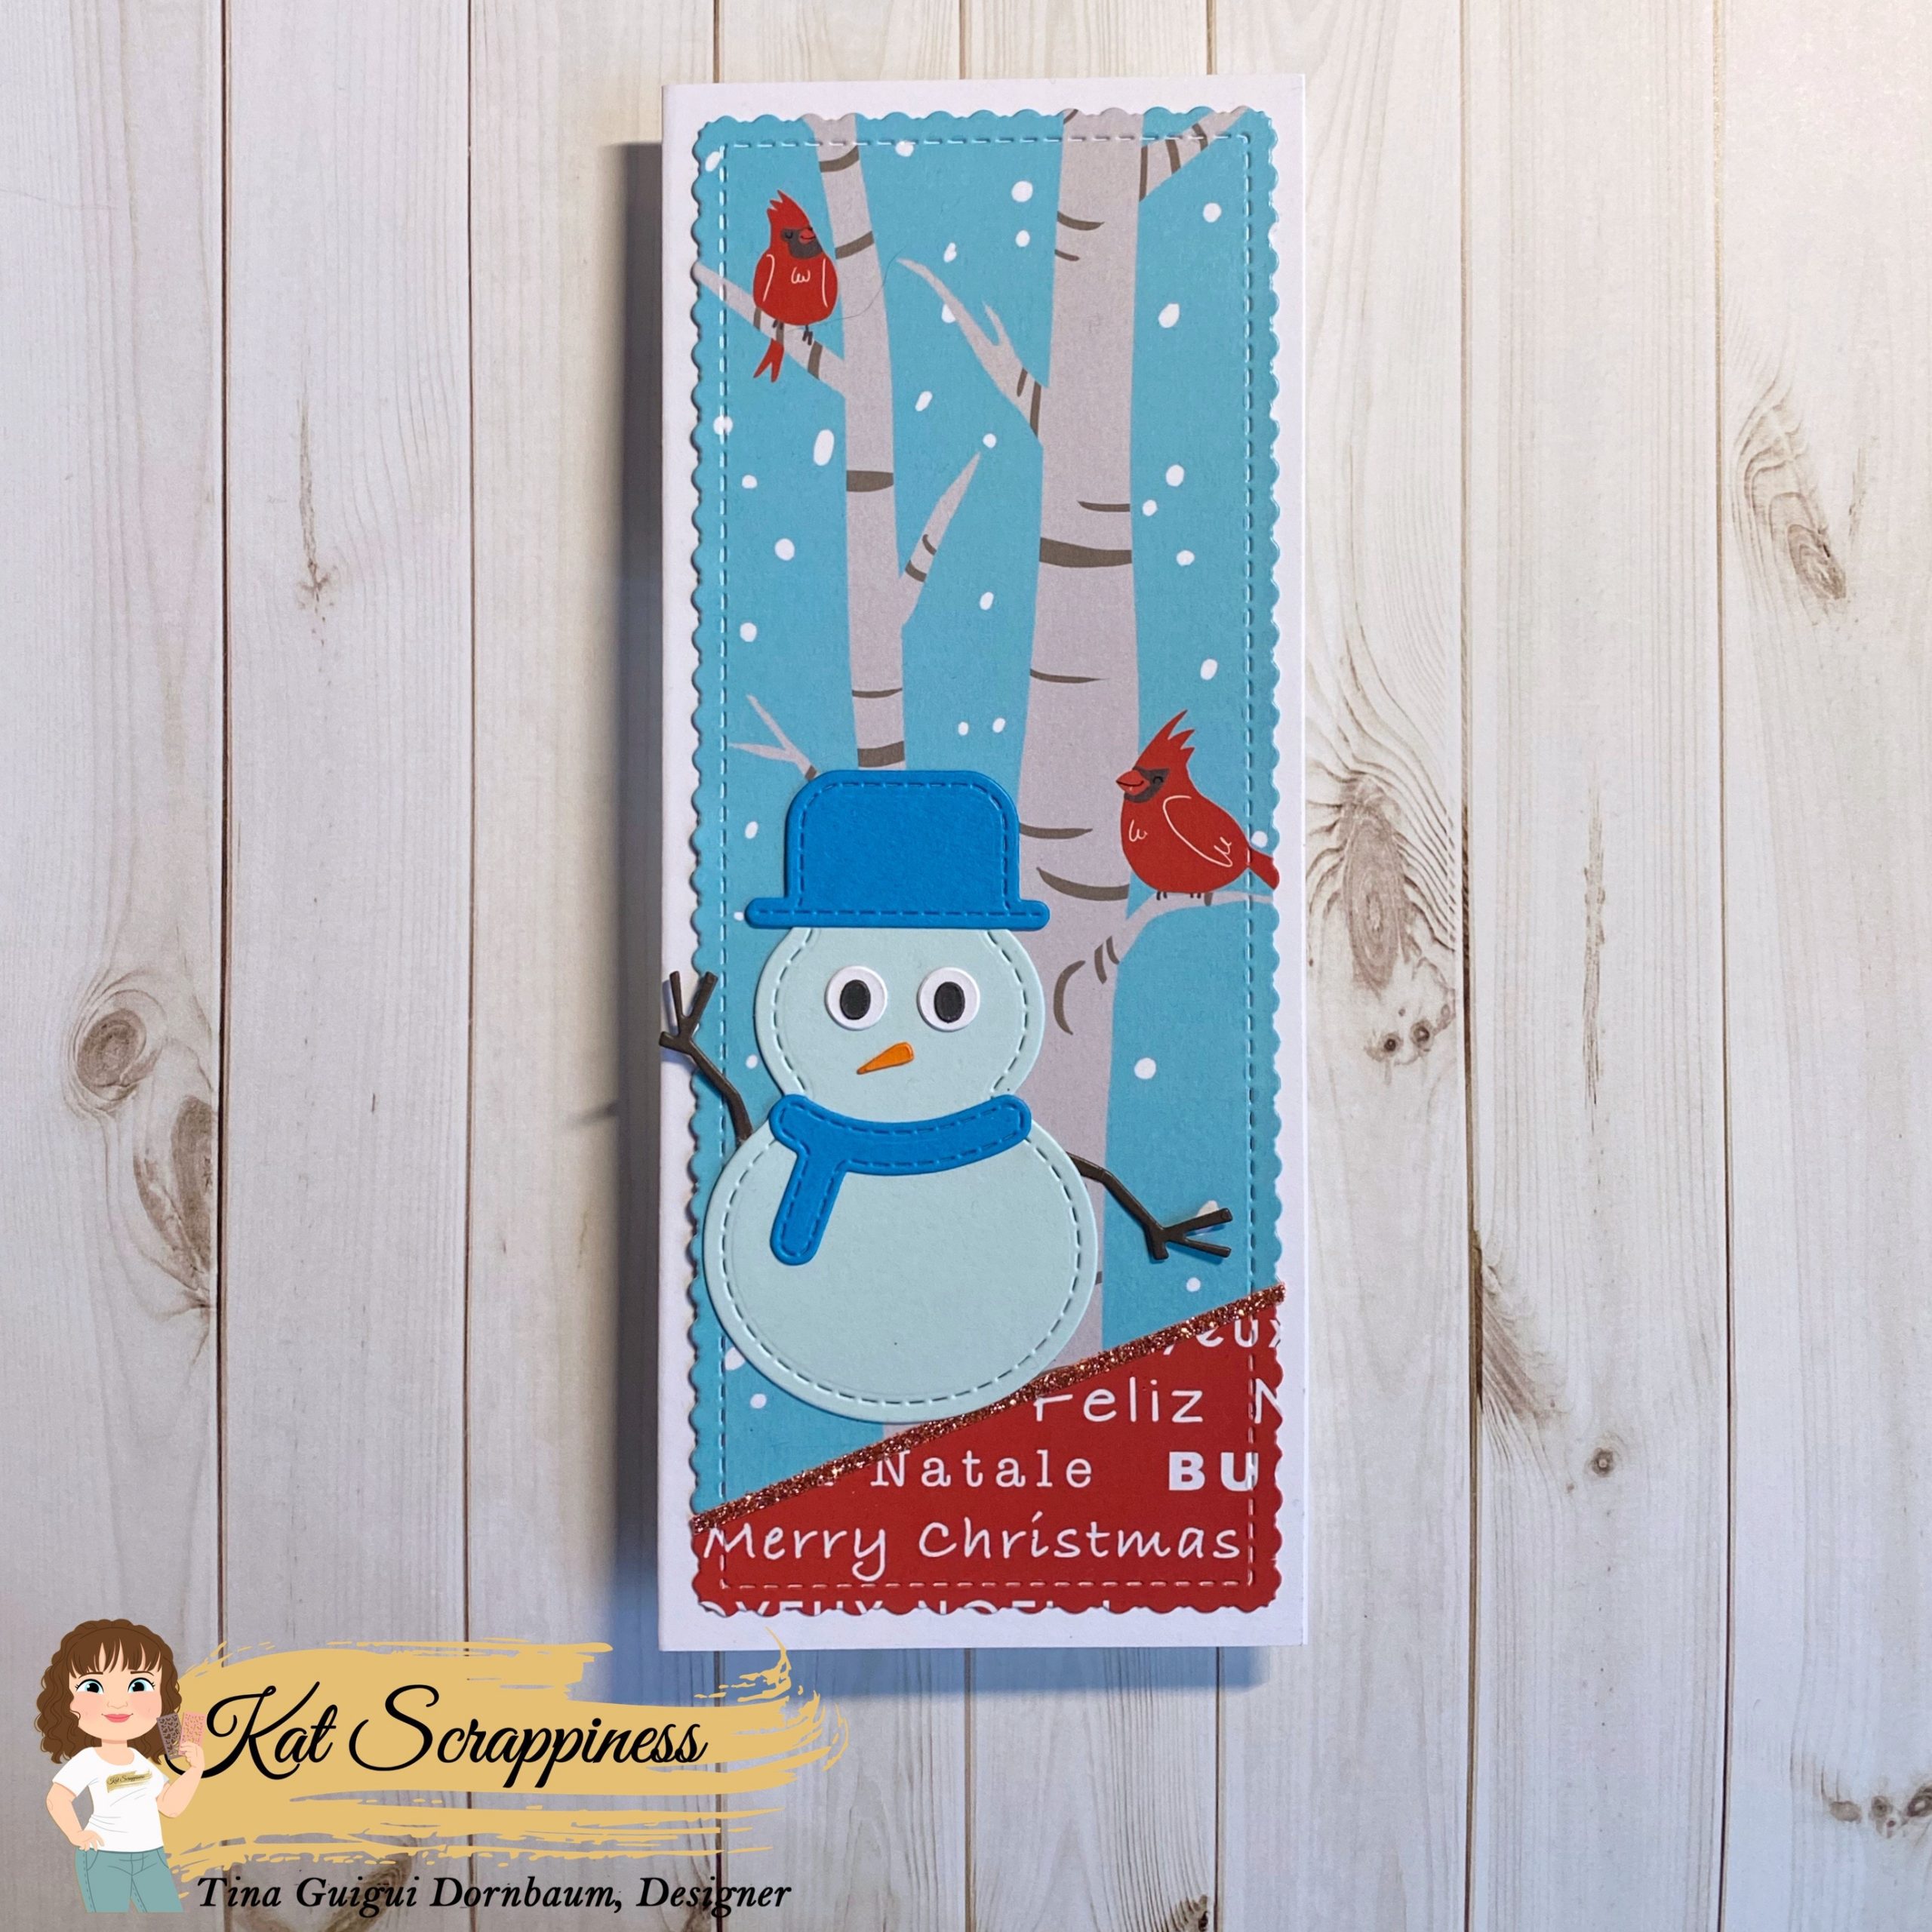
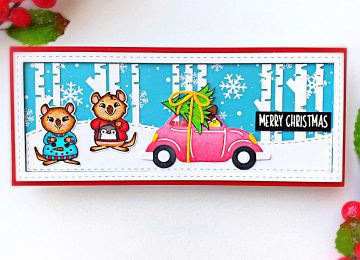
Step 2 – Diecut Fancy Scalloped Nesting Slimline using A Cozy Christmas Paper Pad. (I used 2 designs and trimmed one diagonally.) Adhere to card front using Nuvo Deluxe Adhesive. Trim Red Glitter Cardstock into 1/8” strip and adhere between the 2 patterned paper.
Step 3 – Diecut Stitched & Layered Snowman using various colours of Cardstock. Assemble and adhere to card using Nuvo Deluxe Adhesive.
Both of these cards were pretty quick to put together but I wanted to show you the difference using the patterned paper and a Do It Yourself Background. Below you will find the link to all the products used. Thank you for stopping by and Happy Crafting!
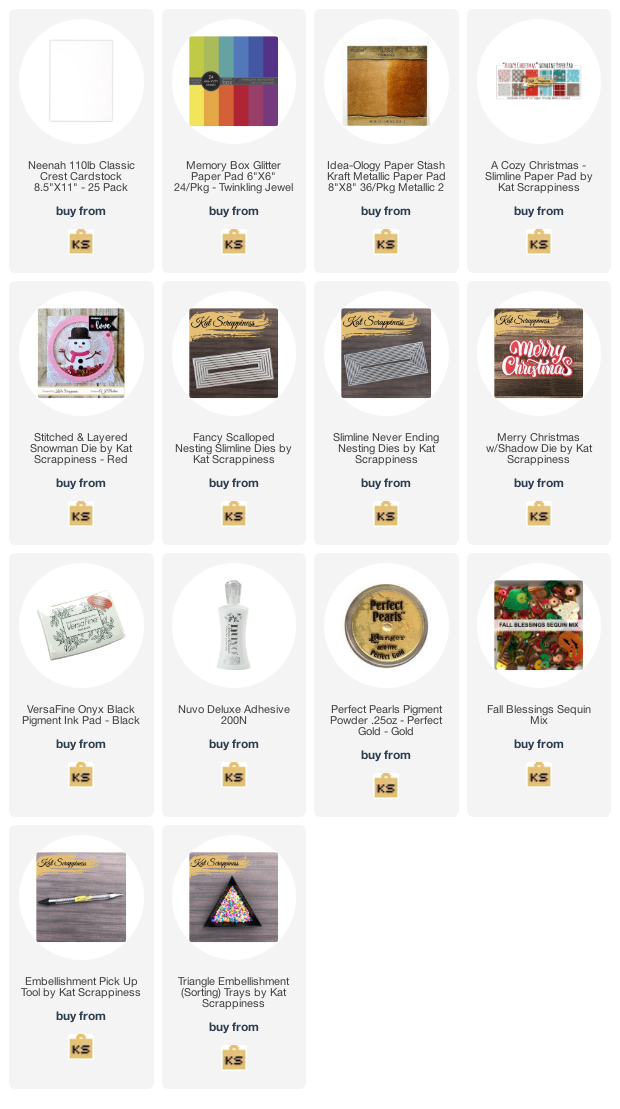
Products Used:
https://linkdeli.com/widget.js?id=f5e8378456858c916708
No Comments