
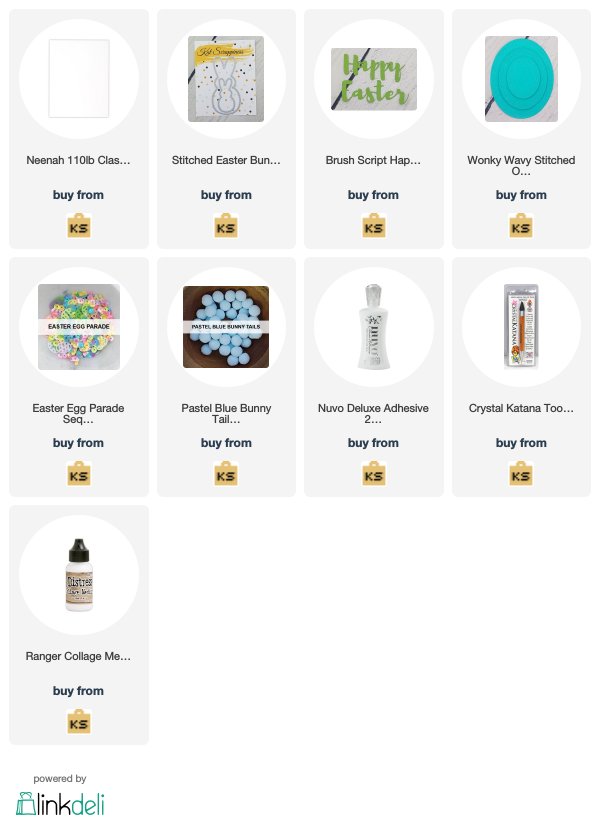
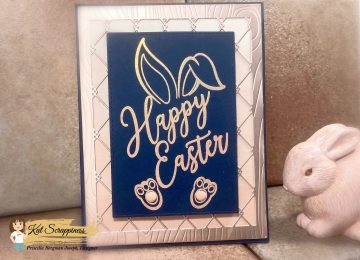
Hi Everyone, it’s Tina here. Today’s card is featuring the Stitched Easter Bunny Outline Dies, Brush Script Happy Easter Word Die, Wonky Wavy Stitched Oval Dies, Easter Egg Parade Sequins and the Pastel Blue Bunny Tails to create this super cute Happy Easter Bunny Tails Card. Below you will find the easy steps to creating your own card.

Step 1 – Trim White Cardstock to 8 1/2” x 5 1/2”, score at 4 1/4” and fold in half for a vertical side fold card. (A2)
Step 2 – Optional – Stamp, diecut or use Polka Dot patterned paper to create the background. I used a Polka Dot Die using White Cardstock and adhered it to a Light Teal Blue Cardstock underneath. Adhere the entire panel to the front of the card using Nuvo Deluxe Adhesive.
Step 3 – Diecut Wonky Wavy Stitched Oval using Light Teal Blue Cardstock. Adhere to card using Nuvo Deluxe Adhesive.
Step 4 – Diecut Stitched Easter Bunny Outline (2x) and adhere to card using Nuvo Deluxe Adhesive. Adhere Pastel Blue Bunny Tails to the bottom of the bunny’s to create a tail.
Step 5 – Diecut Happy Easter Word using Grey Cardstock for Happy and White Cardstock for Easter. Adhere Happy at the top using Nuvo Deluxe Adhesive. Adhere Easter on a Grey Cardstock and trim the edges to create fishtails. Adhere to card using Foam Tape.
Step 6 – For added interest and sparkle randomly adhere Easter Egg Parade Sequins using a Crystal Katana and Collage Medium.


I hope you enjoyed today’s card. Below is a link to all the products used. Thank you for stopping by and Happy Crafting!
Products Used:
https://linkdeli.com/widget.js?1559654439292

No Comments