
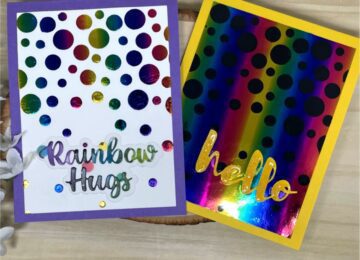
Hi everyone, it’s Tina here. If you have ever been in a creative slump or looked at your supplies and don’t know where to begin, then here is a helpful tip when you feel overwhelmed. Simply create backgrounds for future cards. Creating backgrounds is very therapeutic. I like to make a batch of them and once in a while I flip through them until one of them gives me an idea. I usually add an image or diecut along with a sentiment and your done. Below you will find the steps to create your own card.

Step 1 – Trim White Cardstock to 7″ x 6″, score at 3 1/2″ and fold in half for a vertical side fold card. (Mini Slimline)
Step 2 – Trim White Cardstock to 6″ x 6″. Place the Floatings Dots Stencil on top and apply ink of your choice using a Blender Brush in rainbow order.

Step 3 – Diecut Mini Slimline Stitched Rope using the background create from Step 2. Adhere to card using Bearly Art Precision Glue.
Step 4 – Diecut Summer Fun Essentials (Beach Ball) using White Cardstock. Color it using any medium of your choice. I used Copics using the same rainbow colors as my background. Adhere to card using Foam Tape.
Step 5 – Diecut Happy Father’s Day using Black Cardstock. The sentiment is attached for the words Happy and Day (disgard Father’s) and adhere to card front using Bearly Art Precision Glue.


Be sure to create some backgrounds for those creative slumps. This is also helpful when you need to make a last minute card. Below is a link to all the products used. Thank you for stopping by and Happy Crafting!
Products Used: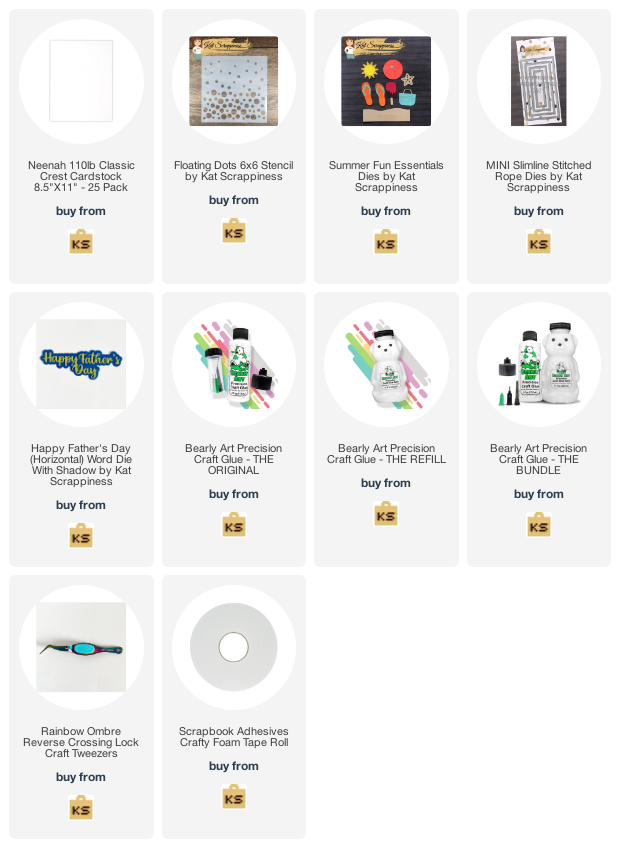
https://linkdeli.com/widget.js?id=f5e8378456858c916708

No Comments