Hello, my crafty friends!
Angelique here with another fun Christmas blog for you! This one is perfect for anyone who needs a little extra inspiration, started crafting a bit late (we’ve all been there!), or just wants to make a few more handmade Christmas cards this year.
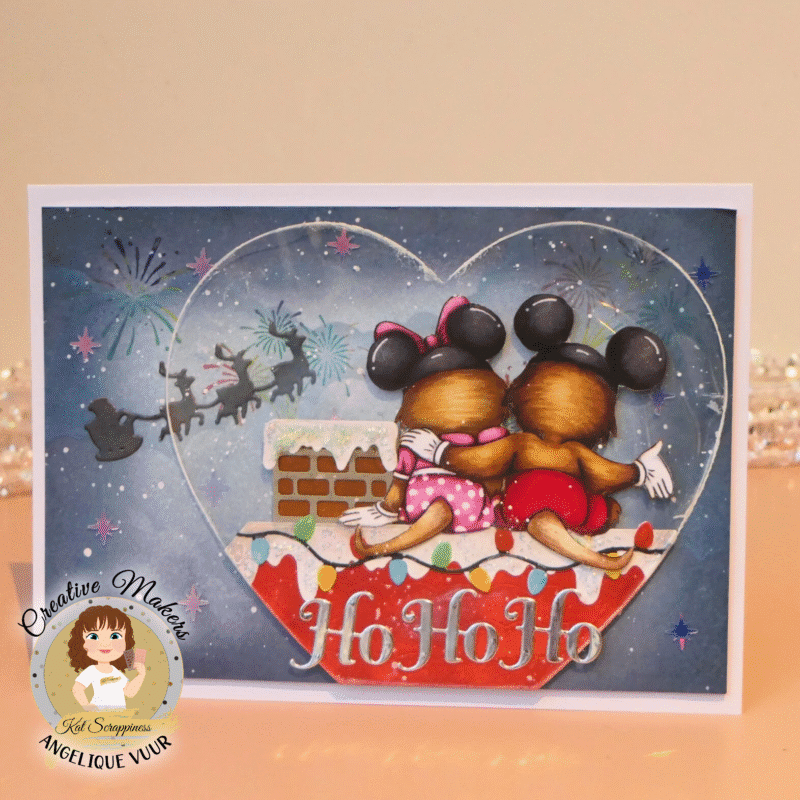
Today’s card is totally different from my previous ones, and I hope it gives you some fresh ideas, especially on how to use products that aren’t actually Christmas-themed. I used the adorable “Meet the Quouses” set from Kat Scrappiness, and honestly… sitting on the roof like that, they have the best view over all the Quokkas celebrating below!
So let’s get started, everyone!
🧰 Kat Scrappiness Products Used
-
Scene Builder 6×6 Stencil (for the clouds)
-
Meet the Quouses Stamp Set (for the fireworks)
-
The Night Before Christmas Window Scene Craft Dies (for Santa & his sleigh)
📋 Card Details
This card is A7 (5″ x 7″), because the acetate heart is quite large and really steals the show!
First, create an A7 card base and fold it on the long side.
Cut a piece of Neenah Solar White cardstock slightly smaller than 5″ x 7″ so you’ll have a clean white border.
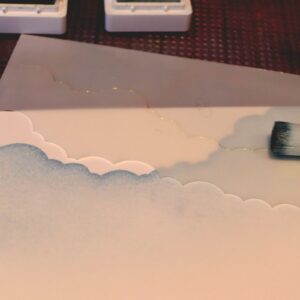
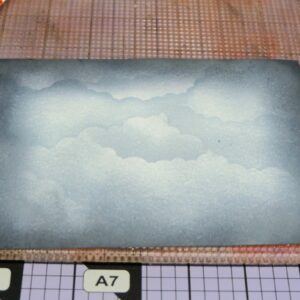
Using the Scene Builder Stencil, blend a sky full of soft clouds.
Don’t worry about keeping them too light — the entire panel will be inked with blue. The edges should be a darker blue, fading to a softer tone in the center. You can see the effect in the photos below.
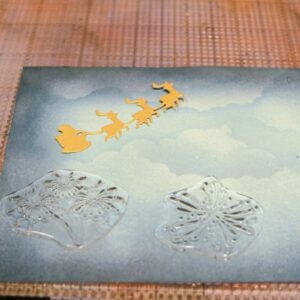
Next, using the fireworks stamps from the Meet the Quouses Stamp Set, stamp fireworks in both corners and once again in the middle. I used a mix of colors, but black ink also works beautifully.
Once that’s done, set the background aside.
Preparing the Quouses
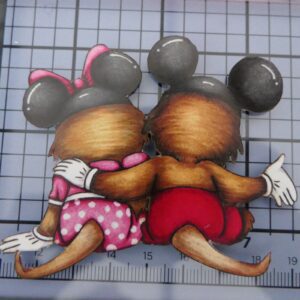
I used one of the Quouses from the Ephemera Pack, already colored. The only extra thing I did was trim off the white border with scissors. Not necessary, but it makes the look even cleaner and cuter.
Creating the Roof Scene
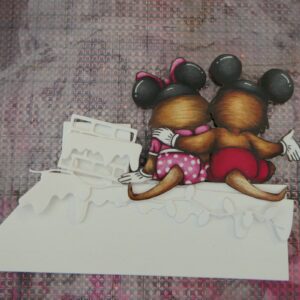
From the Up On The Rooftop die set, I cut all pieces from Neenah Solar White – except Santa and the dormer, which I didn’t use.
From The Night Before Christmas Window Scene dies, I cut Santa and the reindeer from pearlescent gold. Later, I changed my mind and colored it black with a glitter pen, this looked much nicer!
I also cut out the sentiment from silver colored cardstock. I only used the words, the “Ho Ho Ho”, not the shadow.
Then you Ink-blend all the pieces, you can choose colors of your own preference and assemble the little rooftop scene.
Building the Acetate Heart
Using the largest heart from the Embossed Edge Heart Craft Dies and cut a heart from acetate.
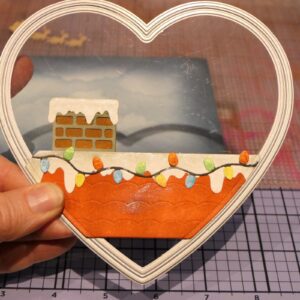
Now the roof needed to be trimmed so it fits perfectly inside the heart. Once you’re sure of the placement, trim carefully and adhere the roof onto the acetate.
You can see this step in the picture below.
TIP: use a little bit of low stick tape so the die and roof will stay in the right position.
Add Stickles Glitter Glue – Icicle to give the snowy roof a sparkly, frosty look.
Then use white Stazon ink to add a white, snowy edge to the acetate heart.
(Be patient: this takes a while to dry. You can heat it, but some acetate warps very fast, so be careful!)
You can also use a little white paint or gesso instead. Normal ink doesn’t stay on acetate.
When everything is dry, adhere the Quouses on top of the roof.
Final Assembly
Dry-fit the heart on your background panel so you can see where to place:
-
Santa & his reindeer
-
the tiny stars from the North Star | Starlight Sequins
After adhering these, place thin foam tape behind the heart – only where it won’t show – and attach it to your background.
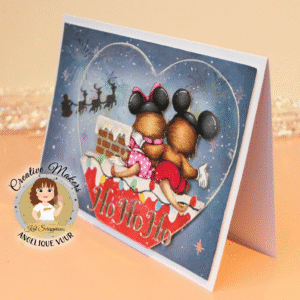
Finally, adhere the entire piece to your A7 card base… and your magical Christmas card is ready to spread joy!
Thank you so much for stopping by and reading my blog!
I hope you enjoyed this Christmas card idea, and I would love to see your version if you decide to make it, feel free to tag me!
Good luck with all your festive crafting, and I’ll see you in the next Christmas card tutorial!
Don’t forget to check out What’s NEW at Kat Scrappiness for even more crafty amazingness!
Hugs,
Angelique ☃️
Angels Happy Cards for Kat Scrappiness


No Comments