Hi! This is Nicki from the Design Team here today to make a fun shaker card using vellum. I created a video with all the details that you can find on the Kat Scrappiness YouTube Channel, so make sure to check it out.
This card uses the Stitched Balloon Cover Plate die. I love these extra balloons because it gives you lots of options with this set.

First, I used the cover plate on white paper. Next I laid down some color from my ink pads onto another piece of paper. After laying down the color of the rainbow, I added Versamark ink to the top of all the colors. Next, I used holographic embossing powder to create my own custom rainbow card stock.

After all the colors were heat embossed, I cut the balloon shapes out of all of them. Before placing the balloons on the cover plate, I colored the strings of the balloons with a black copic marker.
Next, I placed the balloons in reverse rainbow order using glue and foam tape. Now, we need to make the shaker portion of the card. I cut a piece of vellum and used double sided adhesive to adhere it to the back of the cover plate. Next, I added foam tape around the outside of the card to create the shaker window.
Then, it was time to place the shaker pieces in the center of the card and adhere the front to make the shaker window.

All that was left to do was to cut the sentiment shadow and words from the “Make a Wish” die.

What do you think of the vellum? I love how you can see hints of color behind it but the main rainbow really stands out. Let me know in the comments!
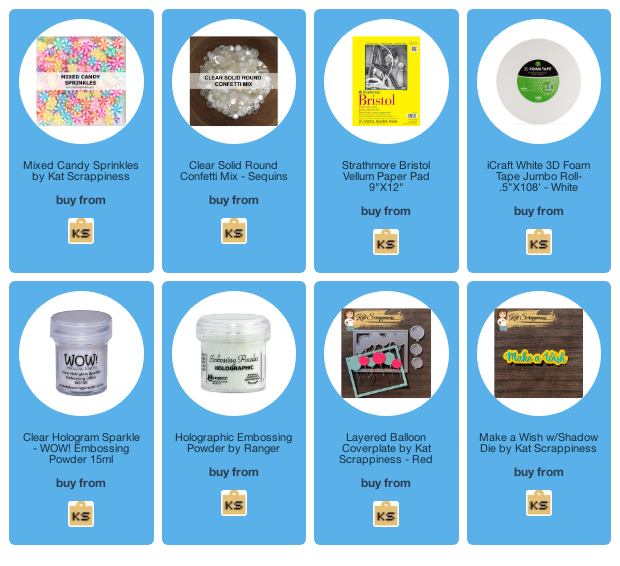
All the products used for the card will be listed below in the links, make sure to click through these if you are shopping today. They do NOT cost you anything and they help support my crafty goals. Thank you so much!


No Comments