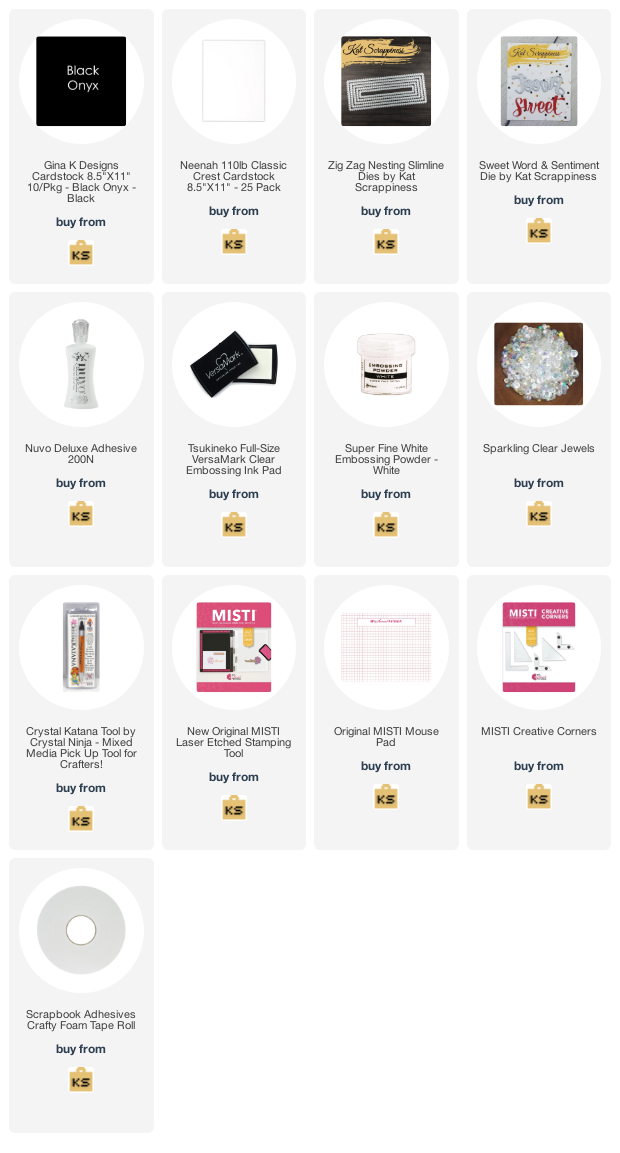
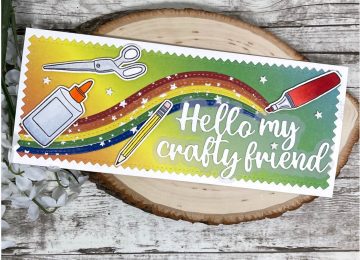
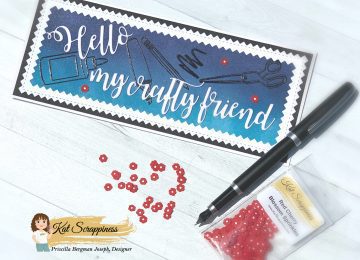
Hi everyone, it’s Tina here. Kat Scrappiness has quite a selection of the Slimline Nesting Dies. I used the Zig Zag Nesting Slimline die for today’s card. Below you will find the steps to create your own Sweet Birthday Wishes Slimline Card.

Step 1 – Trim White Cardstock to 7” x 8 1/2”, score at 3 1/2” and fold in half for a vertical side fold card (Slimline)
Step 2 – Trim Black Cardstock to 3 1/4” x 8 1/4” and adhere to card front using Nuvo Deluxe Adhesive.
Step 3 – Trim White Cardstock to 3 1/2” x 8 1/2” (this can be used from the excess of Cardstock from Step 1). Place a background stencil on top and secure it with painter’s tape or washy tape. Apply ink with a blending brush. I used Distress Oxide Inks in colours Spiced Marmalade, Fired Brick, Mustard Seed, Aged Mahogany for the Flowers and Twisted Citron for the Leaves. I used Post it notes to mask off the areas I did not want colours to blend.
Step 4 – Diecut Zig Zag Nesting Slimline with the panel created in Step 3 and adhere to card using Nuvo Deluxe Adhesive.
Step 5 – Diecut Sweet (word die) using Orange Cardstock and adhere to card using Nuvo Deluxe Adhesive.
Step 6 – Stamp sentiment using Versamark Ink on Black Cardstock, sprinkle White Embossing Powder and remove the excess. Heat set it with a heat tool. Trim out the sentiment and adhere to card using Foam Tape.
Step 7 – For added interest and sparkle randomly adhere Sparkling Clear Jewels using a Crystal Katana and Nuvo Deluxe Adhesive.


This card can be used for several occasions by changing the Word Die and sentiment strip. Below is a link to all the products used. Thank you for stopping by and Happy Crafting!
Products Used:

https://linkdeli.com/widget.js?id=f5e8378456858c916708


No Comments