Hi everyone, it’s Tina here. Today I have a sweet card to share with you using a technique from a stencil I did for another card I made in August. Below you will find the details and steps to create your own card.

Step 1 – Trim White Cardstock to 11″ x 4 1/4″, score at 5 1/2″ and fold in half for a horizontal side fold card. (A2)
Step 2 – Trim White Cardstock to 5 1/2″ x 4 1/4″. Apply a stencil you have in your stash and apply Distress Oxide Ink in various colors. This will give you a background but there is still ink on the stencil which doesn’t need to go to waste. Spray water and place on top of another cardstock trimmed to 5 1/2″ x 4 1/4″. When you remove the stencil you now have a watercolor inked background. Below is a photo of my card using the inked background as it was originally intended to use. My photo above for today’s card is using the ink left over on the stencil for the watercolor effect.

Step 3 – Diecut Wonky Wavy Stitched Rectangles to the panel created in Step 2. Adhere to card front using Nuvo Deluxe Adhesive. Place something heavy on top while it dries to prevent warping.
Step 4 – Diecut Floral Heart using Pink Cardstock and Black Cardstock. Adhere the Pink diecut on top of the Black and off set it (this will create a shadow effect) then adhere to card front using Nuvo Deluxe Adhesive.
Step 5 – Diecut I Love You Shadow Sentiment using White Cardstock x3. Adhere each layer and adhere to card front using Nuvo Deluxe Adhesive.
Step 6 – Stamp any sentiment in your stash using Versamark on Black Cardstock. Sprinkle White Embossing Powder and remove the excess. Heat set it with a heat tool. Try the sentiment and adhere to card using Nuvo Deluxe Adhesive.
Step 7 – Stamp Koala-ty Time image using Gina K Amalgam Ink. Color in image in alcohol inks of your choice. I used Spectrum Noir Illustrator Markers. Cut out image or use your Scan N Cut and adhere to card using Nuvo Deluxe Adhesive to the top portion and a piece of Foam Tape to the bottom portion.


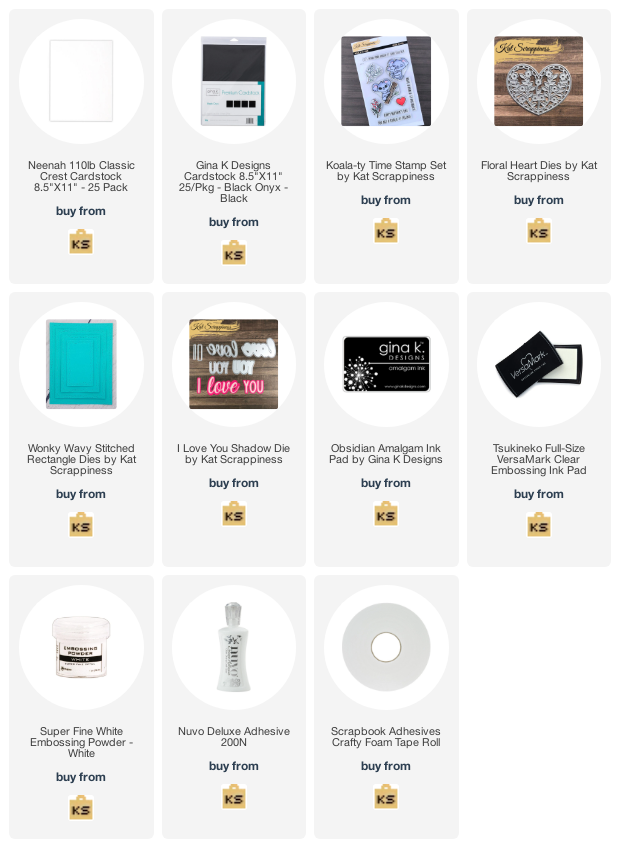
This card can be used for several occasions by changing the colors, image and/or sentiment. Below is a link to all the products used. Thank you for stopping by and Happy Crafting!
Products Used:

