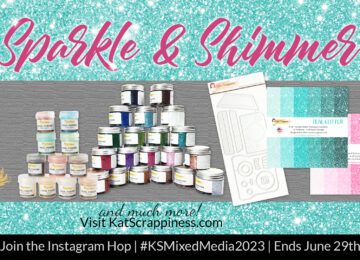
Hello friends and welcome to the Kat Scrappiness Sparkle & Shimmer Release! We are SO very excited to share…
Challenges & Hops, Design Team Projects, Giveaways, New Releases, News

Hello friends and welcome to the Kat Scrappiness Sparkle & Shimmer Release! We are SO very excited to share…
Hello friends and welcome to the Kat Scrappiness April Release 2023. This release includes such cute Friends Under…
Hello friends and welcome to the Kat Scrappiness Easter Release 2023. This release includes 3 awesome Dies that you…
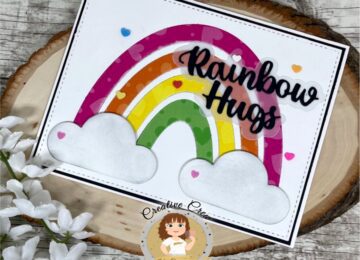
Hello everyone! It’s Donna Idlet here sharing a card featuring the Confetti Party Rainbow Dies, Rainbow Hugs Word w/Shadow die…

Hello crafty friends!! Nora here with my last post on the blog. I have had a fabulous time on the…

Happy Wednesday everyone. It’s Caren here on the blog today. Is everyone ready for the holidays? I’m really close! I…
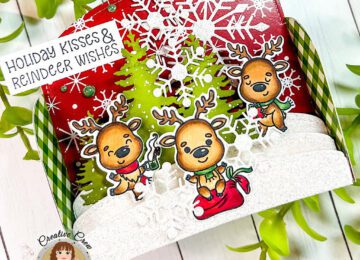
Hello crafty friends and Happy Holidays!! We are so close to Christmas and I wanted to share one more Christmas…