Hello everyone! Maria here on the blog with you sharing two projects, showcasing the #Ukraine Strong Stamp Set and Coordinating…

Hello everyone! Maria here on the blog with you sharing two projects, showcasing the #Ukraine Strong Stamp Set and Coordinating…
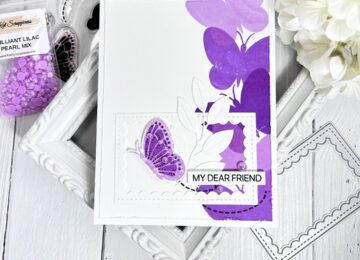
Hello Friends!! Nora here on the blog today with a monochromatic card using some of the Summer Vibes release from…

Happy Monday Crafty Friends! Priscilla here from Nubble Light Designs. Today I am sharing a summer card with an ocean…
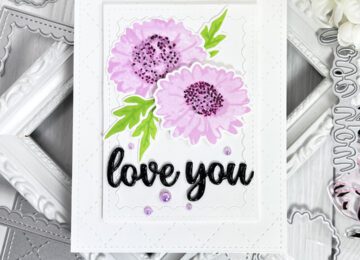
Hello KS fans! Maria here on the blog with you today sharing yet another floral card, featuring my favorites from…
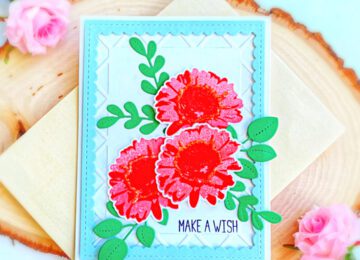
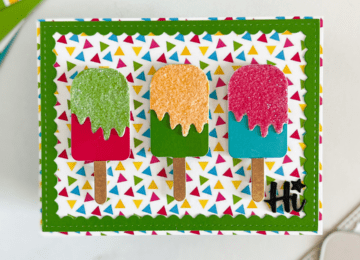
Hello Friends!! Nora here on the blog today with a stamped card using some of the products from the Kat…
Hi, this is Nicki from the design team! Today we are going to look at many of the new summer…
(affiliate links to most products are provided below at no additional cost to you) Hi All! I am up on…