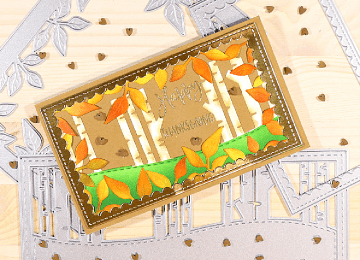
Hello everyone!! Nora here on the blog today with a fun way to use your 5×7 Foliage Frame Die-turn it…
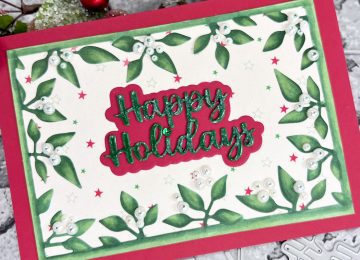

Hello everyone!! Nora here on the blog today with a fun way to use your 5×7 Foliage Frame Die-turn it…
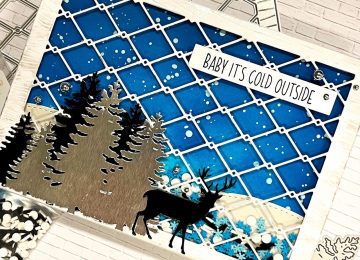
Hello crafty friends!! It’s Saturday!! Sammi here to show you a beautiful winter scene showcasing the Kat Scrappiness…
I am not ready for the holidays yet! The store shelves are lined with Christmas items. I haven’t even finished…
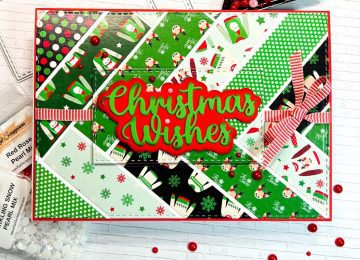
Happy Monday friends! Sammi here with a fun card using the newly released Kat Scrappiness Ugly Sweater Slimline Paper pad…
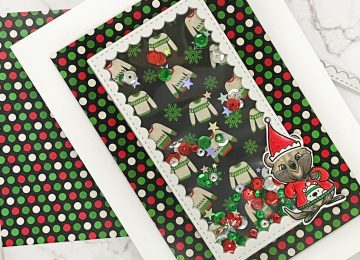
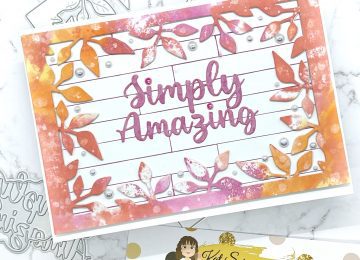
Hello! Amanda here and this is my first post as a Kat Scrappiness Design Team Member. Today, I am sharing…
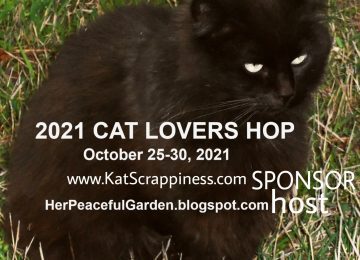
Hi there friends of Kat Scrappiness, this week we are participating in the 2021 Cat Lovers Blog Hop that our…
Good morning all my crafty friends, today we will be creating a die-cut card. I am up on the Kat…