
Hi Everyone, it’s Tina here. The Heart Panel Die can be used for many occasions such as Valentine’s, Anniversary or just to say I love you. Below you will find the steps to create your own Sending Love Card.

Step 1 – Trim White Cardstock to 8 1/2” x 5 1/2”, score at 4 1/4” and fold in half for a vertical side fold card. (A2)
Step 2 – Trim White Cardstock to 5 1/2” x 4 1/4”. Place a stencil on top and apply ink in various colours using an ink applicator going from lightest colour from the top and to darkest to the bottom.
Step 3 – Diecut Double Stitched Rectangles to the panel created in Step 2. Adhere to card front using Nuvo Deluxe Adhesive.
Step 4 – Trim White Cardstock to 5 1/2” x 3 1/2”. Apply ink in various colours using an ink applicator going from darkest colour from the top and to lightest to the bottom.
Step 5 – Diecut Heart Panel using White Cardstock. Adhere to the diecut over the panel created in Step 4 and then adhere it for the card using Nuvo Deluxe Adhesive.
Step 6 – Apply ink to a scrap piece of White Cardstock. Diecut I Love You (only Love) Shadow using the inked piece Cardstock. Then diecut I Love You (only Love) using White Cardstock. Assemble and adhere to the card using Nuvo Deluxe Adhesive.
Step 7 – Stamp a small sentiment using Versamark, Sprinkle White Embossing Powder and remove the excess. Heat set it with a Heat Tool. Trim and adhere to card over the word Love.
Step 8 – For added interest randomly adhere Red Heart Sprinkles using Collage Medium and a Crystal Katana.


As I mentioned the Heart Panel die can be used for many occasions by simply changing the colors and/or the sentiment. Below is a link to all the products used. Thank you for stopping by and Happy Crafting!
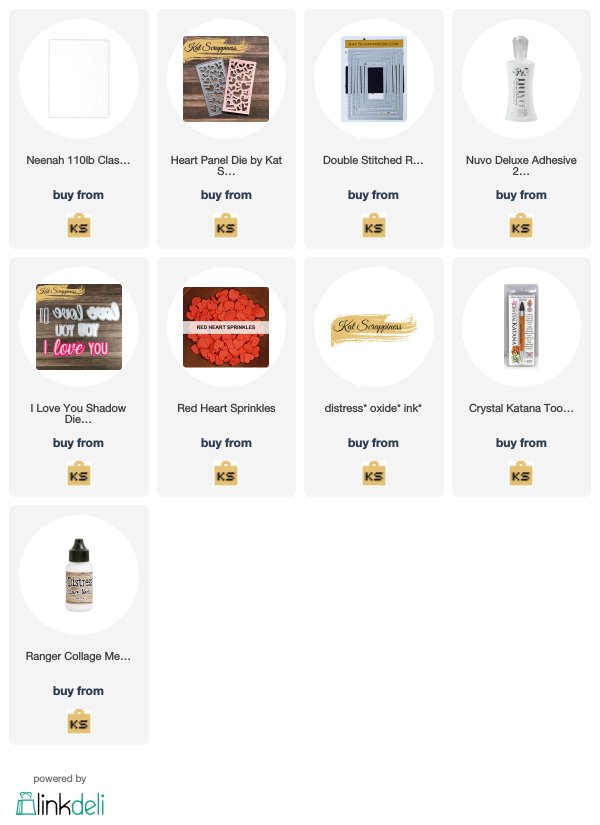
Products Used:


No Comments