Hello crafty friends!
It’s Alicia a.k.a. Crafty Al here to share a look at the trio of cards that I created using some of the new products from Kat Scrappiness and the layout from the November 2021 SheetLoad of Cards.


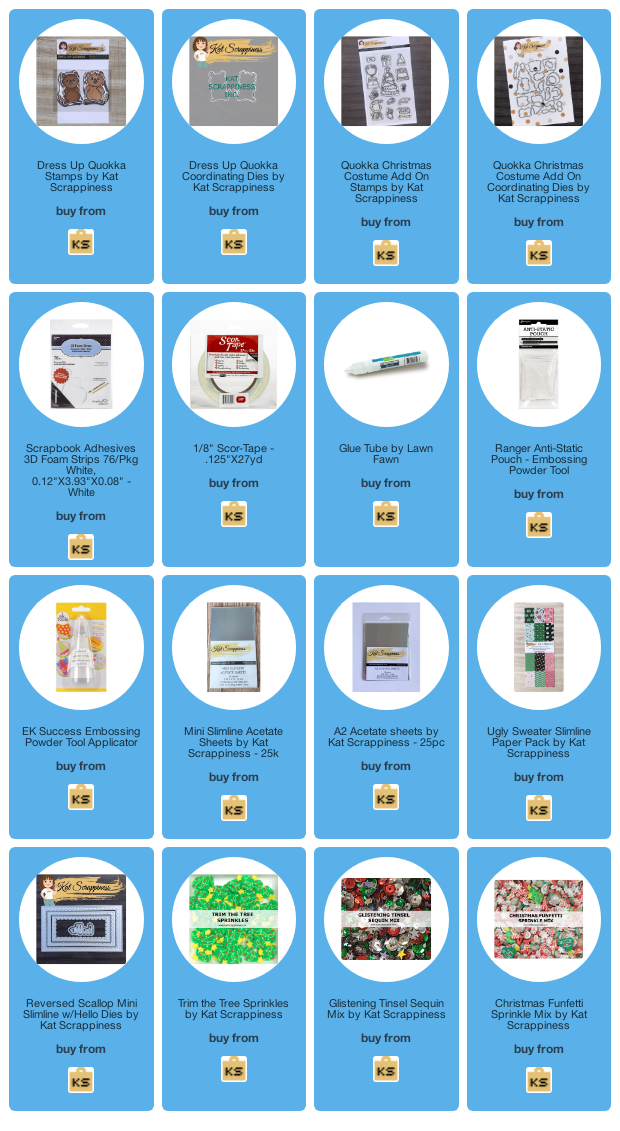
For my focal point I used the Dress Up Quokkas stamps and Coordinating Dies and their Ugly Sweater Add On Stamps and Coordinating Dies. The patterned papers are from the NEW Ugly Sweater Slimline paper pad and they worked wonderfully with this month’s SheetLoad layout / dimensions.

To finish off the card, I sprinkled a few of the Sparkling Snow pearls on each card and used the smallest die from the 5×7 Stitched Rectangles as a base for my Quokkas to stand on.
You can check out my video for the full process…
Thanks for stopping by and I hope you enjoyed today’s card!
Alicia / Crafty Al
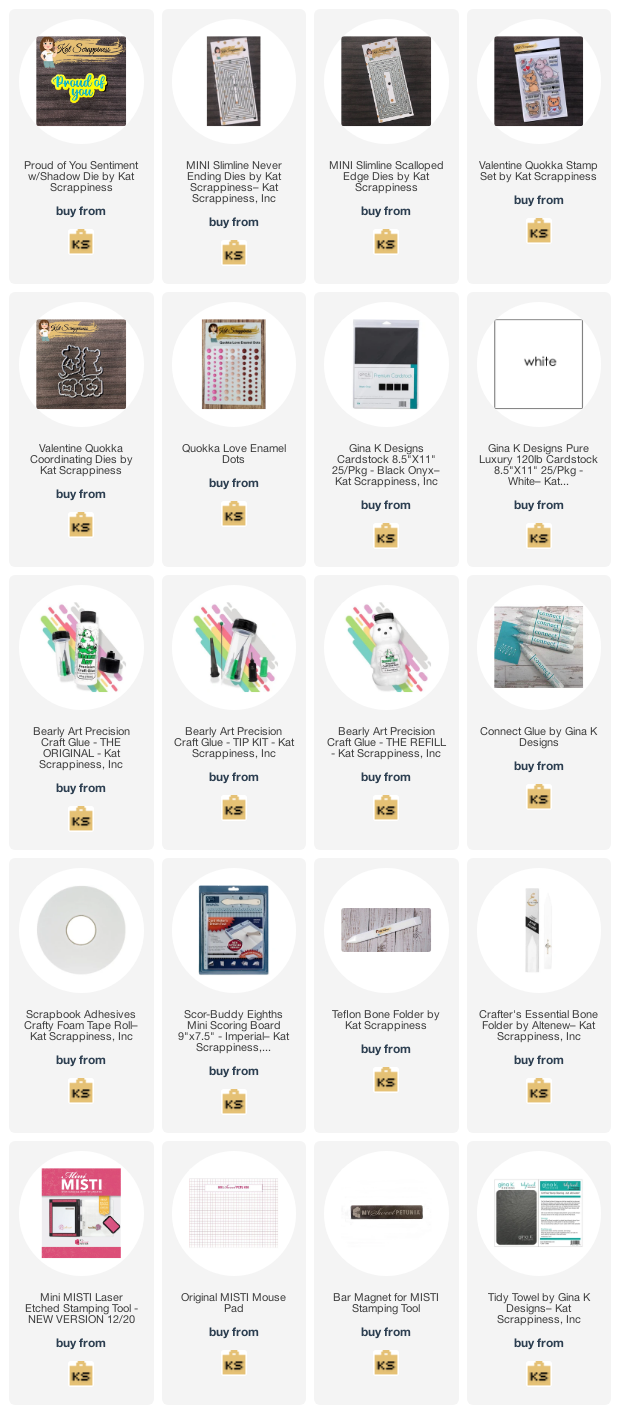
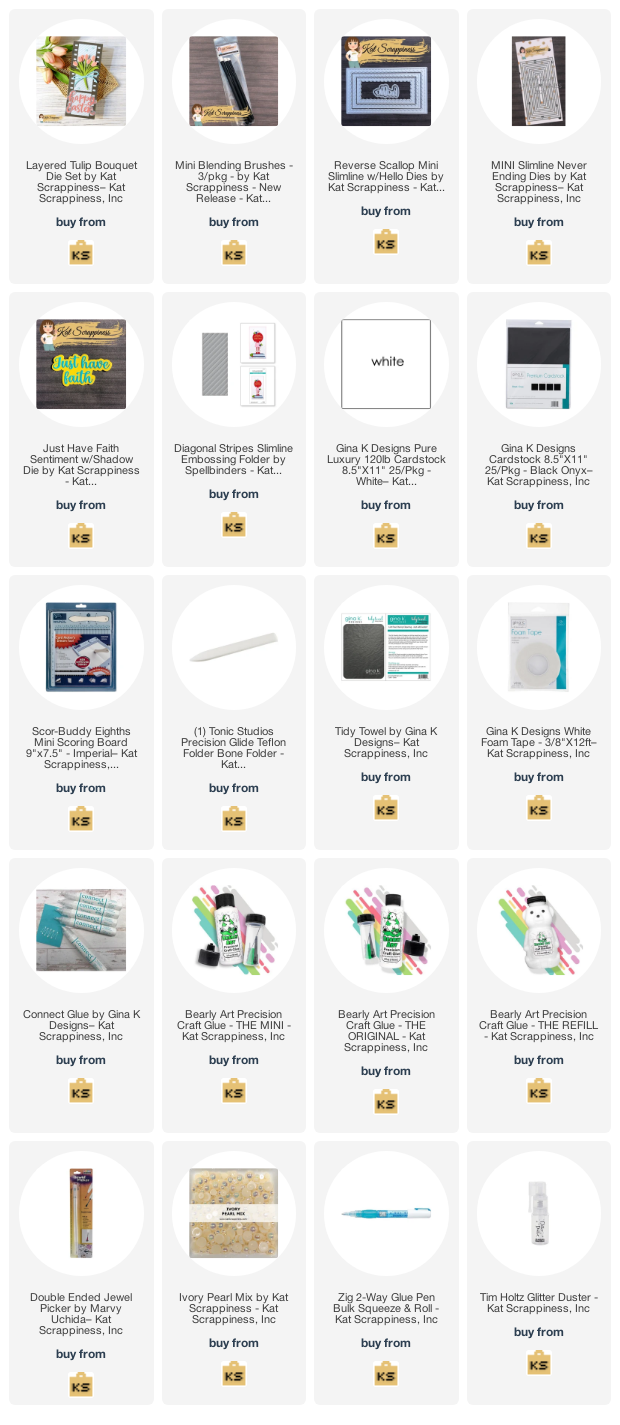
Related Products:
Kat Scrappiness
Dress Up Quokka Stamps: http://shrsl.com/38yv1
Dress Up Quokka – Coordinating Dies: http://shrsl.com/38yva
Ugly Sweater Add On Stamps: http://shrsl.com/38yvv
Ugly Sweater – Coordinating Dies: http://shrsl.com/38yvp
Ugly Sweater Slimline Paper: http://shrsl.com/38yxx
5×7 Stitched Rectangles: https://shrsl.com/377u5
Sparkling Snow Pearl Mix: http://shrsl.com/3831u
Triangle Embellishment Tray: http://shrsl.com/37sxh
Embellishment Organizer: http://shrsl.com/37sxi
MISTI: http://shrsl.com/37svi
Art Glitter Glue: http://shrsl.com/37svl
Memento Tuxedo Black Ink Pad: http://shrsl.com/38yw1
**Some links above are affiliate links. I link them up for your convenience and may receive a small commission, at no extra cost to you. I hope you will consider using the links if you decide to purchase the products I share. 🙂