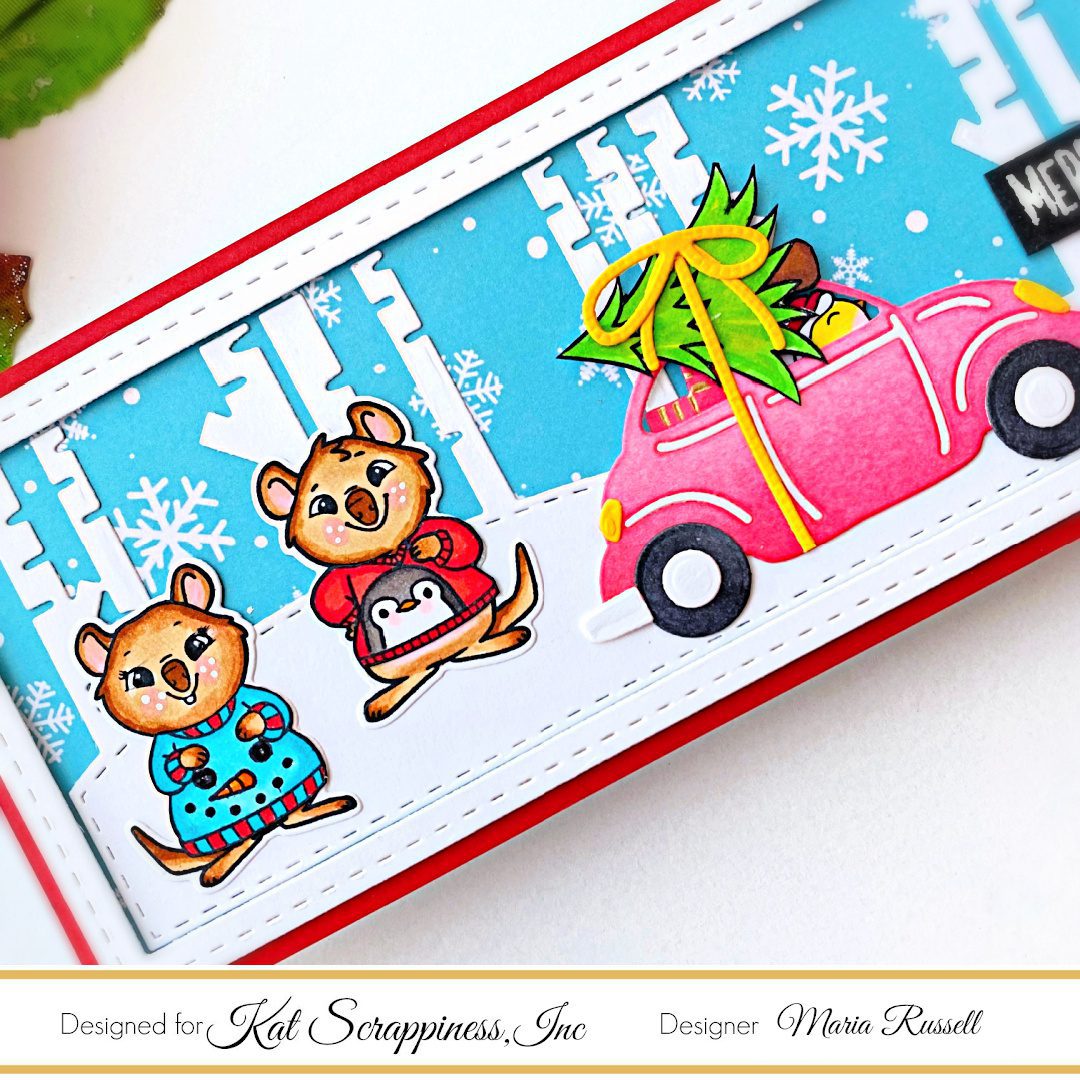
Christmas is fast-approaching and I am totally looking forward to coming home. There’s something so special about being home for the holidays! Campfire, Ugly Sweaters, Hot Cocoa, and spending quality-time with my family! Home for the holidays is my theme for today’s blog post.
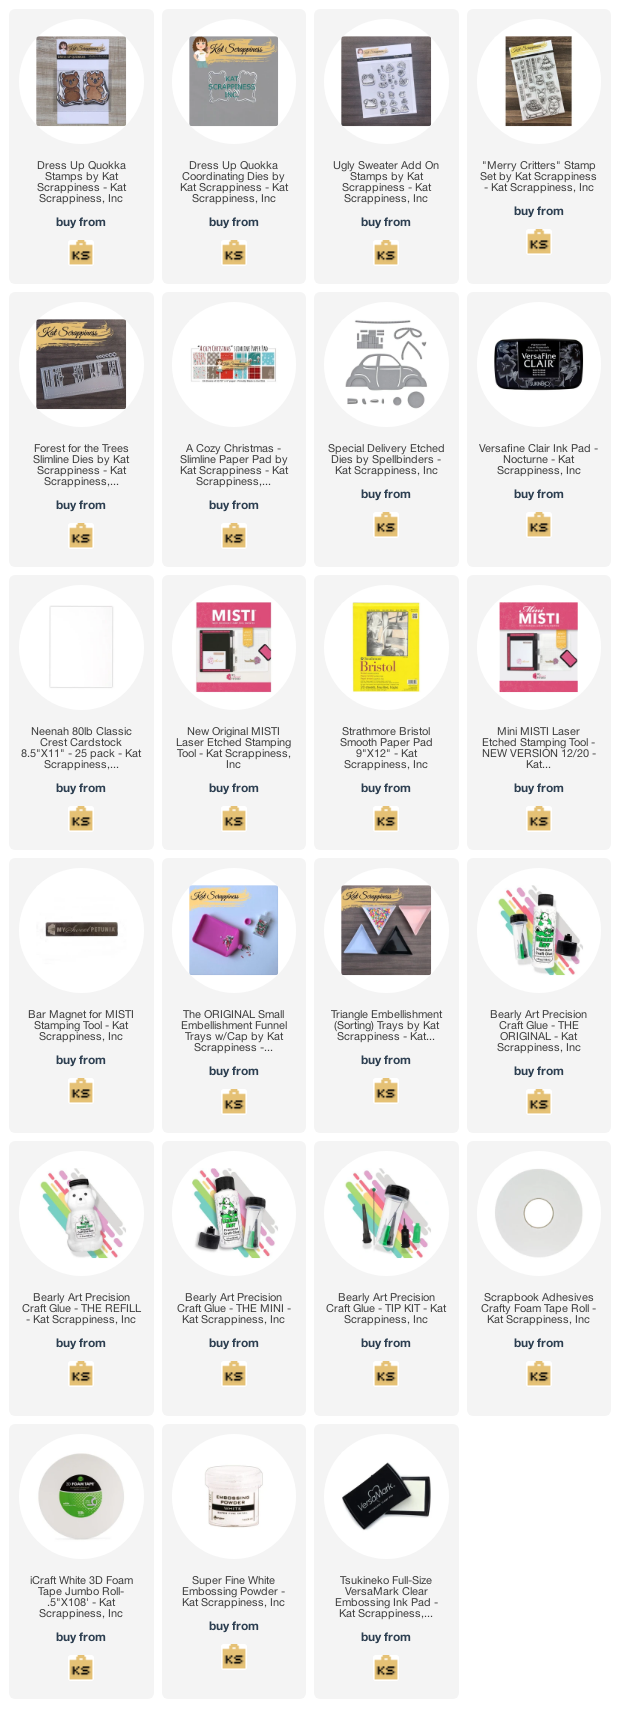
As previously mentioned on my last blog post, I will be giving you inspiration using older KS products! It’s time to give them some much-needed TLC and if you don’t have these items, why don’t you grab them now?! My card today features the Dress Up Quokka Stamp Set, A Cozy Christmas Slimline Paper Pad, along with the Ugly Sweater Add-on Stamp Set, Merry Critters Stamp Set, Forest for The Trees Slimline Die and the cute Special Delivery Etched Dies by Spellbinders. These products are all available at the Kat Scrappiness shop!

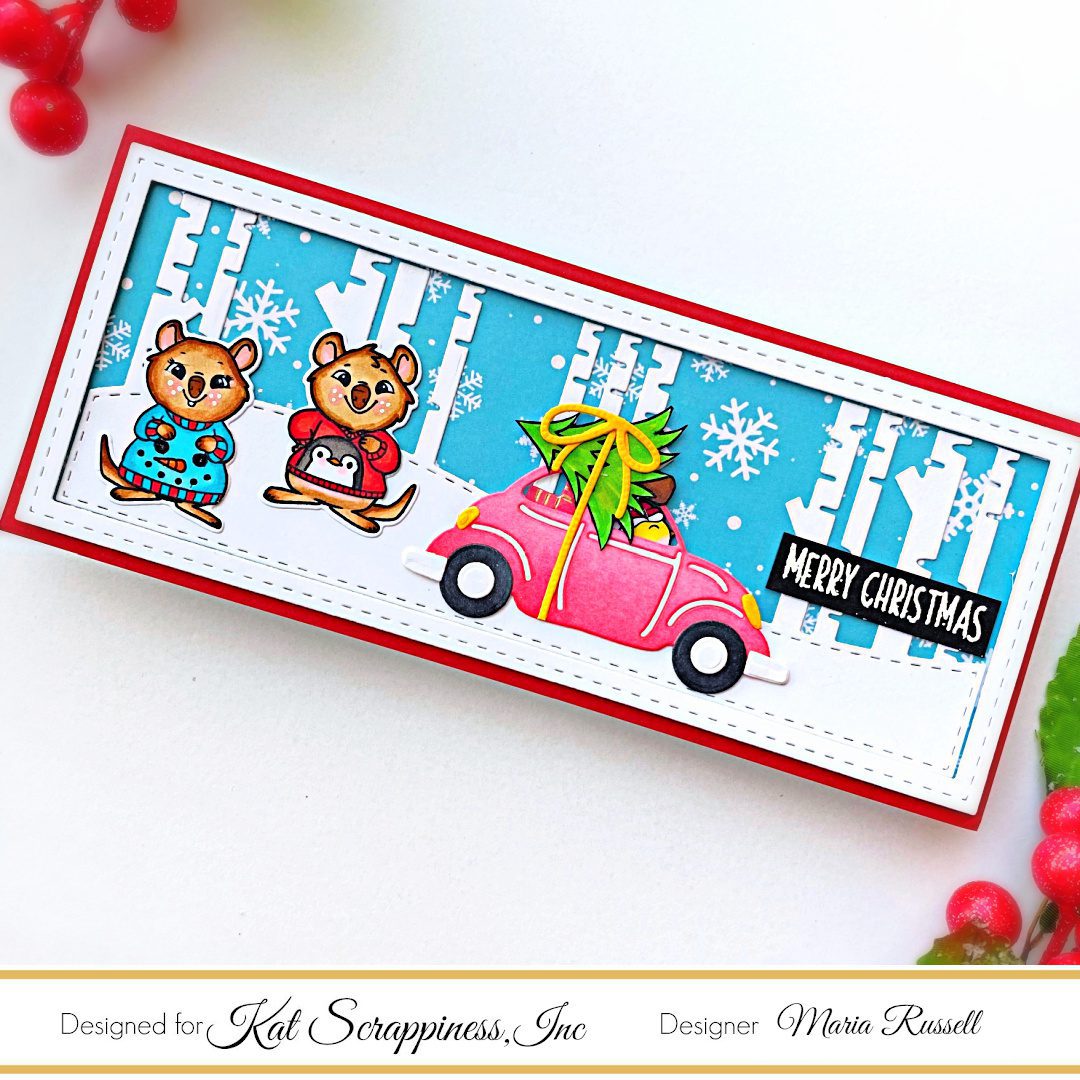
Here’s how I made the card:
- Stamp the images from the Ugly Sweater Add-on Stamp Set, Ugly Sweater Add-On and Merry Critters stamp sets. Color the images in with alcohol markers.
- Die-cut the images using the Dress Up Quokka coordinating dies.
- Fussy-cut the Christmas Tree and the ugly sweater images and adhere the ugly sweaters on the Quokkas.
- Use the Special Delivery Etched Dies and die-cut all the pieces on some Neenah Solar White Card Stock. Ink blend the die-cuts and use markers to color them in.
- Assemble the red car.
- Adhere the Christmas Tree on top of the car and add the bow and the little bird from the Merry Critters stamp set.
- Cut the pattern paper from the A Cozy Christmas Paper Pad and adhere on a red slimline card base.
- Die-cut a panel of Neenah solar white card stock using the Forest for the Trees Slimline Die Set and foam-mount the main frame on the slimline card.
- Adhere the birch trees and snowbank with liquid glue.
- Adhere the red car with foam-adhesive for added dimension.
- Add the quokkas on the focal panel with liquid glue.
- Stamp the sentiment on some black card stock. Sprinkle some white embossing powder and heat-set with the heating tool.
- Adhere the sentiment on the card.
I really LOVE how this card turned out and I hope you got inspired to use your older stamps and dies. The supplies I used are listed and linked below. Thanks for stopping by and have an amazing day!
![]()
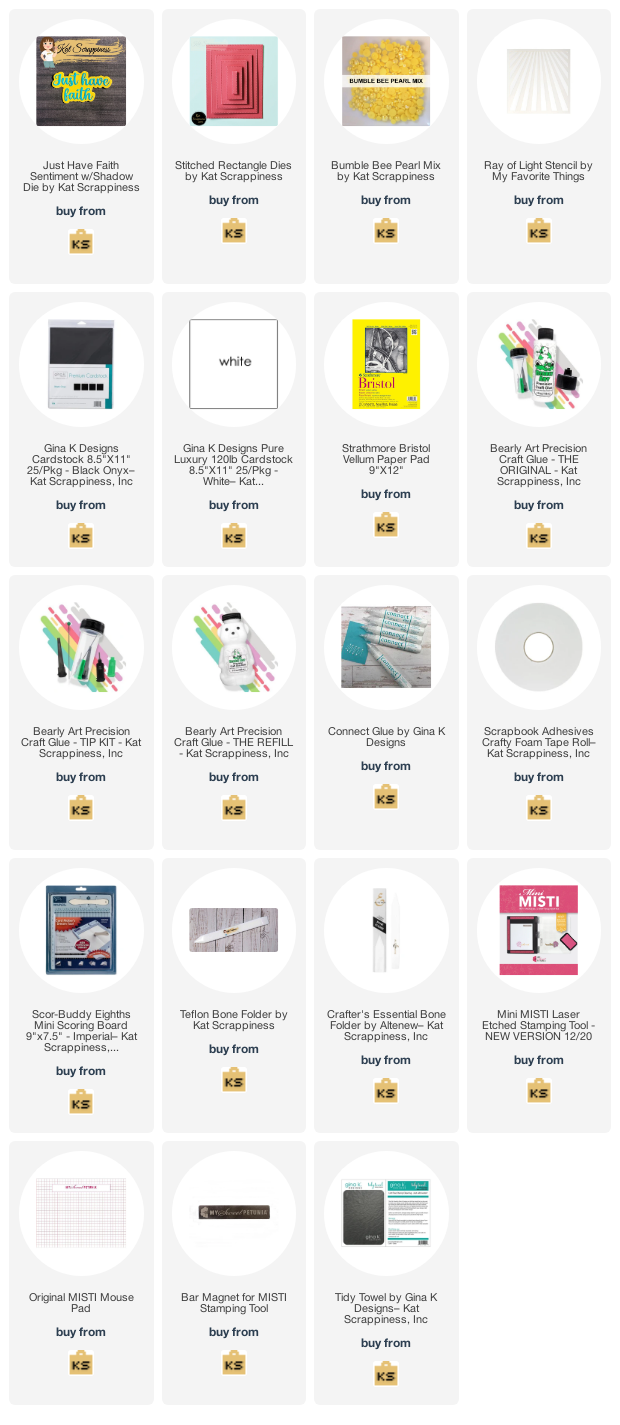
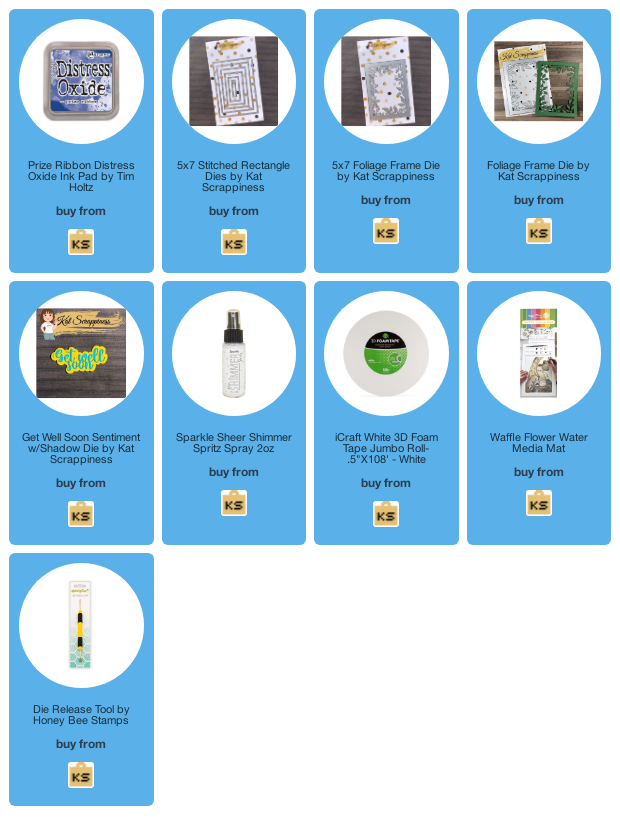
———–SUPPLIES——–