Follow:
    Giveaways, New Releases, WINNER

    BIRTHDAY RELEASE WINNER POST!!!!

    Thank you on behalf of the entire team at Kat Scrappiness for all your kind words about the products and inspiration the team made for the release.

    We had 107 comments on the release post and Random Number Generator choose comment 91 as the winner!!!
    The winner of the Dies and paper pad from this release is Dana R.


     Please claim your prize within 48 hours and send an email to: winners@katscrappiness.com.   Have a wonderful day!

    Design Team Projects, PROJECT INSPIRATION

    Confetti Balloons Birthday Shaker Card

    Hello crafty friends!

    It’s Alicia a.k.a. Crafty Al here to share a look at the FUN confetti balloon shaker card I made using some of the new products from Kat Scrappiness.

    I used balloons from the Birthday Essentials Dies to create the opening for my shaker windows in an embossed piece of cardstock. For the sentiment I used the Happy Birthday with Shadow dies and cut the words from gold foil cardstock and the shadow from vellum.

    For my shaker bits I used these cute and tiny gold star sequins.

    You can check out my video for the full process…

    Thanks for stopping by and I hope you enjoyed today’s card!

    Alicia / Crafty Al

    Related Products:

    Kat Scrappiness

          Birthday Essentials Dies: https://shrsl.com/3d6po

          Happy Birthday w/Shadow Dies: https://shrsl.com/3d6pp

          4mm Light Gold Solid Star Sequins: http://shrsl.com/3dsk5

          Triangle Embellishment Tray: http://shrsl.com/37sxh

          Embellishment Organizer: http://shrsl.com/37sxi

          A2 Acetate Sheets – 25 pk: http://shrsl.com/3caqt

       Art Glitter Glue: http://shrsl.com/37svl

    **Some links above are affiliate links. I link them up for your convenience and may receive a small commission, at no extra cost to you. I hope you will consider using the links if you decide to purchase the products I share. 🙂

    Design Team Projects

    Happy Birthday!

    Hello everyone!

    It’s Donna Idlet here sharing a slimline card I made using the newly released Birthday Essentials Dies, the Happy Birthday Sentiment die w/ Shadow and the 6×8 Birthday Essentials Paper Pad. The new Birthday release is so much fun!! I love the bright bold colors that makes a perfect birthday card.
    Here is my card for your inspiration:
    • Created a mini slimline card measuring 6″ x 3 1/2″ (6″ x 7″, scored at 3 1/2″).
    • Die cut the top layer with KS Mini Slimline Cross Stitched die.
    • Used a stencil to create the pattern in the background.  Used the KS Mini Slimline Card Set for the card base.
    • Used the pattern paper from the  6×8 Birthday Essentials Paper Pad to die cut the presents from the Birthday Essentials Die Set.  The solid card stock for the ribbon and bow is card stock from my stash.
    • Die cut the top layer from the KS mini slimline zig zag and the bottom layer I used the mini slimline Double Stitched Dies. Die cut the birthday hats from the Birthday Essentials Die Set, using a couple of patterns from the Birthday Essentials Paper Pad, assembled and added some clear nuvo drops to the blue hat and Diamond Stickles to the yellow hat.
    • Die cut the Happy Birthday w/Shadow Die using only the word Birthday with black card stock.
    • Stamped and heat embossed with white embossing powder Happy from the KS Koala-Ty Time stamp set (masked off the “Mother’s Day”).
    • Added some sprinkles from the Mixed Candy Sprinkles.
    • Assembled the card.

    Thank you so much for stopping by, I hope you have been inspired.

    Here is a list of supplies I used on my cards. Affiliate Links used at no additional cost. Thank you for your support.


    https://linkdeli.com/widget.js?id=f5e8378456858c916708

    Design Team Projects

    Birthday Shaker Card with Vellum

    balloon shaker, balloon cover plate, make a wish, Kat Scrappiness

    Hi! This is Nicki from the Design Team here today to make a fun shaker card using vellum. I created a video with all the details that you can find on the Kat Scrappiness YouTube Channel, so make sure to check it out.

    This card uses the Stitched Balloon Cover Plate die. I love these extra balloons because it gives you lots of options with this set.

    stitched balloon cover plate, Kat Scrappiness, Nicki Hearts Cards, happy birthday card

    First, I used the cover plate on white paper. Next I laid down some color from my ink pads onto another piece of paper. After laying down the color of the rainbow, I added Versamark ink to the top of all the colors. Next, I used holographic embossing powder to create my own custom rainbow card stock.

    heat embossing, wow embossing, rainbow glitter card stock, Nicki Hearts Cards, Kat Scrappiness

    After all the colors were heat embossed, I cut the balloon shapes out of all of them. Before placing the balloons on the cover plate, I colored the strings of the balloons with a black copic marker.

    Next, I placed the balloons in reverse rainbow order using glue and foam tape. Now, we need to make the shaker portion of the card. I cut a piece of vellum and used double sided adhesive to adhere it to the back of the cover plate. Next, I added foam tape around the outside of the card to create the shaker window.

    Then, it was time to place the shaker pieces in the center of the card and adhere the front to make the shaker window.

    shaker pieces, clay embellishments, Kat Scrappiness

    All that was left to do was to cut the sentiment shadow and words from the “Make a Wish” die.


    Kat Scrappiness, Nicki Hearts Cards, rainbow birthday, birthday card

    What do you think of the vellum? I love how you can see hints of color behind it but the main rainbow really stands out. Let me know in the comments!

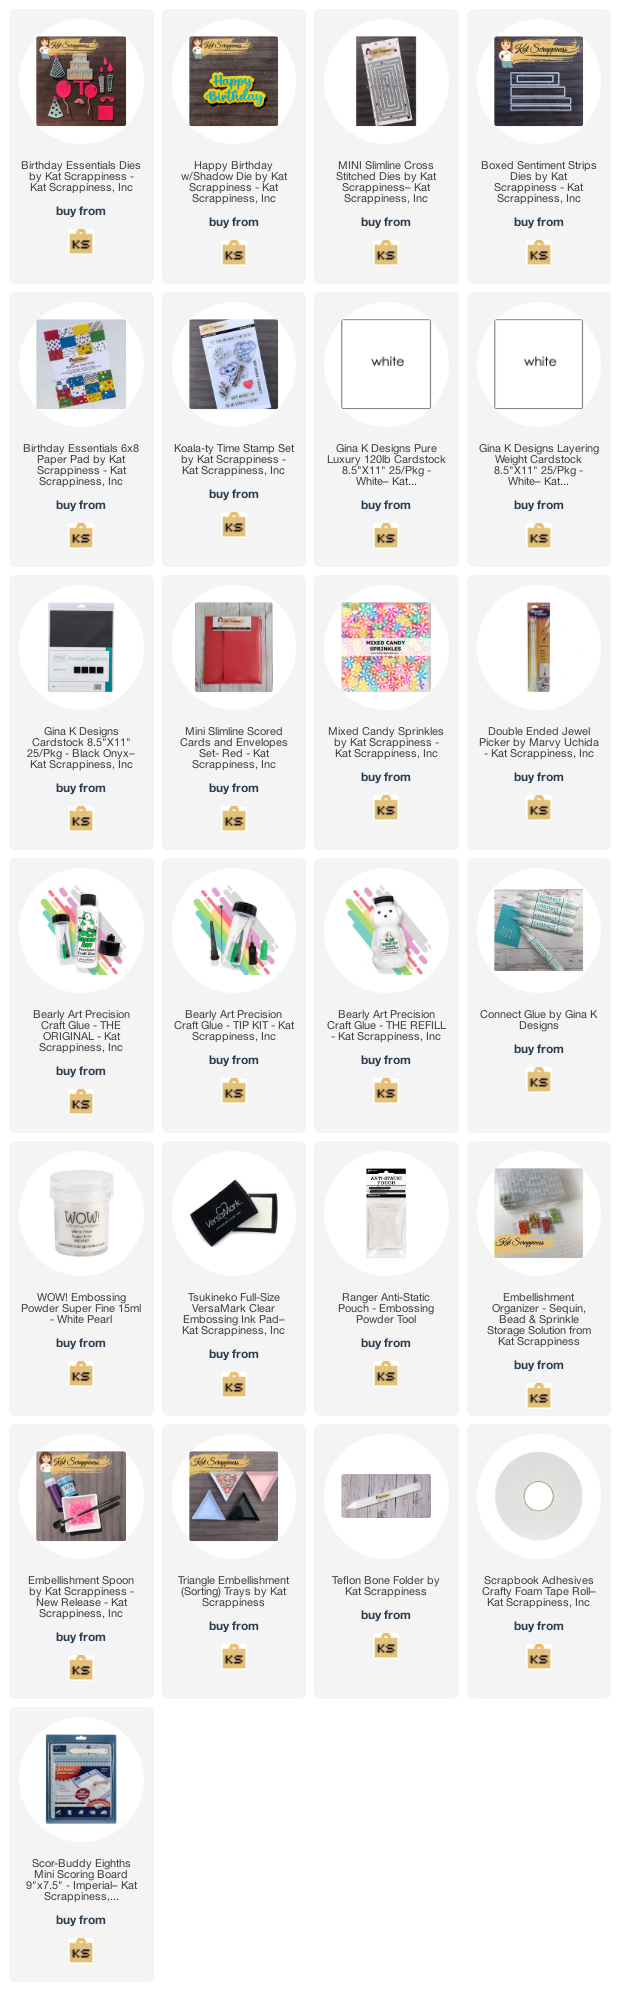
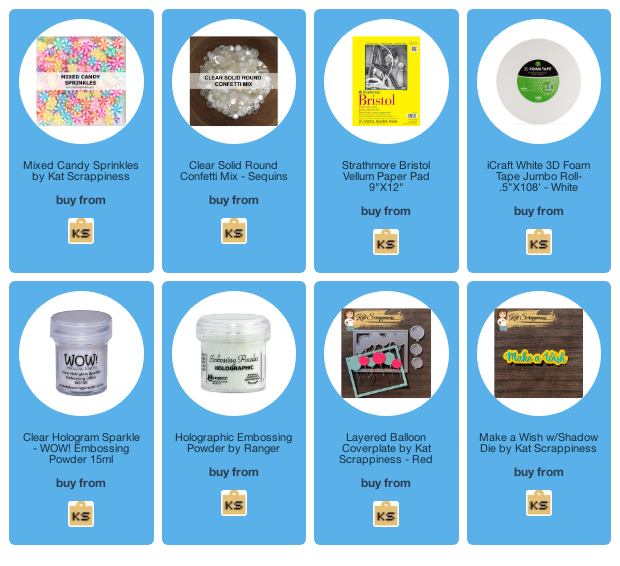
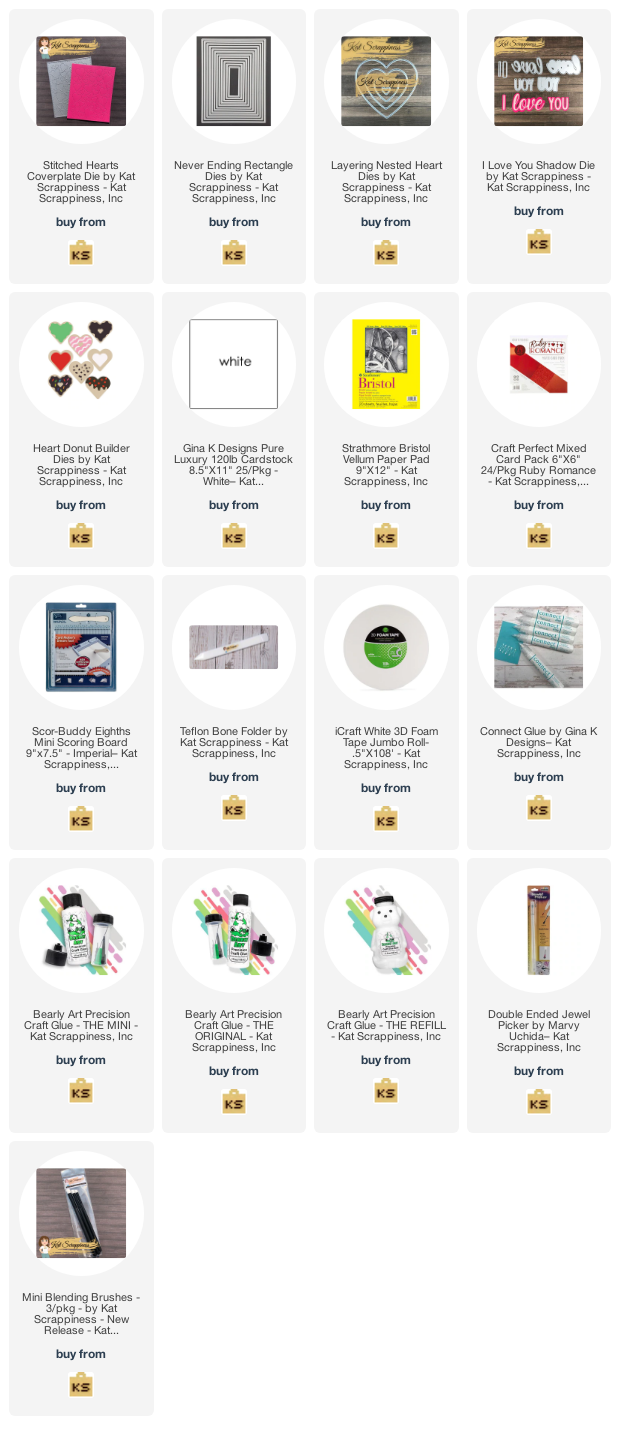
    All the products used for the card will be listed below in the links, make sure to click through these if you are shopping today. They do NOT cost you anything and they help support my crafty goals. Thank you so much!


    https://linkdeli.com/widget.js?id=f5e8378456858c916708

    Design Team Projects

    Baby Congrats Balloon Shaker Card

    Hello Friends Waleska here, with my first post for the month of February… Are you making Love cards? I am! but today I want to share with you not a love card, but a Baby Congrats shaker card with our newly released Layered Balloon  Cover plate Die, this die is meant to be for birthday cards but with different colors you can make lots of different types of cards too.  I hope you like it.

    CARD DETAILS:

    This die is super easy to use.  First I cut the Layered balloon cover plate with white cardstock, I then cut  6 balloons form white cardstock too and I started inking them with oxide ink pastel colors.  The colors I used: Spun Sugar, Cracked Pistachio, Shaded Lilac.  I used 3D foam tape to add dimention to the balloons and I adhered them one by one into the balloon cover plate.

    After this I used acetate to create the shaker card.  I put foam tape around the frame of this fun die and I added Easter Egg Parade and Sweet Shoppe Sprinkles inside.  I inked a white panel for the back of the shaker with the same colors of ink I used in the balloons and I also added some Sparkle watercolor splashes.

    I finally added the Congrats word die and I added this shaker panel to a card base.  I just looove this die is so versatile and easy to use! so many different ideas for one die!  I hope you have a great day.  Thank you so much for stopping by!


    Waleska Galindo

    Design Team Projects

    Clean & Simple “Love” A2 Card

    Sheri here today with a CAS (clean and simple) Valentine card idea!

    I love the look of Clean & Simple cards but sometimes struggle with leaving all the white space.

    For today’s card I used the white space to show off the texture of KS NEW Stitched Hearts Cover Plate and just added a trio of hearts and a sentiment! Do you like to make CAS cards?

    Steps to Create Card:

    • Create A2 Top Fold Card Base: 4 1/4″ x 5 1/2″ (4 1/4″ x 11″, scored at 5 1/2″).
    • Cut White Mat: 3 5/8″ x 4 7/8″
    • Take a 4 1/4″ x 5 1/2″ panel and cut it out with the Stitched Hearts Cover Plate. Next you will cut down the panel using the Never Ending Rectangles die set to create a panel measuring  3 1/2″ x 4 3/4″.
    • Cut out 3 hearts using the second largest die from the Nested Heart die set (2 1/2″ x 2 1/2″). I used Gina K Red Hot, Dusty Rose and Innocent Pink for my colored card stock. For a little added texture I ink blended the edges of the hearts with the coordinating ink colors.
    • Cut the “Love” from the I Love You Shadow die set with red glittler card stock.
    • Cut a Vellum belly band to wrap around card behind sentiment measuring 5″ x 1 1/4″.
    • For embellishment I cut out a few tiny hearts from the Heart Dounut Builder die set to sprinkle on the right side of my card.
    • Assemble Card. To add a little dimension, I used foam tape to pop up the card panel to the card base along with the three hearts.


    Here’s a list of the supplies I used from the store.
    Affiliate Links used at no additional cost to you. Thank You so much for your support!


    To Shop SALE, CLICK HERE

    Happy Stamping!!