Hello friends and welcome to the Kat Scrappiness March 2022 HIPPITY HOPPITY EASTER Product Release!
We also have a GIVEAWAY so make sure you read all the way to the end of this post to see how you can WIN THE STAMPS, EMBELLISHMENTS AND PAPER PAD FROM THIS AMAZING RELEASE!!!
Thank you to our video team members Kim and Tasha for the introduction videos:
INTRODUCTION VIDEO’S BY VIDEO TEAM MEMBER- KIM
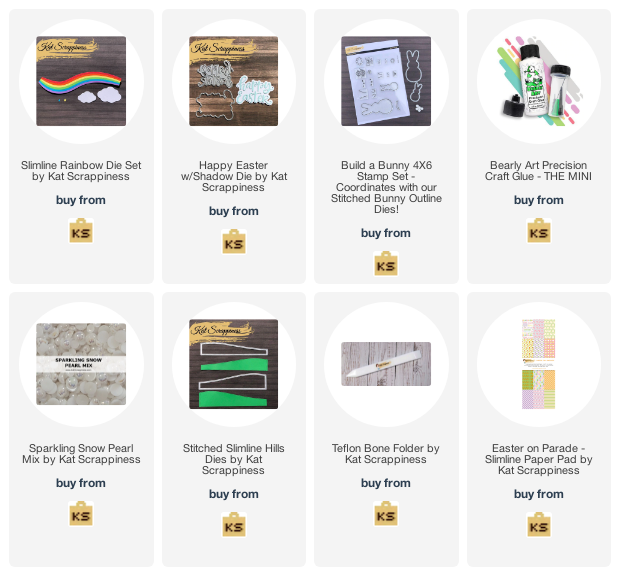
Our first stamp set this month is the adorable Hippity Hoppity Bunnies:
Our next Stamp set is the Hippity Hoppity Sentiments Set.
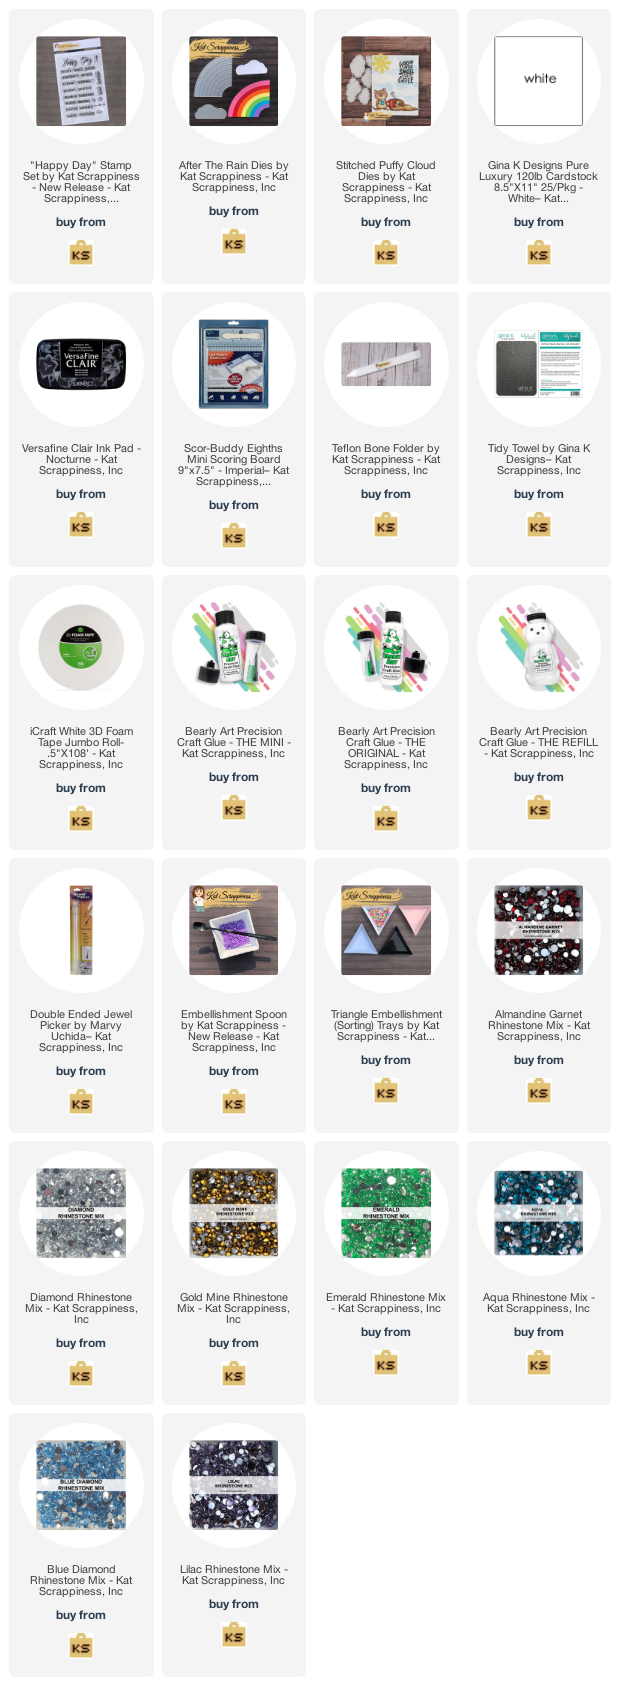
We have 2 Embellishments this month, Yellow and Aqua Jewels.
Grab a glass of Sweet Tea (or any beverage you have in mind) while browsing through all of the beautiful projects prepared by the design team!
Are you ready to get inspired?
VIDEO TEAM MEMBER- CRAFTY AL
- – Hippity Hoppity Sentiments
- – Hippity Hoppity Bunnies stamp set
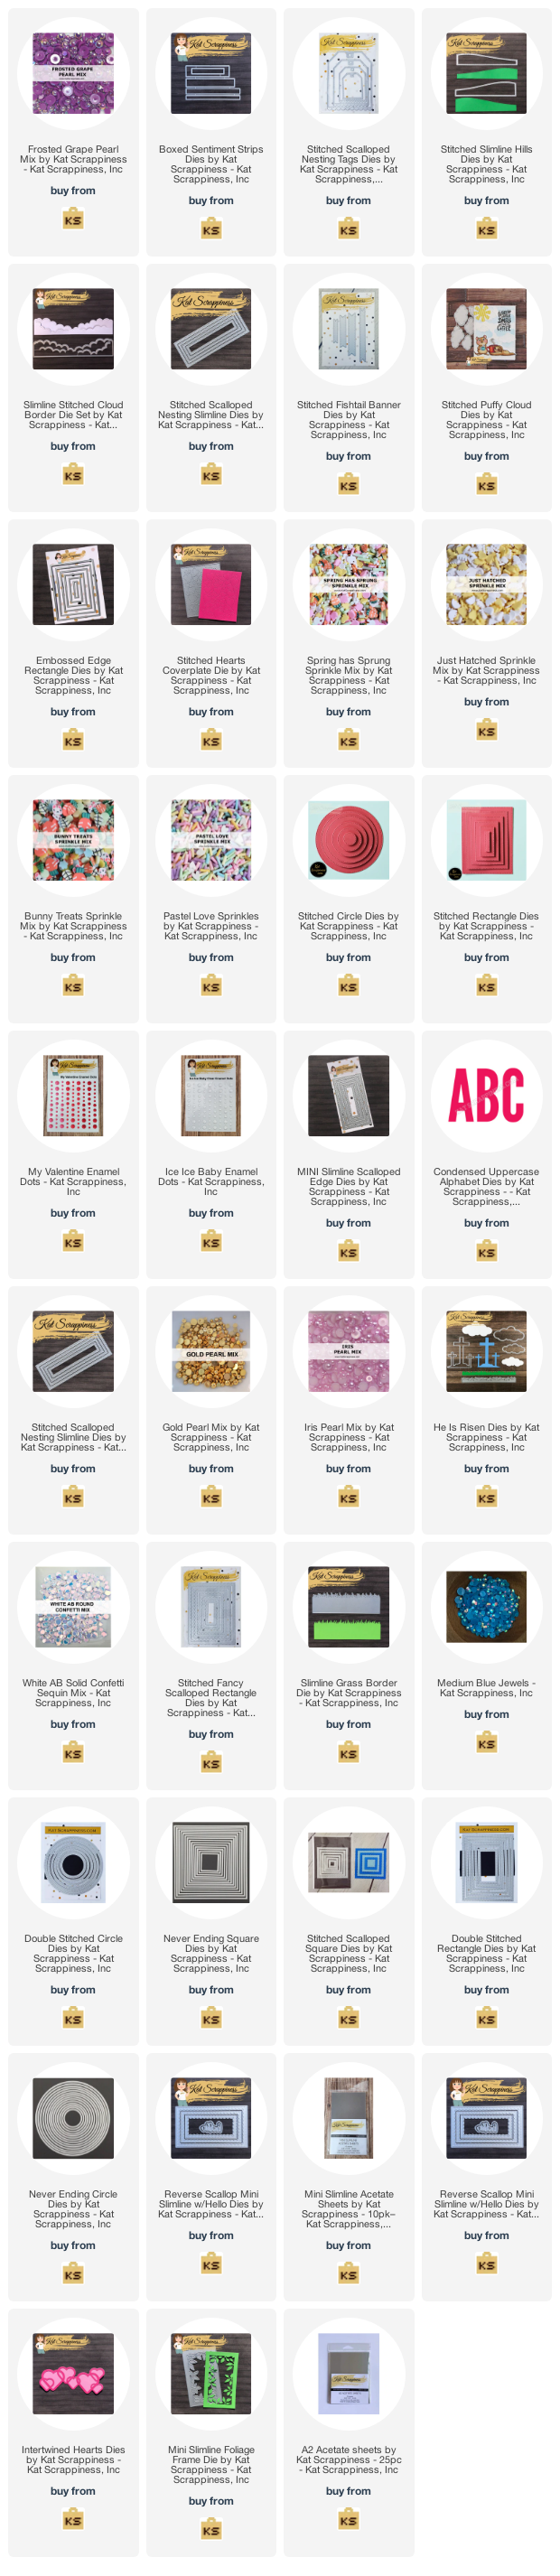
- – Frosted Grape Pearl Mix
- – Boxed Sentiment Strips

NEW VIDEO TEAM MEMBER- SUZANNE HUE
- Hippity Hoppity Bunnies Stamps
- Hippity Hoppity Sentiment Stamps
- Hop Into Easter Paper Pad
- Stitched Scalloped Nested Tag Dies
- Slimline Stitched Cloud Border Die Set
- Stitched Slimline Hills Dies
- Yellow Transparent Jewels
- Aqua AB Transparent Jewels

![]()
![]()
![]()
- Hippity Hoppity Bunnies
- Hippity Hoppity Sentiment Stamps
- Slimline Stitched Cloud Border Die Set
- Yellow Transparent Jewels

![]()
![]()
Thank you to our Blog team members for your awesome projects!!!
BLOG TEAM MEMBER- CAREN B


BLOG TEAM MEMBER – DONNA I
- KS Hoppity Bunnies
- KS Hippity Hoppity Sentiments
- KS Hop Into Easter Paper Pad
- KS Spring Has Sprung Sprinkles
- KS Pastel Love Sprinkles
- KS Stitched Rectangle Dies
- KS Stitched Circle Dies
- KS My Valentine Enamel Dots
- KS Ice Ice Baby Enamel Dots

- KS Hoppity Bunnies
- KS Hippity Hoppity Sentiments
- KS Hop Into Easter Paper Pad
- KS Aqua AB Jewels
- KS Mini Slimline Scalloped Edge Dies
- KS Condensed Alpha Upper

BLOG TEAM MEMBER – DONNA W
- Hippity Hoppity Bunnies
- Hippity Hoppity Sentiments
- Hop Into Easter Paper Pack
- Yellow Jewels
- Aqua AB Jewels

- Hippity Hoppity Bunnies
- Hippity Hoppity Sentiments
- Hop Into Easter Paper Pack
- Yellow Jewels
- Aqua AB Jewels

BLOG TEAM MEMBER – KATHY
- Hippity Hoppity Bunnies Stamp Set
- Hippity Hoppity Sentiment Stamp Set
- Hop Into Easter Paper Pad
- Stitched Scallop Slimline Nesting Dies
- Gold Pearl Mix

- Hippity Hoppity Bunnies
- Hippity Hoppity Sentiments
- Hop Into Easter Paper Pack
- Intertwined Hearts Dies
- Boxed Sentiments Dies
- Iris Pearl Mix

VIDEO TEAM MEMBER- NICKI
- Hippity Hoppity Sentiments
- Hippity Hoppity Bunnies
- He is Risen Dies
- Yellow Jewels
- Hop into Easter Paper

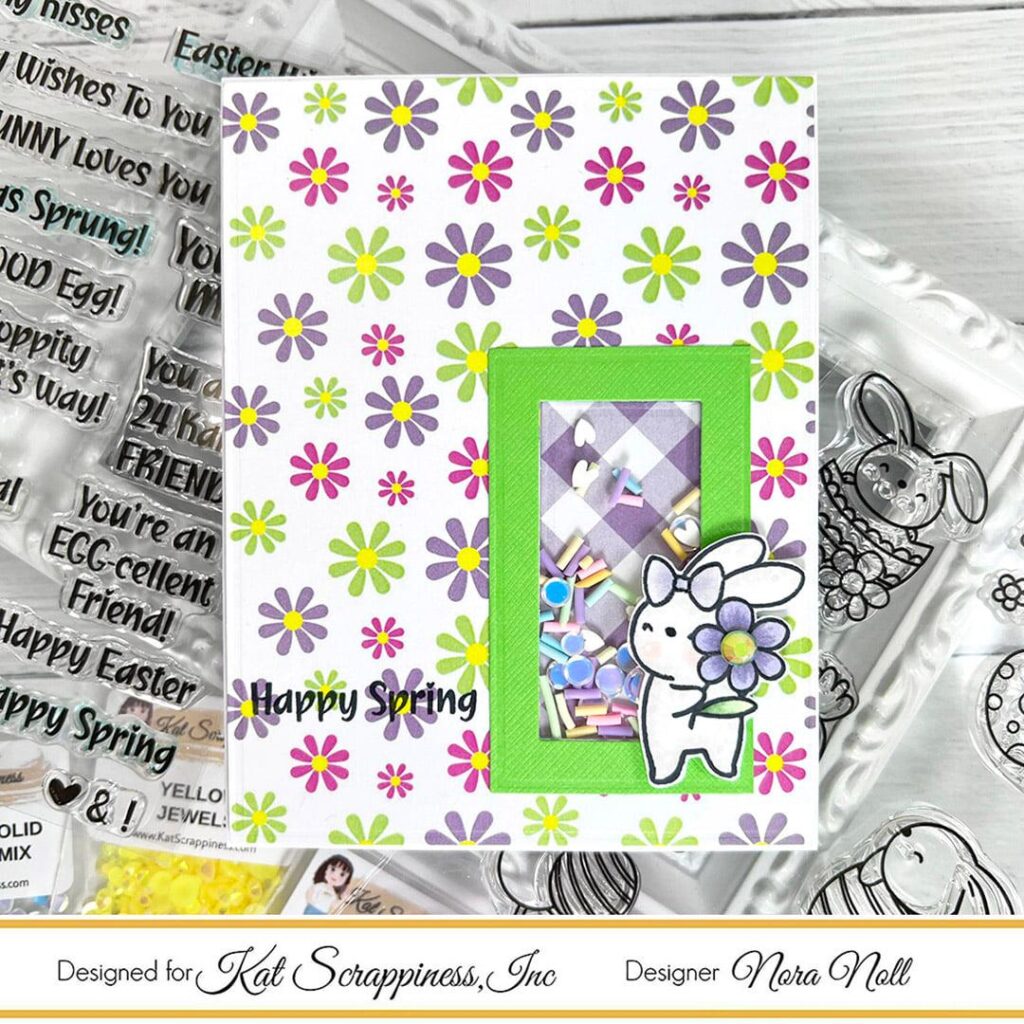
BLOG TEAM MEMBER – NORA
- Hop Into Easter Paper
Hippity Hoppity Bunnies
Hippity Hoppity Sentiments
Yellow Jewels
White AB Solid Confetti Mix - Embossed Edge Rectangle Die

- Hop Into Easter Paper
Hippity Hoppity Bunnies
Hippity Hoppity Sentiments
Yellow Jewels
White AB Solid Confetti Mix - Embossed Edge Rectangle Die
- Pastel Love Sprinkles


BLOG TEAM MEMBER – SHERI
- KS Hippity Hoppity Bunnies Stamp Set
KS Hippity Hoppity Sentiments
KS Hop Into Easter 6×8
KS Double Stitched Circle Dies
KS Never Ending Square Dies
KS Stitched Scalloped Square Dies
KS Puffy Cloud Dies
KS SL Grass Boarder Die
KS Boxed Sentiment Strips
KS Aqua AB Jewels

- KS Hippity Hoppity Bunnies Stamp Set
KS Hippity Hoppity Sentiments
KS Hop Into Easter 6×8
KS Double Stitched Rectangle Dies
KS Never Ending Circle Dies
KS Boxed Sentiment Strips
KS Yellow Jewels

BLOG TEAM MEMBER -TINA
- Hippity Hoppity Bunnies
- Hippity Hoppity Sentiments
- Hop Into Easter Paper Pad
- Aqua Jewels
- Just Hatched
- Bunny Treats


GUEST DESIGNER- CRYSTAL
- Hop into Easter Paper Pad
- Hippity Hoppity Bunnies
- Hippity Hoppity Sentiment Stamp
- Yellow Jewels
- Reversed Scallop Mini Slim Die


Here’s how to win:
ALSO… For more inspiration be sure to check out the Instagram Hop starting at 12noon EST today March 12, 2022 there is a special prize to be given away over there as well. You can search for #kshopintoeaster2022 for more The hop will begin at instagram.com/KatScrappiness


 For the background I use Oxide ink Salvaged Patina and I cut a white frame too. I adhered this piece to a red cardbase I added the two cookies in the center of the card and I added the word friend from the