Follow:
    Design Team Projects

    Hello Mini Slimline Card

    Hi everyone, it’s Tina here. Today I am sharing a DIY Background using the Floating Dots Stencil along with the Stitched Foliage dies and the Oopsie Daisy Layering Stencils for this super fun card. Below you will find the steps to create your own card.

    Step 1 – Trim White Cardstock to 7” x 6”, score at 3 1/2” and fold in half for a horizontal top fold card. (Mini Slimline)

    Step 2 – Trim White Cardstock to 6” x 6”. Place the Floating Dots Stencil on top and apply Inks of your choice in rainbow colors. Once done spray water onto the stencil and place it on a new White Cardstock trimmed 6” x 6”. Rub onto the cardstock to make sure that the inks transfer. Gently remove the cardstock from the stencil and let dry. Below is the regular inked cardstock and the one created from the ink residue from the stencil. 

    Step 3 – Trim the watered background to 3 1/4” x 5 3/4” and adhere to the card front using Bearly Art Precision Glue.

    Step 4 – Place the Oopsie Daisy Stencil on White Cardstock. Apply ink of your choice in the lightest color, then place the other stencil using a slightly darker ink of the same shade. Diecut with the coordinating die. Adhere to card using Foam Tape.

    Step 5 – Apply Green Ink of your choice on White Cardstock. Diecut Stitched Foliage and ink the edges for added dimension. Adhere to card using Bearly Art Precision Glue.

    Step 6 – Diecut Hello My Crafty Friend using Teal Cardstock (use a little scissor surgery to separate the word Hello). Diecut 2 more time using White Cardstock (again separating the word Hello). Layer together using Bearly Art Precision Glue making sure the Teal diecut is on top. Adhere to card using Bearly Art Precision Glue.

    Step 7 – For added interest and sparkle randomly adhere Pearl Mix using Bearly Art Precision in colors Ballerina Pink, Carolina Blue, Mint Green, Bumble Bee and Apricot.

    This card can be used for many occasions by changing the sentiment. Below is a link to all the products used. Thank you for stopping by and Happy Crafting!

    Products Used:

    https://linkdeli.com/widget.js?id=f5e8378456858c916708

    Design Team Projects

    Oopsie Daisy Trifold Card

    Happy 4th of July friends!

    I have a fun and easy trifold card to share today using the Oopsie Daisy stencil and coordinating die.  I’ve also added an A2 frame and a sentiment from the Friendship Grettings stamp set.


    You can see all the details for this card in my video below.  As you can see from the photo, I added a fun background using 2 of the 3 stencil layers in the Layering Bubbles stencil set.  I just love this set!  I think it is my new favorite background.

    I used some fabulous ink colors from the Concore & 9th ink pad set that Kat has in her store.  I am so happy that I splurged and purchased this ink pad set.  It has some soft and fabulous colors that I love ink blending with.


    I love that the dies for this set work with the stencils and the stamp set.  I feel like dies are a pricey splurge and now they can be used in more than one way!

    Video:

     [youtube https://www.youtube.com/watch?v=Oy_UTCHoo4w]


    Supply List:


    https://linkdeli.com/widget.js?id=f5e8378456858c916708

    Happy July!  I hope your summer is off to a wonderful start!  Enjoy!

    Design Team Projects

    It’s An Oopsie Daisy Kind of Day

    Hello KS fans! Maria here on the blog with you today sharing yet another floral card, featuring my favorites from the last release –> Oopsie Daisy Stamp Set and Dies along with the A2 Lattice Frame Die, Stitched Foliage Dies and A2 Reverse Scallop Die Set.

    Here’s how I made this card:

    • Adhere the flowers on the card-front with liquid and foam adhesive.
    • Add the leaves using the Stitched Foliage Dies.
    • Stamp the sentiment with Versafine Onyx Black ink.

    I hope you are all having a great 4th of July weekend with your family! It’s been raining everyday here in Florida and as you can probably tell, I am having a hard time taking photos these days due to the gloomy weather here.

    Below, you will find links to the supplies used to create this project(s). Where available, I use compensated affiliate links at no extra cost to you. Your support helps me to keep bringing you new projects and inspiration. Thank you for stopping by, and have an amazing day!

    ——–SUPPLIES——–

    Design Team Projects

    Oopsie Daisy Layering Stamps

    Hello Friends!! Nora here on the blog today with a stamped card using some of the products from the Kat Scrappiness Shop’s Summer Release. I wanted to focus on the new Kat Scrappiness Oopsie Daisy 4 by 6 Layered Stamps and the Kat Scrappiness Oopsie Daisy Coordinating Dies.

    I do not have a green thumb so I do not know much about flowers. I always think of daisies being white with a yellow center. Boy was I wrong!!! After doing some research, I discovered that daisies come in purples, pinks, yellows, oranges and every shade in between. For my card, I decided to do something I rarely do-stamp my layers using only one color ink. I had do do multiple layers of that ink to make my flower layers pop but it is a great way to stamp if you don’t have a lot of inks that are supposed to go together.

    Here is how I created this card:

    1. Select an A2 size, white card base. Mine is top folding.
    2. Die cut the Kat Scrappiness A2 Quilted Backdrop Die out of white cardstock. Adhere this panel to the card base.
    3. Using the second largest rectangle in the set of Kat Scrappiness A2 Reverse Scallops Dies to die cut a frame out of white cardstock. Adhere to the front of the card using foam adhesive.
    4. Stamp and die cut the flowers in pink using the Oopsie Daisy Layering Stamps and the coordinating Oopsie Daisy Dies. Then use Copic Markers in the RV family to make dots for the flower centers. You don’t have to do this but I liked how this gave the flowers a little bit of “texture.”
    5. From the same stamp set, stamp the leaves in green and die cut them with the coordinating dies.
    6. Adhere the flowers and leaves onto the card front. On my card, I used foam adhesive to pop up one of the flowers.
    7. Out of black cardstock, die cut the sentiment three times using the Kat Scrappiness Love You Word w/Shadow Die . Adhere the three layers together to give it some dimension and place it on the front of the card. Use some Ranger Glossy Accents over the sentiment to give it some shine.
    8. The last step is to adhere some Kat Scrappiness Brilliant Lilac Pearl Mix around the sentiment and the card is complete.

    I want to thank you for stopping by today. Be sure to visit the Kat Scrappiness Blog often to see what the fabulous projects from the other Design Team members.

    There is also a sale going on this weekend. Treat yourself to some fun supplies for the holiday!!

    Below is a list of supplies I used on my card. Affiliate links used at no extra cost to you.


    Design Team Projects

    Happy Birthday!

    Hello everyone!

    It’s Donna Idlet here a fun and colorful Birthday card.  I am using the Layered Bubbles 6×6 Stencils for the background, The layers are die cut with the Embossed Edge Wavy Frame Dies and the cute Quokka is from the Everyday Quokka Stamp Set.

    Here is how I created the card.

    1. Card is an A2 size – 5 1/2 x 4 1/4 card base.

    2. Stenciled the background with the Layered Bubbles 6×6 Stencils using  KS Stencil & Ink Blending Brushes with multiple inks.

    3.  Die cut the layers using the Embossed Edge Wavy Frame Dies.

    4. Die cut the Happy Birthday word with Shadow die, using black cardstock and vellum for the shadow.

    5. Colored with alcohol markers, stamped and die cut the Quokka and gift from the Everyday Quokka Stamp Set.

    6. Assembled the card.

    Thank you so much for stopping by, please come back again soon.
    Here is a list of supplies I used on my card, Affiliate Links used at no additional cost. Thank you for your support.


    https://linkdeli.com/widget.js?id=f5e8378456858c916708

    Design Team Projects

    Adding Details to Your Die Cuts Using the NEW Summer Vibes Paper

    Hi, this is Nicki from the design team! Today we are going to look at many of the new summer release products. We will make a die cut card with lots of extra details! For all the details, make sure to check out the YouTube video.

    First, I cut several different colors of popsicles from the new Summer Vibes paper pad. Next, I used liquid adhesive to the top of each popsicle and added an iridescent glitter.

    After the glitter dried, I cut the popsicle so that I could add different colors to the bottom. I also ink blended with Gathered Twigs Distress Oxide ink to create the popsicle sticks.

    Once I had all these pieces glued together, it was time to create the background for the card. I used 2 papers from the Summer Vibes Paper Pack and the A2 Reverse Scallop die to create the look.

    All that was left, was to add some foam tape to the back of the popsicles and die cut the word “Hi” for the sentiment.


    Make sure to click on these links to check out the items used for this card! Happy crafting!
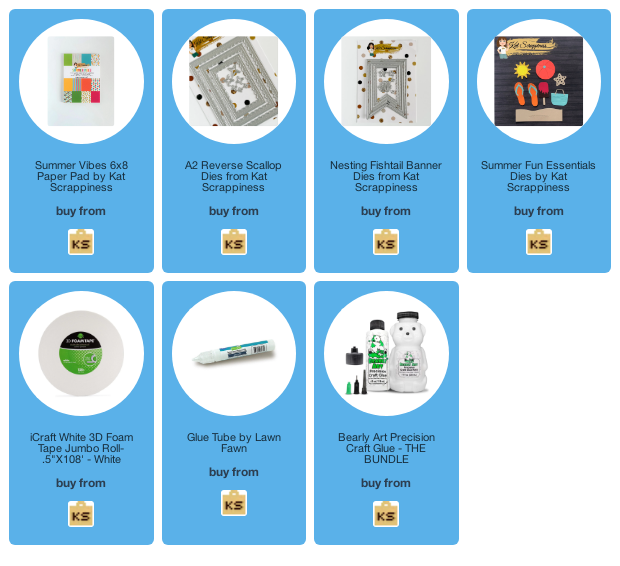
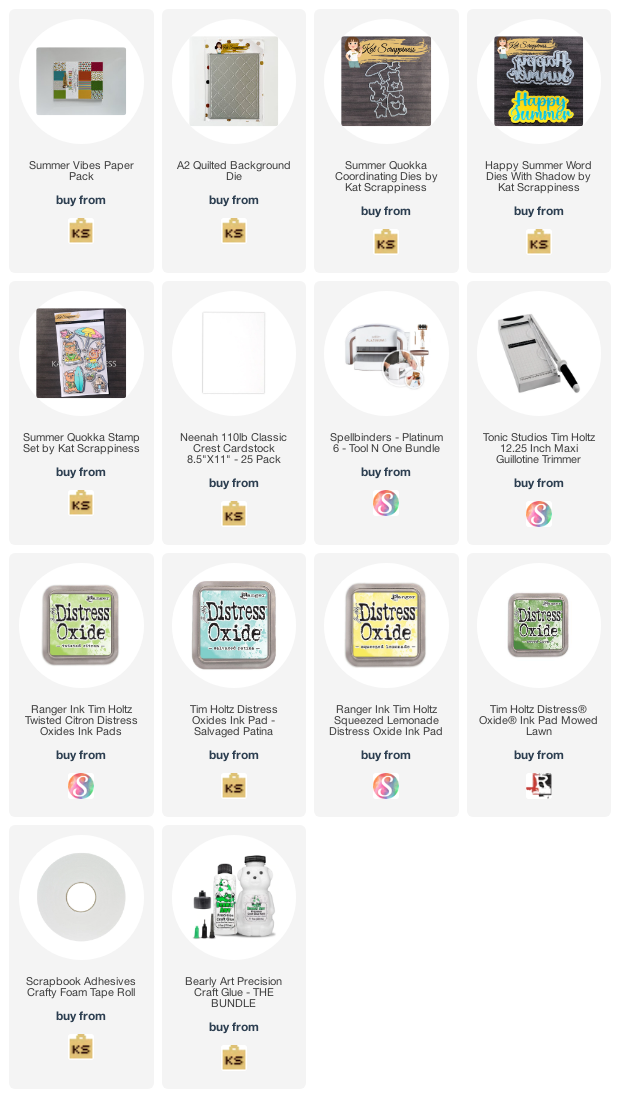
    Supplies:

    Summer Vibes Paper Pack

    A2 Reverse Scallop Die

    Summer Essentials Die Set

    Nesting Fishtail Banner Dies

    Bearly Arts Glue

    Foam Tape

    Lawn Fawn Glue


    https://linkdeli.com/widget.js?id=f5e8378456858c916708

    Design Team Projects

    Happy Summer-Kat Scrappiness Summer Vibes Release

    (affiliate links to most products are provided below at no additional cost to you)

    Hi All! I am up on the Kat Scrappiness Blog today with some inspiration from the Summer Release. This card features the A2 Quilted Back Drop Die and the Summer Vibes Paper Pack as well as some other cute products for summer. So let’s make a card.

    Card Supplies

    Card Details

    • Cut, score and fold an A2 side folding card base.
    • With a piece of Neenah white card stock and the A2 Quilted Backdrop Die, run this through your die-cutting machine.
    • Ink blend a scrap piece of with card stock using the inks listed above.
    • Die-cut the Happy Summer three times from the ink blended panel. I also cut 3 additional pieces from white card stock. I glued these to the back of what will be the middle sentiment. This adds dimension.
    • Use liquid glue and adhere the sentiments on top of the quilted panel. Use a T-Square for alignment.
    • Glue the entire panel to the card base with a strong liquid glue.
    • Stamp your quokka image TWICE. Stamp it once onto white card stock and again on your selected pattern paper from the Summer Vibes pack.
    • Fussy cut the surfboard from the patterned paper.
    • Color your white quokka image with colored pencils or alcohol markers.
    • Die-cut your colored quokka.
    • Adhere the surfboard on top.
    • Add foam tape to the back of the quokka and add it to your card.

    This card is pretty easy to make and I think it turned out pretty cute! I would love to hear your feedback! Please stop by the Kat Scrappiness shop to check out all of the new goodies. As always, thanks for stopping by!


    https://linkdeli.com/widget.js?id=f5e8378456858c916708