Hi and thanks for stopping by! Kat Scrappiness is a family owned crafting company with our own brand of products. We are based near Seattle in beautiful Washington State. You can read more about us here.
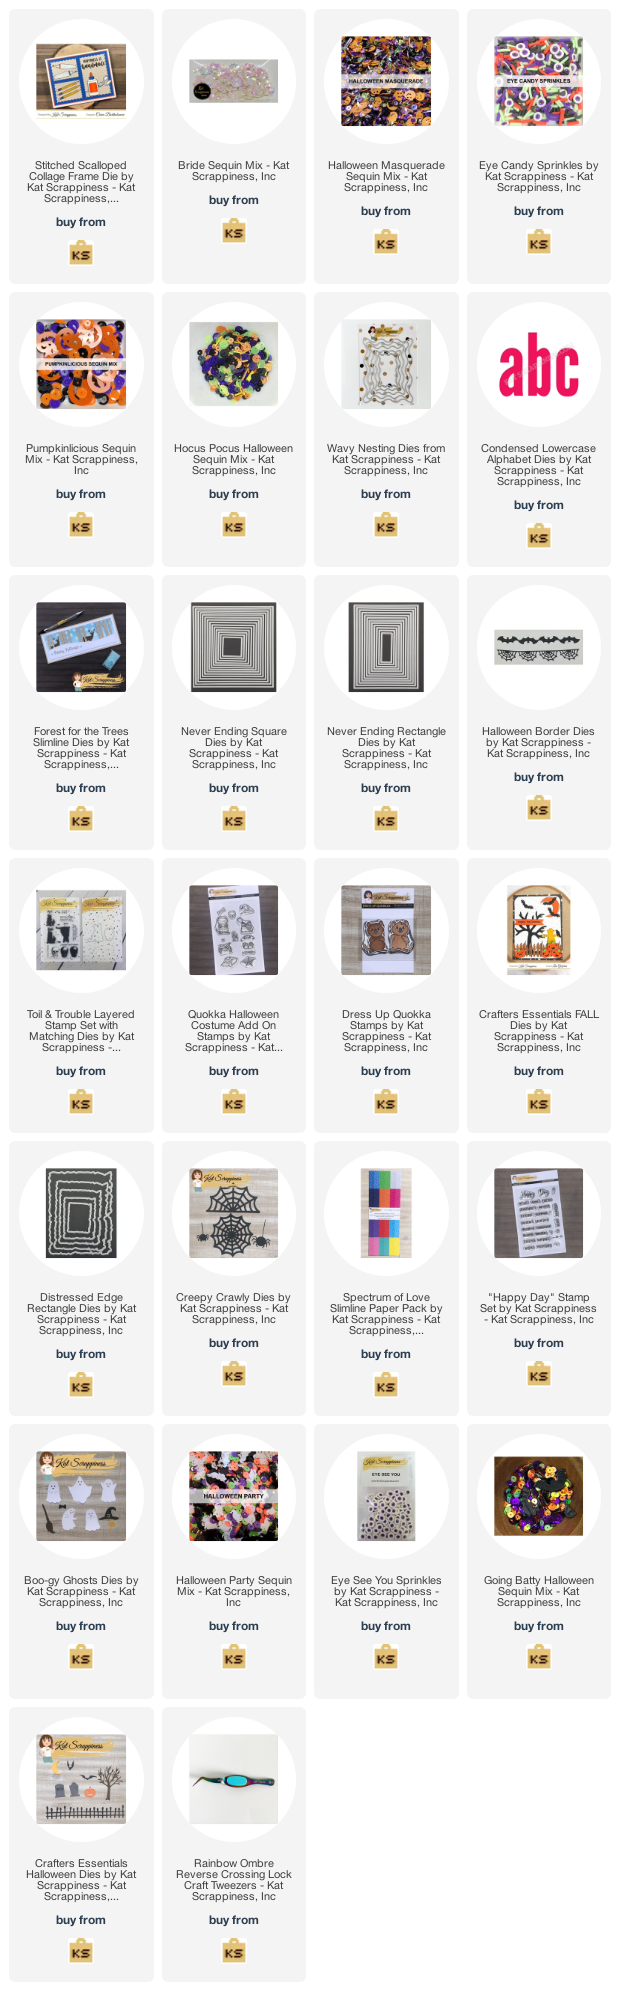
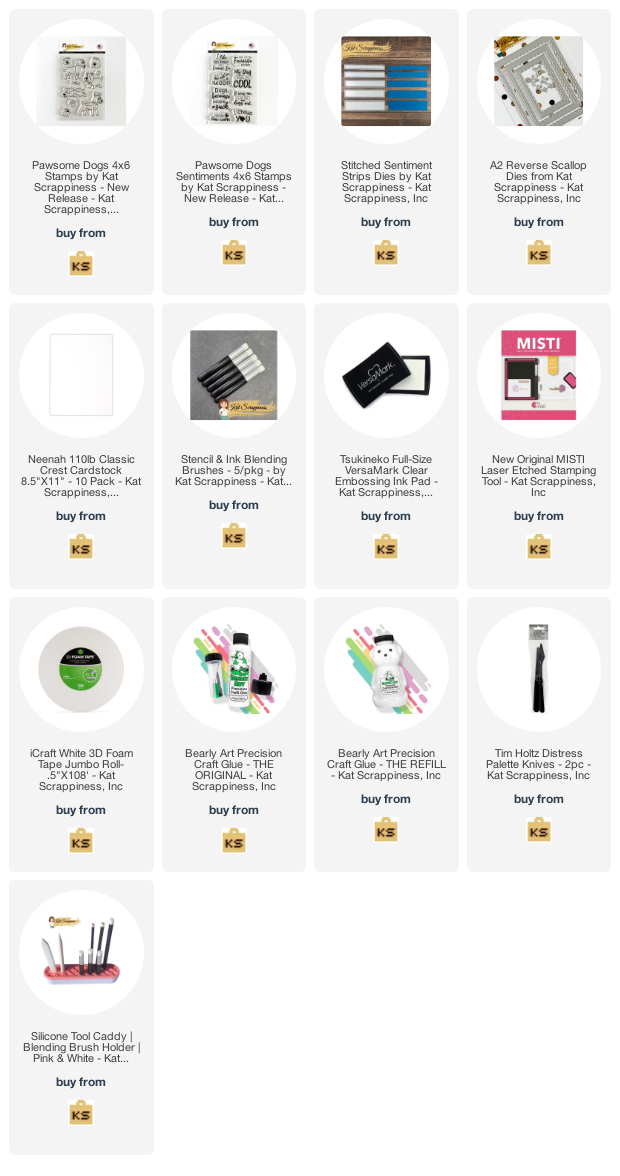
Kat’s main products include:
- Stamps
- Dies
- Stencils
- Patterned Paper
- Embellishments
- Tools/Storage/Etc
We are currently looking for a few great video creators to join our team so if that is you and you enjoy working with these types of products, please read on!
* Due to postal restrictions and delayed international mail issues, we are currently only accepting US applications at this time.
Video Crew:
What we are looking for in Video Team Crew Members:
Creators who have active YouTube and social media channels. We are looking for creators who can produce videos for YouTube, FB Reels, IG Reels, YT Shorts and even Tik Tok! (All are not necessary but the more the better!) It doesn’t matter if you have a lot of followers on your channel. We are not overly concerned with the size of your audience, but with your enthusiasm, activity and talent!
What is expected of Video Team Crew Members:
- Create a minimum of 2 Product Intro Videos per release (not always monthly). Example Product Intro Videos can be seen here.
- Create a total of 2 project videos per month for your one year term. Example Videos can be seen here.
- Share your project photos and store details to social media.
- You must be able to meet deadlines and schedule your videos on the YouTube Channel.
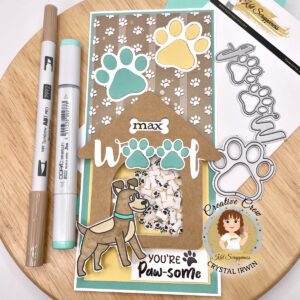
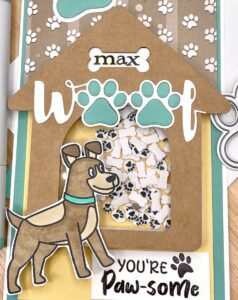
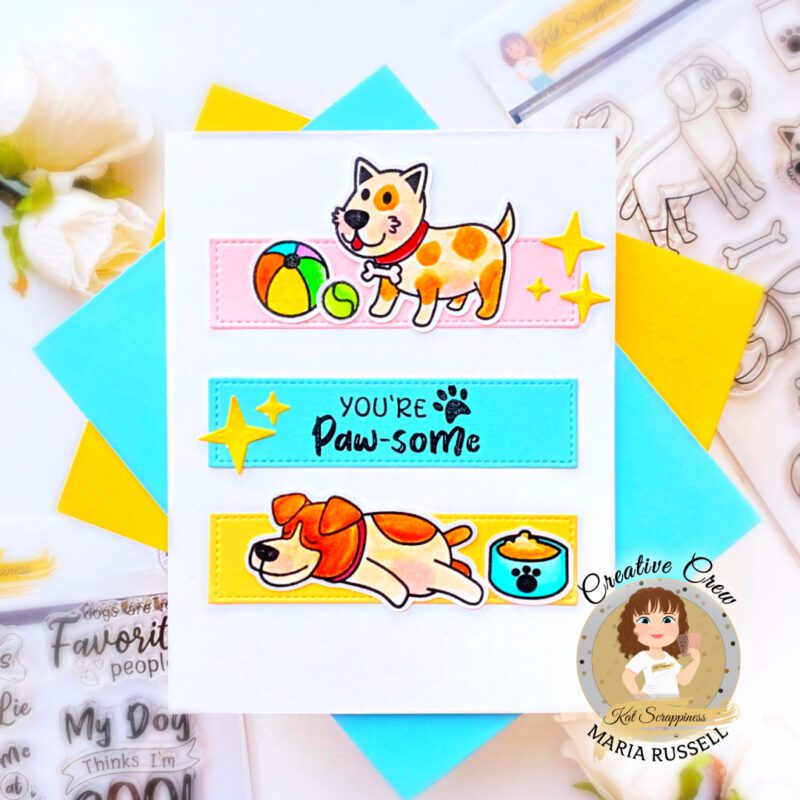
- Take clean and bright photographs of your projects.
- On occasion, you may be asked to create special projects for collaborations, sponsored hops, etc.
What are the additional requirements in order to apply:
- You must have an active YouTube channel where you post on regularly.
- You must have an active IG account.
- You must film clear well lit videos with good audio quality.
- Have the ability to join our private Facebook group.
Benefits to being on the KS Creative Crew!
- An opportunity to work with Kat’s new products which are provided FREE to you each release!
- A generous discount to all of Kat’s products in the store.
- Membership in our affiliate program through Shareasale. Earnings are paid in cash.
- Promotion of your projects on our blog, store website, social media accounts, including YouTube, Pinterest, FB, Instagram and more!
- Membership in our Creative Crew FB Group which is a supportive, fun and friendly group of creators who all share a passion for crafting and KS products!
- A badge for you to use as a watermark for your photos.
If you love Kat’s products, and can commit to a minimum of a one year term, we’d love for you to apply to join our crew!
How To Apply:
Please send an email to cs@KatScrappiness.com and tell us a little about yourself, why you would like to join our team and remember to include your social media and youtube links with us so we can go check out your work!
Good luck!