Hi everyone, it’s Lisa and I am back again with another Kat Scrappiness monthly challenge!
I want to thank everyone who participated in our November challenge. We had 15 entries in the Pumpkin Patch challenge and we are so happy that you are sharing your cards and projects with us!
The random winner from last month is: Meghan K!
Congrats Meghan, we love seeing your beautiful creations in our challenge!
And now let’s get on with our December challenge!

I’m sure most of you are well on your way to making your holiday cards, but if you haven’t started yet don’t worry! Now’s your chance and Kat Scrappiness is here to help! We have so many new releases in the shop that are perfect for your winter / holiday themed cards and projects! Come browse our Winter Wonderland and I can guarantee you’ll find the perfect crafty supplies for all your projects!
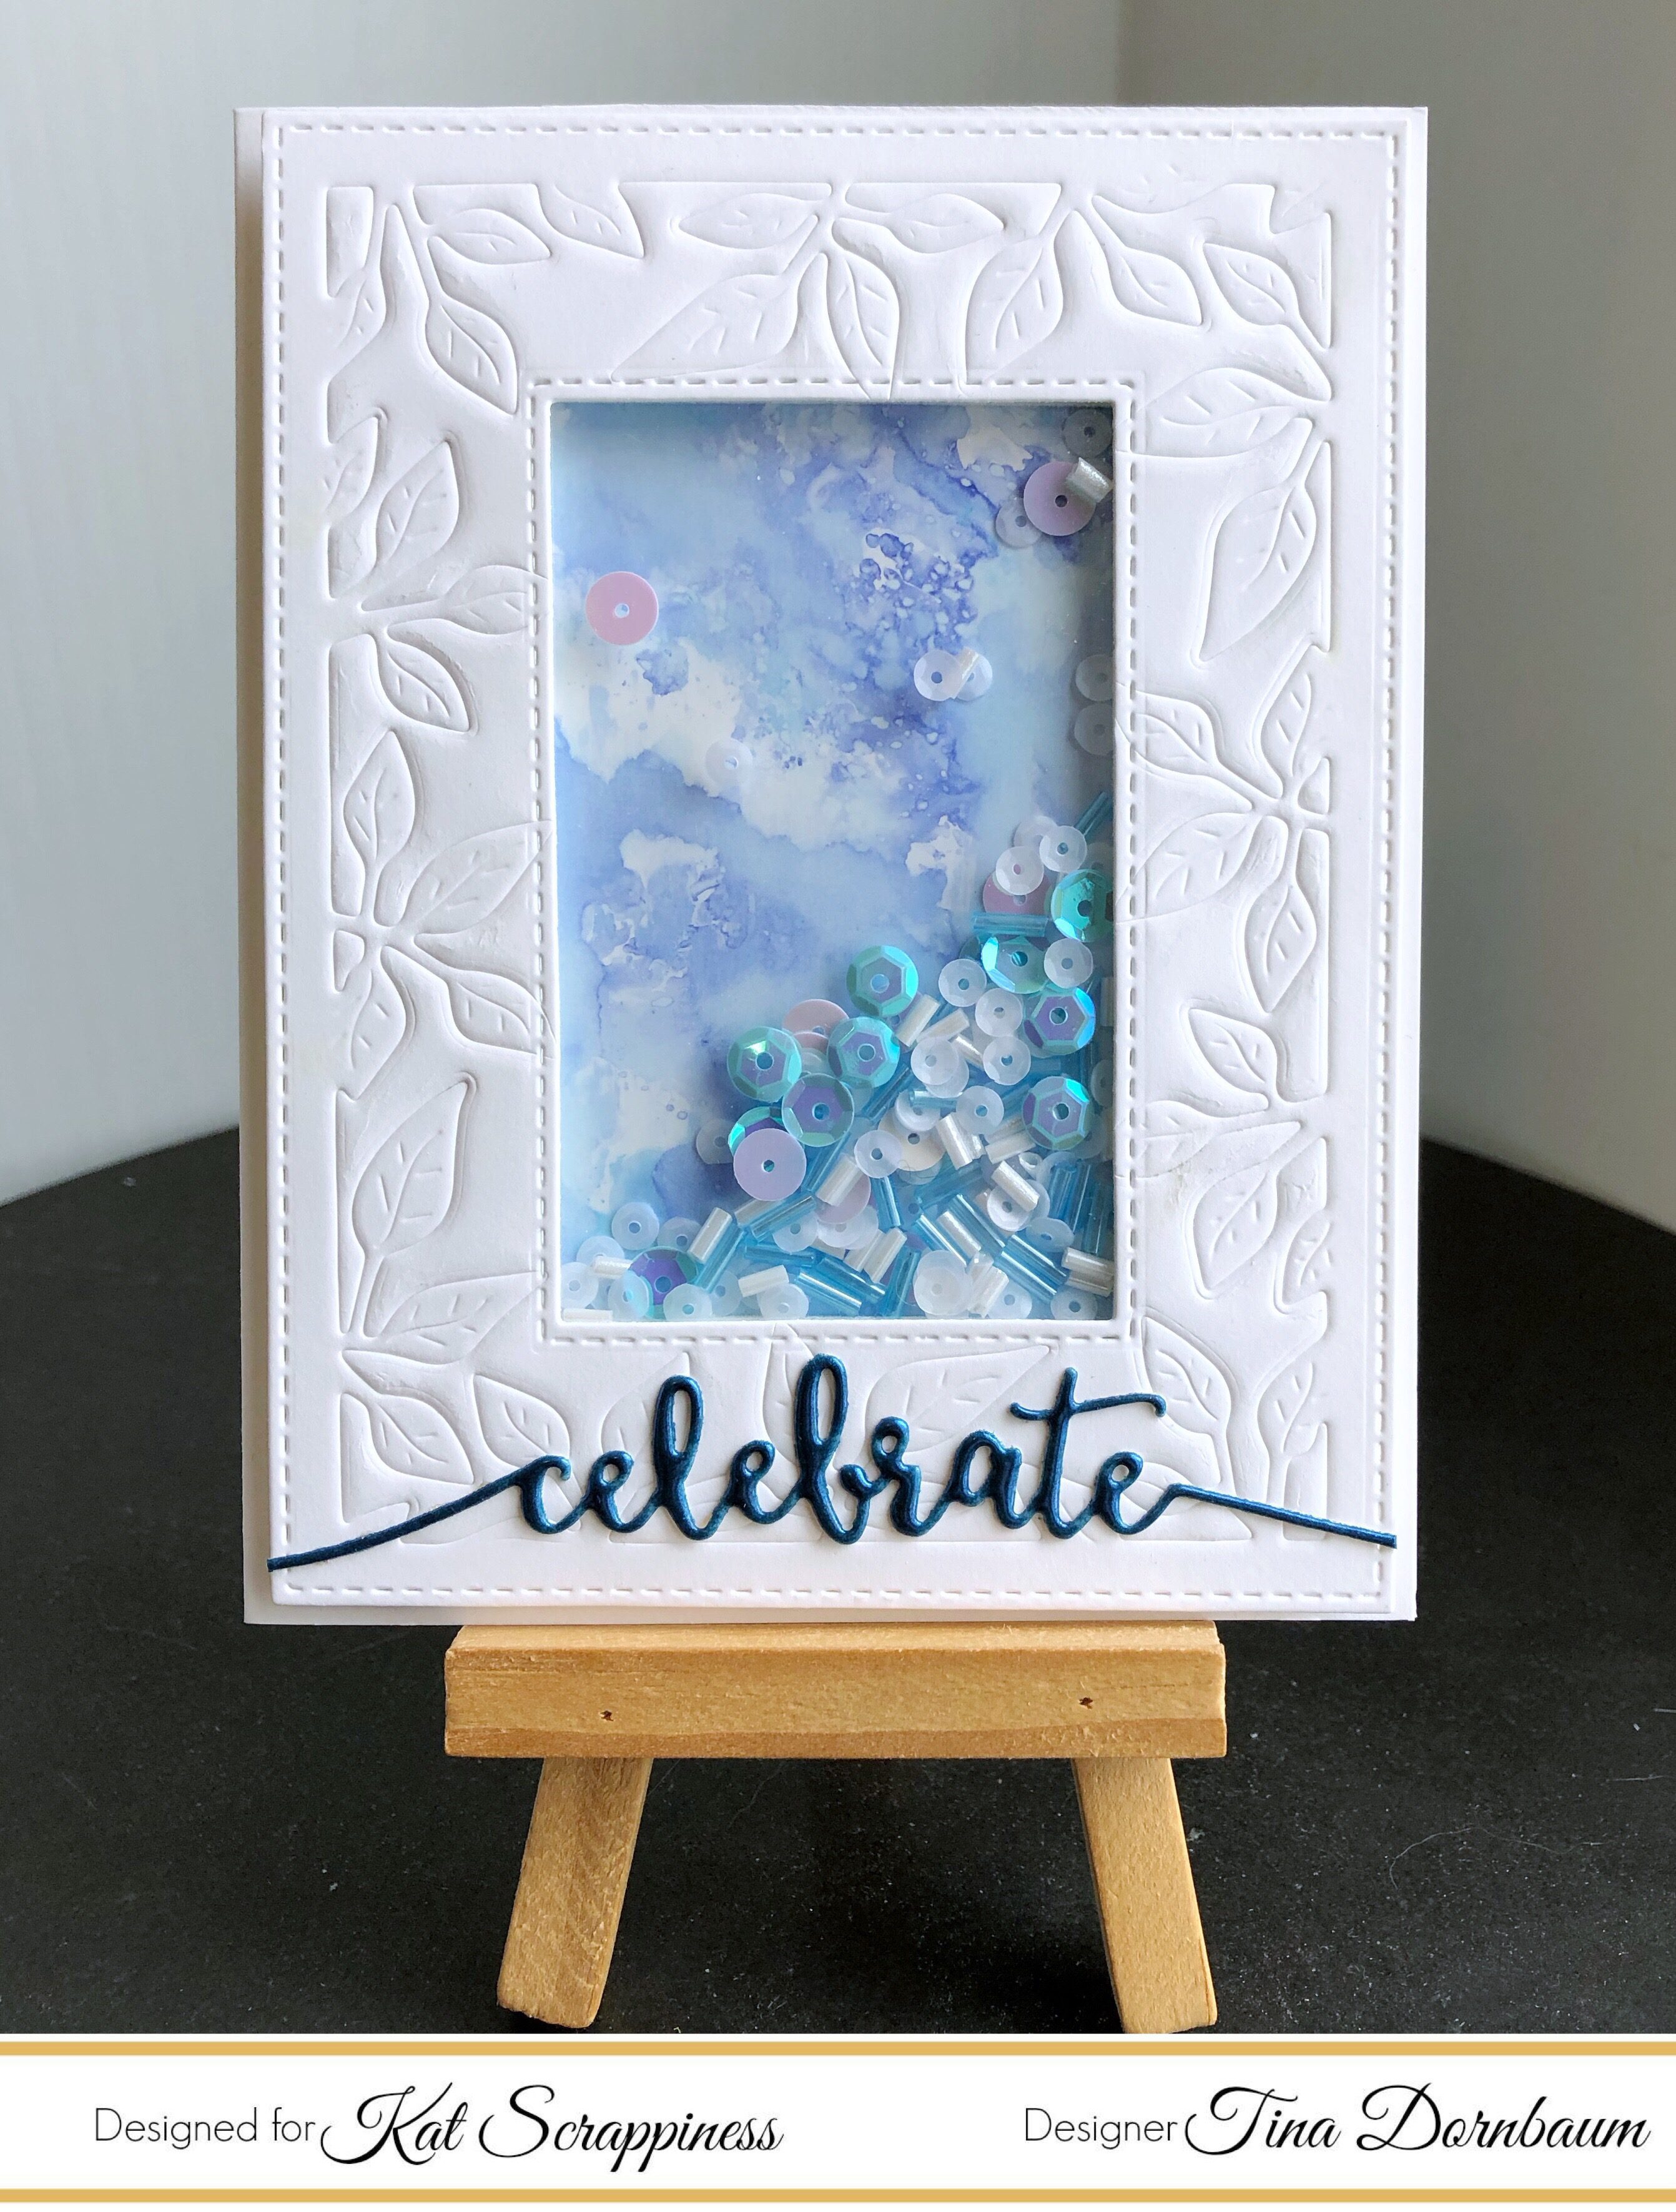
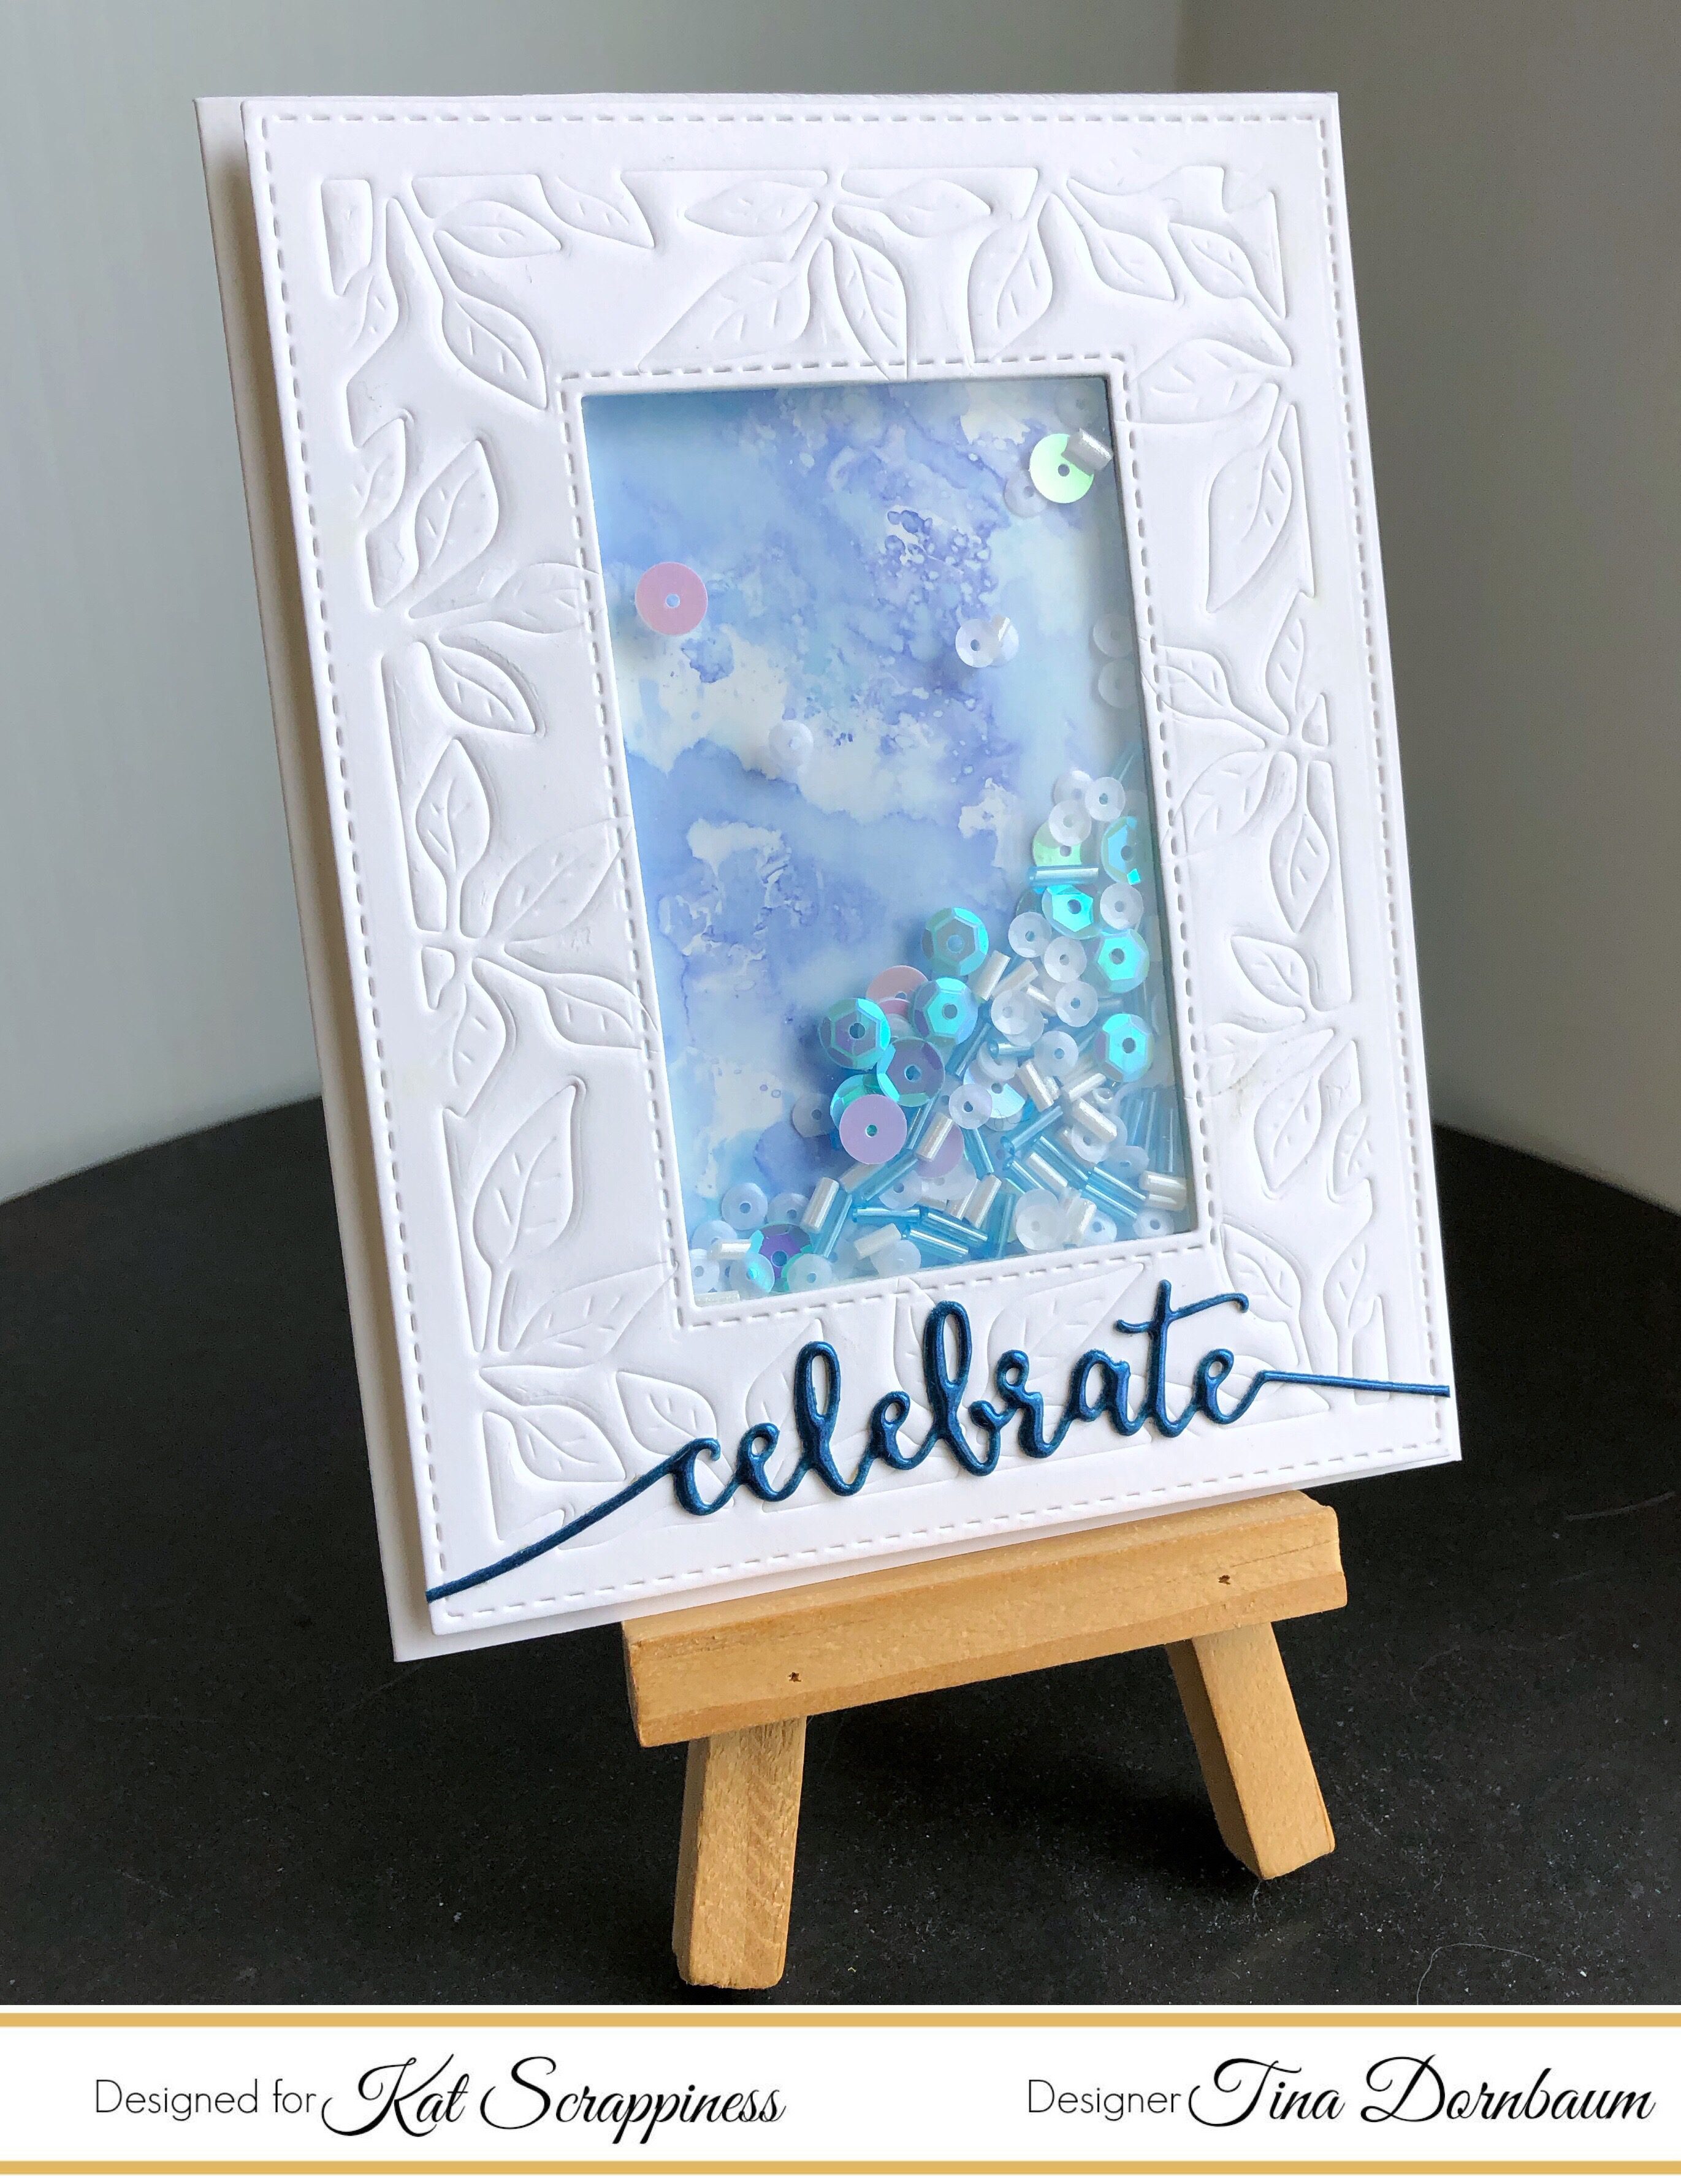
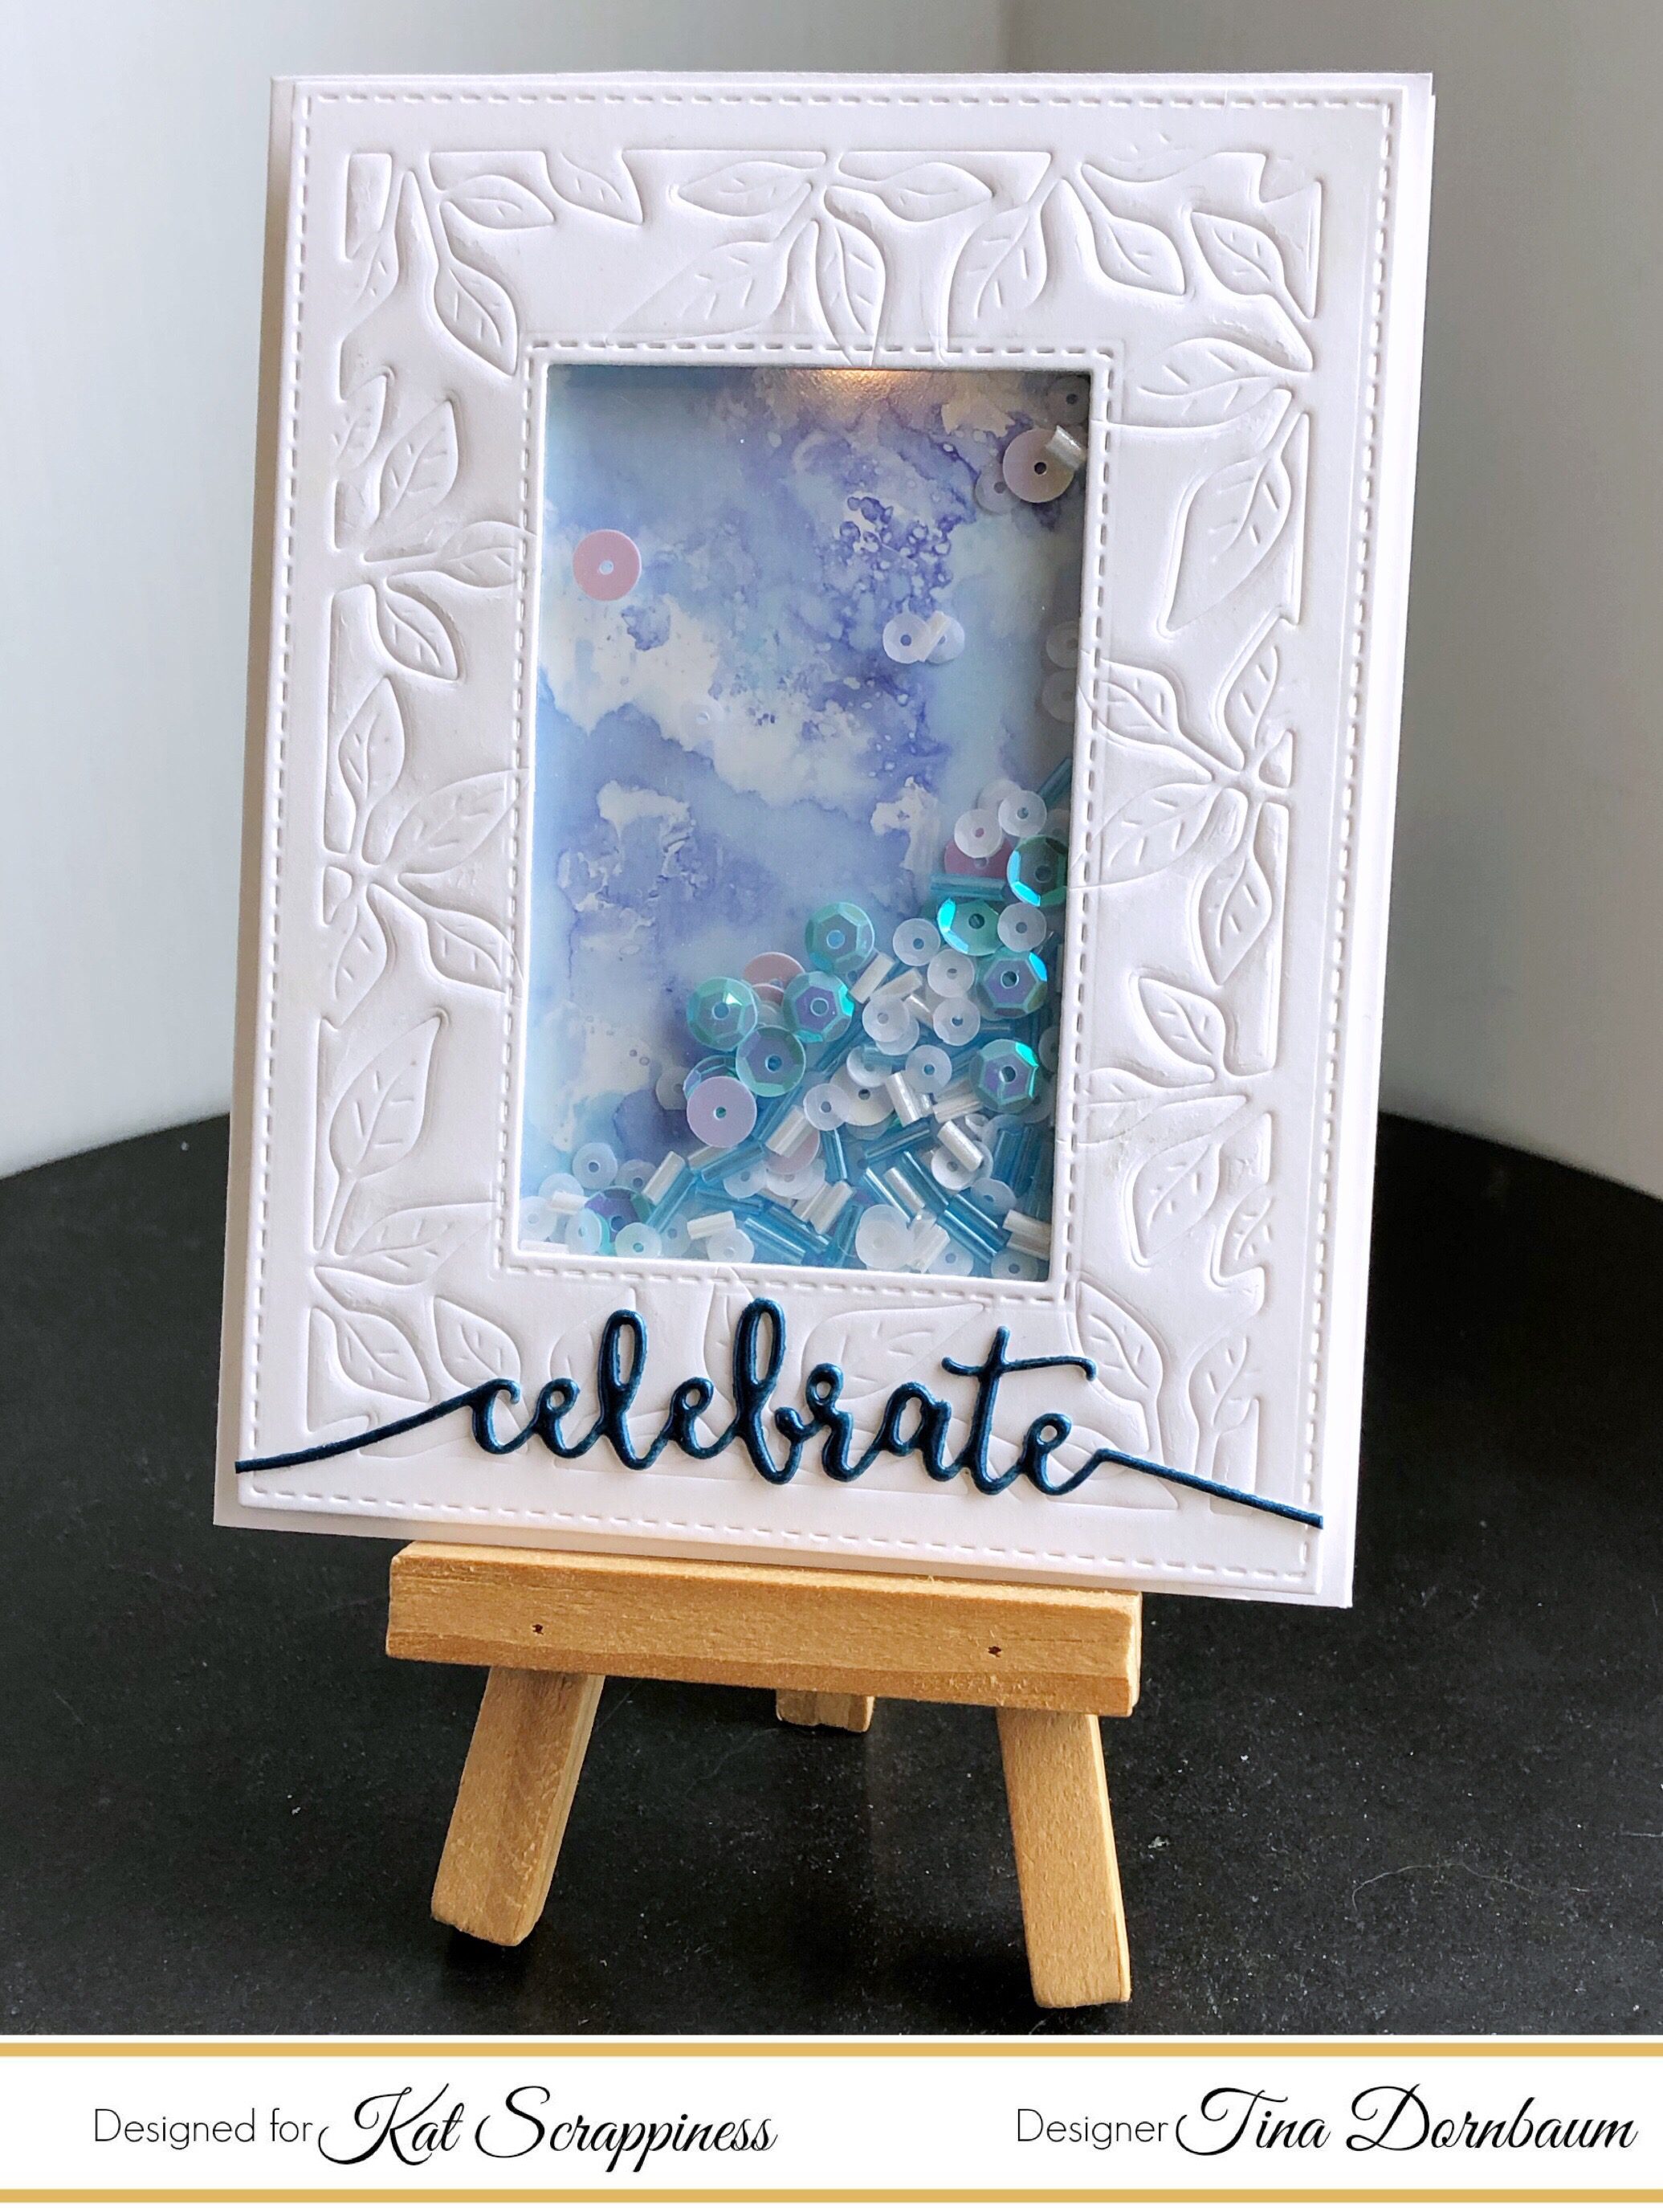
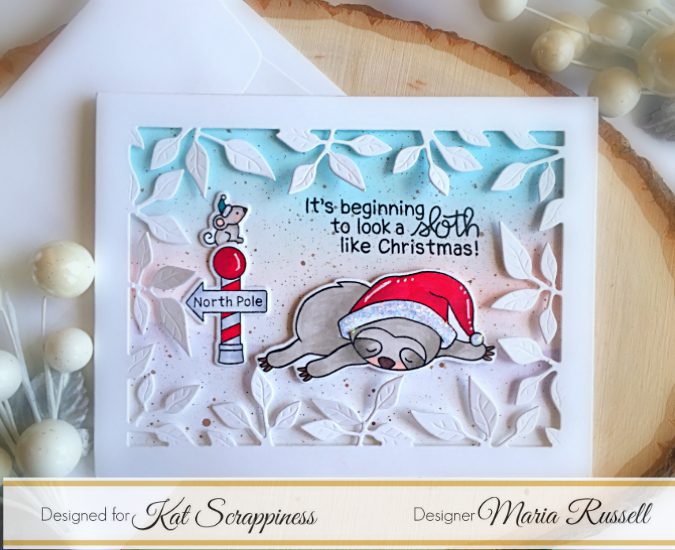
For starters I’d like to introduce you to the star of the show! The Crafters Essentials Winter Edition Dies by Kat Scrappiness.

This incredible set of dies includes 5 individually designed dies that you can mix and match to create uniquely designed cards time and time again. These dies are perfect for the winter holidays and Christmas!
Dies include:
- A2 sized *Cut and Emboss Stitched Snowflake Swirl Background Die
- Two stitched snow drifts/hills
- One die with three pine/Christmas trees
- One deer die
- Build a Stocking (Christmas) Dies
- Christmas Stocking Banner Die
- Holly Leaves and Berries Dies
- Stitched Snowflake Swirl Border Backdrop Die
- Stitched Winter Swirl Backdrop Die
What would all of these wonderful dies be without some cute stamps to add color and interest to?
Check out these 4 holiday stamp sets available as well!
- Merry Critters
- Naughty Christmas Stamp Set
- Darling Dreidels Stamp and Die Set
- Teenie Tiny Townie Chanukah Cling Stamp
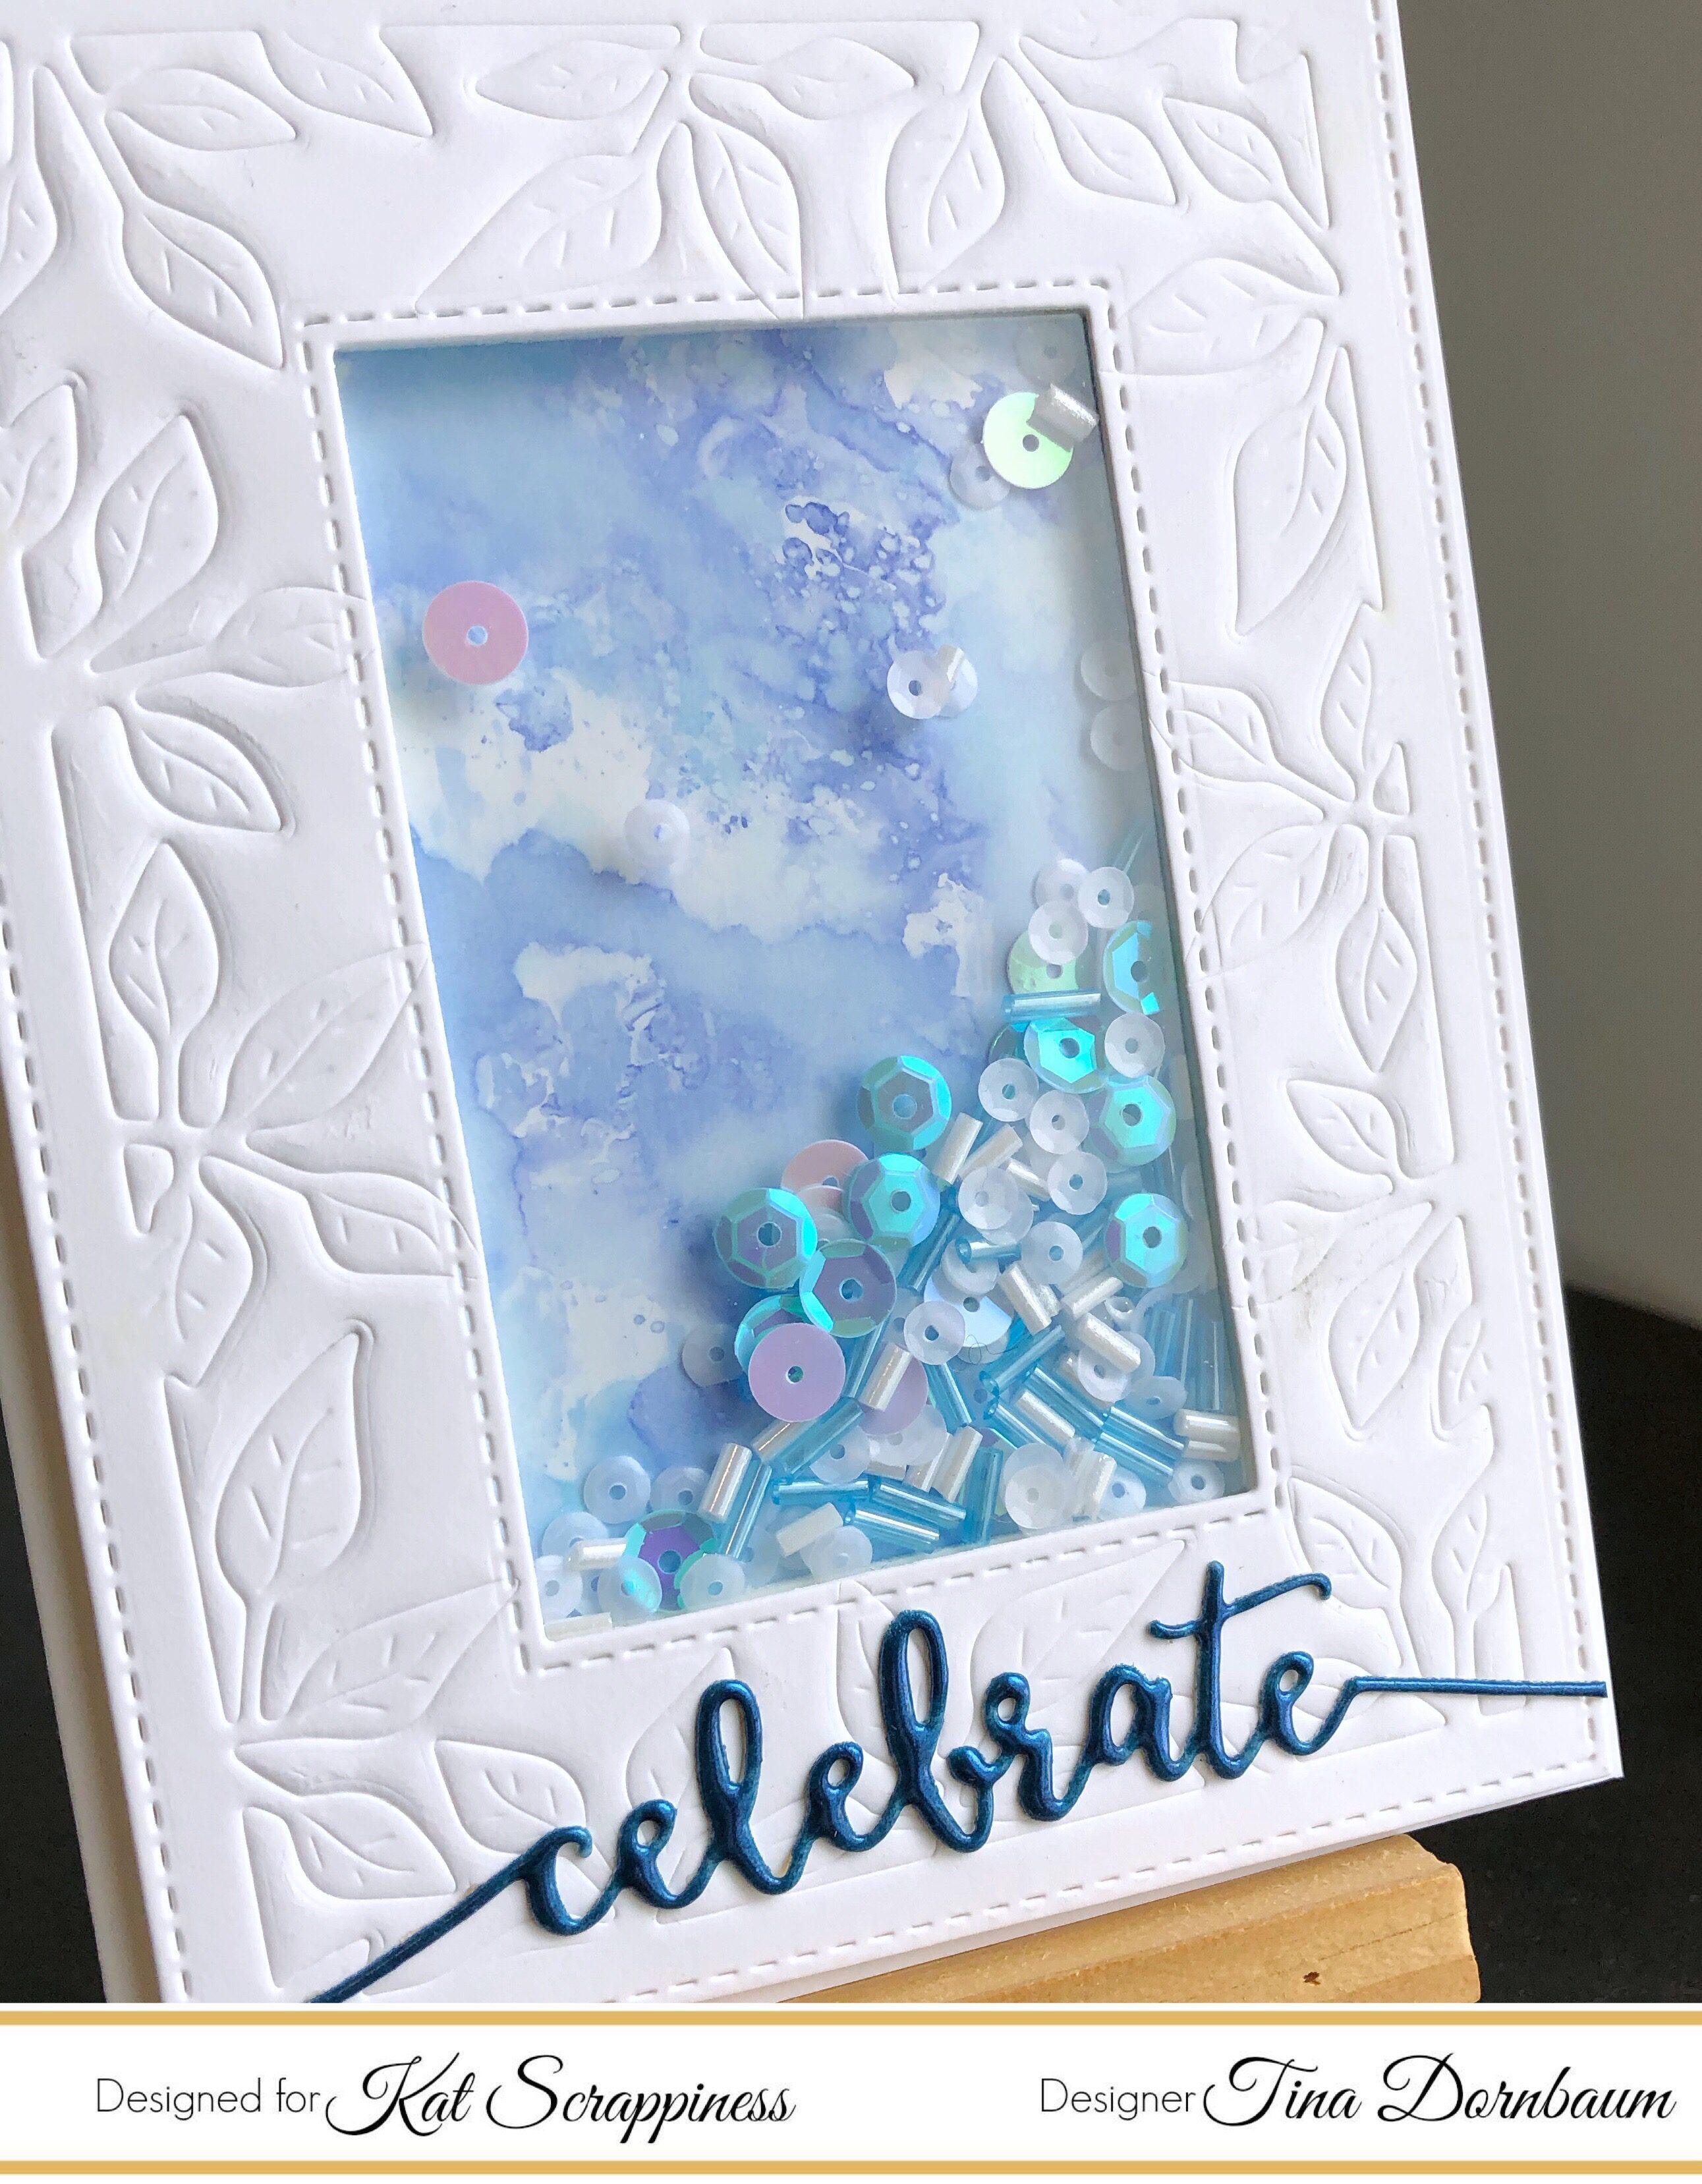
You’re going to want to dress up those backgrounds with some awesome sprinkles and sequins and we have just the products for you! These 4 sprinkles and sequins mixes are sure to dress up your holiday cards with sparkle and fun!
- Falling Snow Sprinkles Embellishments
- Holly Jolly Christmas Sequin Mix
- Christmas Village Sequin Mix
- Sparkling Wintergreen Sequin Mix
We also have a very special event coming up this month and we would love it if you would participate in with us!
It is called the Kat Scrappiness Coffee Oasis Charity Blog Hop and Sale!

We are looking for bloggers, YouTubers (and sponsors) who want to join our charity blog hop which will happen from December 7th through the 10th. The blog hop is winter themed and the sale at Kat Scrappiness will benefit a local charity, The Coffee Oasis. Kat Scrappiness is donating 15% of all sale proceeds to Coffee Oasis and will have donation buttons on each blog in the hop in case our hoppers want to donate directly.
The Coffee Oasis does a lot of good to help the youth in our community and we’d love to give back to them and show our support. Please check out this blog post for all of the details and consider joining us!
So go ahead and get out your winter stamps and dies and play along with us! You just might get lucky and win a $25 gift certificate to KatScrappiness.com!
While you do not “have” to use our products, we would love to see how you incorporate your Kat Scrappiness stamps and/or dies in your project!
.***We only have 2 easy requirements to play along this month:***
- Make a new winter themed project for the challenge.
- Please remember to link back to this challenge in your entry.
That’s it! Easy peasy right? Now let’s see your idea of winter!
To enter, submit a photo of your project below (Click on the “Add Your Link” button) and we will randomly pick the winner at the end of the month.
Good Luck from Kat Scrappiness, and we’ll see you soon!
?Walking in Our Winter Wonderland?