Hi Everyone, it’s Priscilla here. Today I have a “New Years” card showcasing the “Winter Wonderland Shaker Card Kit” from Kat Scrappiness. On my last blog post, I used 4 of these “Shaker Card Kits” kits to create Christmas tree ornaments. Today I have a card with the shaker element adhered to the front of an A2-sized card. Let’s get started!
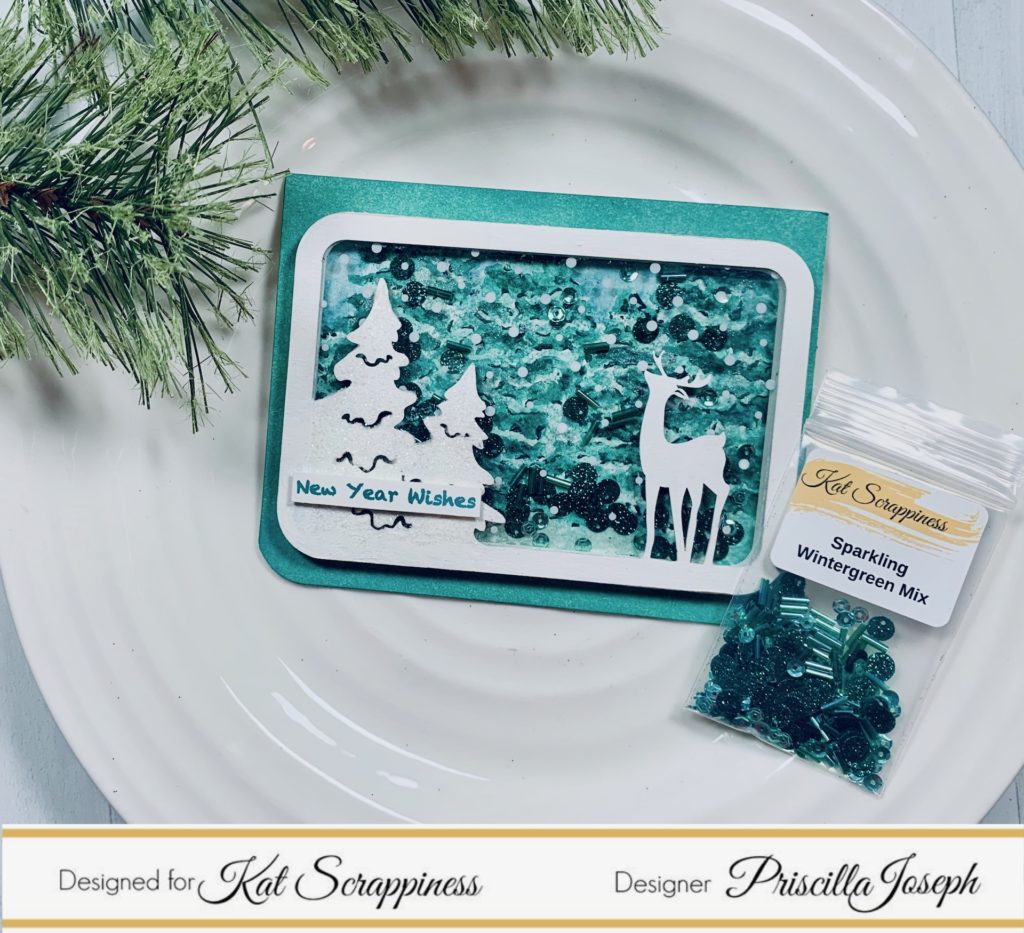
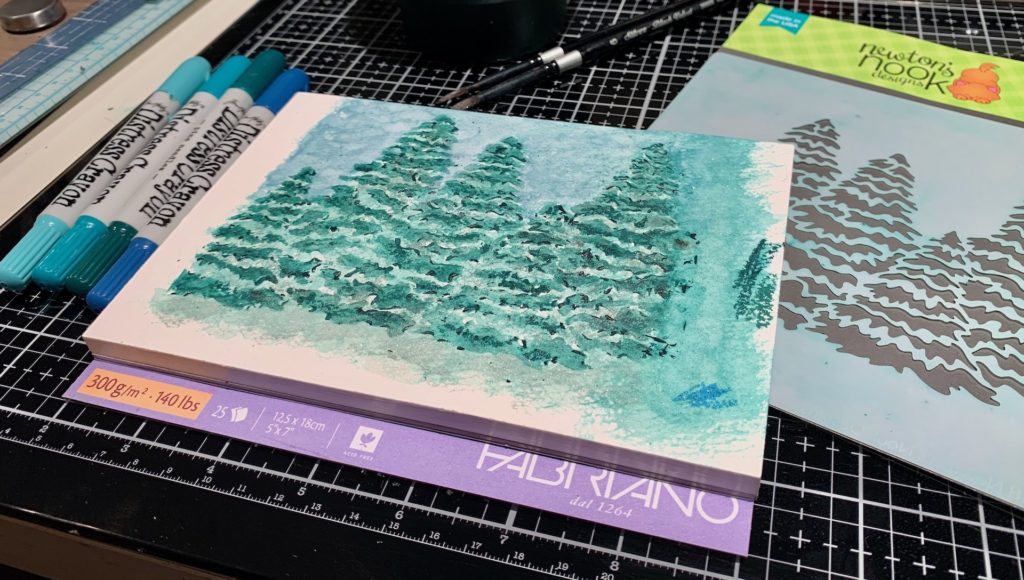
To create the background scene for this card, I got out my “Distress Crayons.” I have to admit that I’ve never use these because I was never sure what to do with them. But after seeing a video from Justine Hovey, I got brave and took them out. I loved them! Using the “Evergreens” stencil from Newton’s Nook, I “colored” a backdrop on watercolor card stock that I think looks a tad “impressionistic.” LOL!
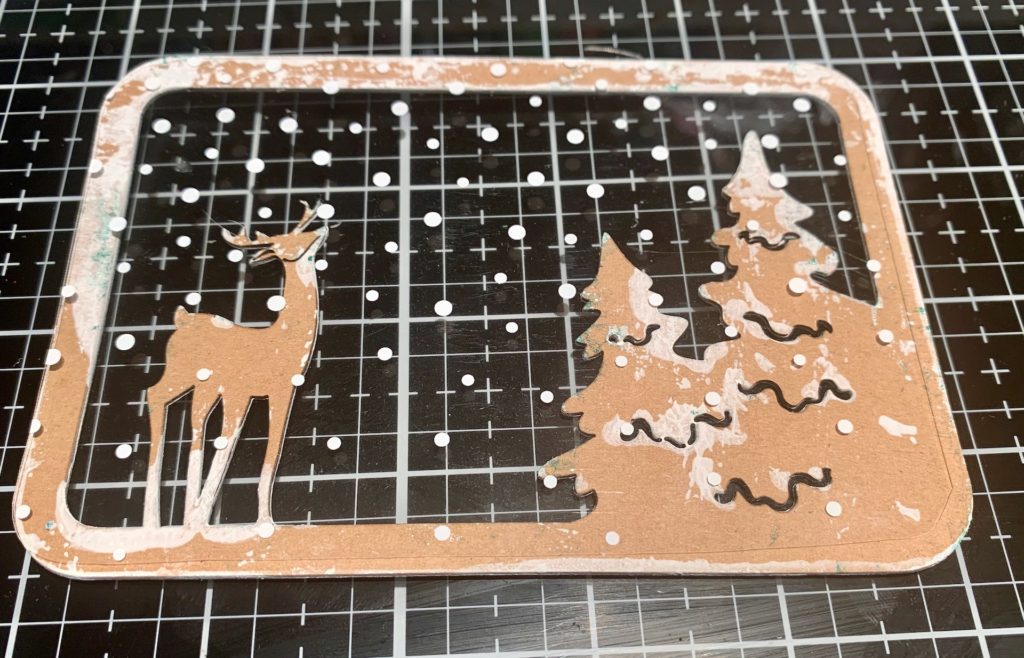
Next I painted the front of the shaker frame with white acrylic paint, let it dry, and then adhered a piece of Crafters Companion “Luxury Snowfall Acetate” on the back in lieu of the plain acetate that comes already sized in the kit.
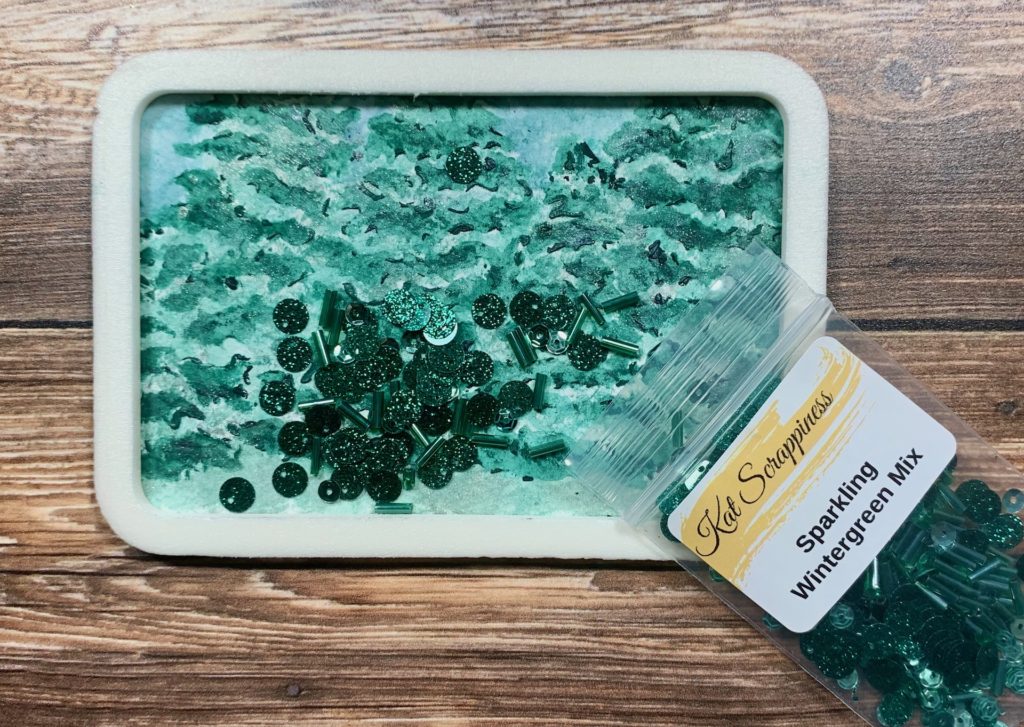
After adhering the foam frame to the background, now it was time to pour in the “Sparkling Wintergreen Mix” from Kat Scrappiness. I love the soft minty green tones in this mix. A perfect compliment to this winter-themed card!
Once I had adhered the painted frame over the filled base, I mounted the finished shaker onto an A2-sized card the I had colored using a bend of green and blue Distress Oxides. I created the custom “New Year Wishes” on my computer and adhered it over the white trees.
Thanks for stopping by! Wishing everyone a “Happy New Year!”
And don’t forget to check out what’s NEW in Kat’s Shop, and follow my blog and Instagram for more “Kat Scrappiness Amazingness”!


Priscilla ❄❄?
The supplies I used are listed and linked below.
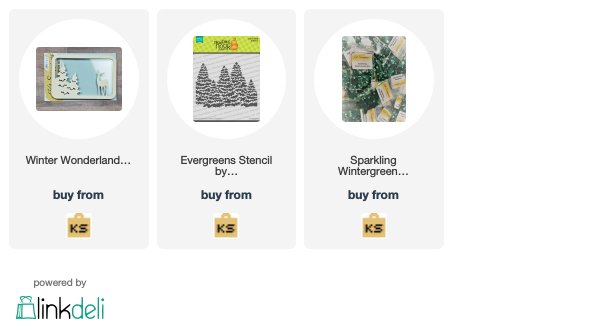
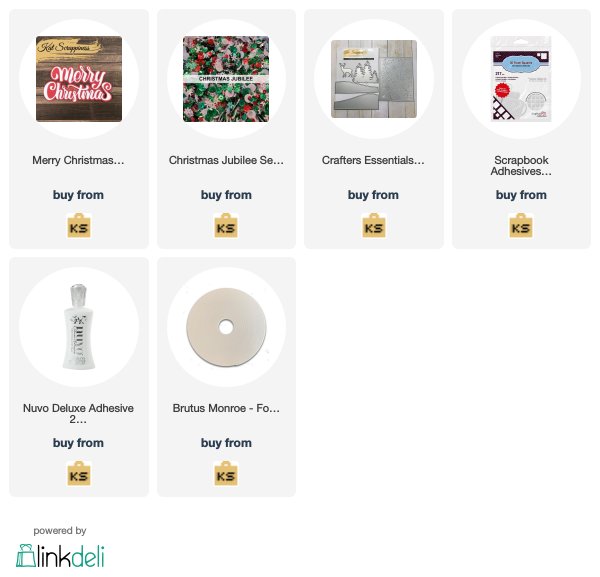
SUPPLIES