Hello Kat Scrappiness fans! Welcome to Day 2 of the July release! As mentioned yesterday, we changed things a bit for our release post. Each design team member was assigned a specific product to feature. By doing so, you’ll be able to see different products and samples made by the team. Throughout the month of July, you will see samples from the team that you haven’t seen from the release posts. This will keep things fresh and interesting, and you will be amazed with what the entire team has in store for you. Stay tuned and subscribe to our Blog and YouTube channel to see all of these projects.
The sale is still going today until July 6th!!!!!!

Don’t forget that we also have a giveaway every day during the reveals so PLEASE SCROLL THROUGH AT THE END OF THE POST TO FIND OUT HOW TO WIN.
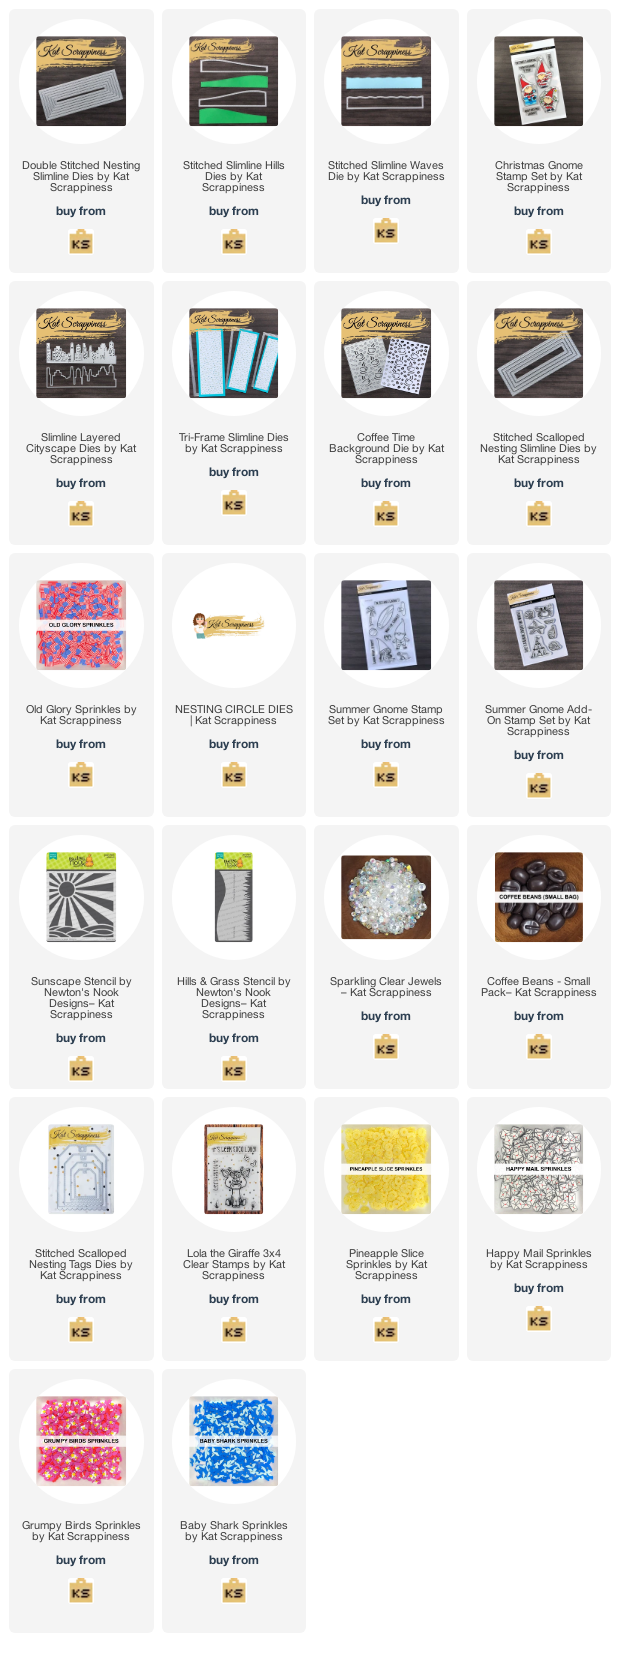
For todays reveal, we are showcasing a few Slimline dies –> the Stitched Wave, Stitched Hills and Wonky Slimlines with the Coffee Background die and the Christmas Gnome stamp set. Design Team member, Sandra is showcasing (the previously released) Lola the Giraffe stamp set but the coordinating die didn’t come in time for this release. Here’s what the dies and stamp set looks like:


Are you ready to see the samples?
WAVE SLIMLINE DIE – MEGHAN

Meghan created this AMAZING summer-themed slimline card! She stamped the images using the Summer Gnomes and Summer Gnome Add-on stamp sets and colored the images in with her Copic markers. She used her Scan N Cut machine to die-cut the images. The scalloped background panel was die-cut using the Stitched Scalloped Nesting Slimline die, and ink-blended with distress oxide ink. Meghan masked off the clouds using a Clouds stencil. The beach wave was die-cut using the Stitched Wave Slimline die and the sand hill was die-cut using the Stitched Hills Slimline die. Here’s a closer look:

I always love Meghan’s cheerful cards!
STITCHED HILLS SLIMLINE DIE – WALESKA GALINDO

WOW, WOW, WOW! I just LOVE this card! To create her scene, Waleska inked up her background panel (die cut using the Wonky Slimline die) with a Sunburst stencil and some distress oxide ink. The water was die-cut using the Stitched Waves Slimline die and the hills using the Stitched Hills slimline die. She finished her design by adding the images from the Summer Gnomes Add-On stamp set. Does anyone else feel like going to the beach now? I do!
WONKY SLIMLINE DIE – PRISCILLA JOSEPH

Priscilla also created a summer-themed card. This scene reminds me of the time I was vacationing in The Maldives when I saw dolphins for the first time! The dark frame was made using the Wonky Slimline die. Her background was ink-blended with oxide inks and clouds stencil. She also used the Waves Slimline Die to create her water scene, and adhered the Dolphins using the Stitched Dolphins die set with foam adhesive for added dimension.

This second card by Priscilla is such a cute design. The dark frame was die-cut using the Wonky Slimline die, adding the spotted patterned paper with the ruler as her background for Lola the Giraffe popped up on the card with some foam adhesive for added dimension. She finished her design by popping up the sentiment as well with some foam adhesive. The ruler behind Lola is such a great feature on this card! Brilliant design!!!
COFFEE BACKGROUND DIE – CAREN BARTHOLOMEW

Check out this beautiful coffee-themed card by Caren! I love how she inked up the coffee background panel using the Coffee Background die with some distress oxide ink and adhered this on some colored background that highlighted the coffee beans and cups! She finished her design by adding the sentiment using the Let’s Get Caffeinated stamp set. I really love the pop of color on this card by Caren! She always makes the best CAS cards ever!
LOLA THE GIRAFFE – SANDRA BEUS

An amazing design from Sandra using a lot of KS products. The background panel was die-cut using the Wonky Slimline die set and the grass hills using the Stitched Hills slimline die. Lola the Giraffe was colored with alcohol markers. She created her outdoor scene by adding the little trees, house, sun and clouds. She finished her design by adding the colorful butterflies and popped up her sentiment with some foam adhesive for added dimension.
CHRISTMAS GNOME STAMP SET – ADAM KARLE

Adam’s cards are always cheerful and beautifully designed. This slimline Christmas card is just so adorable! The background patterned paper was die-cut using the Wonky Stitched Slimline die. He also inked up the background with distress oxide and use the pine trees from the Crafter’s essentials – Winter die set. using a paintbrush and white paint to create the “snow” for added detail and dimension. He stamped and colored the Gnome from the Christmas Gnomes stamp set. He finished his design by adding the sentiment and a black bow. Very classy!