Hello Crafty Friends! Priscilla here from Nubble Light Designs. Today I am sharing a fun card for a “wizard-loving” father…


Hello Crafty Friends! Priscilla here from Nubble Light Designs. Today I am sharing a fun card for a “wizard-loving” father…
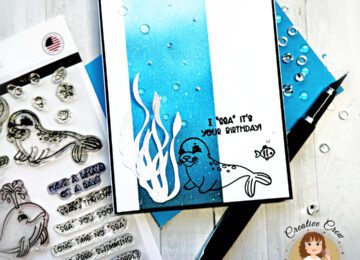
Happy Thursday Crafty Friends! Priscilla here from Nubble Light Designs. Today I am sharing a sea-themed birthday card featuring several Kat…
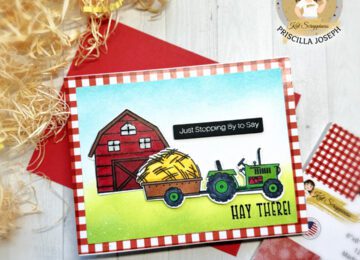
Hello Crafty Friends! Priscilla here from Nubble Light Designs. Today I am sharing an adorable “farmhouse style” card that can be…
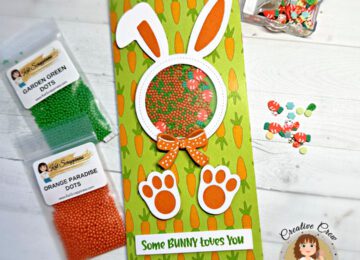
Hello Crafty Friends! Priscilla here from the Kat Scrappiness Design Team. Today I am sharing a slimline shaker card for Easter….
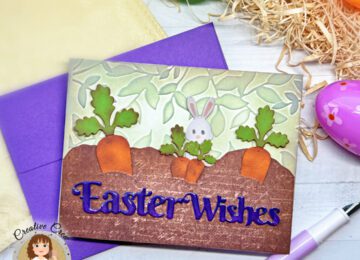
But First . . . Freebies! Happy Monday Crafty Friends! Priscilla here from the Kat Scrappiness Design Team. Today I am…
Hello friends and welcome to the Kat Scrappiness April Release 2023. This release includes such cute Friends Under…

Hello crafty friends!! Nora here with my last post on the blog. I have had a fabulous time on the…