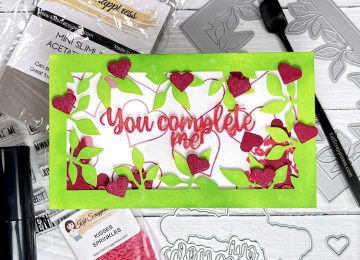
Hello everyone!! Nora Noll here on the blog today with a fun card featuring the Smooches Coverplate, Spectrum of Love…

Hello everyone!! Nora Noll here on the blog today with a fun card featuring the Smooches Coverplate, Spectrum of Love…

It’s a beautiful day in Arizona and time to share some LOVE! This is Kathy from Expressive Paper. I have…
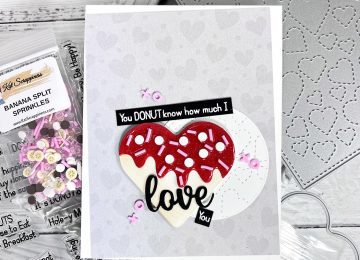
Hello everyone!! Nora here on the blog with a fun Valentine card I created using some of the recently released…
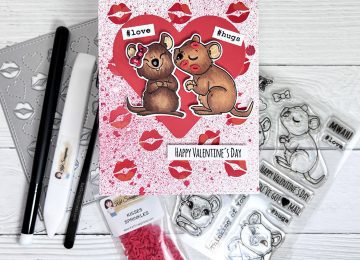
Hello my fellow crafters. Nora here with a Valentine’s Day card that features some of the NEW product from Kat…
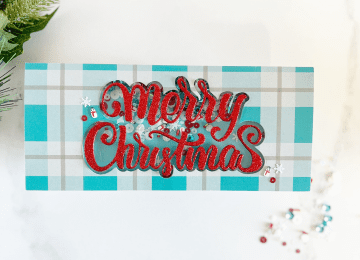
Hello my friends!! Nora here from A Creative Touch with a last minute holiday card using a die as a…
Hi, everyone! This is Nicki of Nicki Hearts Cards here today with a fun shaker card. If you have been…
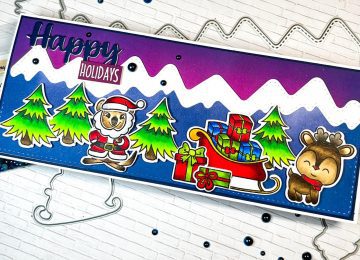
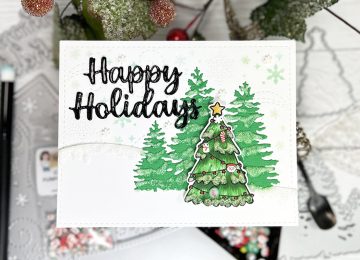
Happy Wednesday crafty friends!! Sammi here sharing the cutest Santa Quokka you ever did see!! I always imagine the North…