Follow:
    Design Team Projects

    Enjoy the Waves

    Hello friends Waleska Galindo here again, to share a very summery card, I enjoyed so much this summer that I am still making Summer cards!! I hope you like my card today and can be inspired.

    CARD DETAILS:

    For my card today I used a bunch of new KS products.  I started with the wave panel cutting the waves from the Waves Border Dies I cut 3 waves and add some color with Oxide Ink Salty Ocean.  I then cut the sand and flip flops from the Summer Fun Essentials dies, I added  color to the sand with Vintage Photo Oxide ink and some splashes with the same color.  I cut the flip flops from the Rainbow Dreams Slimline paper.  I adhere the sand first and then glue the waves,  I added the flip flops in the sand to make a very fun beach scene.

    I then cut a panel with the Stitched Postage Stamp Edge dies and adhere the little scene.  I made an A2 card panel with white cardstock and added 3 more panels from different colors.  I adhered the scene to the card with foam tape and added the sentiment.

    This was such a fun summer card to make to say good bye to this fun Summer time I had.  I hope your Summer was great too.  Remember that this and many more awesome KS Products are now available at the shop!  Have a great day!!!


    Waleska

    Giveaways, New Releases

    Kat Scrappiness New Product Release for August 2021!


    Hello Kat Scrappiness fans!  Welcome to our August release!  The entire DT is joining us this week and we have A LOT of samples to show you!  We also have a GIVEAWAY so make sure you read all the way to the end of this post to see how you can WIN!


    Before I show off the new products, I just want you all to know that the coordinating dies for the Quokka’n Up and Summer Quokkas are available now!  The team is showing some samples again using the dies and combining it with the new products to give you some inspiration.


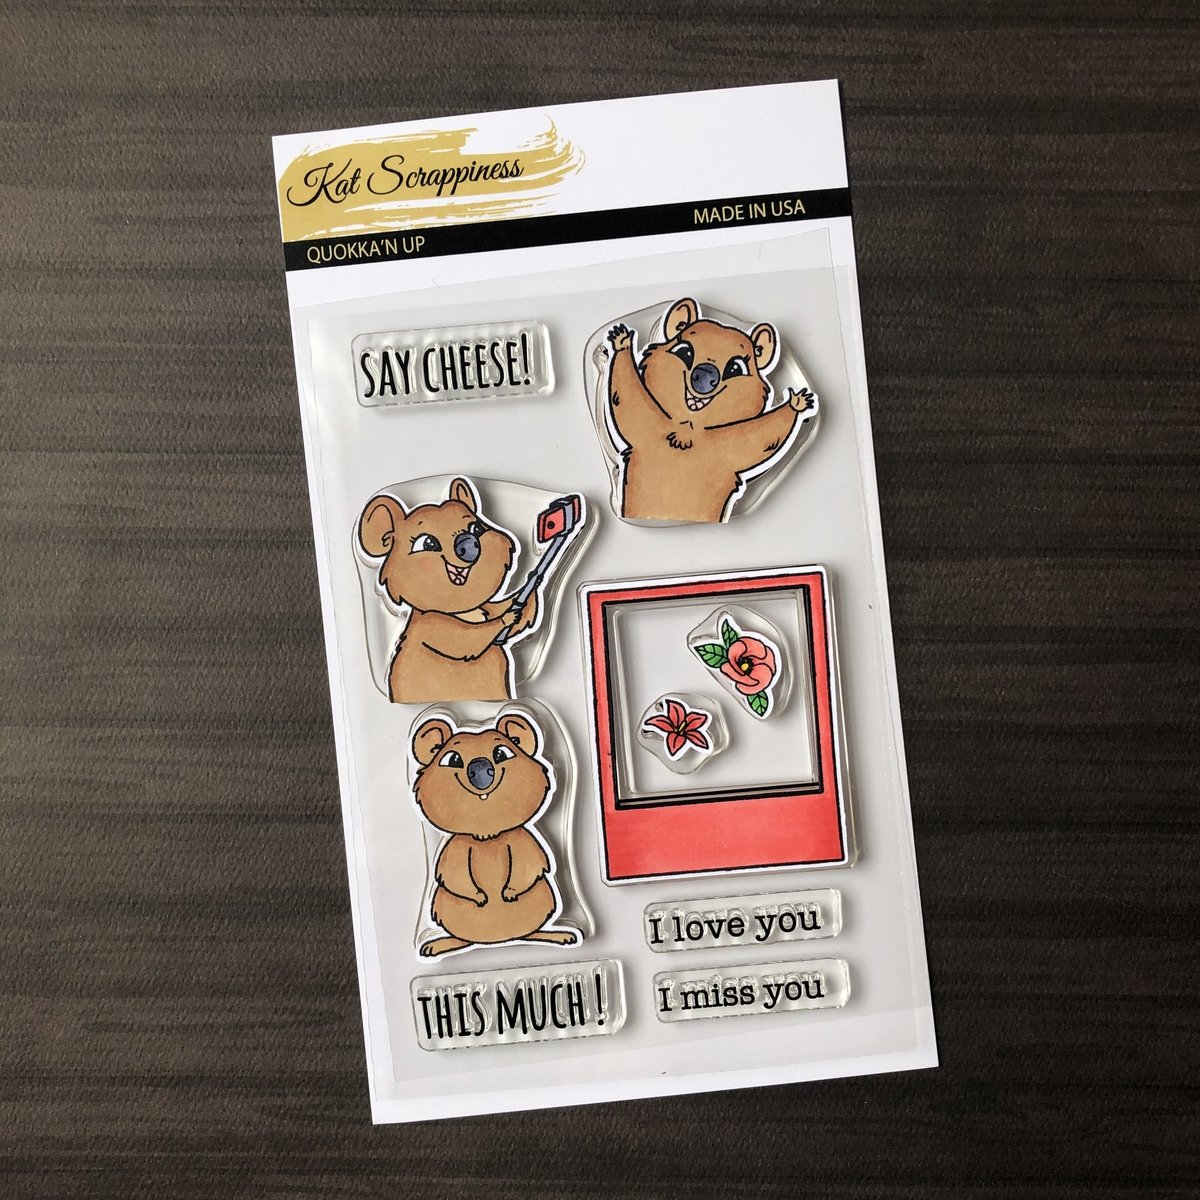
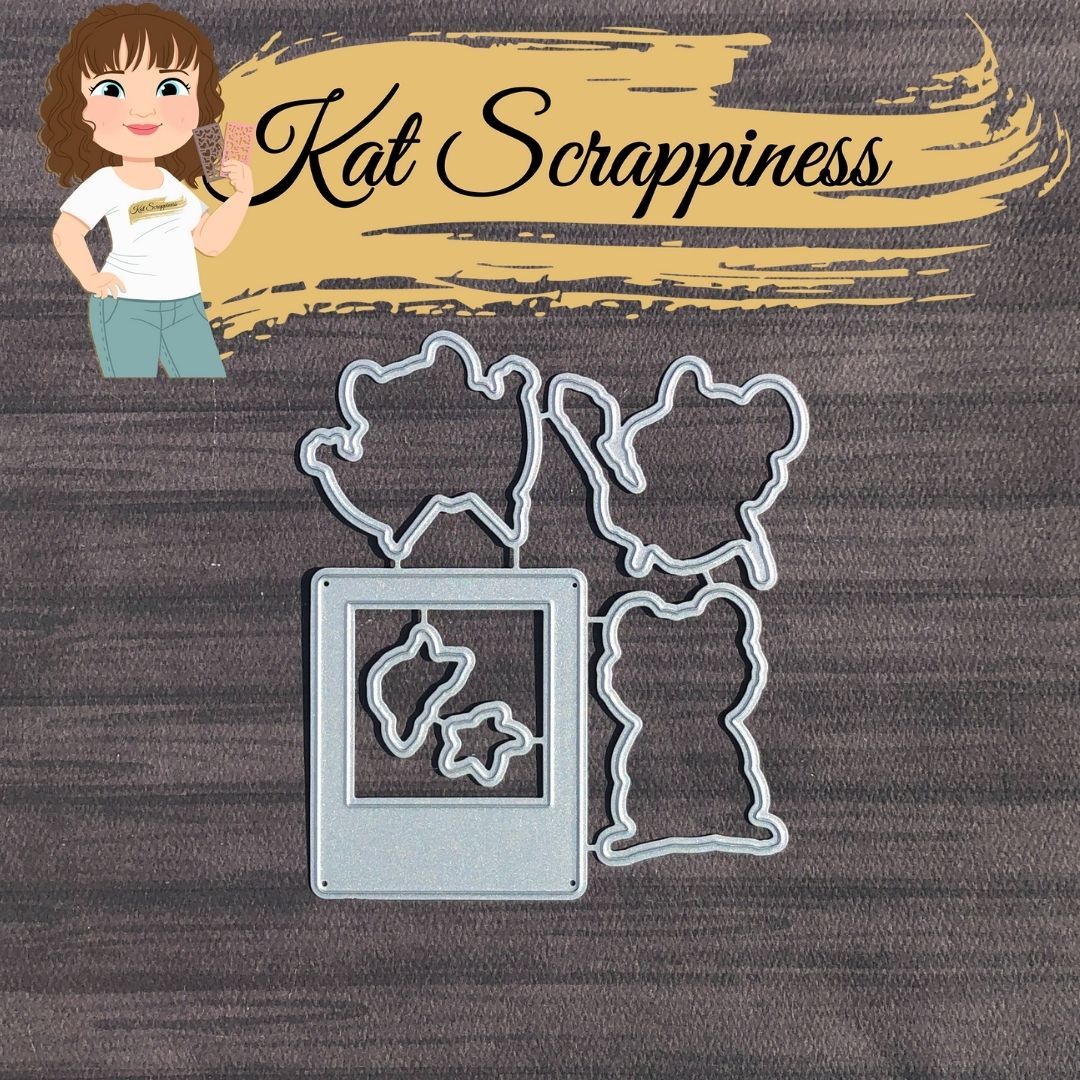
    QUOKKA’N UP COORDINATING DIES


    SUMMER QUOKKA COORDINATING DIES


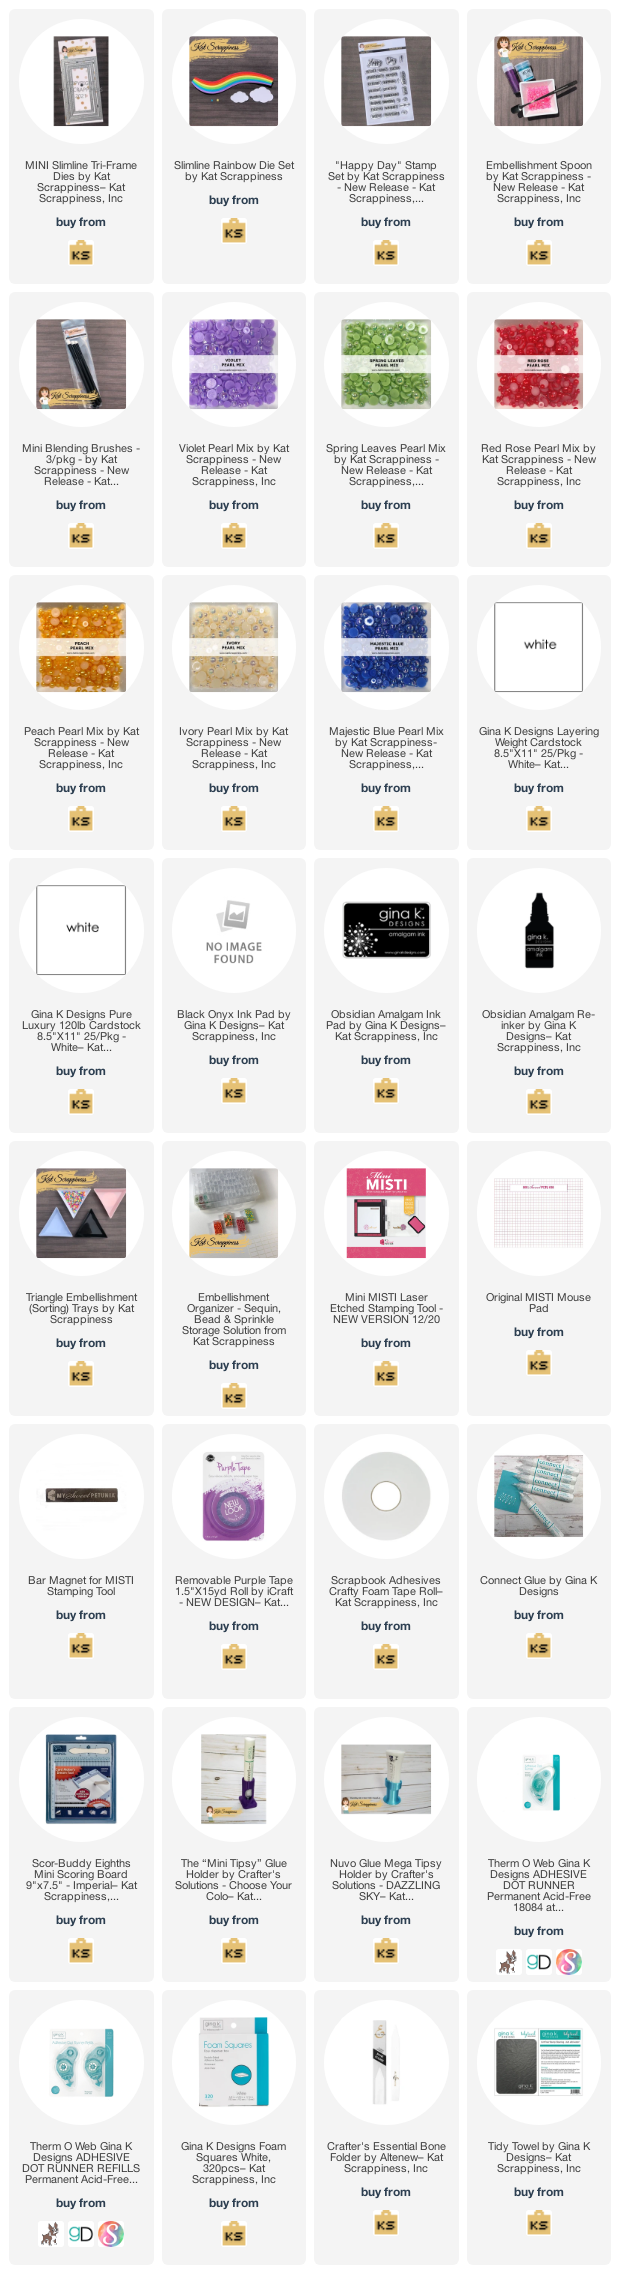
    For today’s release, we are showcasing two new slimline patterned paper –> the Rainbow Confetti and Rainbow Dreams, along with the Mini Blending Brushes, Embellishment Spoon and new Pearls and Rhinestones.

    We have a HUGE selection of colors available at the shop now so please check them out.


    RAINBOW CONFETTI


    RAINBOW DREAMS


    MINI BLENDING BRUSHES


    EMBELLISHMENT SPOON

    The Kat Scrappiness Embellishment spoon is great for scooping embossing powders, glitters, sequins, sprinkles, pearls, rhinestones, etc. This is a must have tool for any crafter!

    Grab a cup of coffee (or any beverage you have in mind) while browsing through all of the beautiful projects prepared by the team!   Are you ready to get inspired?


    CAREN BARTHOLOMEW

    This cheerful and colorful card by Caren showcases the new Rainbow Dreams patterned paper on her first card, along with the Summer Quokka stamp set and dies and the polaroid was die-cut using the Quokka’n Up die set.


    DONNA GREEN-IDLET

    Wow! Donna created an array of colorful cards showcasing the new items available at the shop.  What’s great is that you can mix and match these products and create a unique set of cards that you can send to your friends!


    (YT DT Member) KATY INGRAM 

    The new Mini Blending Brushes set includes three mini blending brushes with white angled bristles in sizes 5, 7 and 10. These mini blending brushes are perfect to apply and ink-blend using your favorite inks. They are great for getting into the most intricate areas of your stencils. You can also ink your die cuts and embellishments easily!  These are GREAT to use on layered stencils!
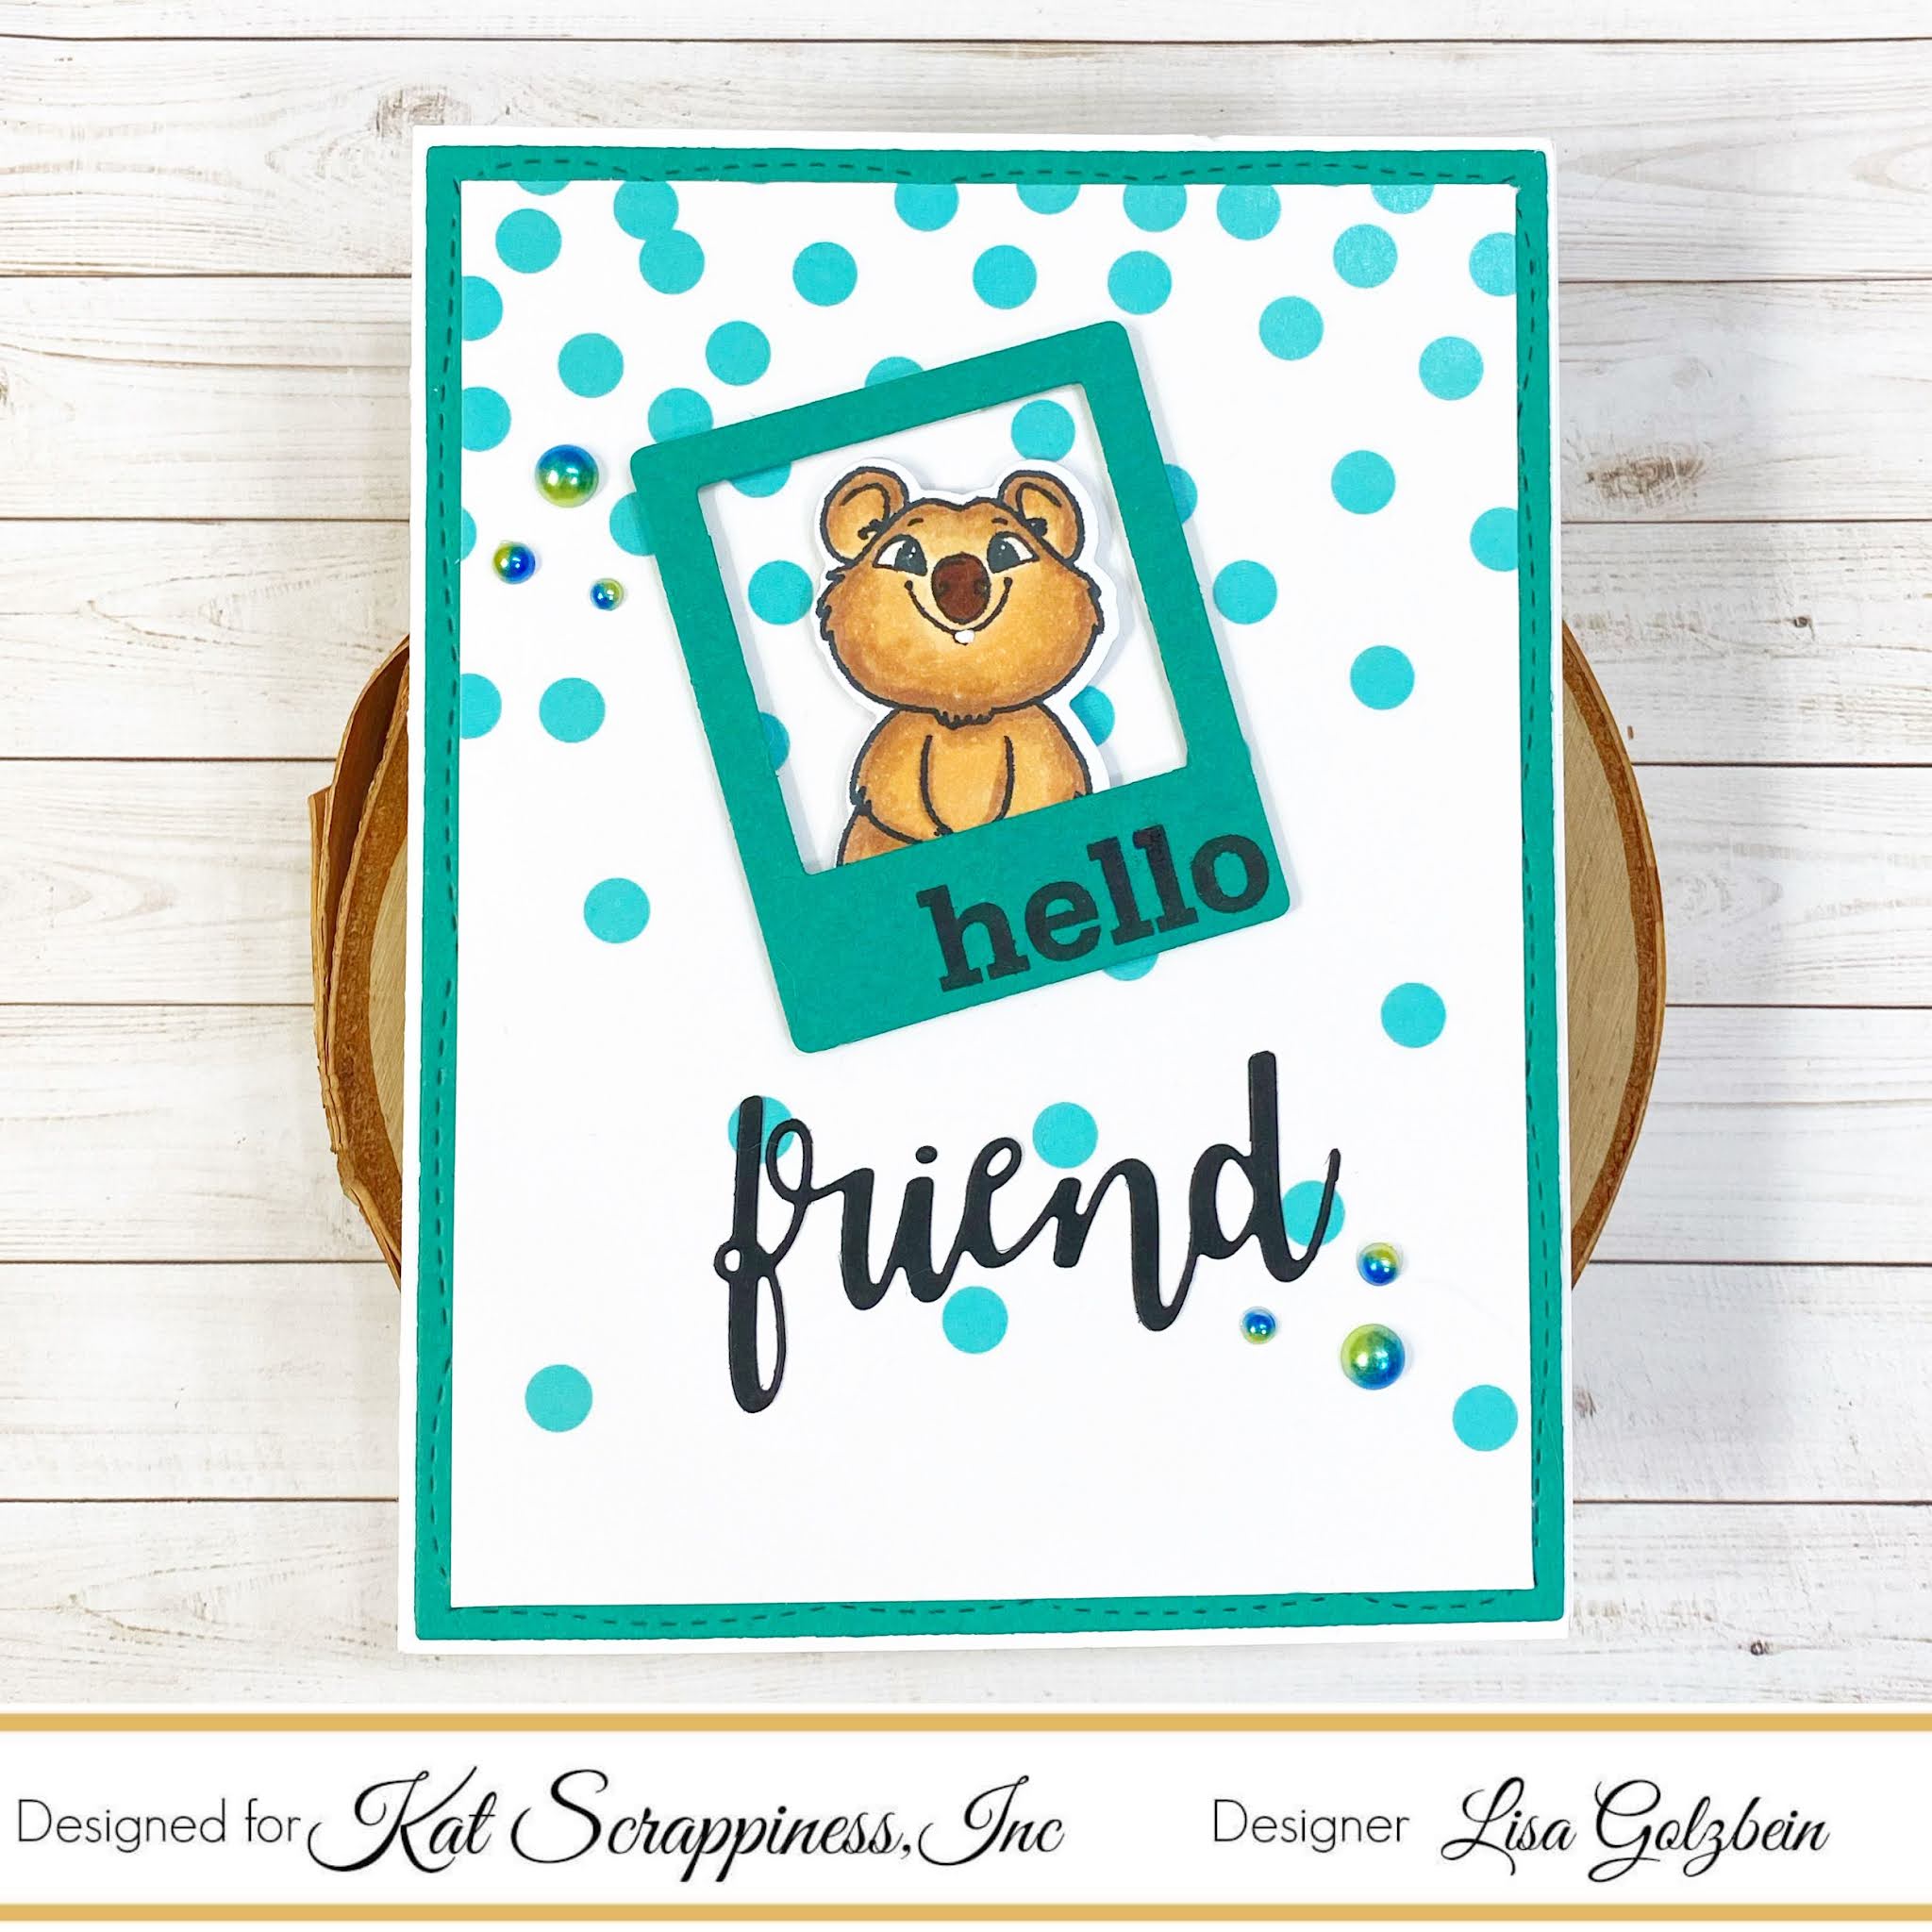


    LISA GOLZBEIN


    PRISCILLA JOSEPH

    I am just totally in-love with Priscilla’s first card!  She used the Slimline Rainbow Die set and the new Rainbow Dreams Slimline Patterned Paper to create this unique Rainbow.  The clouds were die-cut using the Slimline Stitched Cloud Border die and ink-blended with some blue ink using the Mini Blending Brushes.


    Check out this cute card below that was ink-blended using the new Mini Blending Brushes along with the Rainbow Confetti Paper Pad and a lot more products available at the shop! Super adorable!


    SHERI GILSON

    Sheri created 3 adorable cards using the new products from this release and I honestly cannot even pick a favorite!


    TINA DORNBAUM

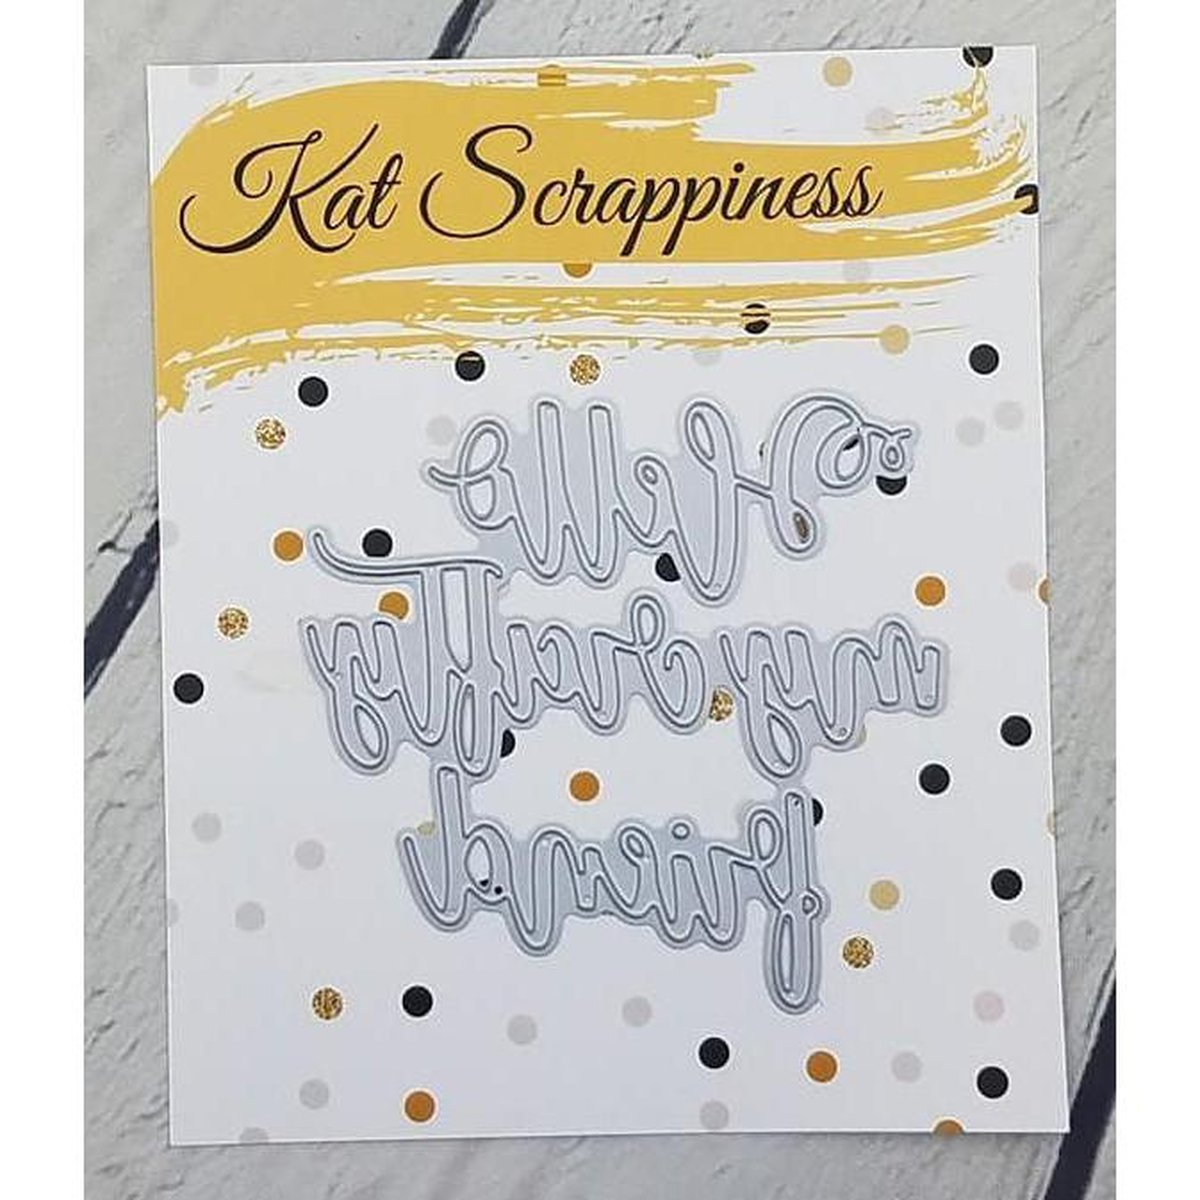
    These two unique cards created by Tina showcases the new Rainbow Dreams slimline patterned paper, along with the new pearls in a variety of colors and the Sending Paper Hugs with Shadow die set.


    WALESKA GALINDO

    The two cards below that were ink-blended using the Mini Blending Brushes created by Waleska are so beautiful!


    Who wouldn’t LOVE to receive this adorable card with the cute Quokka selfie?  Need I say more?


    GUEST DESIGNER – DONNA WALLS


    Is there anything cuter than this slimline card created by Donna?  The cheerful Quokkas just popped against the colorful background using the new Rainbow Dreams paper pad.


    I love the colors that Donna used on this second card featuring the Rainbow Confetti paper pad and the Polaroid is from the Quokka’n Up coordinating die set.  Super adorable!


    GIVEAWAY

    *Would you like to WIN the Two new Slimline Paper Pads, A Set of the KS Detailed Blending Brushes,  KS Spoons and some Embellishments?  We will pick one lucky winner! (*U.S. residents only but if international winner is chosen, winner will have to pay for shipping).  

    Here’s how to win:

    Comment on this blog post and tell us who inspired you today.  You have until Sunday, August 15th to comment  — winner will be announced on Monday, August 16th. 
    Thanks for joining us today and have a great week!

    Design Team Projects

    Shine Bright

    Hi Crafty Friends,
    I have a SUNSHINE filled card for you featuring Kat Scrappiness’ Sunspot Coverplate Die and the amazing variety of enamel dots and pearls in the store.

    Make Crafty Friends Q & A:
    Q: What did you do today to be kind to yourself?
    A: Me? I cuddled my puppy

    I would be so grateful if you use the affiliate links  to grab your Kat Scrappiness Goodies! No extra cost to you!

    Supplies:
    Kat Scrappiness Sunspot Coverplate Die
    Kat Scrappiness Flag Banner Dies
    Kat Scrappiness Bumble Bee Pearl Mix
    Kat Scrappiness White Yellow Teal Enamel Dots

    Design Team Projects

    Hello

    Hello crafters. It’s Caren on the blog today bringing you a fun pastel mini slimline card. I used a ton of Kat Scrappiness products to create this card.

    Here are the steps to create this mini slimline card:

    I love the soft look of the ink blending on this card.

    Thanks for stopping by, check out a couple of sales going on right now.


    – – –– – –– – –– – –– – –– – –– – –– – –– – –– – –– – –– – –– – –– – –– – –– – –– – –– – –– – –– – –– – –– –

    Here is a link to the Kat Scrappiness shop and direct links for products I used on today’s cards.

    – – – SUPPLIES for today’s project– – – – – – – – – – – – – – – – – – – – – – – – – – – – – – – – – – – – – – –

    Design Team Projects

    Sending Love Mini Slimline Card

    Hi everyone, it’s Tina here. I love creating stencils from Background dies. I used the Star Fusion Coverplate with the Valentine Quokka Stamps, Mini Slimline Distressed Edge die, and the Condensed Alpha dies to create this sending love card. Below are the steps to create your own card.

    Step 1 – Trim White Cardstock to 7” x 6”, score at 3 1/2” and fold in half for a horizontal top fold card. (Mini Slimline)

    Step 2 – Diecut Star Fusion Coverplate using White Cardstock. This will be used as a stencil. Place on top of a White panel measuring 3 1/2” x 6”. Apply Distress Oxide Ink. I used Worn Lipstick.

    Step 3 – Diecut Mini Slimline Distressed Edge using the panel created from Step 2. Apply Distress Oxide Ink to the edges. I used Aged Mahogany.

    Step 4 – Diecut the word Love using Condensed Uppercase for L and Condensed Lowercase for V and E leaving a space where the O would be. Adhere the panel to the card front using Bearly Art Precision Glue. Adhere the letters back into the negative space using Foam Tape.

    Step 5 – Stamp Valentine Quokka (Image) using Versafine Onyx Black Ink on White Cardstock. Color in image. I used Prismacolor Pencils with gambol. Diecut it using the matching die and adhere to card where the O would be using Foam Tape.

    Step 6 – For added interest diecut little hearts you may have in your stash and adhere to card using Glossy Accents. Or adhere Heart Enamel or whatever you have in your stash.

    This card can be used for several occasions such as Anniversary, Just Because, etc. Below you will find the link to all products used. Thank you for stopping by and Happy Crafting!

    Products Used:
    https://linkdeli.com/widget.js?id=f5e8378456858c916708

    Design Team Projects

    Happy Birthday Mini Slimline

    Hello crafty friends, it’s Lisa here with you today! I am up on the Kat Scrappiness blog with a clean and simple mini slimline birthday card using some of the latest products from the shop.

    I started out by die cutting the Mini Slimline Chevron Coverplate out of some pretty teal paper and backed it with a piece of white card stock.

    I used the Happy Day Stamp Set to stamp out Happy Birthday on to a circle cut with the

    Double Stitched Circles dies in the same teal paper.

    What card would be complete without some pretty embellishments? I finished this card off with some pretty pearls from the Silver Pearl Mix.

    I just love how this card came out and it was so quick and easy. Kat Scrappiness has hundreds of products to help you with your card making and scrapbooking so head over to the shop and check it out!

    Make sure to check out the sale going on right now on Enamel Dots!

    This sale has been extended through August 15th!

    Thanks for stopping by and have a great day!

    I already am!

    Lisa

    Design Team Projects

    Happy Retirement

    Hello Everyone!

    Sheri here today with a Retirement card featuring Kat Scrappiness Happy Day stamp set and Layered Tulip Bouquet die!

    I kept the design clean but added a few layers and a little dimension to the tulips.  For embellishment I added a little glitter and rhinestones!


    Steps to Create Card:

    • Cut Mini Slimline Card Base: 6″ x 3 1/2″ (6″ x 7″, scored at 3 1/2″)
    • Cut pink mat with Mini Slimline Scallop Edge Die (3 1/8″ x 5 5/8″) – use largest die
    • Cut white panel with Mini Slimline Never Ending Die (2 13/16″ x 5 5/16″) – use second larges die
    • Cut Tulip out using the Layered Tulip Bouquet die in both pink and green card stock
    • Stamp Happy Retirement sentiment from the Happy Day stamp set in bottom right corner of white panel with black ink.
    • Assemble card.
    • I added glitter to tulip petals and foam tape for added dimension.
    • For embellishment add Pink Sapphire Rhinestones with Gina K. Connect Glue.

    Here’s a list of the supplies I used from the store.

    Affiliate Links used at no additional cost to you. Thank You so much for your support!

    To Shop SALE, click HERE.


    Happy Stamping!!