Follow:
    Design Team Projects

    Bunny Wishes To You

    Hello Everyone! Crystal here and today I am featuring a fun paper pieced Easter Card using the new Hippity Hoppity Bunny Set and Hippity Hoppity Sentiment Stamps.

    I thought it would be fun to use the new Hop Into Easter Paper Pad, to paper piece these cute bunnies.

    I colored the bunnies with copic markers, and paper pieced each bunny with the new Hop into Easter Paper Pad. I also cut several different pieces of paper to create the layer behind the bunnies.

    If you haven’t checked out the new release check out all the great products HERE!

    Thanks for visiting today!

    Crystal


    Design Team Projects

    Birthday Bunnies – Kat Scrappiness March Release

    Good Morning! Kathy here from the Kat Scrappiness Design Team.  Check out the Kat Scrappiness Blog for some inspiration from me. Today I am sharing the March Release from Kat Scrappiness! It is full of bunnies and they are adorable. The new paper pack is bright and bold and can be used for more than just Easter with the fabulous new sentiment set. This is a release that will be part of my stash for a long time to come, it is just THAT cute! Today I am making a birthday card and am thrilled that you are here to join me. Let’s get started!

    Card Supplies

    Card Details

    • Cut, score, and fold a top-folding A2 card base from the Neenah Classic Crest card stock.
    • From the Hop Into Easter paper Pack select your pattern paper and cut to 4.25″ x 5″.
    • Cut a coordinating piece of colored card stock 3.75″ x 4.5″.
    • Cut your patterned paper 1/8″ smaller on both sides.
    • Cut another panel 1/8″ smaller from the white card stock.
    • Use the Stitched Cover Plate die with the white card stock and run it through your die-cut machine.
    • Layer the patterned paper and the die-cut panel together and with a paper trimmer cut at a diagonal about 1.5″ up from the bottom. This will leave you with two panels that you can use for two cards.
    • Glue the die-cut panel and the patterned paper panel to the colored card stock panel as shown below.
    • If there is a small gap no worry as we will cover this with the sentiment.
    • Stamp and fussy cut (I used my Brother Scan N Cut) the balloon bunny image. Next, color your image. I used colors that coordinated with my patterned paper.
    • Now it is time for the sentiment. When stamping I always use a stamp platform. If I don’t I can guarantee the sentiment will be crooked. However, if you have a steady hand and a juicy ink pad go for it! (light pressure though!) Select a coordinating piece of card stock for your sentiment. Use the Kat Scrappiness Embossing Powder Tool and brush the anti-static powder onto the card stock. With white pigment ink stamp your sentiment. Add embossing powder and heat with your tool.
    • Then I used a flag die to cut my sentiment but your paper trimmer will do just fine. You can always create a flag with scissors.
    • For the flag banner, I cut the little flags from the Birthday Essentials Die Set from coordinating card stock. Because I wanted a perfect curve for the string I used a circle die to help. So here is a tip…
      • Use a circle die and tape it down where you want the banner on the cloud background. Next, add glue along the edge of the circle die then press your string into place. After a few seconds, slowly remove the die. (and clean off the glue!)
    • After the banner string had dried, the tiny flag pieces were added with a tiny bit of foam on the bottom and a line of glue on top.
    • I trimmed down the string and added two silver round confetti for a finished look.
    • The bunny was popped up with foam tape and glue (for the bit over the banner).
    • The sentiment flag was added with glue.
    • The main panel adhered to the patterned paper panel with foam tape. Finally, the whole thing was added to the card base with double-sided adhesive.

    That’s it the card is done. There are a few fussy bits of cutting and die-cutting here but super simple to do. As always, thanks for stopping by and creating this card with me. I appreciate all of you. Please stop by the Kat Scrappiness Store and get these bunnies while they last!  Have a wonderful day!

    Design Team Projects

    Bunny Kisses Mini Slimline Card

    Hi everyone, it’s Tina here. I am totally loving the new Hippity Hoppity Bunnies and Sentiments Stamp Sets and the Hop Onto Easter paper in the new 6 x 8 size. Below you will find a steps to create your own card.

    Step 1 – Trim White Cardstock to 7” x 6”, score at 3 1/2” and fold in half for a vertical side fold card. (Mini Slimline)

    Step 2 – Trim Hop Onto Easter to 3” x 5 1/2” and adhere to card front using Bearly Art Precision Glue.

    Step 3 – I didn’t have a Domed diecut so I diecut the Doubled Stitched Squares and then the Double Stitched Circles. First diecut the Square using White Cardstock trimmed to 3 1/2” x 6” and then place the circle so it is half way from the top of the diecut Square. When you diecut make sure the area you want to diecut only is covered inside the cutting plate. Anything hanging out with not diecut. See photo below for visual. I didn’t take a photo with the top plate on so you can see the die is at the edge to the area I only want. You would place the top plate at the same area.

    Step 4 – Stamp Hippity Hoppity Sentiment to the panel created in Step 3 under the Dome left side using Versafine Onyx Black Ink. Adhere the panel to the card front using Foam Tape.

    Step 5 – Stamp Hippity Hoppity Bunnies onto White Cardstock using Gina K Amalgam Ink. Colour in with any alcohol markers of your choice. I used Copics. Fussy cut it leaving a little border and adhere to card using Foam Tape and a little Bearly Art Precision Glue.

    Step 6 – Optional – For a little added interest and sparkle randomly adhere Rhinestone’s using a Pink Up Tool and Bearly Art Precision Glue. I used Pink Sapphire, Emerald and Turquoise Blue. They are absolutely stunning so I couldn’t resist.

    This card can be for used for several occasions by changing the sentiment. Below is a link to all the products used. Thank you for stopping by and Happy Crafting!

    Products Used:
    https://linkdeli.com/widget.js?id=f5e8378456858c916708

    Design Team Projects

    Interactive Shadow Box Spring Card

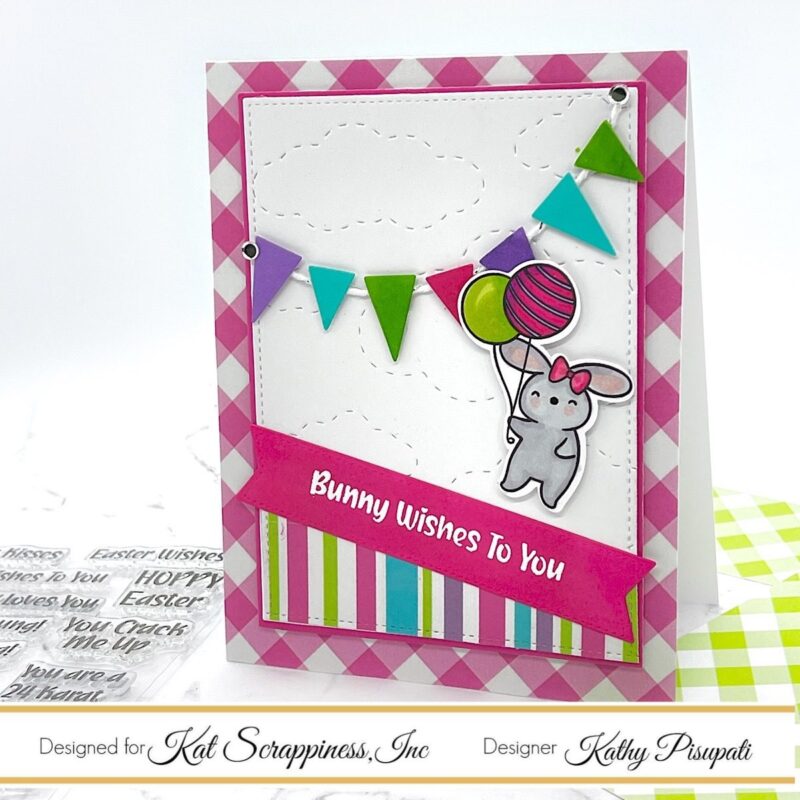
    I think everyone is loving these sweet Hippity Hoppity Bunnies and the Hop into Easter papers.  I couldn’t resist using them for a fun little interactive shadow box card for spring.  This allowed me to create a spring scene and use the new papers.

    Interactive Shadow Box Spring Card


    I had 3 of these bunnies left over from my Instagram hop project and just had to use them.  They are so cute in pastel colors.

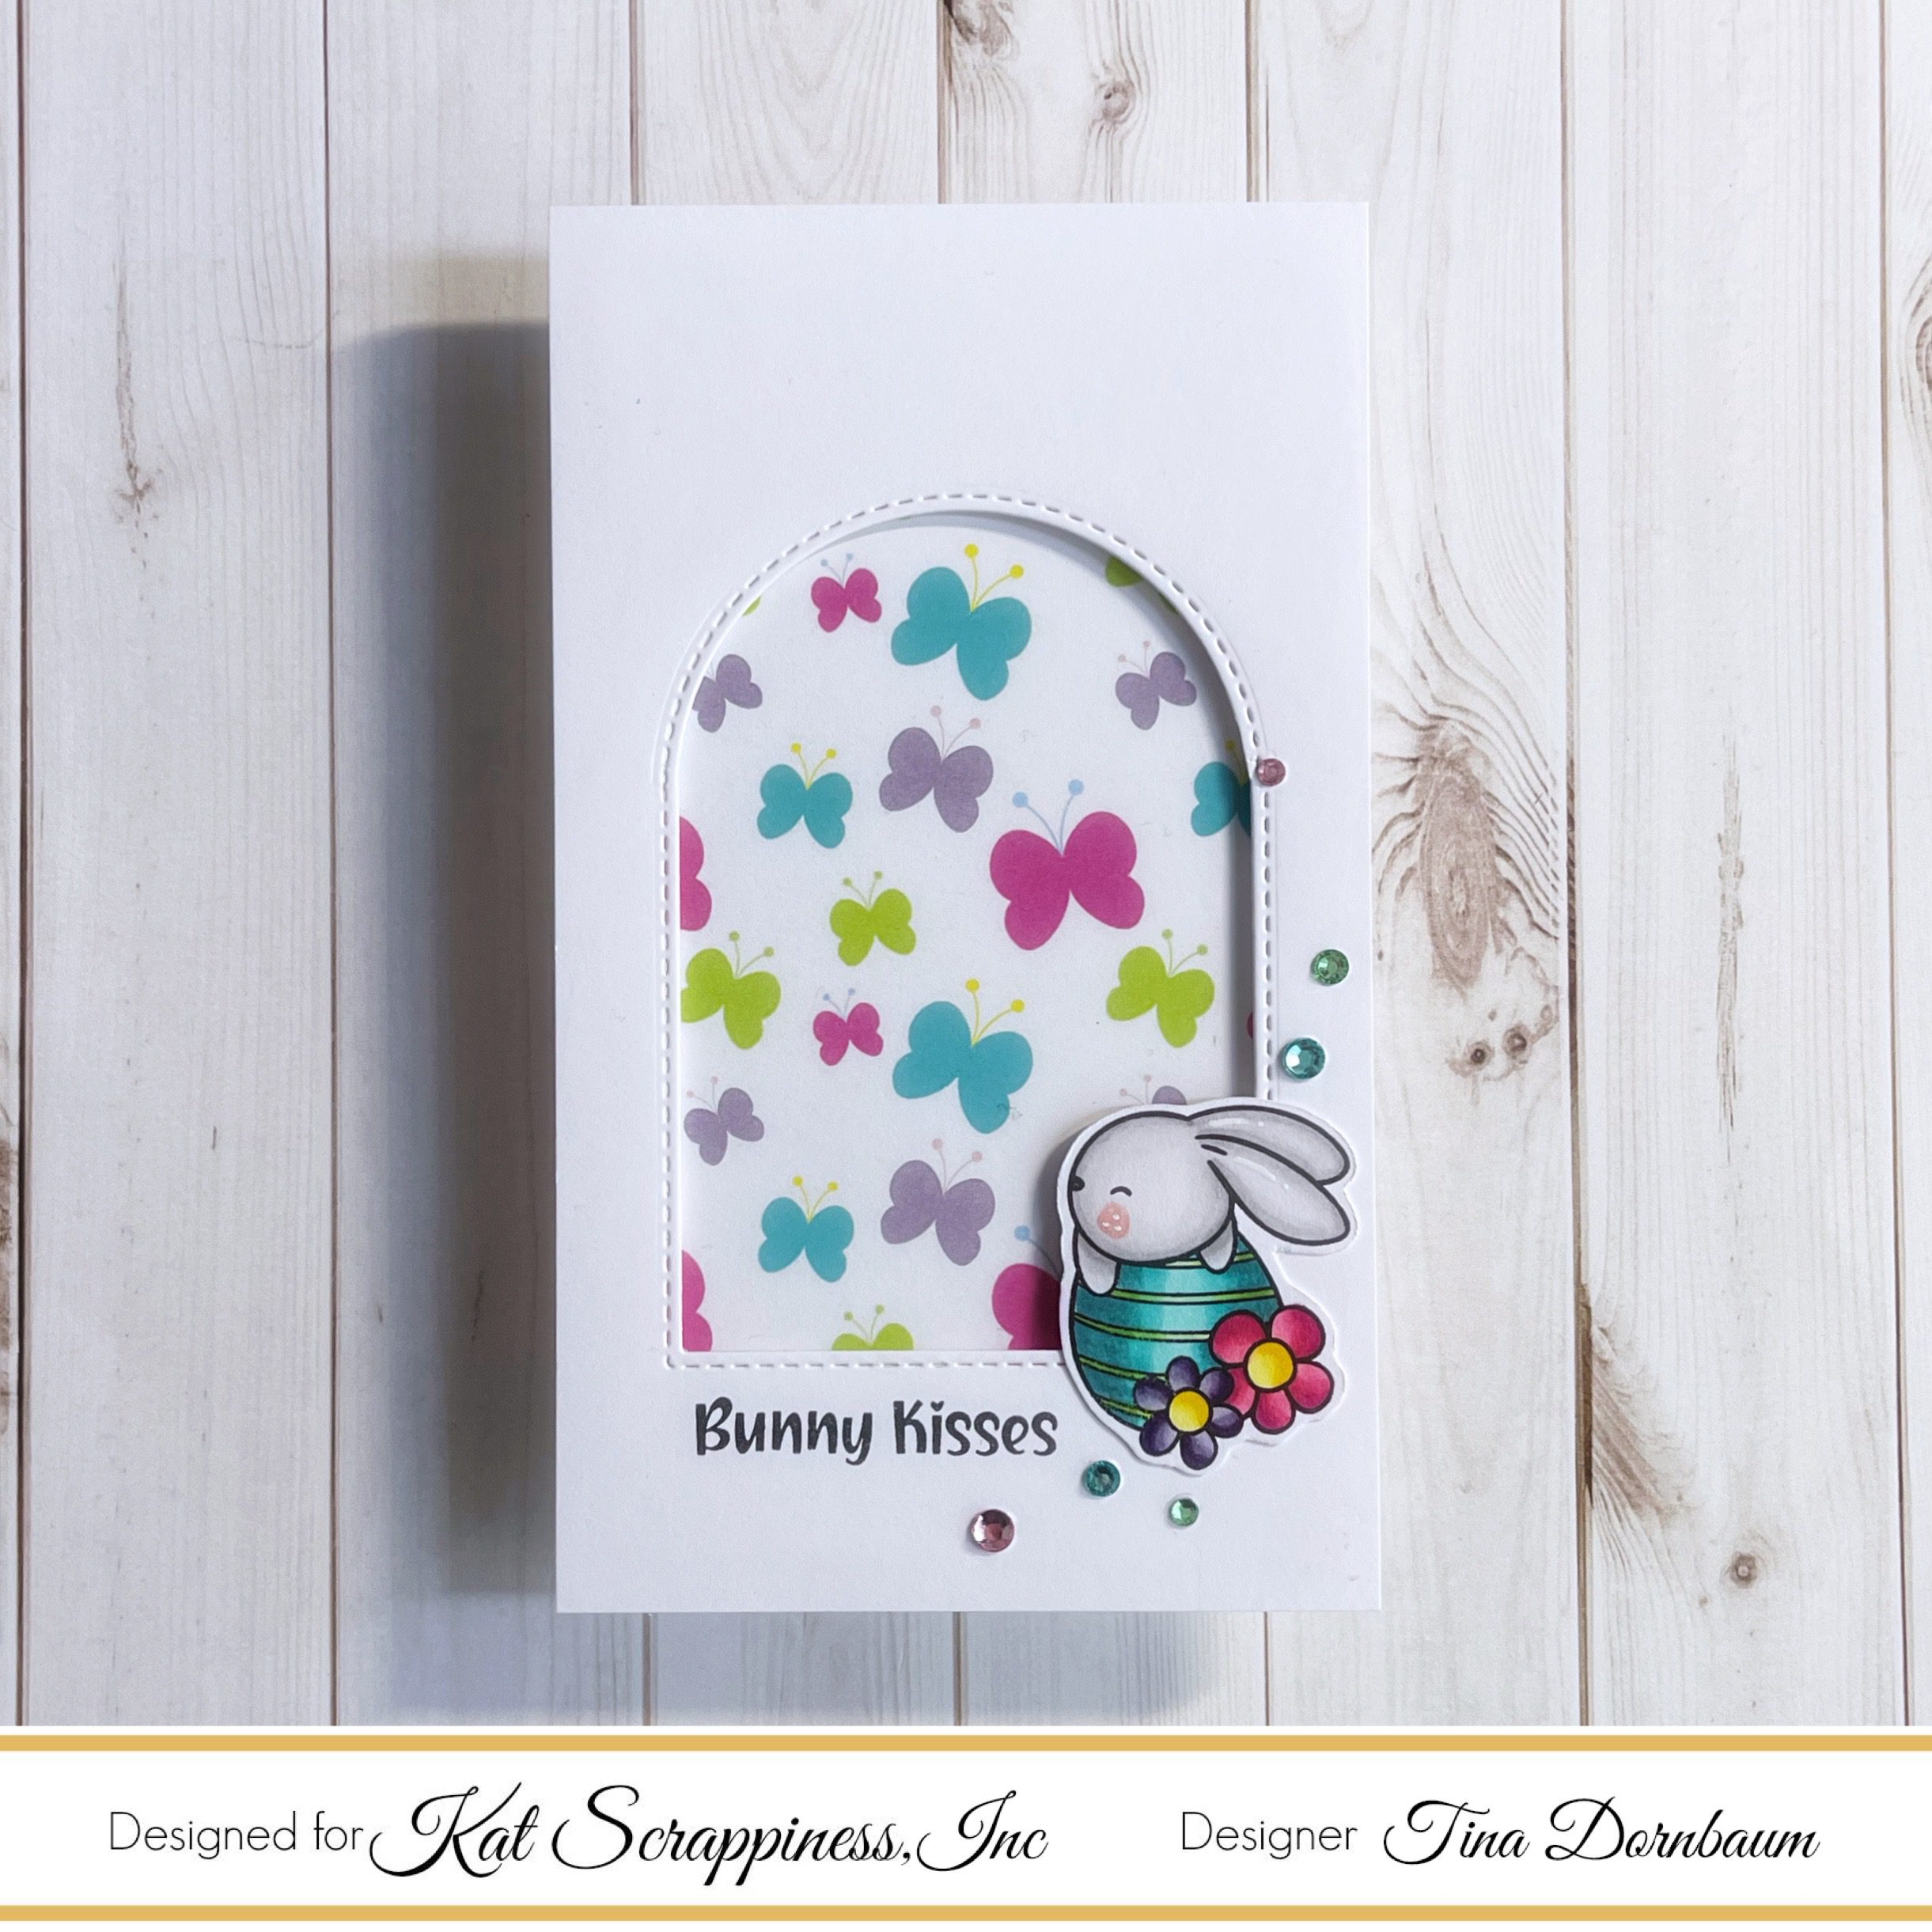
    For the front of my card, I used the Hop into Easter patterned paper which I cut down to 3-1/4 x 5-3/4″.  I added a white die cut using the Reverse Scallop Mini Slimline Frame dies.  This is the largest of the frames in the set.  One little bunny and 3 Yellow Jewels completed the front of the card.

    The card base is cut at 6 x 10⁻¹/2″.  I scored it at 3-1/2, 6-1/2, 7, and 10 inches.  The inside circle is die cut from the 3rd panel before the card base gets folded and adhered. You can see all the details in the video below!


    The Happy Easter sentiment is die cut from the same paper as the card base.  The white shadow die really helps the green sentiment pop on this fabulous blue daisy paper.


    The card folds flat to fit in an envelope, but as soon as you pull it out and open the card, the inside pops up to reveal the little scene inside the shadow box.

    I used the Crafter’s Essential Set I to create the opening circle.  The scene uses the bunnies with the Slimline Grass die and some of the Puffy Cloud dies as well.  The sentiment inside the card comes from the Hippity Hoppity sentiment stamp set.

    Video Tutorial:

    [youtube https://www.youtube.com/watch?v=-KQVbEQIXoo]
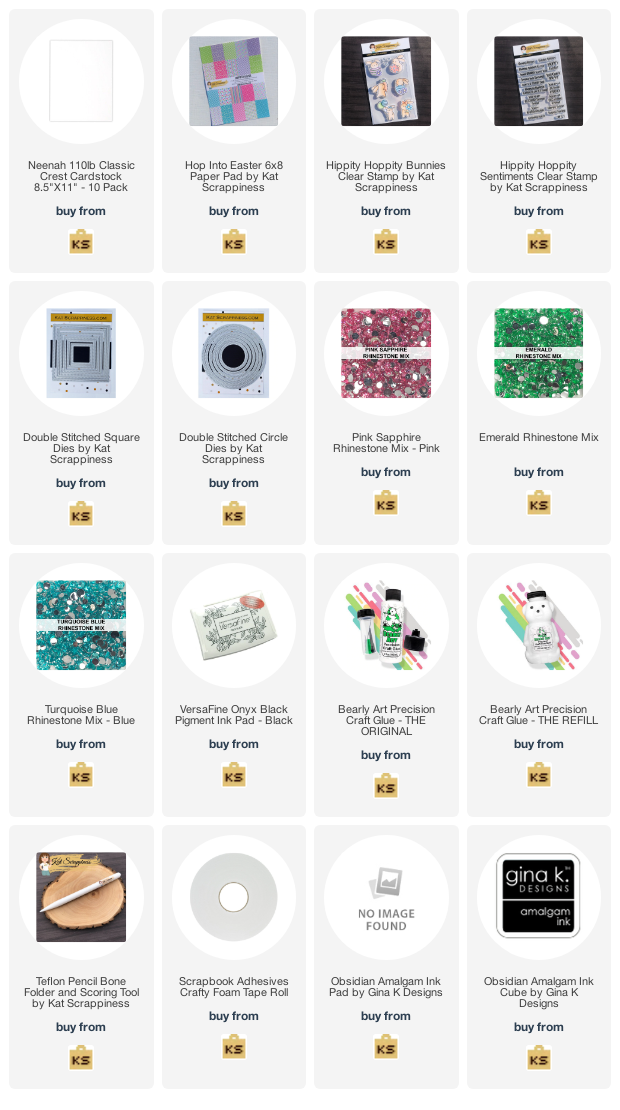
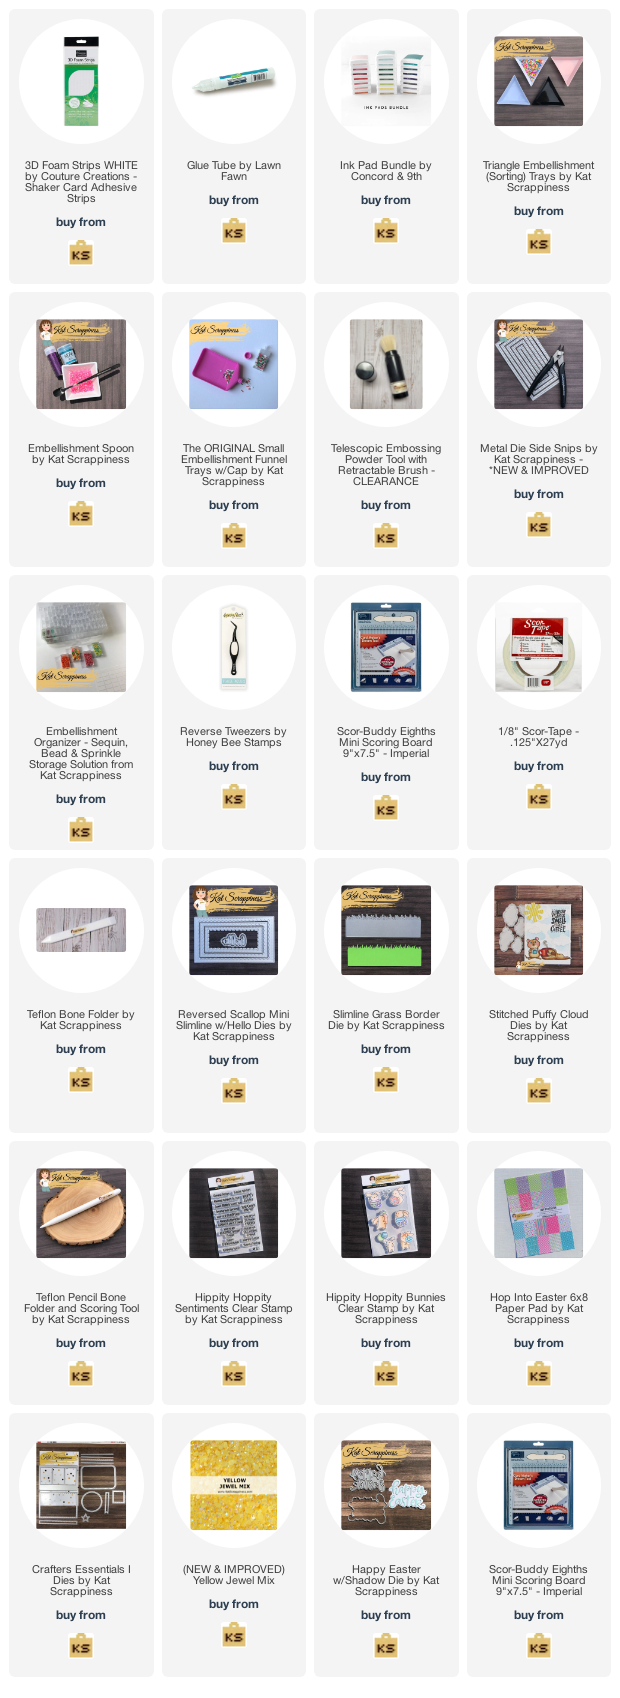
    Supply List:


    https://linkdeli.com/widget.js?id=f5e8378456858c916708

    Happy Spring Release!  Thank you for stopping by!

    Design Team Projects

    Birthday Bunny Wishes to You

    Hello Friends!  Donna W. here and today I’m featuring a birthday card created using the new Hippity Hoppity Bunnies Stamp and Hippity Hoppity Sentiment Sets.

    I thought it would be fun to take the Bunny with Balloons and the Bunny Wishes sentiment to create a birthday card for a friend whose birthday is around Easter time.

    The image has been colored with Spectrum Noir Alcohol Markers, clouds have been die cut from snippets of  Hop Into Easter designer papers and the background was ink blended using shades of blue distress oxide inks.

    To give the ink blended panel some visual interest, I first splattered with water and then splattered with White Acrylic Gloss Spray.  Lastly, I couldn’t resist adding the new Aqua AB Jewels, scattered here and there, for additional sparkle and shine.
    Thanks for visiting today and if you haven’t visited the New Release Blog Post and commented, you will want to do so for your chance to win some awesome Kat Scrappiness Product.
    And there’s plenty of time to visit the Instagram Hop and comment on the team inspiration projects there for a chance to win a $25 Gift Voucher to the Kat Scrappiness Shop.
    Until next time, Happy Crafting!
    Donna
    Design Team Projects, PROJECT INSPIRATION

    Typographic Easter Card | Hop Into Easter Release | Call Me Crafty Al

    Hello crafty friends!

    It’s Alicia a.k.a. Crafty Al here to share a look at the tYpOgRaPhIc CaRd I made using some of the new products from Kat Scrappiness.

    I used papers from the NEW Hop Into Easter paper pack for the letters and to cover my card front. The letters were cut using the Condensed Lowercase Alphabet die set.

    I replaced the “o” in “hoppy” with a stamped and colored bunny from the Hippity Hoppity Bunnies stamp set and finished the sentiment using one of the stamps from the Hippity Hoppity Sentiments stamp set.

    After the card was put together, I embellished it with some of the NEW Aqua AB Jewels.

    You can check out my video for the full process…

    Thanks for stopping by and I hope you enjoyed today’s card!

    Alicia / Crafty Al

    Related Products:

    Kat Scrappiness 

       Hippity Hoppity Bunnies Stamps: http://shrsl.com/3f3nw

       Hippity Hoppity Sentiment Stamps: http://shrsl.com/3f3ny

       Hop Into Easter Paper Pad: http://shrsl.com/3f3nt

       Aqua AB Jewels: http://shrsl.com/3f3nz

       Condensed Lowercase Alphabet dies: http://shrsl.com/3e97x

       Boxed Sentiments Strips Dies: http://shrsl.com/375bz

    Art Glitter Glue: http://shrsl.com/37svl

    **Some links above are affiliate links. I link them up for your convenience and may receive a small commission, at no extra cost to you. I hope you will consider using the links if you decide to purchase the products I share. 🙂

    Design Team Projects, New Releases

    Happy Spring

    Hello everyone!

    It’s Donna Idlet here sharing a card I created using the NEWLY released KS Hoppity Bunnies and Hippity Hoppity sentiment stamp sets and the 6×8 paper called Hop Into Easter.

    Here is my card for your inspiration:

    • Created an A2 card measuring 4 2/4 x 5 1/2.
    • Die cut the top layer with KS Embossed Edge Rectangle die and created clouds in the background.
    • Die cut the basket using the Hop Into Easter paper, the grass, the bunnies and bow using the Crafters Essentials – Easter Edition Dies.
    • Stamped, die cut and colored the cute bunny image from the KS Hoppity Bunnies Stamp.
    • Stamped and heat embossed with white embossing powder from the sentiment from the Hippity Hoppity sentiment stamp set. 
    • Assembled the card and finished it off by adding Aqua AB and Yellow Jewels.

    Thank you so much for stopping by, please come back again soon!
    Here is a list of supplies I used on my card, Affiliate Links used at no additional cost. Thank you for your support.


    https://linkdeli.com/widget.js?id=f5e8378456858c916708