Hello crafty friends!
It’s Alicia a.k.a. Crafty Al here to share a look at the “I Love You” card that I created with Kat Scrappiness goodies including the NEW Falling Hearts stencil!

To get started, I stamped two of the quokkas from the Valentine Quokkas stamp set onto the card front, making sure they would fit within the largest heart from the Double Stitched Hearts die set. Next I made a mask of each image and with the largest heart die – keeping the positive and negative pieces.

I covered up the quokkas with their mask and centered the negative heart mask on the card front before ink blending inside of the heart with red ink. I made sure to keep the edges darker than the center. Once that was done I placed the positive heart mask in the open area and removed the negative. I brought in the Falling Hearts Stencil and ink blended those using the same red.

After removing all of the masks I was left with a fun, single layer card. To finish it off I added some small hearts from the Love is Love Sprinkles.
You can check out my video for the full process…
Thanks for stopping by and I hope you enjoyed today’s card!
Alicia / Crafty Al
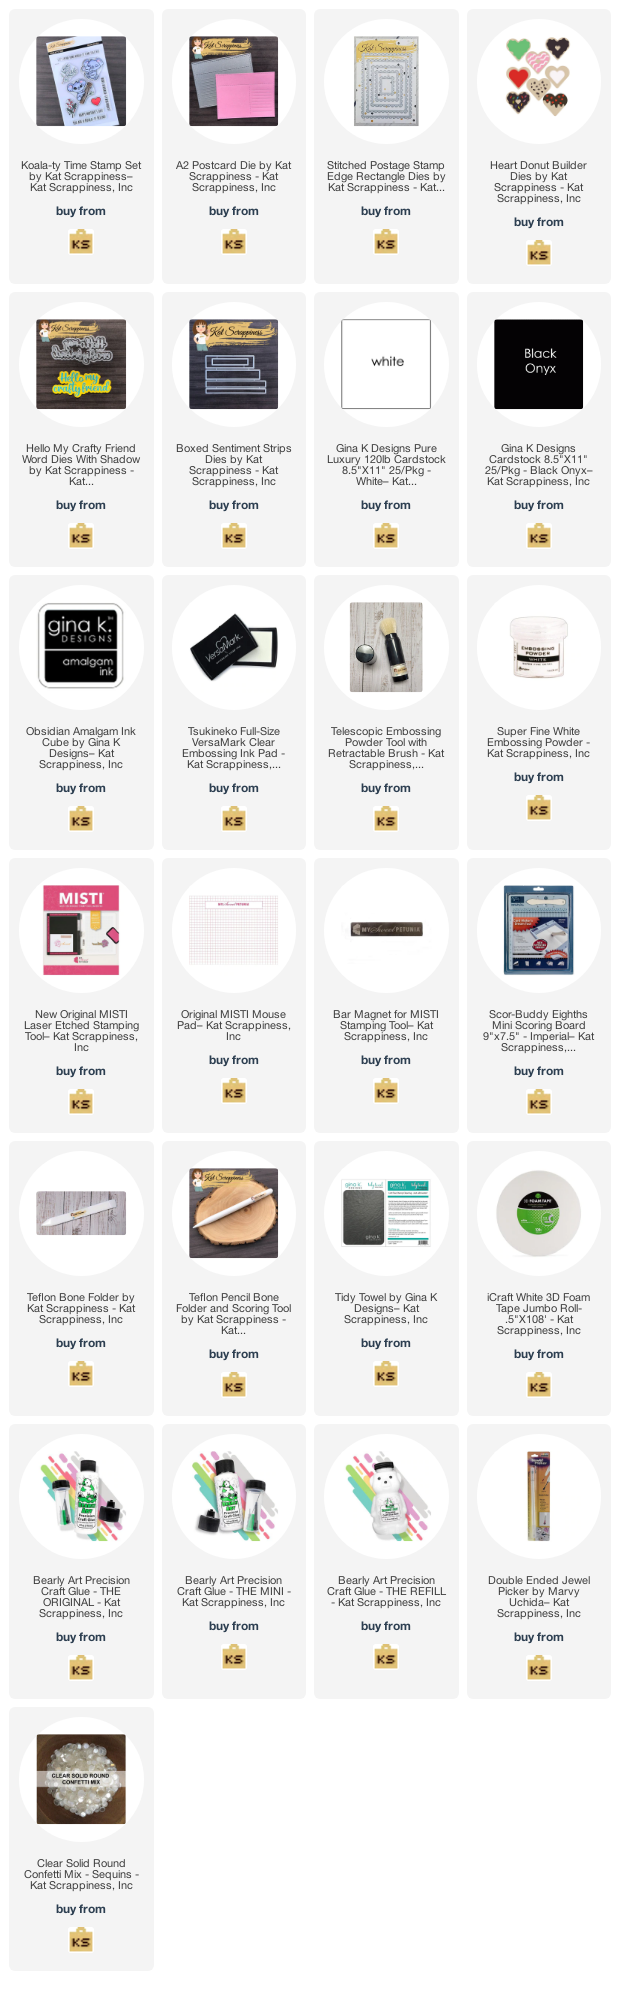
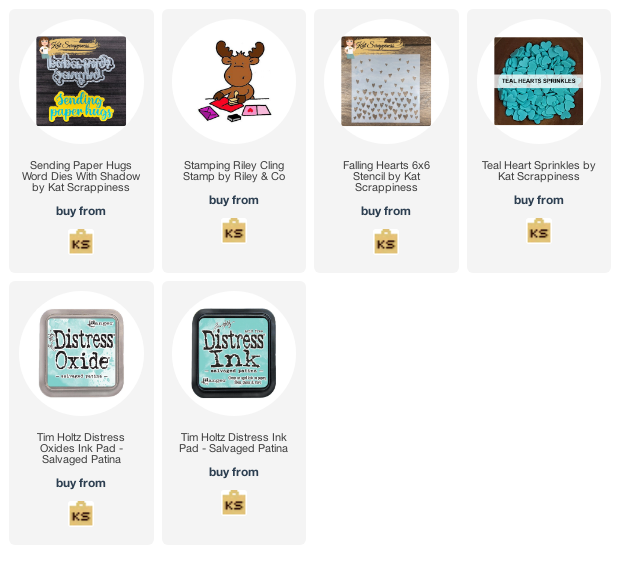
Related Products:
Kat Scrappiness
All NEW Products: http://shrsl.com/3hq9p
Falling Hearts stencil: http://shrsl.com/3itbk
Valentine Quokkas stamp set: https://shrsl.com/3bnav
Double Stitched Hearts die set: http://shrsl.com/3itbn
Love is Love sprinkles: http://shrsl.com/3itbg
Art Glitter Glue: http://shrsl.com/37svl
Jewel Picker: https://shrsl.com/3bedx
**Some links above are affiliate links. I link them up for your convenience and may receive a small commission, at no extra cost to you. I hope you will consider using the links if you decide to purchase the products I share. 🙂