Follow:
    Design Team Projects

    Oopsie Daisy Banner Card

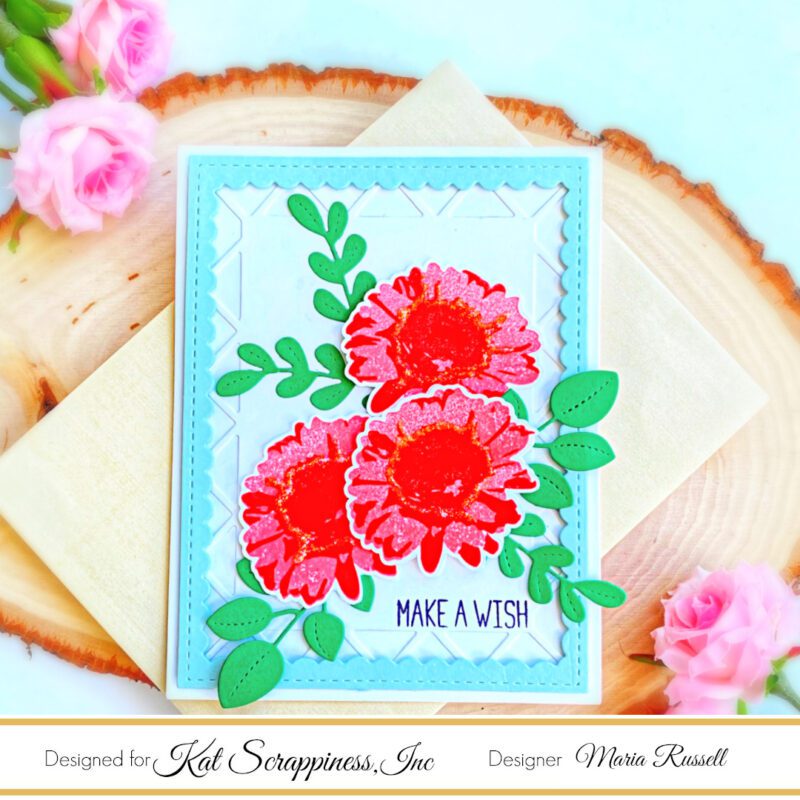
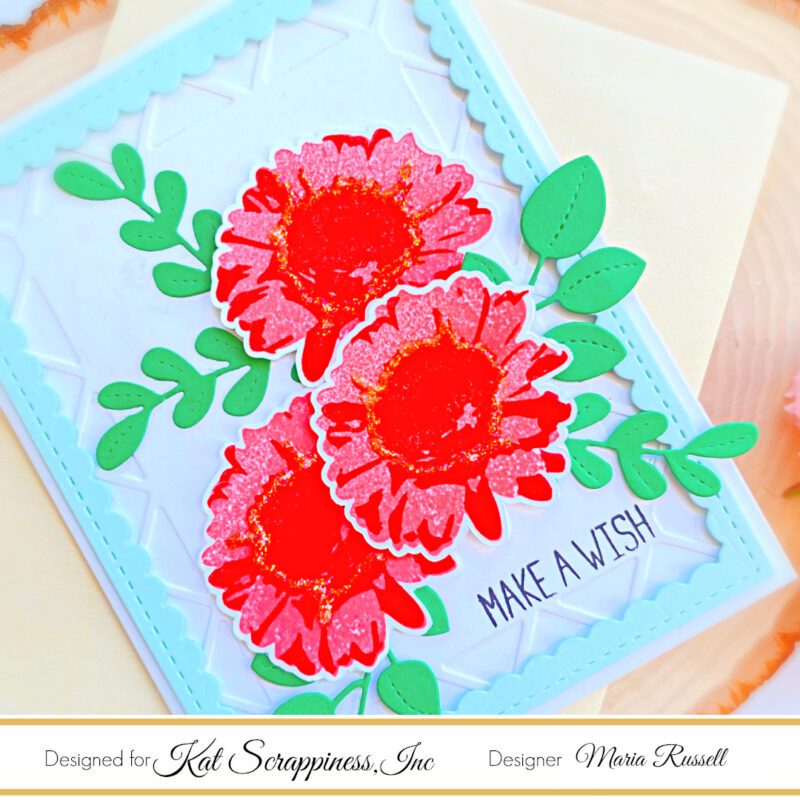
    Hello my crafty friends! Sammi here to show you the beautiful new layering stamp set Oopsie Daisy with coordinating dies! I just love this stamp set! There is also a layering stencil that will give you similar results. I love the color combo of pink and browns, so I decided to go with that color scheme for this card. I also love the new Nesting Fishtail Banner dies and A2 Quilted Backdrop die so I decided to include them in my card too. Here is what I did to make this card:

    1. First I cut out the A2 Quilted Backdrop die with white cardstock and put that aside.
    2. Then I cut out the bigger Fishtail Banner die and next size down Fishtail Banner die out of white cardstock. I then ink blending the bigger size with dark brown ink. I then took the new Layered Bokeh 6×6 stencils and inked the next size with dark brown, lighter brown and pink ink. Using foam tape, I then adhered the smaller banner piece onto the bigger banner piece. I then glued the banners on top of the A2 Quilted Backdrop piece with Bearly Art glue.
    3. Using the Oopsie Daisy Layered Stamps, I stamped out both kinds of flowers using different shades of pink to add the layered look. I then cut them out with the coordinating dies. I then cut out several piece of the new Stitched Foliage dies with white cardstock. I then ink blended the foliage with different shades of brown.
    4. Next, I arranged the flowers and foliage onto the card to get the arrangement I wanted, then glued the pieces together with Bearly Art glue. I then popped the flowers and foliage up on the prepared banner using foam tape.
    5. For my sentiment, I chose a sentiment from the Friendship Greetings stamp set. I stamped the sentiment in dark brown ink and cut it down into a sentiment strip. I then glued it onto the floral image.
    6. I then added some Pink Lemonade Pearl Mix embellishments to add that extra something (I always add that something extra!), added some gold splatter and then glued the card panel onto a A2 card base.

    I really enjoyed making this card! I love floral cards and this stamp set is super fun to play with! I hope you will give it a try. Thanks for stopping by and have a great day!

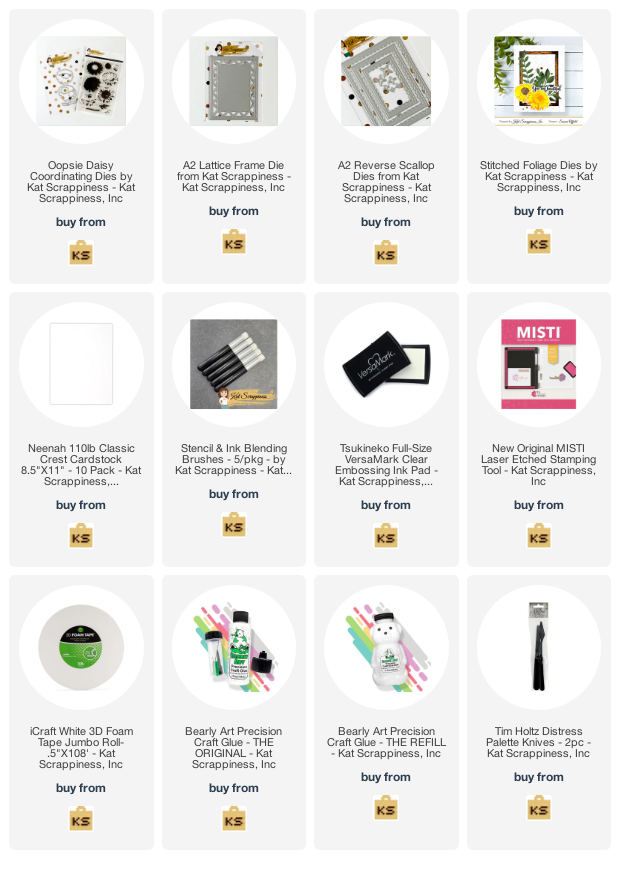
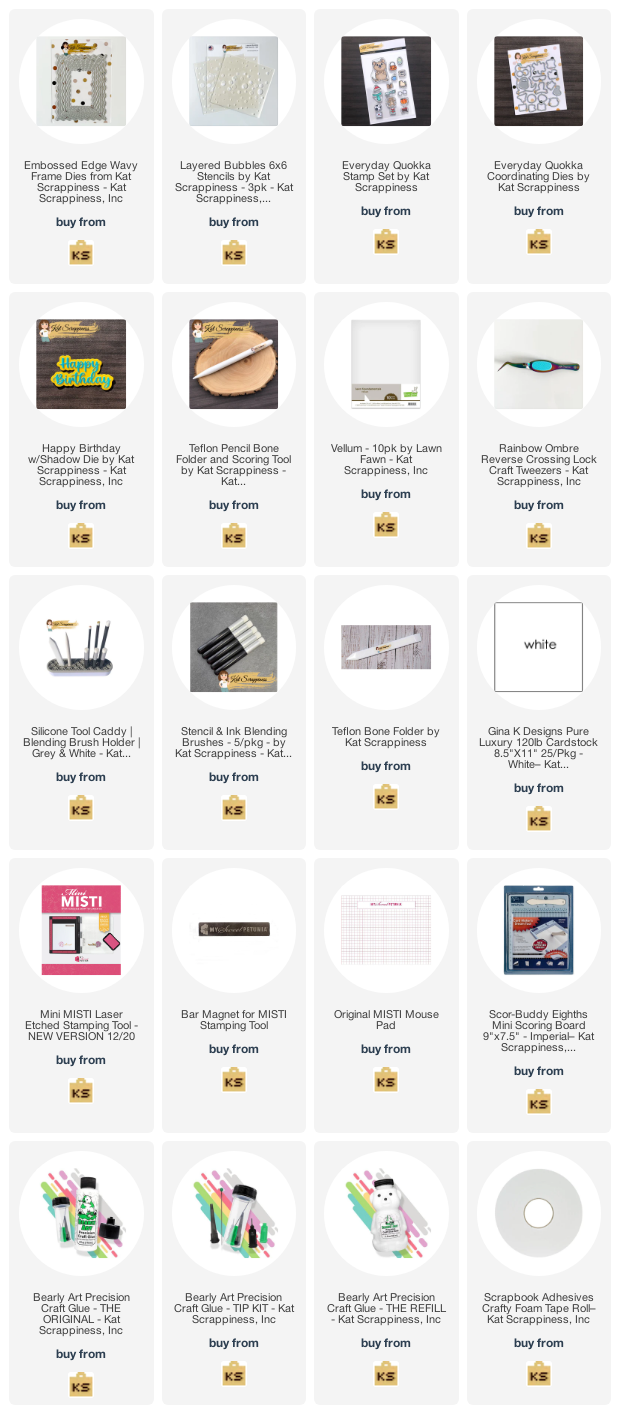
    Here is what you need to make this card:

    Oopsie Daisy 4×6 Layered Stamps by Kat Scrappiness – Kat Scrappiness, Inc

    Oopsie Daisy Coordinating Dies by Kat Scrappiness – Kat Scrappiness, Inc

    A2 Quilted Backdrop Die from Kat Scrappiness – Kat Scrappiness, Inc

    Nesting Fishtail Banner Dies from Kat Scrappiness – Kat Scrappiness, Inc

    Layered Bokeh 6×6 Stencils by Kat Scrappiness – 3pk – Kat Scrappiness, Inc

    Stitched Foliage Dies by Kat Scrappiness – Kat Scrappiness, Inc

    “Friendship Greetings” Stamp Set by Kat Scrappiness – Kat Scrappiness, Inc

    Pink Lemonade Pearl Mix by Kat Scrappiness – Kat Scrappiness, Inc

    Design Team Projects

    Oopsie Daisy Get Well Card!

    Good morning Kat Scrappiness Friends!

    Tasha here sharing a Get Well card tutorial featuring the Kat Scrappiness Oopsie Daisy Layering Stencil Set.

    This layered stencil creates the most beautiful flowers and I love the way they look with bold colors! I also used the Oopsie Daisy Coordinating Die Set to cut all the images out. This die set works with the stencil and the Oopsie Daisy Stamp Set.

    See my full tutorial on the Kat Scrappiness YouTube Channel!

    [youtube https://www.youtube.com/watch?v=M-schQKJmEg]

    For the greeting, I used the Get Well Soon Word W/Shadow Die. The words are all one piece making it super easy to position on the shadow. I also used a purple glitter paper for the bottom layer to bring in tons of sparkle!

    Lastly, I added a piece of purple check paper from the Easter On Parade – Slimline Paper Pad and several enamel dots to complete the design.

    Thank you for checking out today’s project and I hope you enjoyed a peek at the Oopsie Daisy Layering Stencil Set.

    -Tasha


    Design Team Projects

    Hello Mini Slimline Card

    Hi everyone, it’s Tina here. Today I am sharing a DIY Background using the Floating Dots Stencil along with the Stitched Foliage dies and the Oopsie Daisy Layering Stencils for this super fun card. Below you will find the steps to create your own card.

    Step 1 – Trim White Cardstock to 7” x 6”, score at 3 1/2” and fold in half for a horizontal top fold card. (Mini Slimline)

    Step 2 – Trim White Cardstock to 6” x 6”. Place the Floating Dots Stencil on top and apply Inks of your choice in rainbow colors. Once done spray water onto the stencil and place it on a new White Cardstock trimmed 6” x 6”. Rub onto the cardstock to make sure that the inks transfer. Gently remove the cardstock from the stencil and let dry. Below is the regular inked cardstock and the one created from the ink residue from the stencil. 

    Step 3 – Trim the watered background to 3 1/4” x 5 3/4” and adhere to the card front using Bearly Art Precision Glue.

    Step 4 – Place the Oopsie Daisy Stencil on White Cardstock. Apply ink of your choice in the lightest color, then place the other stencil using a slightly darker ink of the same shade. Diecut with the coordinating die. Adhere to card using Foam Tape.

    Step 5 – Apply Green Ink of your choice on White Cardstock. Diecut Stitched Foliage and ink the edges for added dimension. Adhere to card using Bearly Art Precision Glue.

    Step 6 – Diecut Hello My Crafty Friend using Teal Cardstock (use a little scissor surgery to separate the word Hello). Diecut 2 more time using White Cardstock (again separating the word Hello). Layer together using Bearly Art Precision Glue making sure the Teal diecut is on top. Adhere to card using Bearly Art Precision Glue.

    Step 7 – For added interest and sparkle randomly adhere Pearl Mix using Bearly Art Precision in colors Ballerina Pink, Carolina Blue, Mint Green, Bumble Bee and Apricot.

    This card can be used for many occasions by changing the sentiment. Below is a link to all the products used. Thank you for stopping by and Happy Crafting!

    Products Used:

    https://linkdeli.com/widget.js?id=f5e8378456858c916708

    Design Team Projects

    Oopsie Daisy Trifold Card

    Happy 4th of July friends!

    I have a fun and easy trifold card to share today using the Oopsie Daisy stencil and coordinating die.  I’ve also added an A2 frame and a sentiment from the Friendship Grettings stamp set.


    You can see all the details for this card in my video below.  As you can see from the photo, I added a fun background using 2 of the 3 stencil layers in the Layering Bubbles stencil set.  I just love this set!  I think it is my new favorite background.

    I used some fabulous ink colors from the Concore & 9th ink pad set that Kat has in her store.  I am so happy that I splurged and purchased this ink pad set.  It has some soft and fabulous colors that I love ink blending with.


    I love that the dies for this set work with the stencils and the stamp set.  I feel like dies are a pricey splurge and now they can be used in more than one way!

    Video:

     [youtube https://www.youtube.com/watch?v=Oy_UTCHoo4w]


    Supply List:


    https://linkdeli.com/widget.js?id=f5e8378456858c916708

    Happy July!  I hope your summer is off to a wonderful start!  Enjoy!

    Design Team Projects

    It’s An Oopsie Daisy Kind of Day

    Hello KS fans! Maria here on the blog with you today sharing yet another floral card, featuring my favorites from the last release –> Oopsie Daisy Stamp Set and Dies along with the A2 Lattice Frame Die, Stitched Foliage Dies and A2 Reverse Scallop Die Set.

    Here’s how I made this card:

    • Adhere the flowers on the card-front with liquid and foam adhesive.
    • Add the leaves using the Stitched Foliage Dies.
    • Stamp the sentiment with Versafine Onyx Black ink.

    I hope you are all having a great 4th of July weekend with your family! It’s been raining everyday here in Florida and as you can probably tell, I am having a hard time taking photos these days due to the gloomy weather here.

    Below, you will find links to the supplies used to create this project(s). Where available, I use compensated affiliate links at no extra cost to you. Your support helps me to keep bringing you new projects and inspiration. Thank you for stopping by, and have an amazing day!

    ——–SUPPLIES——–

    Design Team Projects

    Oopsie Daisy Layering Stamps

    Hello Friends!! Nora here on the blog today with a stamped card using some of the products from the Kat Scrappiness Shop’s Summer Release. I wanted to focus on the new Kat Scrappiness Oopsie Daisy 4 by 6 Layered Stamps and the Kat Scrappiness Oopsie Daisy Coordinating Dies.

    I do not have a green thumb so I do not know much about flowers. I always think of daisies being white with a yellow center. Boy was I wrong!!! After doing some research, I discovered that daisies come in purples, pinks, yellows, oranges and every shade in between. For my card, I decided to do something I rarely do-stamp my layers using only one color ink. I had do do multiple layers of that ink to make my flower layers pop but it is a great way to stamp if you don’t have a lot of inks that are supposed to go together.

    Here is how I created this card:

    1. Select an A2 size, white card base. Mine is top folding.
    2. Die cut the Kat Scrappiness A2 Quilted Backdrop Die out of white cardstock. Adhere this panel to the card base.
    3. Using the second largest rectangle in the set of Kat Scrappiness A2 Reverse Scallops Dies to die cut a frame out of white cardstock. Adhere to the front of the card using foam adhesive.
    4. Stamp and die cut the flowers in pink using the Oopsie Daisy Layering Stamps and the coordinating Oopsie Daisy Dies. Then use Copic Markers in the RV family to make dots for the flower centers. You don’t have to do this but I liked how this gave the flowers a little bit of “texture.”
    5. From the same stamp set, stamp the leaves in green and die cut them with the coordinating dies.
    6. Adhere the flowers and leaves onto the card front. On my card, I used foam adhesive to pop up one of the flowers.
    7. Out of black cardstock, die cut the sentiment three times using the Kat Scrappiness Love You Word w/Shadow Die . Adhere the three layers together to give it some dimension and place it on the front of the card. Use some Ranger Glossy Accents over the sentiment to give it some shine.
    8. The last step is to adhere some Kat Scrappiness Brilliant Lilac Pearl Mix around the sentiment and the card is complete.

    I want to thank you for stopping by today. Be sure to visit the Kat Scrappiness Blog often to see what the fabulous projects from the other Design Team members.

    There is also a sale going on this weekend. Treat yourself to some fun supplies for the holiday!!

    Below is a list of supplies I used on my card. Affiliate links used at no extra cost to you.


    Design Team Projects

    Happy Birthday!

    Hello everyone!

    It’s Donna Idlet here a fun and colorful Birthday card.  I am using the Layered Bubbles 6×6 Stencils for the background, The layers are die cut with the Embossed Edge Wavy Frame Dies and the cute Quokka is from the Everyday Quokka Stamp Set.

    Here is how I created the card.

    1. Card is an A2 size – 5 1/2 x 4 1/4 card base.

    2. Stenciled the background with the Layered Bubbles 6×6 Stencils using  KS Stencil & Ink Blending Brushes with multiple inks.

    3.  Die cut the layers using the Embossed Edge Wavy Frame Dies.

    4. Die cut the Happy Birthday word with Shadow die, using black cardstock and vellum for the shadow.

    5. Colored with alcohol markers, stamped and die cut the Quokka and gift from the Everyday Quokka Stamp Set.

    6. Assembled the card.

    Thank you so much for stopping by, please come back again soon.
    Here is a list of supplies I used on my card, Affiliate Links used at no additional cost. Thank you for your support.


    https://linkdeli.com/widget.js?id=f5e8378456858c916708