Follow:
    Design Team Projects, New Releases

    Envelope Art Made Simple

    Hi Everyone, it’s Tina here today. I have a super fun Envelope Art to share with you. Kat Scrappiness has made it so simple to decorate our envelopes with the Owl Envelope Art and Giraffe Envelope Art Stamps Set. Below you will find the easy steps to replicate this Envelope Art.

    • Step 1 – Use a heavy weight envelope or create one yourself using the We R Memory Keepers 1-2-3 Punch Board.
    • Step 2 – Stamp Owl Envelope Art on the front of envelope using Versafine Ink.
    • Step 3 – Mask the image either with Masking Liquid (you will need to let this dry before proceeding to the next step) or stamp image on large Post-It, trim it and place over the image on the envelope. I used Masking Liquid.

    • Step 4 – Carefully create your Distress Oxide background. To create background apply the colors on a kraft mat, spray with water, dip the top part of envelope into the oxidized inks, dry using a heat tool. Repeat the process until you reach your desired effect.
    • Step 5 – Carefully remove the masking.
    • Step 6 – Color the image using any color medium of your choice. I used Winsor & Newton Promarkers for easy blending.
    • Step 7 – Stamp sentiment using Versafine Ink.

    A reminder that Kat Scrappiness has a Challenge every month so be sure to check it out here. Every month there is a chance to win a $25.00 gift card. To enter, submit a photo of your project by clicking on the “Add Your Link” button. A winner is randomly picked at the end of each month.

    To receive 10% off any order at Kat Scrappiness use code TINA10.

    Below is a link for all products used for this project.

    Thanks for stopping by and have a wonderful day.

    Kat Scrappiness Products Used:
    https://linkdeli.com/widget.js?1524143299350

    Design Team Projects

    Hello My Crafty Friend


    Good morning, crafters!  Today, as I struggle with a nasty cold and cough, I really felt like some bright and happy colors would cheer me up.  Luckily, I have enough patterned paper on hand to last two lifetimes, so it was easy to find this cute teal colored plaid paper from Doodlebug.  I knew I wanted to use that wonderful heart stamp from the Kat Scrappiness Swatches stamp set, and I decided to make the image pop by using some turquoise embossing powder.


    After cutting my paper to 4×5.25 inches, I used a pencil and ruler to find the center of the piece and add faint lines for a guide.  I knew I wanted to create a “burst” pattern of hearts and wanted to keep things well-spaced.  I then dusted over the paper with my anti-static tool and reached for my favorite sticky embossing ink, VersaMark.


    The stamping might look complicated, but it’s really quite easy!  I just stamped 4 hearts in the center, keeping the bottom points and top dimples on those pencil lines.  I also left a little space around each heart so they wouldn’t look crowded.  I added my first round of turquoise embossing powder and melted it in, heating the paper from behind to smooth the powder out nicely.  The second round of hearts was first done by adding another 4 hearts right in line with the first 4, then adding angled ones between.  Don’t forget to gently erase all traces of the pencil lines when you’re all done heating!


    For my sentiment I am using Kat’s awesome new scripty word die Hello My Crafty Friend.  I love that the words are already arranged for you.  To take advantage of that, I cut the die out of black card stock cut to the same size as my patterned paper.  Now I was able to use that as a template for my words.


    To make sure nothing shifted, I lightly taped the template in place with some low-tack tape.  I cut the words from a piece of 100-lb white card stock and added small dabs of glue to the back with my glue pen.  It was very easy to just snuggle the words right into the template, and I then waited about ten minutes for the glue to set before gently lifting away the template.  Perfect!


    And that’s my project for this week.  I hope that you enjoyed this card, and that it inspires you to start using word dies in your own creations.  Stay tuned for more beautiful projects from our Design Team using all the new items for the April release.  Happy crafting!


    Design Team Projects

    Fun With Envelope Art

    One of the great things about this month’s stamps in the Kat Scrappiness release is that they are so versatile.  You can use them as they were intended or branch out and create all kinds of variations.  The Envelope Art stamp sets are no exception.  For this first project, I used the Giraffe Envelope Art stamp set along with some fun patterned paper to make a safari-themed card.

    After stamping the image onto a white card panel, I colored it with Copics, then added some background color using Salty Ocean Distress Oxide ink.  I used a stencil brush to add the color instead of an ink blending tool.  This gives a great, subtle, smooth background and allows you to easily put color where you want without hurting your main image.

    I decided the sentiment needed a little more interest, so I took a piece of white woodgrain cardstock and colored it with a Copic marker.   I popped it up with foam tape over the original sentiment that I stamped on the sign, then re-stamped the sentiment onto a small strip I colored with the same Copic.  I popped this up with foam tape over the woodgrain piece.

    To finish the card, I added a few wood veneer hearts I colored with a red Copic marker.

    I made a little envelope and card set for my next project using the Owl Envelope Art stamp set and the Got Coffee word die.

    For the frame of the card, I gathered a bunch of the little faces from the Punny Snacks stamp set and placed them on an acrylic block.

    I then, stamped them all over the front of a white card panel and cut a frame out using my Neverending Rectangles die set.

    Before adding the frame with foam tape, I cut out a question mark from the Large Alphabet die set using some Gina K. cardstock in Wild Lilac.  I heat embossed the coffee cup from Echo Park’s But First Coffee stamp set and added the Got Coffee die along the bottom.  I backed the white die cut with black to give it a shadow effect.


    I added a cute little stamped detail to the envelope flap using some of the flowers and words from the stamp set.

    Some simple coloring using Copics to match my card finished the envelope.

    Lots of options–I hope you were inspired today :).  You can head over to the Kat Scrappiness shop to find the products I used (also listed below).

    Be sure to join in this month for the April card challenge where we would like you to show us your envelope art.  The winner will receive a $25 gift card to the shop.  The challenge is open through April 30.  Thanks for joining me today!

    Heidi

    –SUPPLIES–

    Design Team Projects

    Create a Faux Coffee Look!

    Hi there! Hannah, here, with another Kat Scrappiness project!

    Kat seems to have a huge love of coffee. She and her design team participate in several “coffee” themed blog hops throughout the year it seems, and she has a whole section in her shop dedicated to Coffee Themed Products.

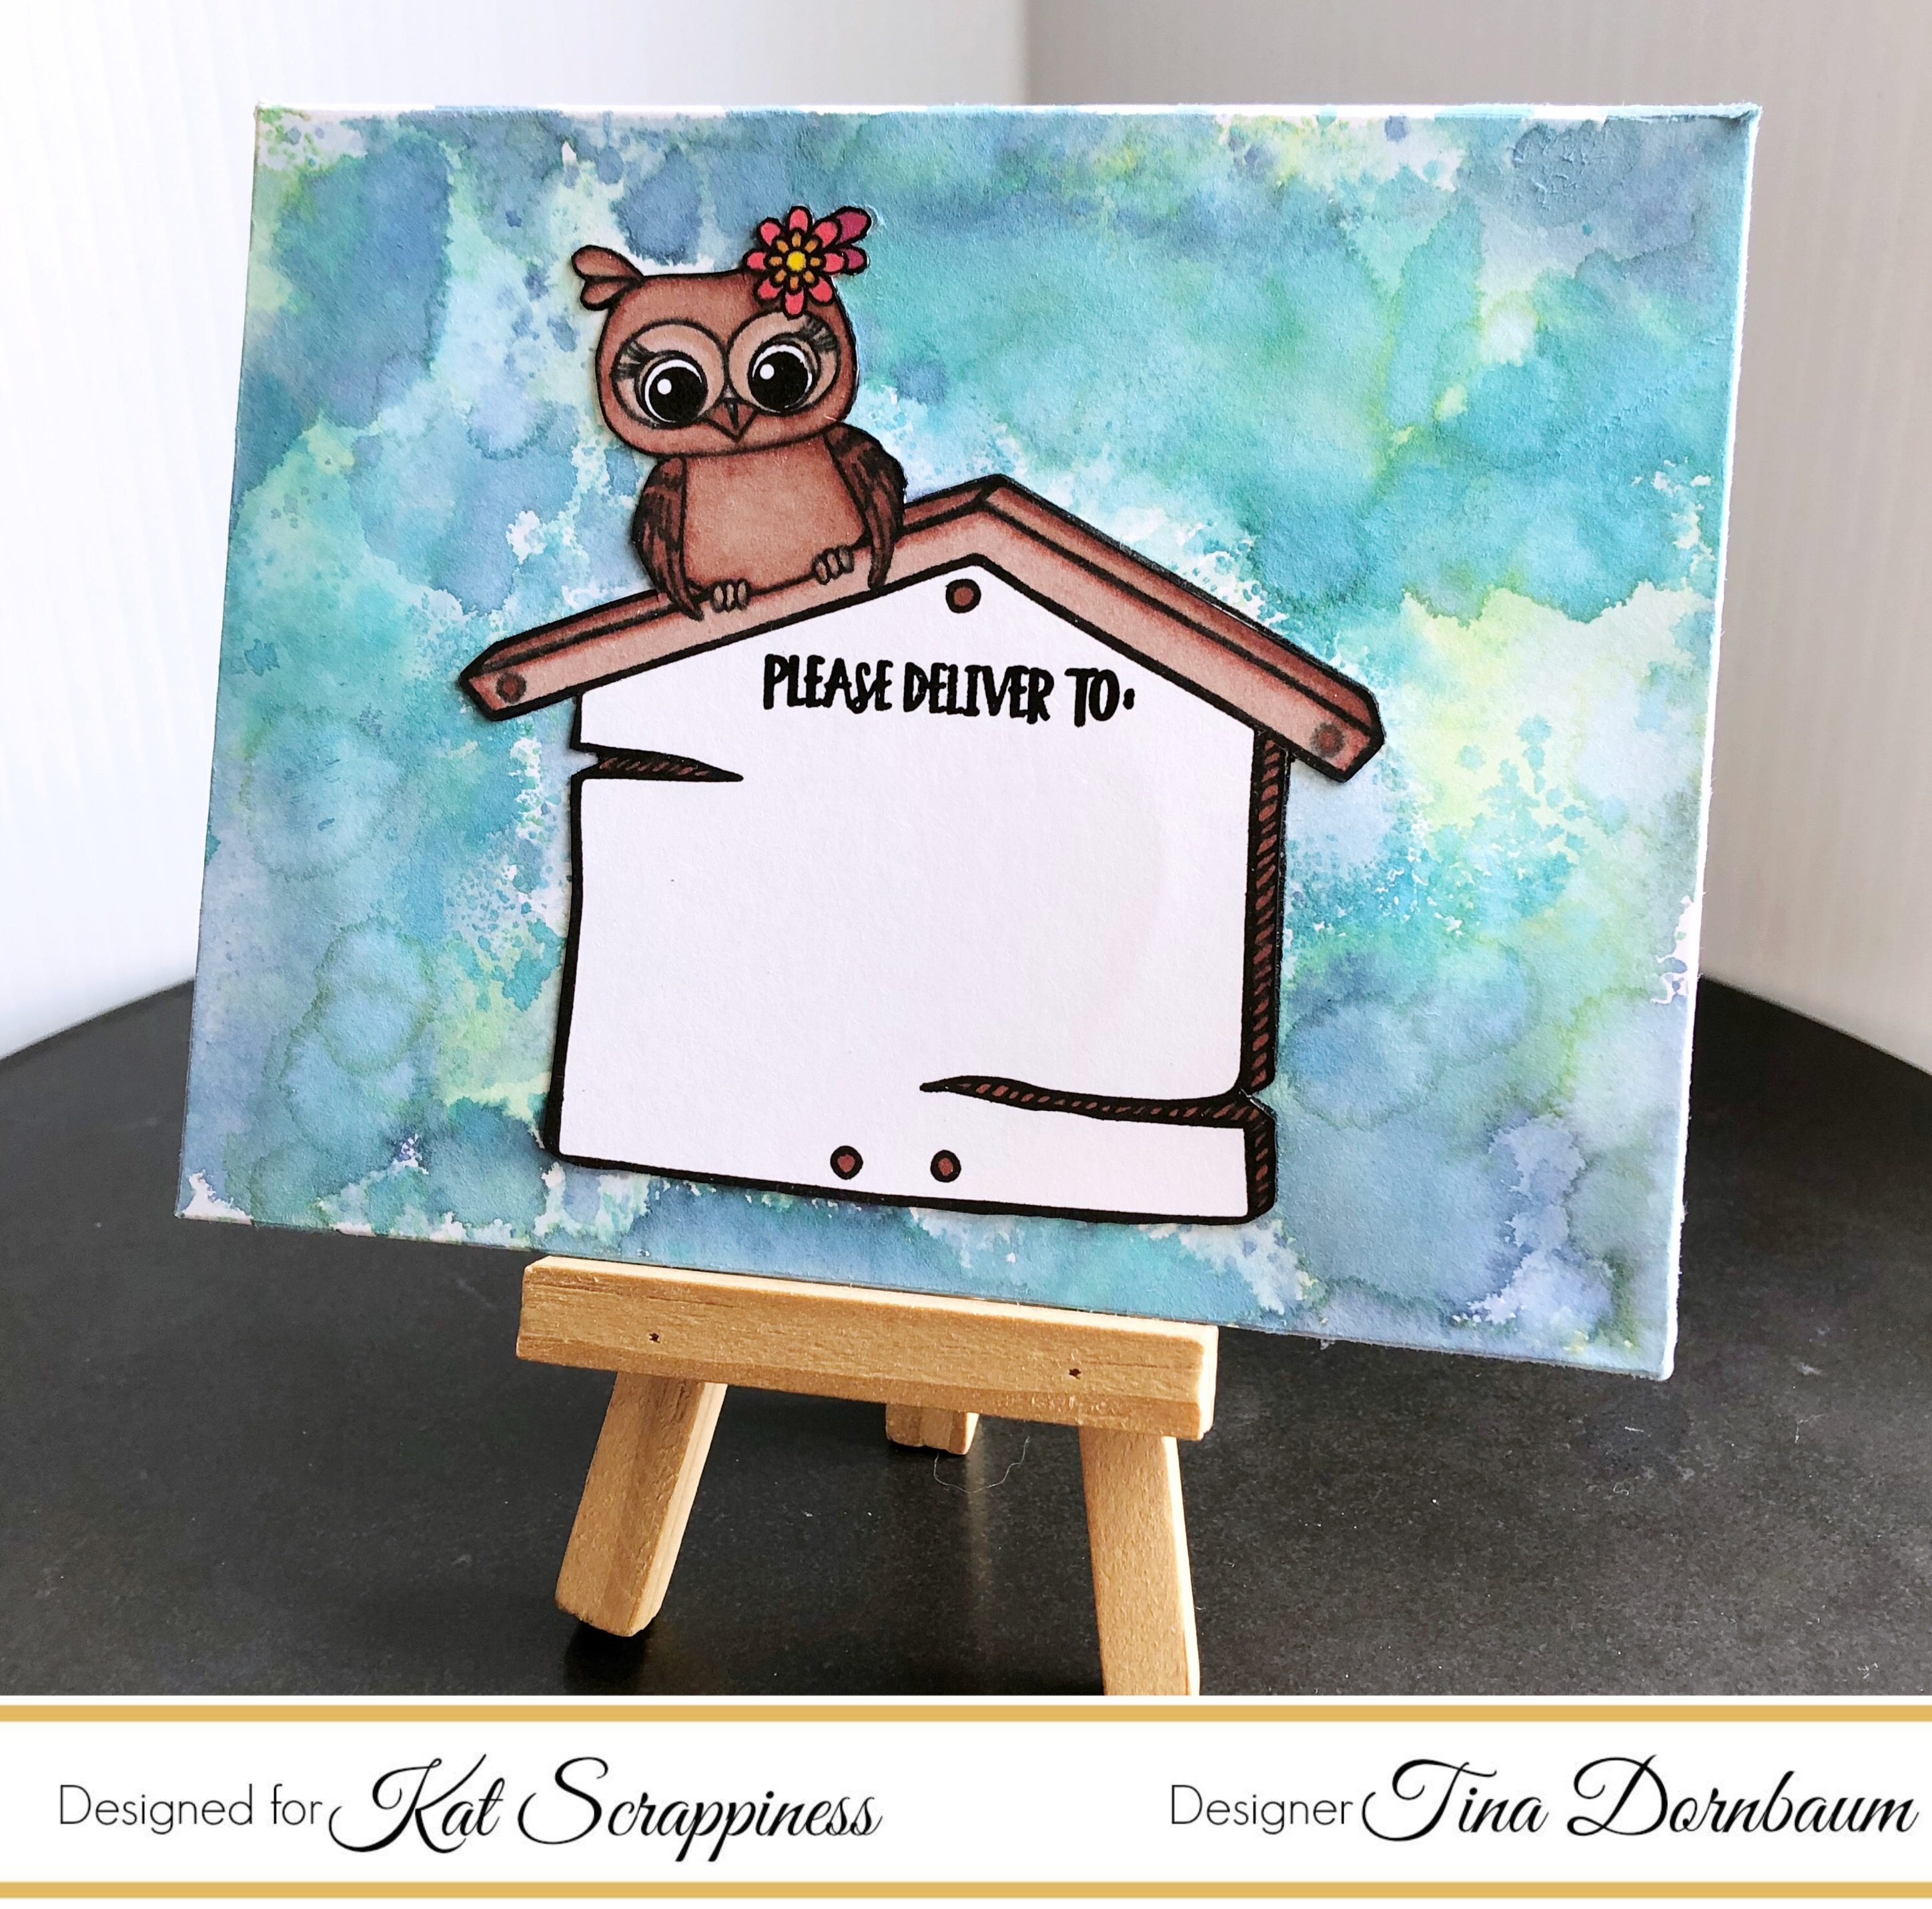
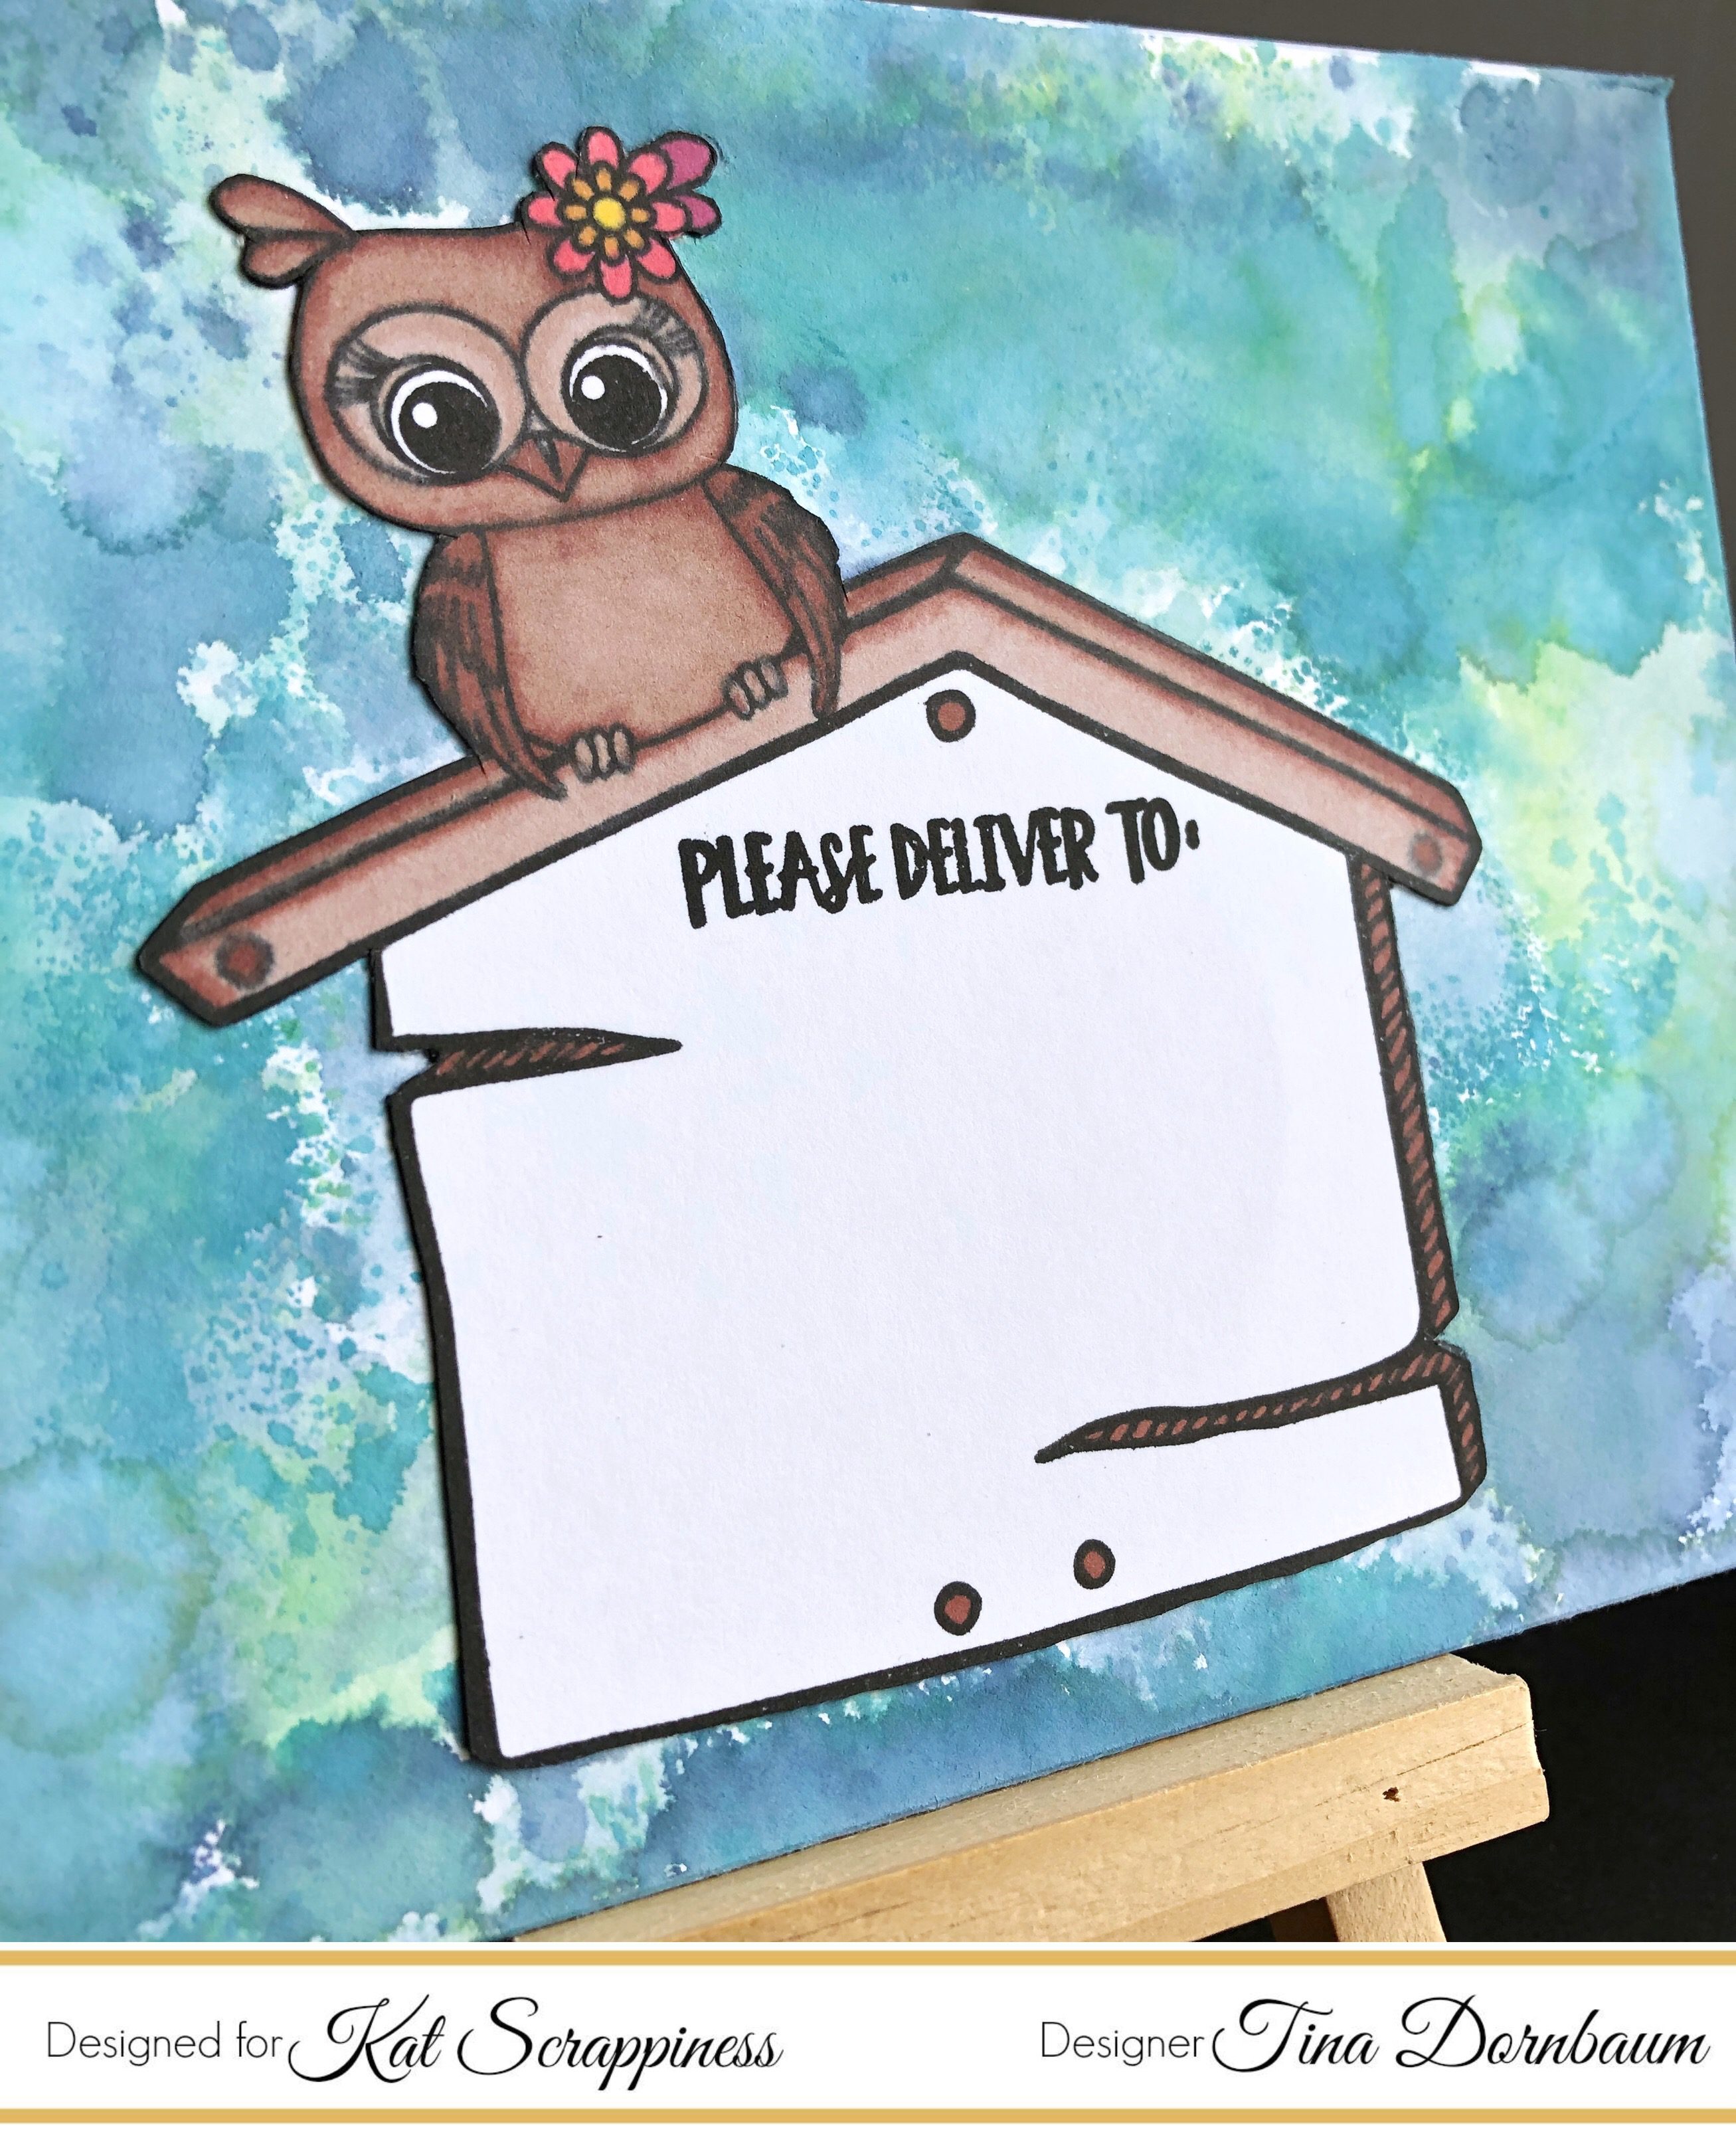
    Recently she came up with two brand new products in her line that were both coffee related. Her “Got Coffee” die and her new Layered Coffee Cup die are two of the newest Kat Scrappiness brand products in her shop. Today’s card is using both of those, as well as a stamp from another new KS product: Owl Envelope Art stamp set.

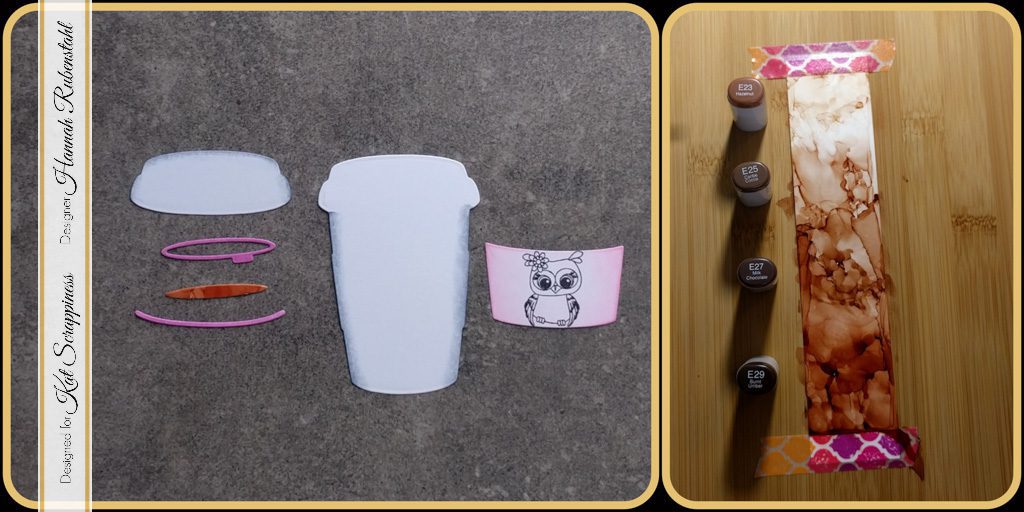
    First, I die cut the coffee cup bits out of Neenah Solar White cardstock. For the center portion of the cup, where a logo might go, I lightly dusted it all over with Altenew’s Rose Quartz and the edges with Altenew’s Puffy Heart. In the center of this, I stamped the small owl from the Owl Envelope Art stamp set. I also covered some of the small portions of the lid with the same Altenew inks.

    Next, using some light grey Copic markers I created a curved or shadowed effect. Basic Copic coloring rules applied here, sticking with either a W, C, or N and then using alternating colors. I relied heavily on the “0” to ensure a smooth transition to white.

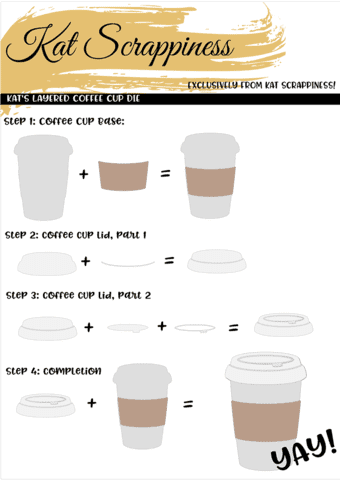
    Using a liquid adhesive, Ranger Multi Medium Matte, I layered most of my coffee cut bits and adhered them together. If you are confused as to how to go about building the cup, there is a fabulous guide Kat has put together:


    Then came the fun part! Playing with Yupo paper and Copic markers! You can see my video here:

    Taking some Neenah Desert Storm paper I cut out the largest rectangle from the Cross Stitched Rectangle dies. Along the edges gently dusted the beautiful Delicata Golden Glitz.  Using the same Delicata ink I performed the same technique on a light pink doily I had.

    Using pink fun foam I cut out the “got coffee” sentiment. As it turned out the pink in the foam was pretty much the same pink in the doily and a complimentary one to the other pinks in the cup, therefore I left the foam naked and didn’t cover it with adhesive and paper.

    I trimmed my Yupo paper down to an A2 length and die cut out the inner portion of my cup. This die cut portion was a total mistake on my part, I didn’t have the plans above when I was crafting the card. However, I like how it tied the cup in with the background, created movement in my card, and looked like coffee!

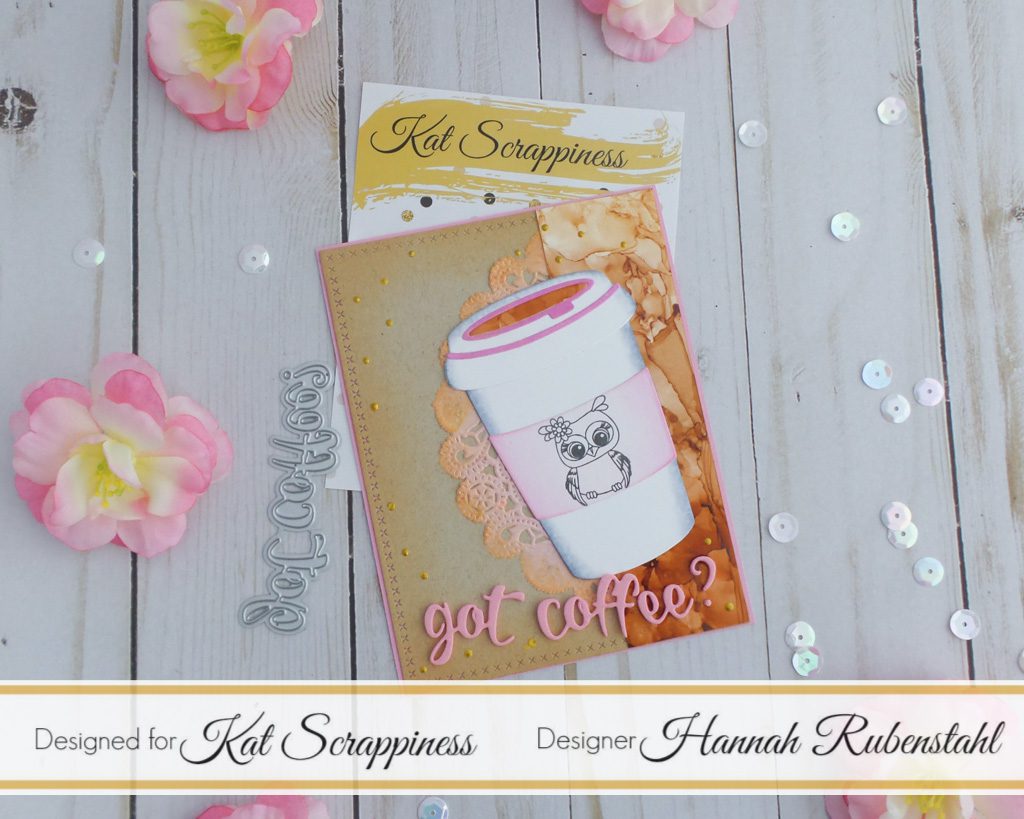
    I layered everything on top of a light pink A2 card front using my favorite dot runner and Ranger Multi Medium Matte, then finished off the look by sparkling gold dots everywhere.

    I rather like the final look of this card! If you like it and are in need of any of the following products please feel free to use my discount code HANNAH10 at checkout!
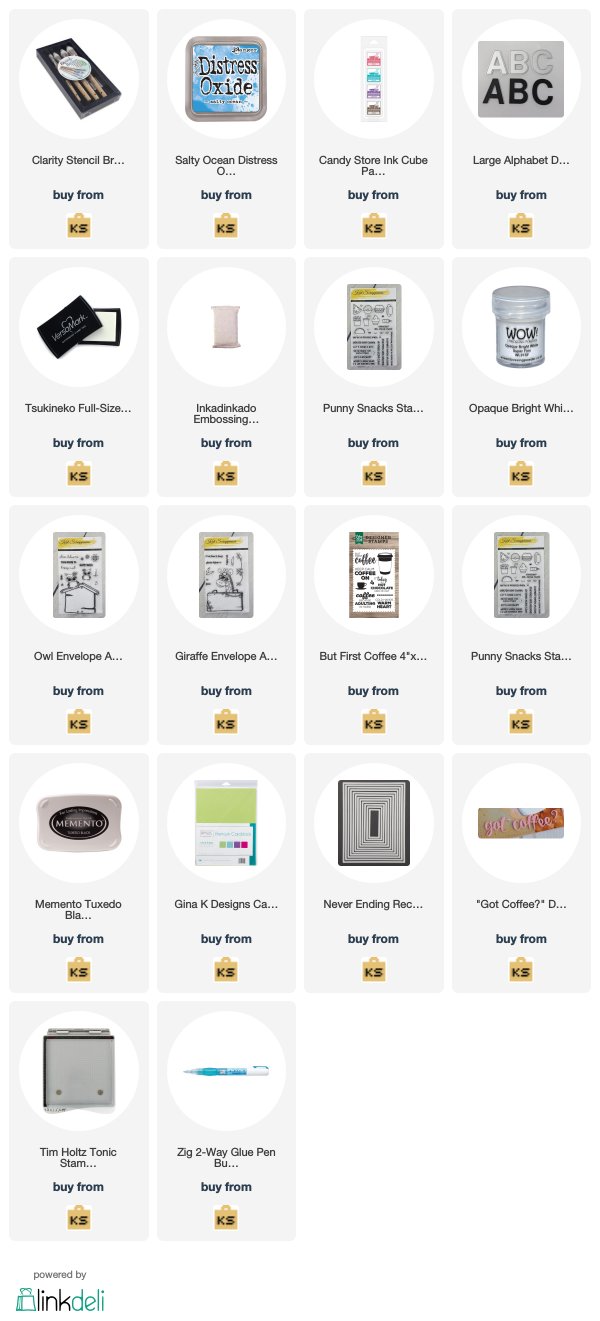
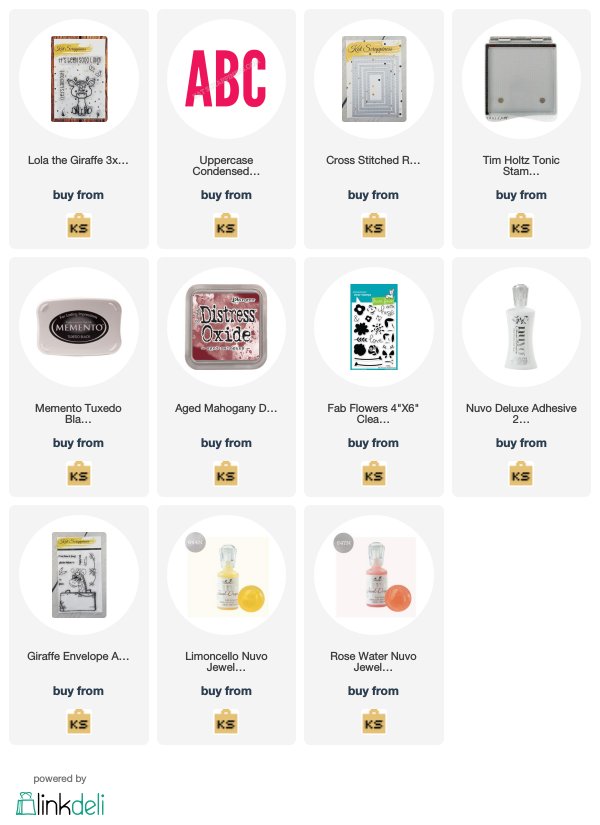
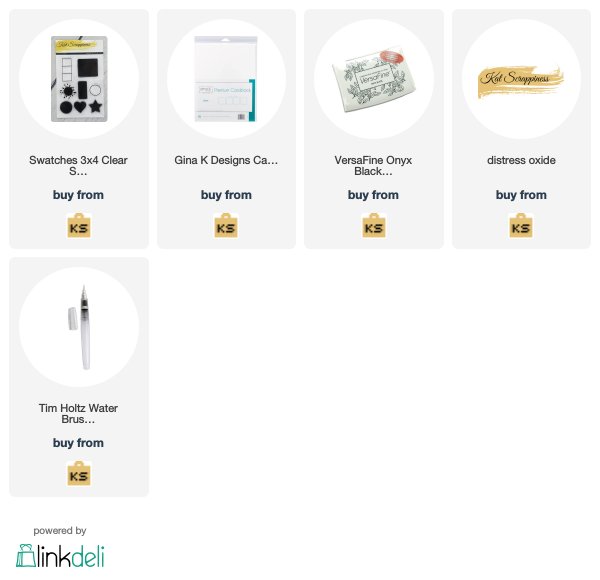
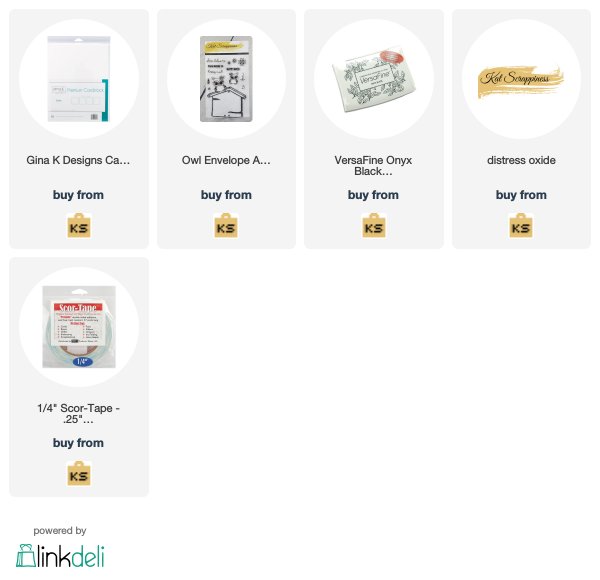
    Products Used:

    Layered Coffee Cup die by Kat Scrappiness
    “Got Coffee?”
    sentiment die by Kat Scrappiness
    Owl Envelope Art
    stamp set by Kat Scrappiness
    Cross Stitched Rectangle die by Kat Scrappiness
    Delicata Golden Glitz Ink
    Ranger Multi Medium Matte Adhesive
    Yupo Paper
    Fun Foam
    Neenah Solar White in 80 and 110lb
    Neenah Desert Storm in 80lb
    Momento Tuxedo Black

    Are you participating in our monthly challenges? Each month we have a new challenge whose theme is picked out from our Design Team members. You create your project, based on the theme, and making sure you use at least one Kat Scrappiness product and you could win a $25 store discount! This month’s link can be found above, at the top of this page, or here!

    This has been Hannah Rubenstahl, from Fanciful Spaces, hoping you have an epic crafting day.

    Design Team Projects, News

    Mother’s Day Card with Matching Envelope by Maria


    Hello my crafty peeps! I hope you are all enjoying your Sunday and getting some much-needed quality time with the family before the start of the work week again, which is the much-dreaded Monday, haha!

    Since Mother’s Day is fast approaching, I figured I’d better get started on my Mother’s Day card.  For today’s project, I am showcasing the Lola the Giraffe 3×4 stamp set, Giraffe Envelope Art stamp set, Uppercase Condensed Alphabet Dies,  Cross-stitched Rectangle dies, and a bunch of other supplies available at the shop.

    I have a process video for you today if you would like to see how I created the card and the matching envelope.  Please click on the link below:


    Here are some photos of the finished project:


    Close-up:


    Here’s the matching envelope:


    I hope you like the projects.  The supplies are listed and linked below.  Have a wonderful day!

    ———————SUPPLIES————————-


    https://linkdeli.com/widget.js?1524143299350

    Design Team Projects

    Two Cards using the Layered Coffee Cup Die

    Hi everyone!  Today I have two cards that use two new Kat Scrappiness diesLayered Coffee Cup and Got Coffee?.  These two dies coordinate great together and the coffee cup is easy to assemble.

    Here is a video showing how to assemble the cup and a card I made using these two dies.

    Here are closeup pictures of the cards.

    Thanks for stopping by and happy stamping!


    – – – SUPPLIES – – –
    Got Coffee? Die by Kat Scrappiness
    Layered Coffee Cup Die by Kat Scrappiness
    Perk Up Stamps by The Greeting Farm


    Design Team Projects, New Releases

    Swatch Cards With Video

    Hi Everyone, it’s Tina here today. The new Swatches stamps released this month from Kat Scrappiness makes it super easy to create color swatch cards. I’ve been busy making them for my Distress Oxides. I have a video below showing you how to make them. This is a wonderful project to do on a rainy day or if you are in a creative slump.

    Below is a full video tutorial showing you how to create color swatch cards. You can watch below or on YouTube.

    I hope you enjoyed today’s video showcasing color swatch cards. See below for a list of all Kat Scrappiness products used.

    Use code: TINA10 to get 10% off your order at checkout.

    Don’t forget Kat Scrappiness has a challenge every month.  This month the April Challenge is for you to create some envelope art (mail art). Don’t forget to submit your photos here at the end of the post “Add Your Link” for a chance to win a $25.00 gift card to Kat Scrappiness!

    Have a great day everyone!

    Kat Scrappiness Product Used:

    https://linkdeli.com/widget.js?1523599839355