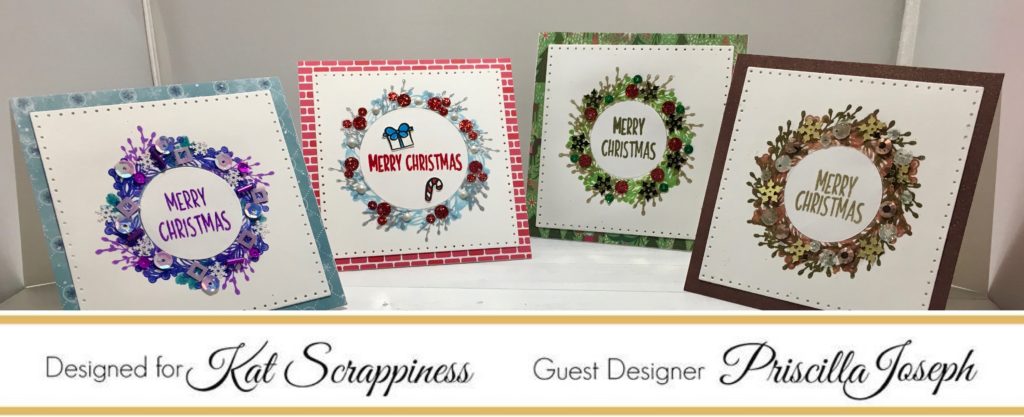
Hello there! Martha Lucia here with you. Today I have a set of Winter Celebration Cards featuring some die cuts from Kat Scrappiness. If you haven’t seen them you must because they have exclusive and elegant designs that you can use not only in winter creations but in other seasons too.
My first card is a Holiday Cheer Card created with the Fancy Floral Coverplate Die. This design is very elegant and detailed so I made a see through card.

To make this type of cards you only need to cut two similar layers and make a score in 1/8 of the top border, fold the line to make it flexible, fold back to the normal position and add the score tape or glue just on the flexible border to let the card open easily.

To decorate this card I used traditional colors of Christmas. I cut two circle cross stitch dies from Gina Marie Designs, available on Kat Scrappiness Store. The larger in Cherry Cobbler card stock and the next smallest size in whisper white. I stamped a sentiment over the whisper white circle and layered it with the cherry cobbler piece. The sentiment is from the stamp set 3D Christmas Poinsettia by Joy Clair. I used Memento Rhubarb Stalk ink to stamp the message.

To finalize the decoration, I used the Holly Leaves and Berries die cut from Kat Scrappiness. First I inked a piece of whisper white card stock using two different greens of Distress Ink and then cut the leaves from the inked layer. I really like this die cut because each leave and berry comes embossed too.

Something to keep in mind when you create a see through card is that you need to cover the back of your the decorative layers, so in my card I just cut three more cross stitched circles in the larger size using whisper white card stock and pasted it in corresponding place. You can notice it better on the second photo above.
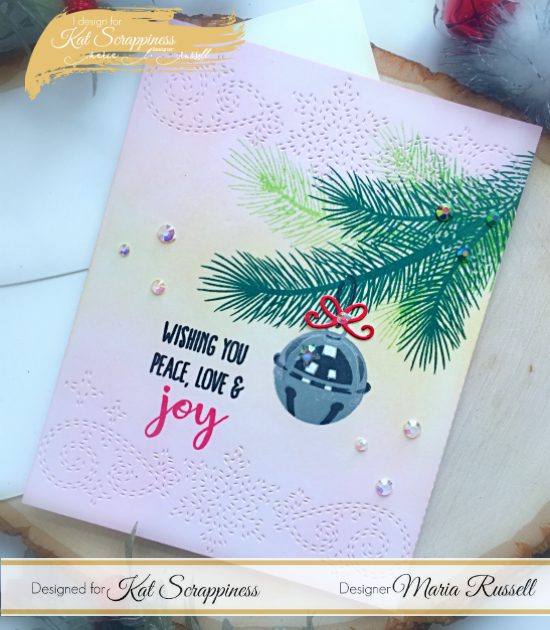
My second project is using the Stitched Snowflake Swirl Border Backdrop Die, also from Kat Scrappiness Store. This is a real elegant die cut, perfect for wedding cards or any other elegant card.

The base of my card is basic black card stock and the decorated layer is whisper white. First I cut the layer using the Stitched Snowflake Swirl Border Backdrop. I cut a little part from the borders to make it smaller and using the pines die included on the Crafters Essentials Winter Dies, I cut the center of the layer.

I cut a piece of decorated paper to paste in place over the base card, just when the pines are. I pasted the second layer with dimensionals or double sided foam tape and kept some negative pieces of the pines to paste over the decorated paper and give more dimension.

I completed the card by adding a stamped sentiment in whisper white card stock and mat on basic black, and splatter some drops of Glimmer Mist Safari Green over the entire layer.
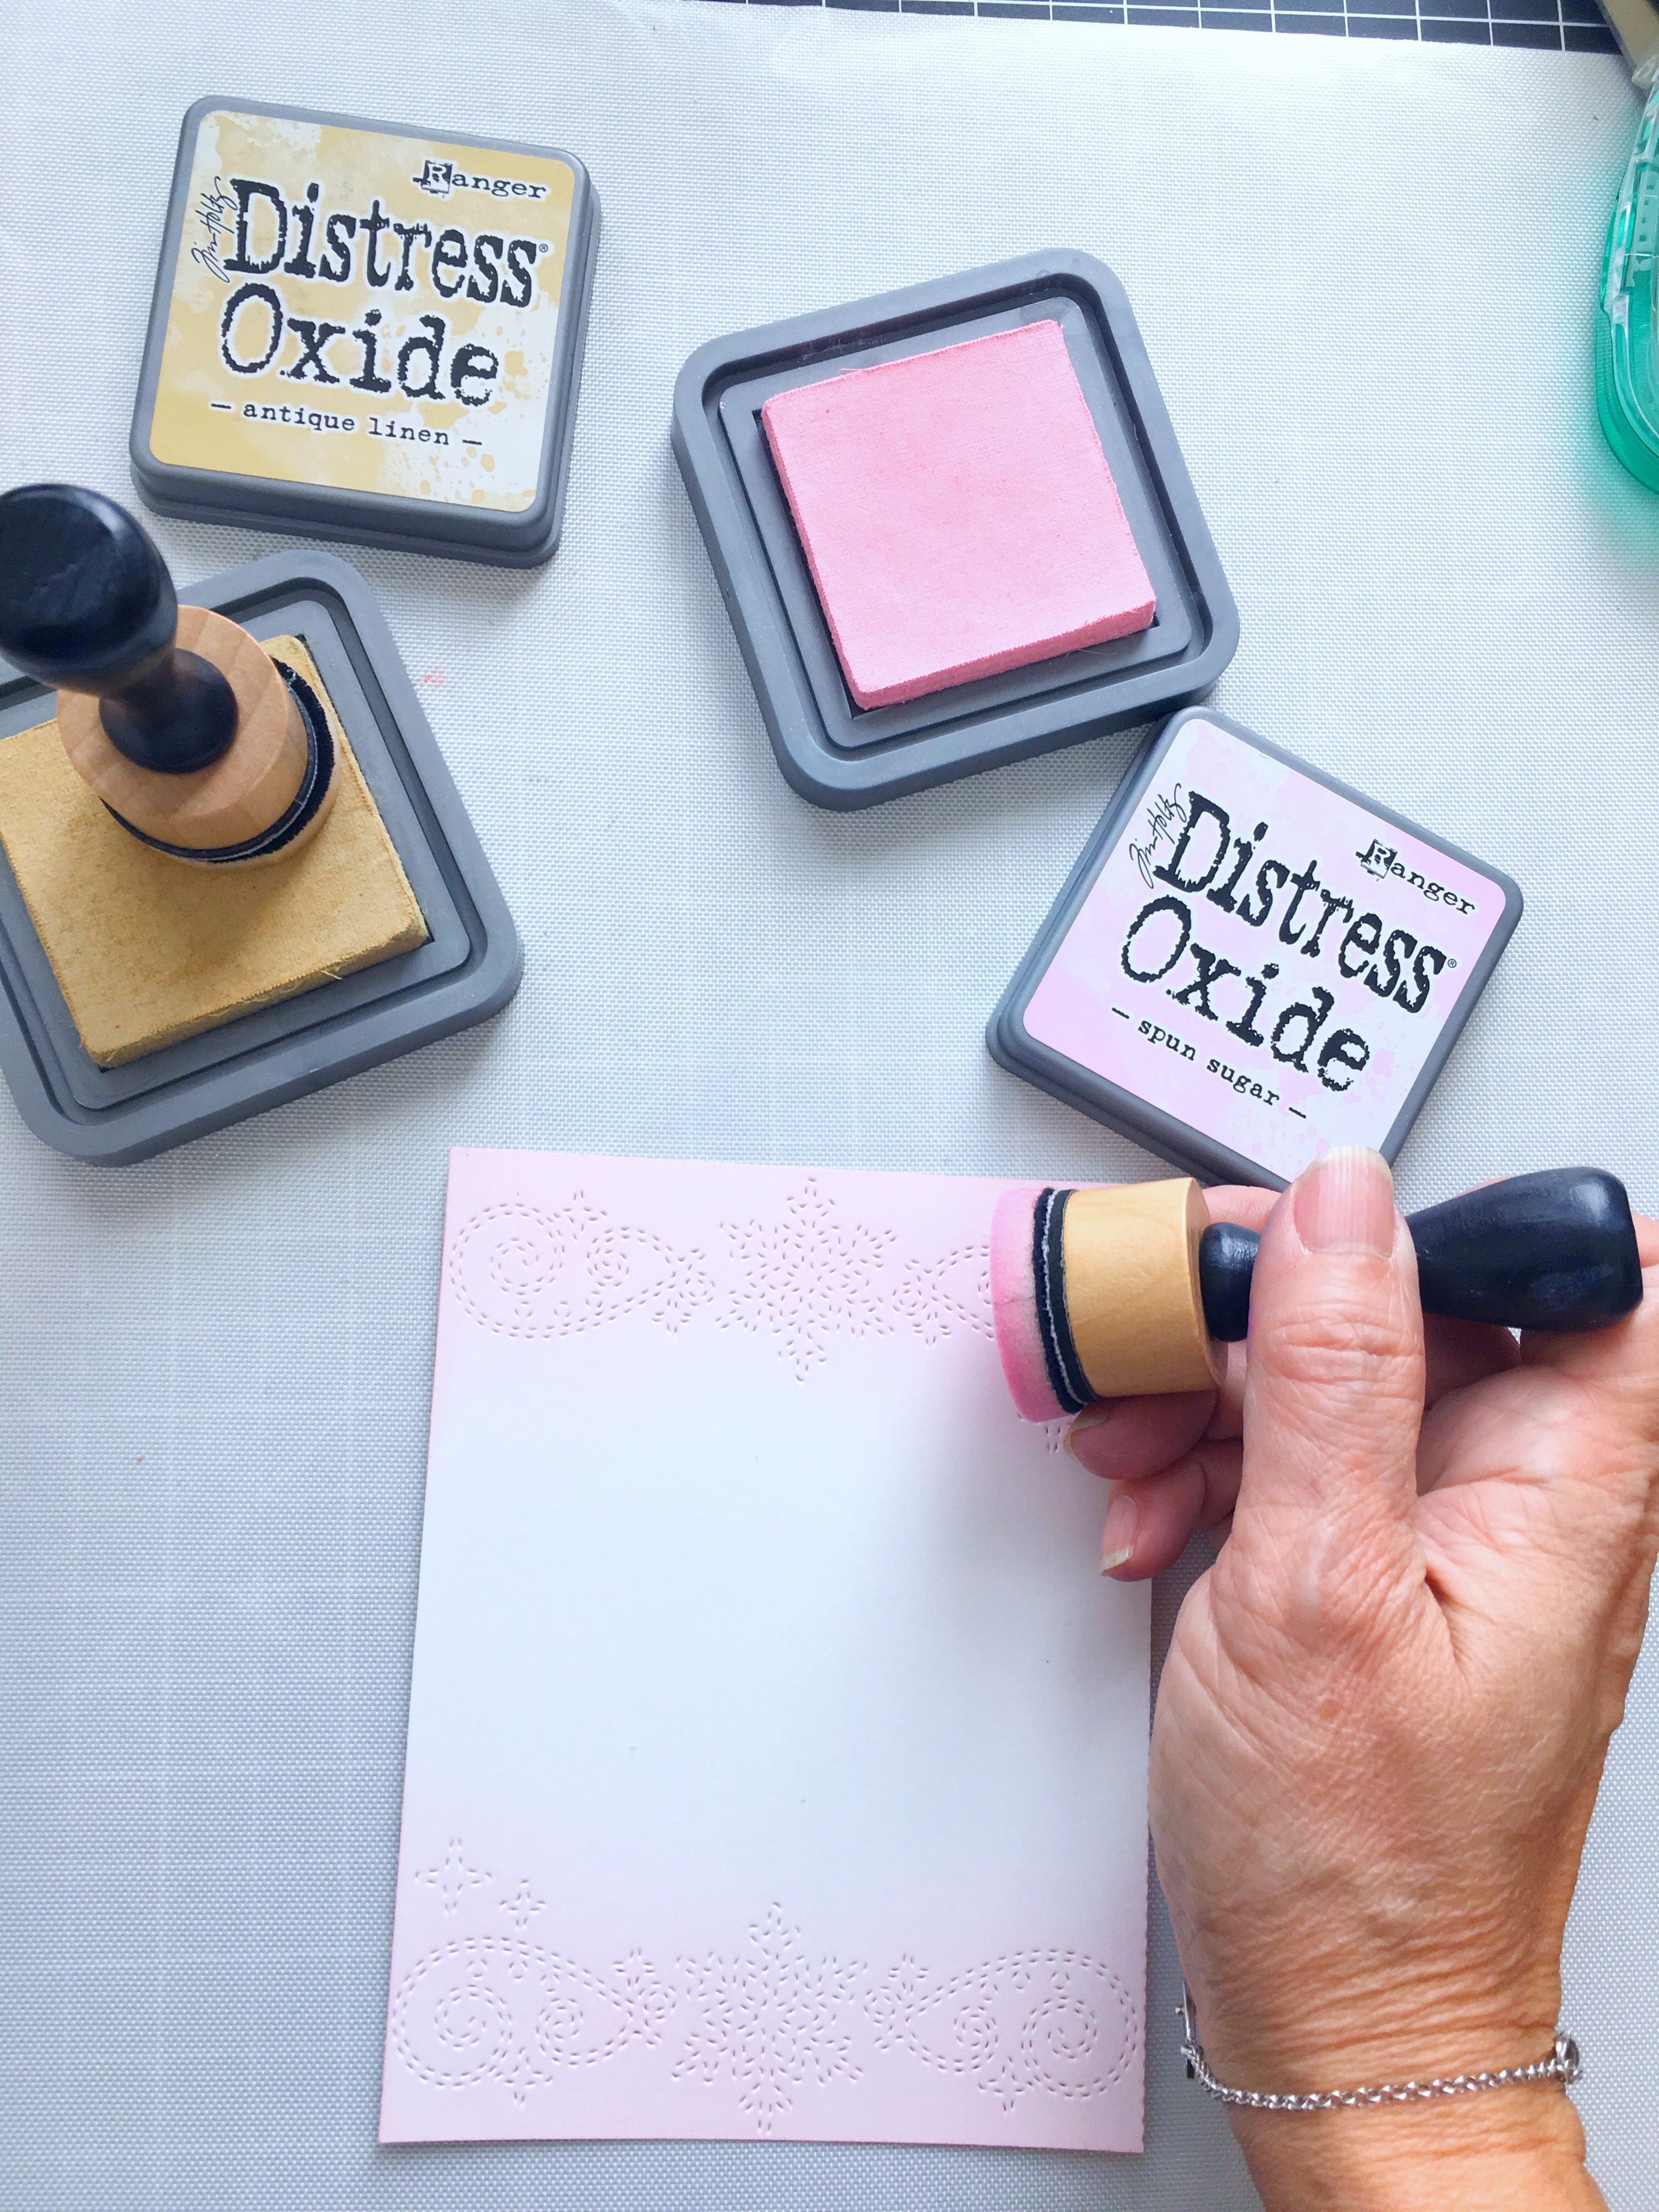
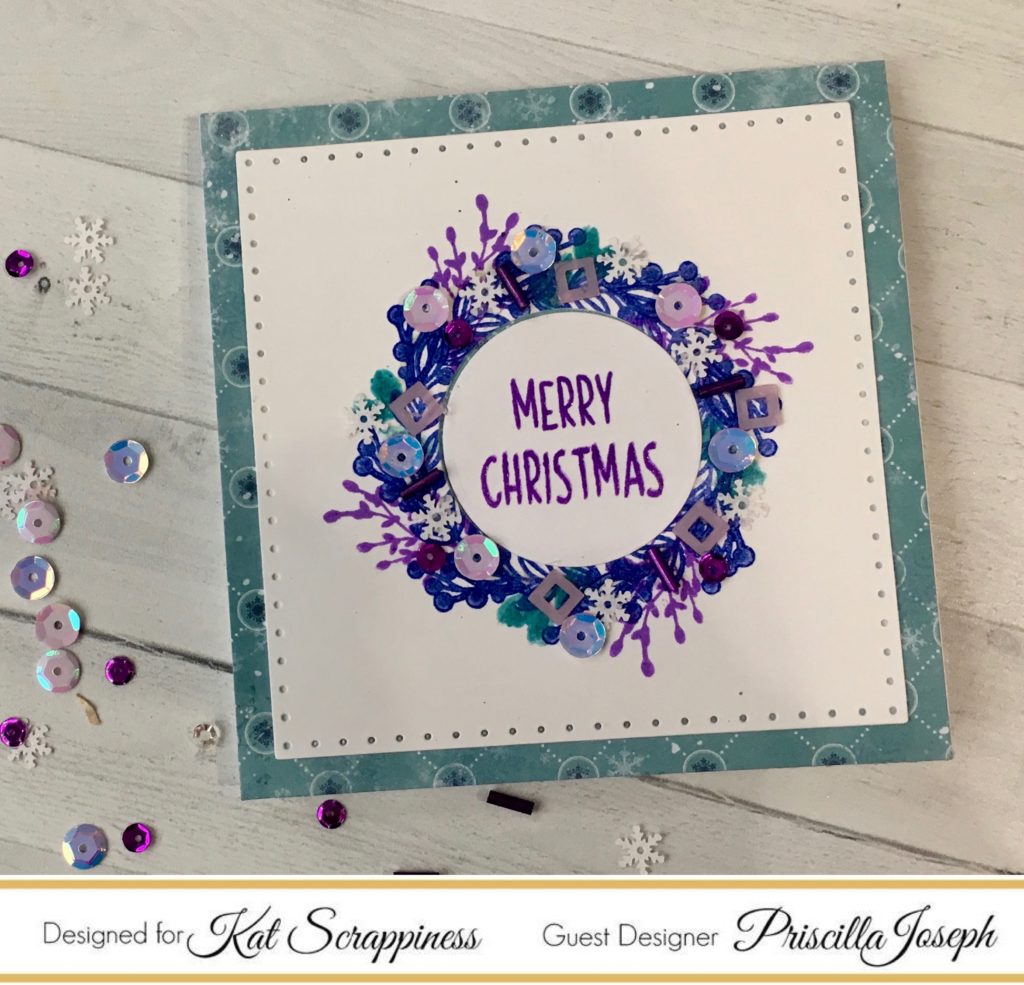
The last card that I will share today is a water-colored card created with Stitched Winter Swirl Backdrop Die from Kat Scrappiness. It is a detailed stitched die absolutely wonderful.

I cut the die using watercolor paper and just added a light blue color with an aquapainter on the free areas in between of the swirls and snowflakes. I used Kuretake Gansai Tambi Watercolors and when the paper was totally dry I sprayed the entire surface with Sparkle Sheer Shimmer to add the shiny touch to the layer.

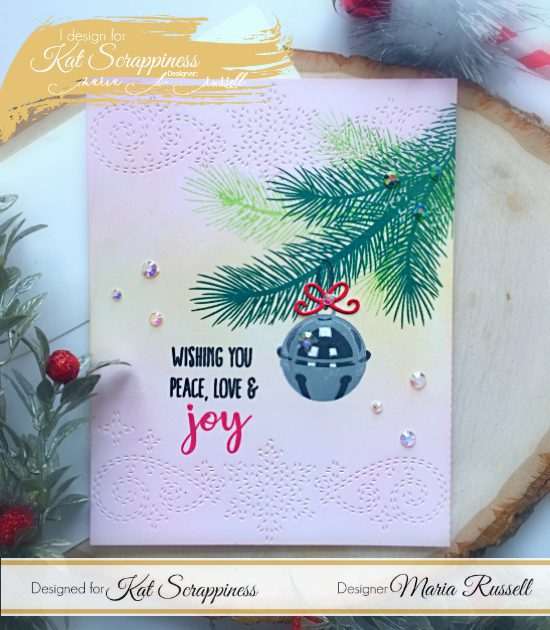
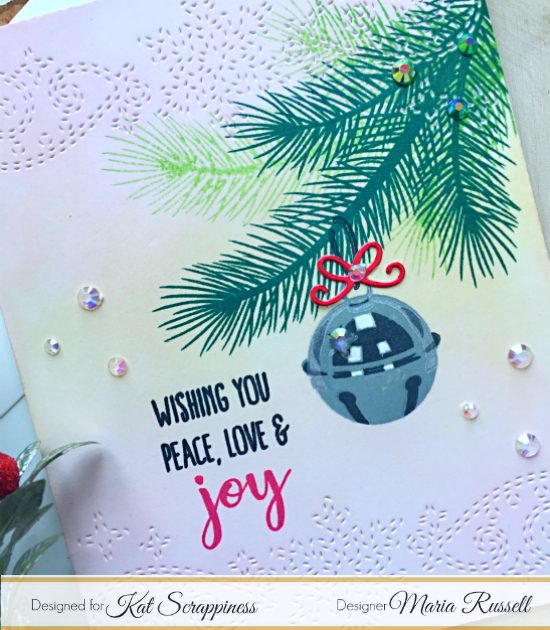
I pasted the decorated layer over a Twlight card base and decorated with a big silver snowflake and a sentiment from the stamp set Born is the King by Joy Clair Stamps. I stamped the sentiment over a piece of card stock of the same color of the card base using VersaMark and WOW Metallic Silver Sparkle Embossing Powder. Then I cut the sentiment using a Cross Stitched Square die cut from Gina Marie Designs and pasted all with double sided foam tape.

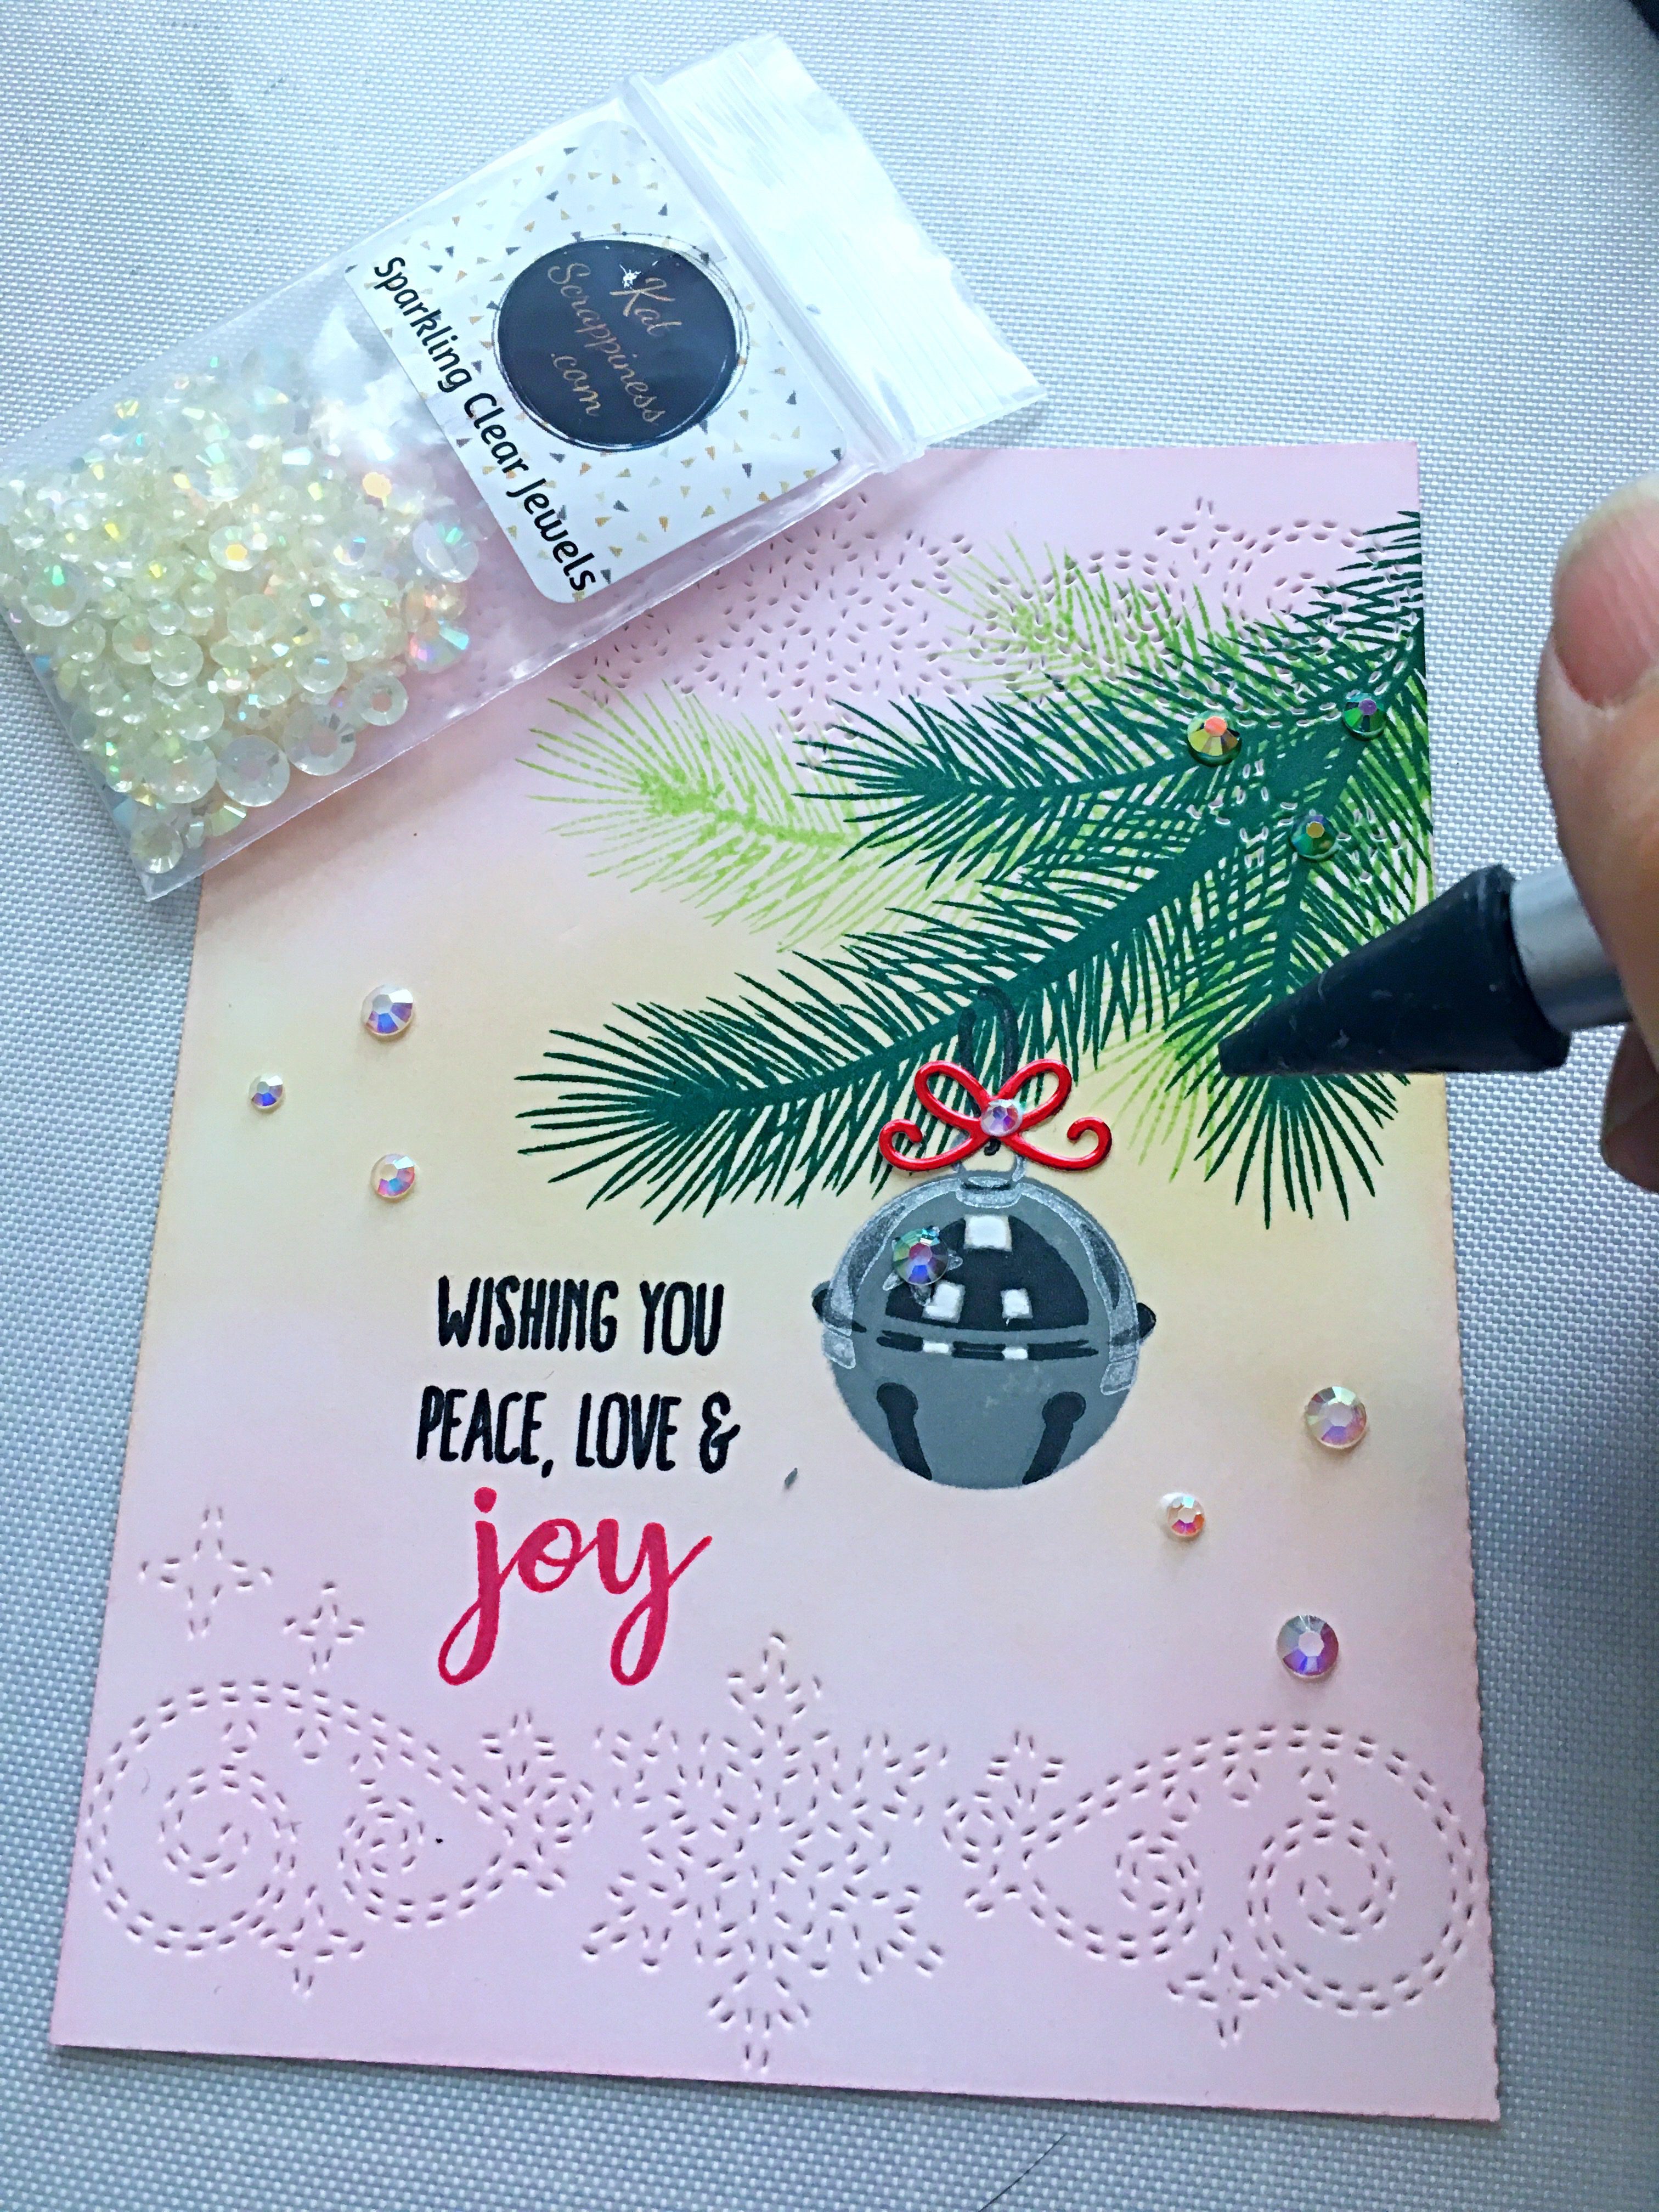
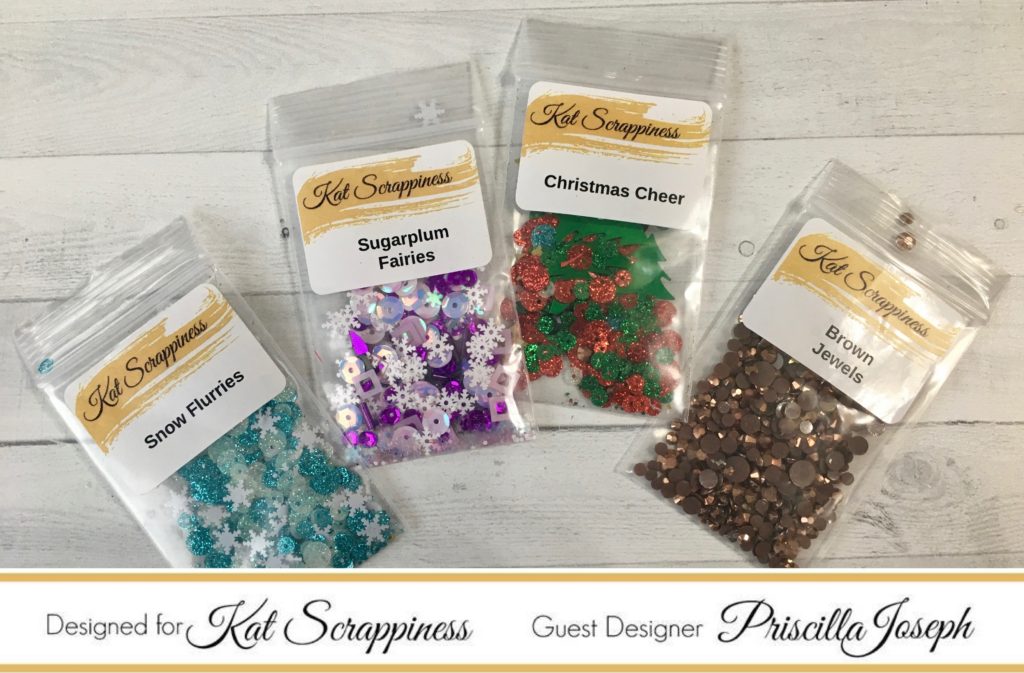
As a final touch I added some Teal Jewels on the center of the stitched stars and snowflakes. The jewels come in different sizes and they work perfectly as embellishment.
Thank you for stopping by and don’t forget that the Kat Scrappiness die cuts are beautiful, versatile and on sale!. A big hug!
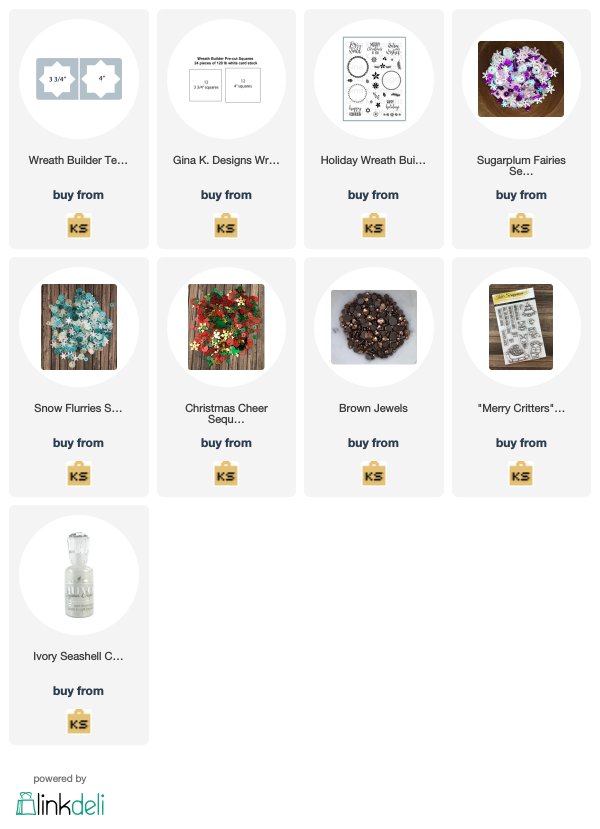
SUPPLIES:
Affiliate links are used where they are available. If you make a purchase I receive a small commission at no extra cost to you. Thank you so much for your support!
 Fancy Floral Cover Plate Die Shop at: KS |
 Holly Leaves & Berries Die Shop at: KS |
 Cross Stitched Circles by Gina Marie Designs Shop at: KS |
 Stiched Snowflake Swirl Backdrop Border Die Shop at: KS |
 Crafter Essentials Winter Dies Shop at: KS |
 Stitched Winter Swirl Backdrop Die Shop at: KS |
 Rectangle Cross Stitched Die Cut Shop at: KS |
 Teal Jewels Shop at: KS |
 Born is the King Stamp Set by Joy Clair Shop at: JC |
 3D Christmas Poinsettia by Joy Clair Shop at: JC |
 New Year New Me Shop at: JC |
 Memento Tuxedo Black Ink and other colors Shop at: C&SS | JC | KS | OTS | HS |
 Versamark Shop at: C&SS | KS | OTS | HS |
 Metallic Silver Sparkling WOW Embossing Powder Shop at: KS |
 Sparkle Sheer Shimmer Spritz Shop at: KS |
 Distress Ink Twisted Citron & Oxide Shop at: C&SS | KS | HS |
 Distress Oxide Ink Peeled Paint Shop at: C&SS | KS | HS |
 Kuretake Gansai Tambi Set – 36 Colors Shop at: HS |
 Whisper White Cardstock by Stampin Up Shop at: OTS |
 Watercolor Paper by Stampin Up Shop at: OTS |
 Cherry Cobbler Cardstock by Stampin Up Shop at: OTS |
 Basic Black Cardstock by Stampin Up Shop at: OTS |
 Embossing Buddy Shop at: KS | OTS |
 Heat Tool Shop at: OTS | HS |
 Silver Embossing Powder Shop at: JC | KS | OTS | HS |
 Aqua Painters Shop at: C&SS | JC | OTS | HS |
 Mini Ink Blending Tool Shop at: C&SS | HS |
 Stamparatus by SU Shop at: OTS |
 MISTI Original Shop at: C&SS | HS |
 Big Shot Shop at: C&SS | JC | OTS | SB | HS |
 Paper snips Shop at: OTS |
 Stampin Trimmer Shop at: OTS |
 Double sided foam Tape or Dimensionals Shop at: OTS |
 Fast Fuse Adhesive Shop at: OTS |
 Foam Adhesive Strips Shop at: OTS |
 Fine Tipe Glue Pen Shop at: OTS |
 Tear & Tape Shop at: OTS |
 Snail Adhesive Shop at: OTS |


 My first projects are using the Christmas Stocking Banner Die from Kat Scrappiness. I used different material to cut them and I am sure that you are loving this die cut for several reasons. One of them the perfect size because it is a large banner that you can use as is or cut in different pieces, just like I made.
 For my first card I used Whisper White card stock for the base and for the second layer. Yes, the second layer was originally white but I decided to make it more special and cover the layer with two pieces of wide washi tape in blue and white. I pasted the decorated layer directly over the card base.


 Christmas Stocking Banner Die
Shop at:
Christmas Stocking Banner Die
Shop at:
 Versafine Clair Blue Belle
Shop at:
Versafine Clair Blue Belle
Shop at:
 Balmy Blue Cardstock
Shop at:
Balmy Blue Cardstock
Shop at:
 MisFits Foiled Paper Variety Pack
Shop at:
MisFits Foiled Paper Variety Pack
Shop at:
 Adornit Papers
Shop at:
Adornit Papers
Shop at: