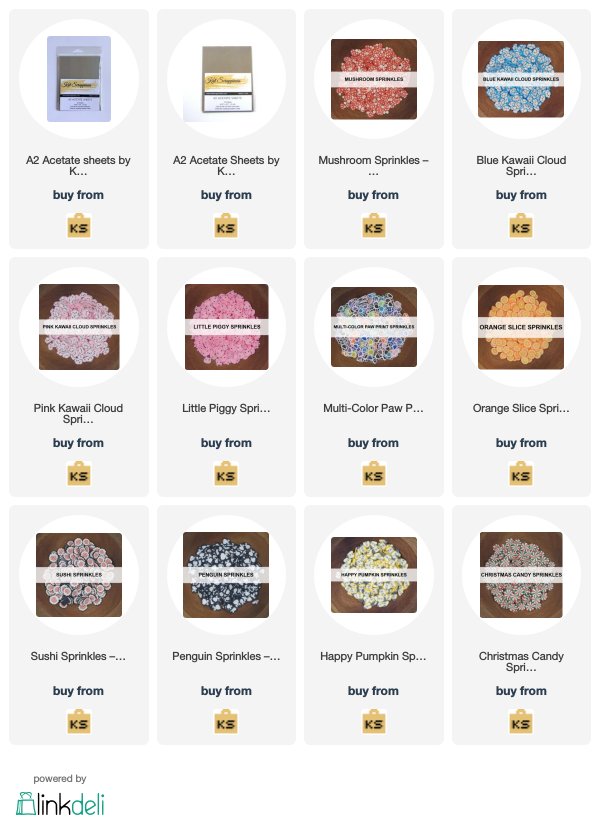
It is the first day for our September Release! We are starting things out with customer’s favorite by showcasing the new Sprinkles and the KS Acetate Sheet Pack (choose between a pack of 10 or a pack of 25 sheets). We are having a GIVEAWAY today too so make sure you read all the way to the bottom of this post to see how to win!

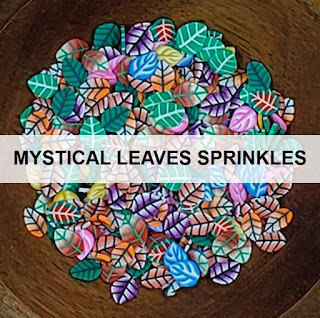
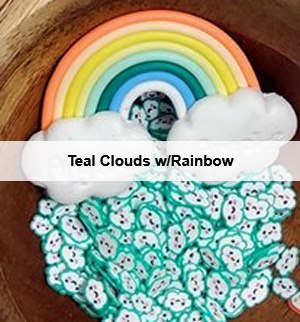
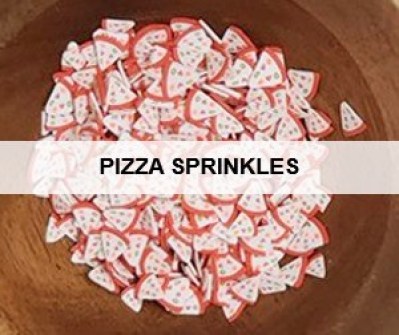
The Happy Pumpkin Sprinkles and the Orange Slice Sprinkles will be perfect to use for your fall projects The Christmas Candy, Fun Christmas Icon and the Penguin Sprinkles however, will be perfect for your Christmas projects. The rest of the Sprinkles will be so much fun to use for everyday shaker card projects.

These acetate sheets are perfectly sized for an A2-size card. They are available in packs of 10 sheets or 25 sheets. Stock up on these with the new sprinkles to create some really cute shaker card projects.
For today’s reveal, we have a special treat for you! Our YouTube Design Team members are also joining us with a process video. Please click on their YT link to see how they made their cards. Are you ready to see the samples?
ADAM KARLE


CAREN BARTHOLOMEW


DAWN SOTO (YT Team)

Here is Dawn’s process video:
JESSICA SHIER (YT TEAM)

JESSICA LYNN MOULD (YT TEAM)


Here’s Jessica’s YT video:
JO THOMPSON (YT TEAM)


Here is Jo’s YT video:
MARIA RUSSELL


MARTHA GOMEZ


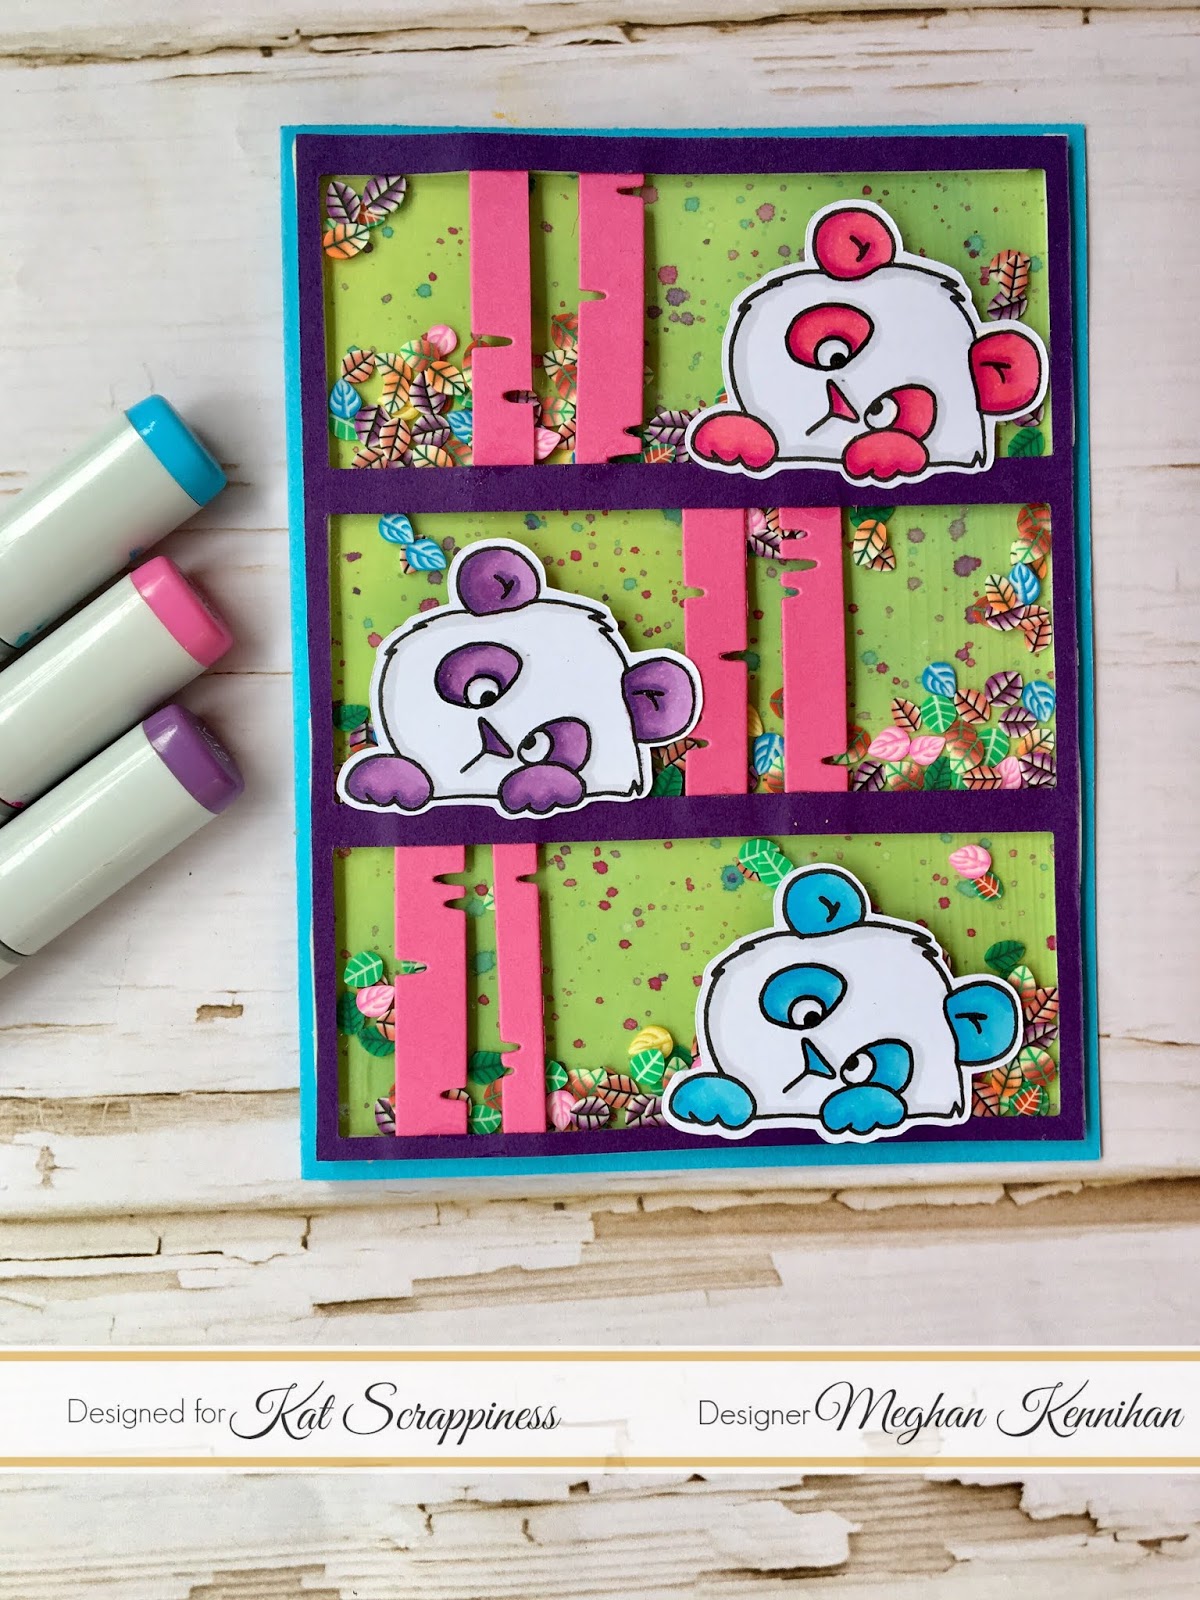
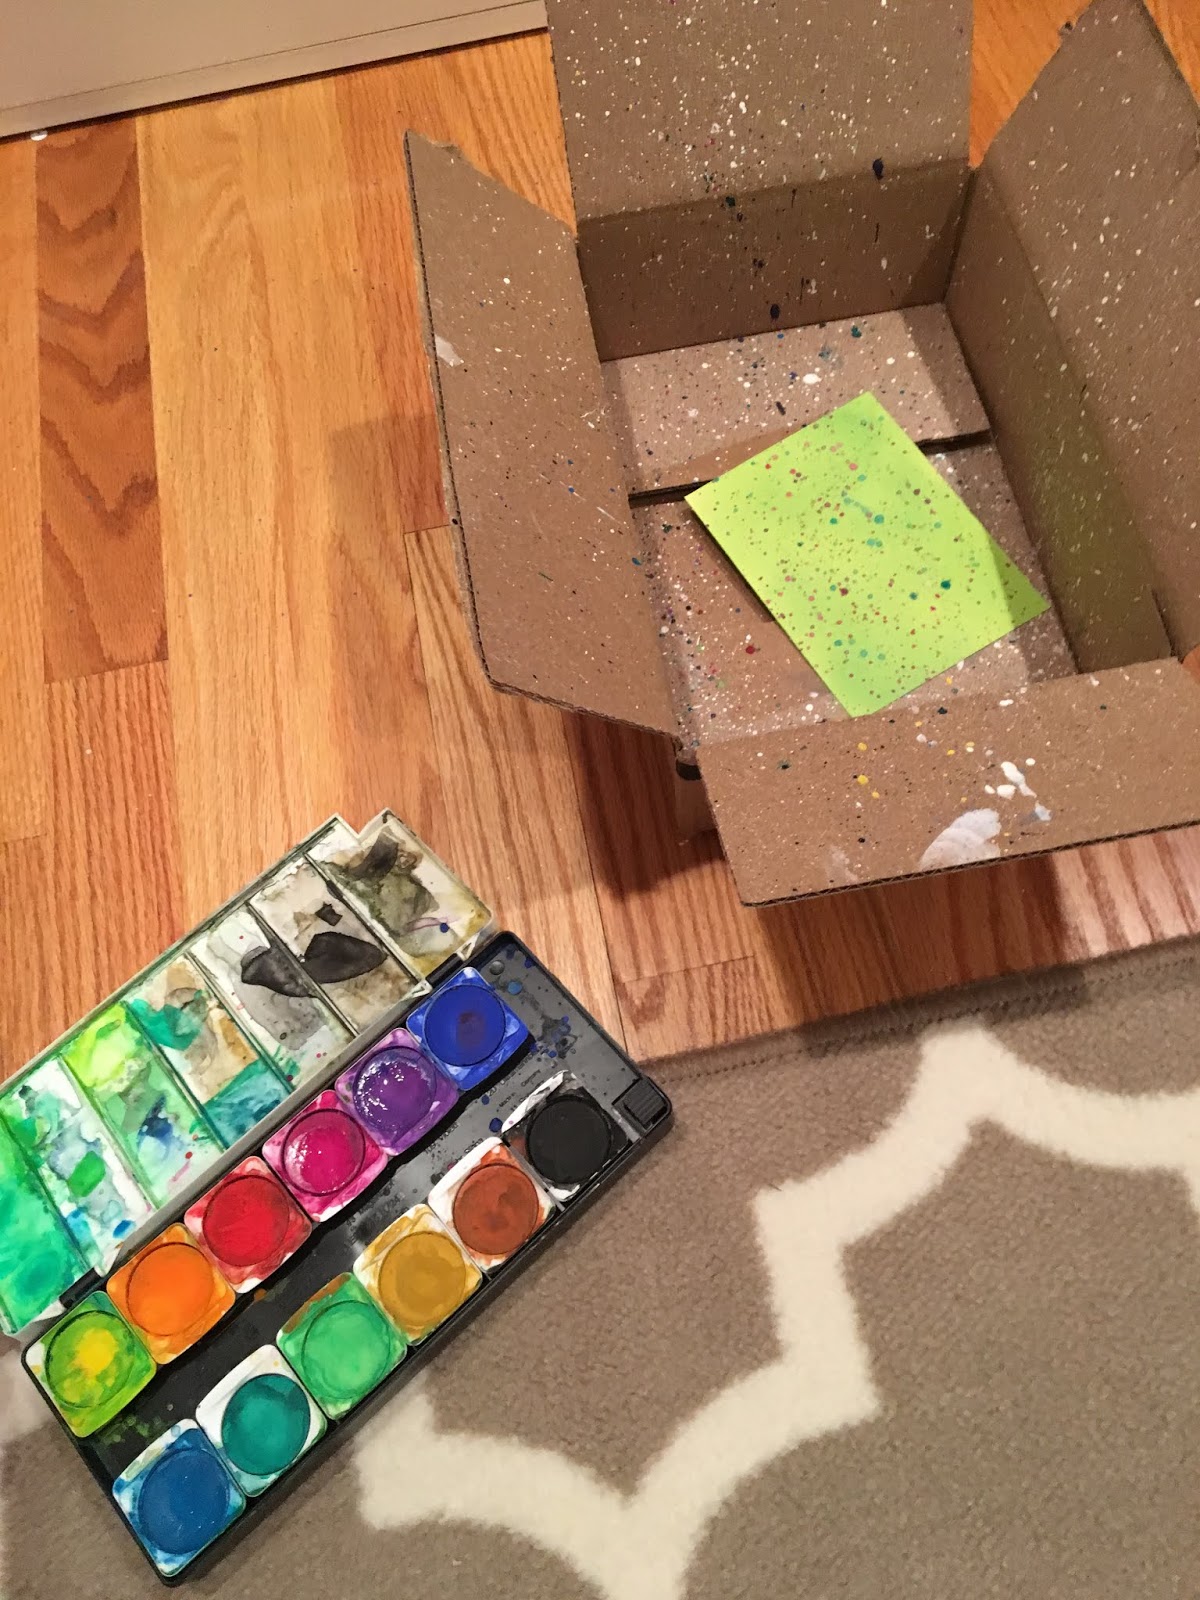
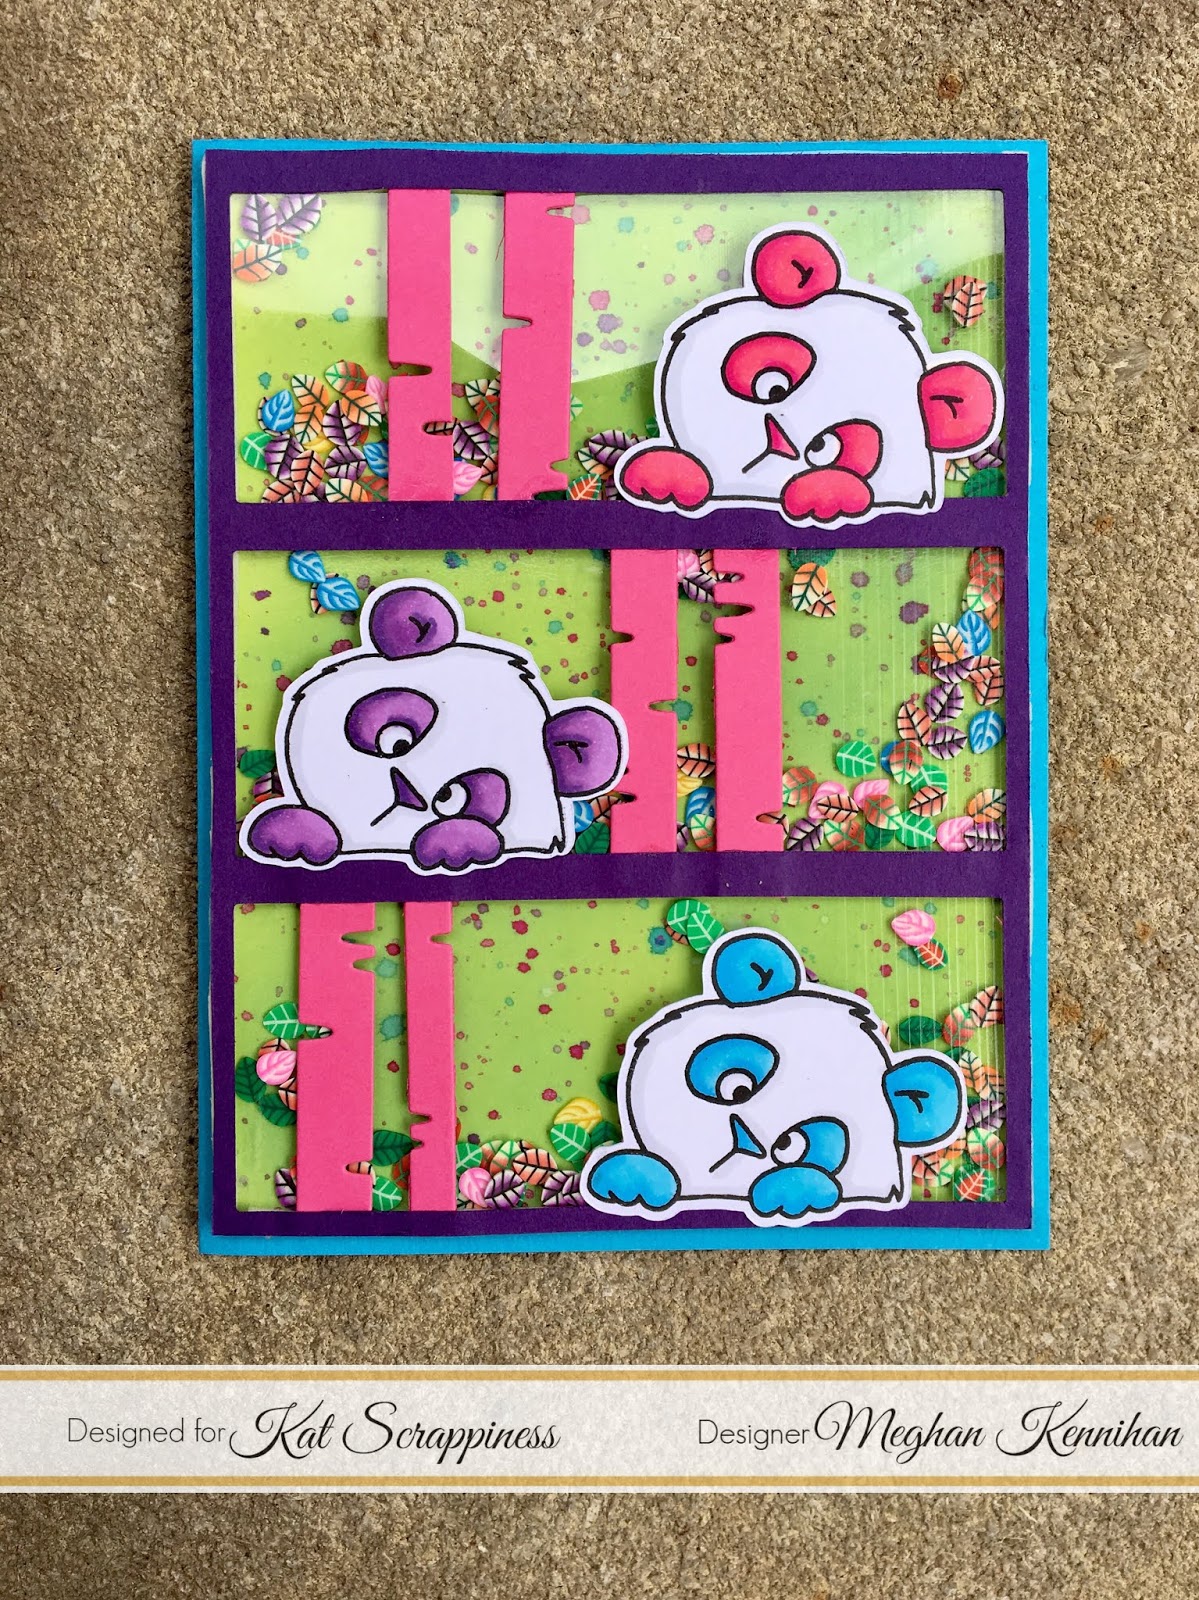
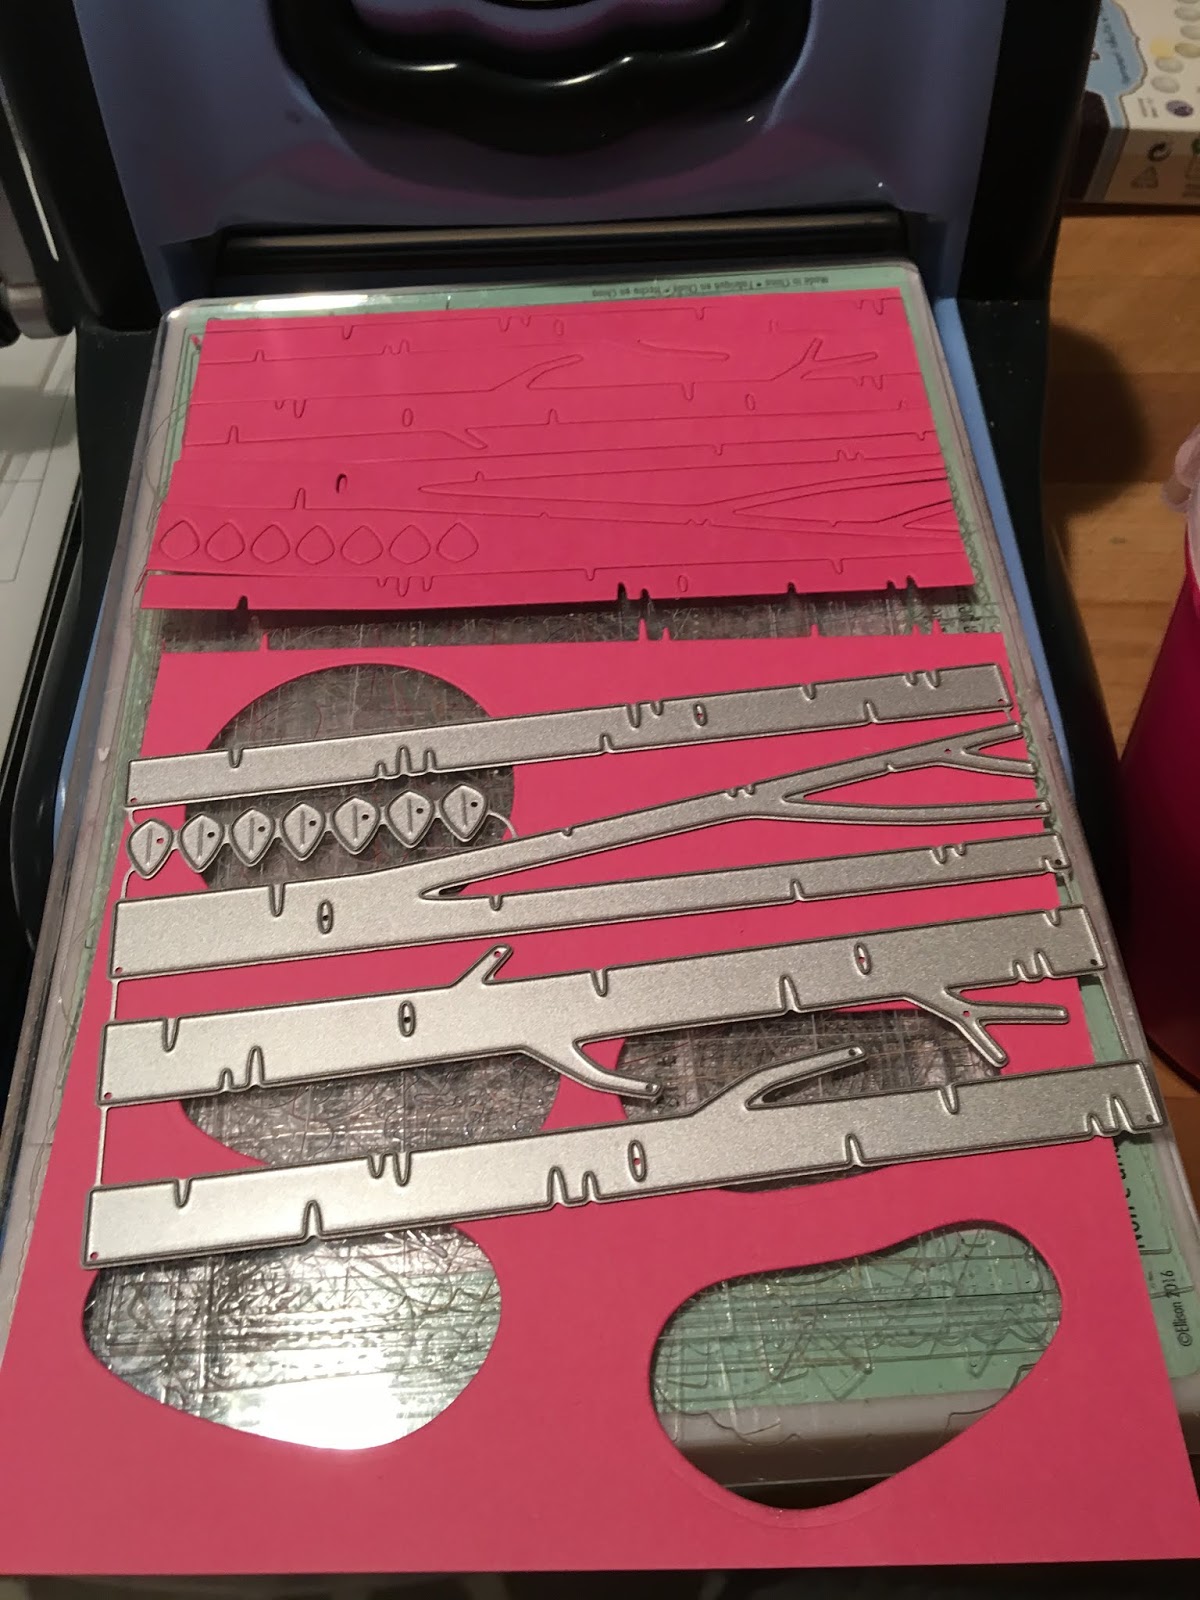
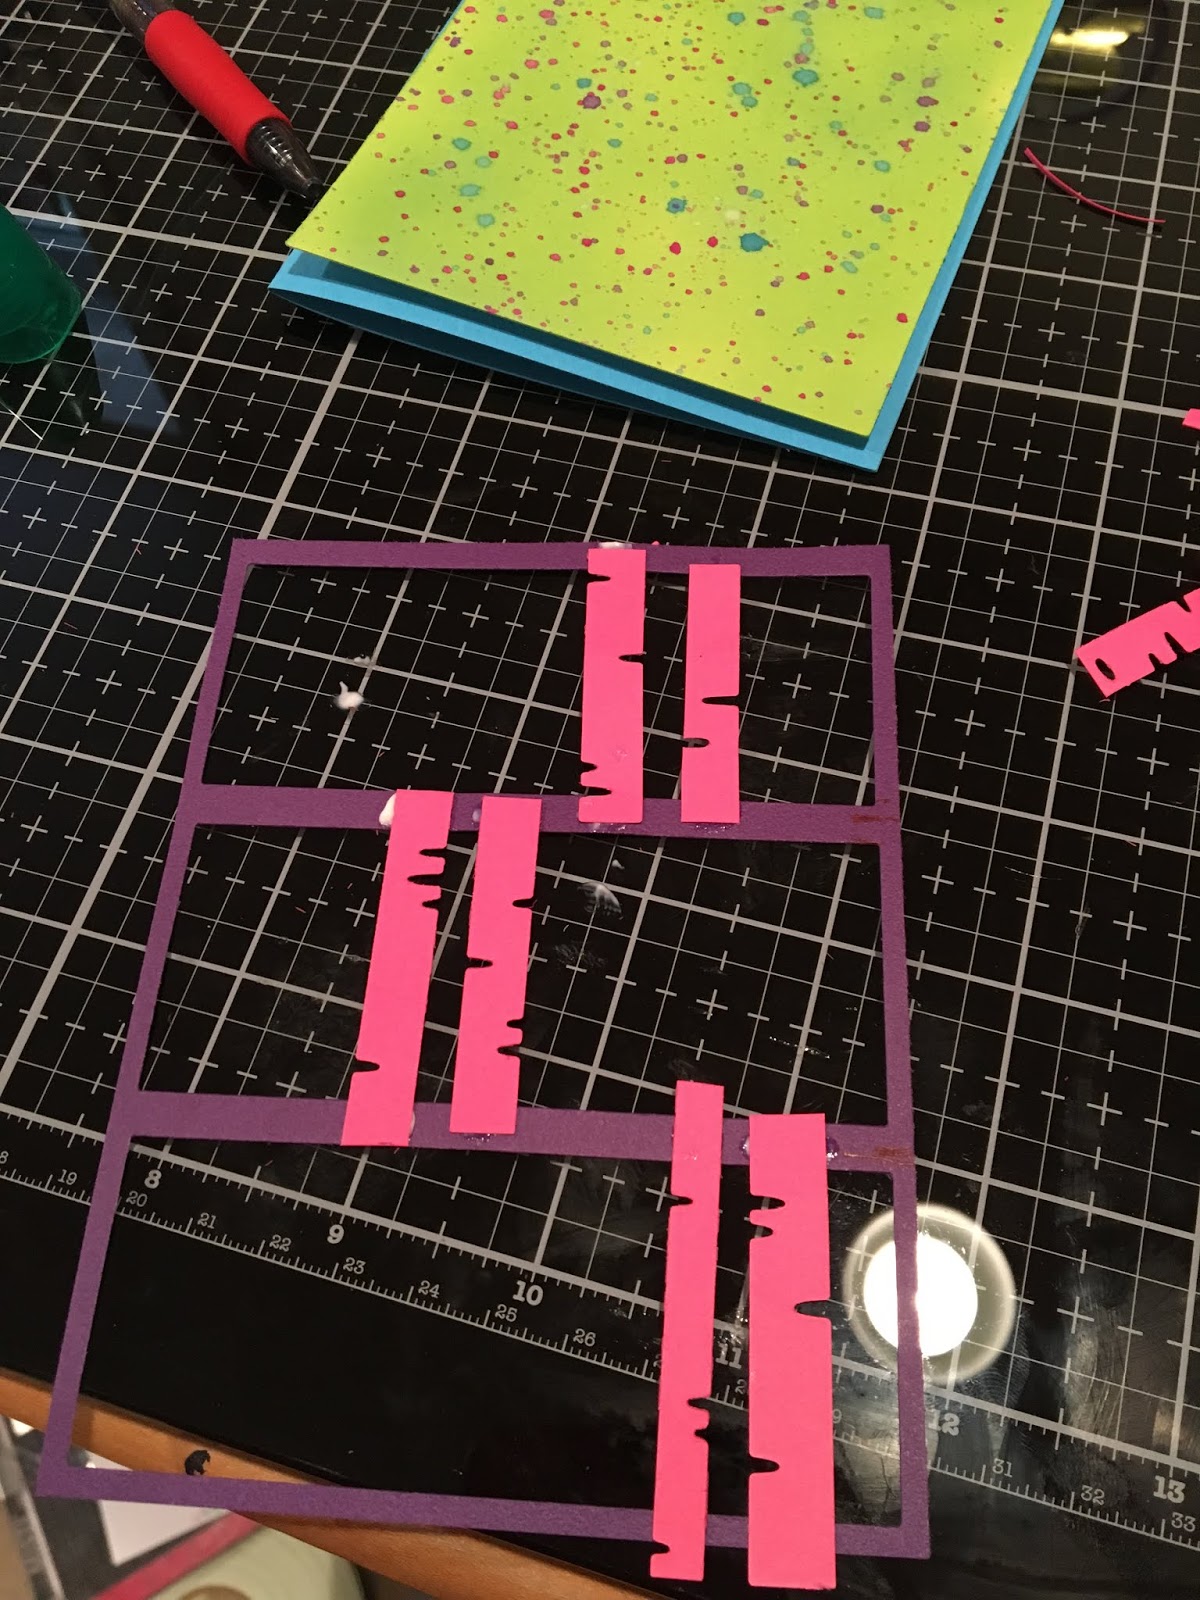
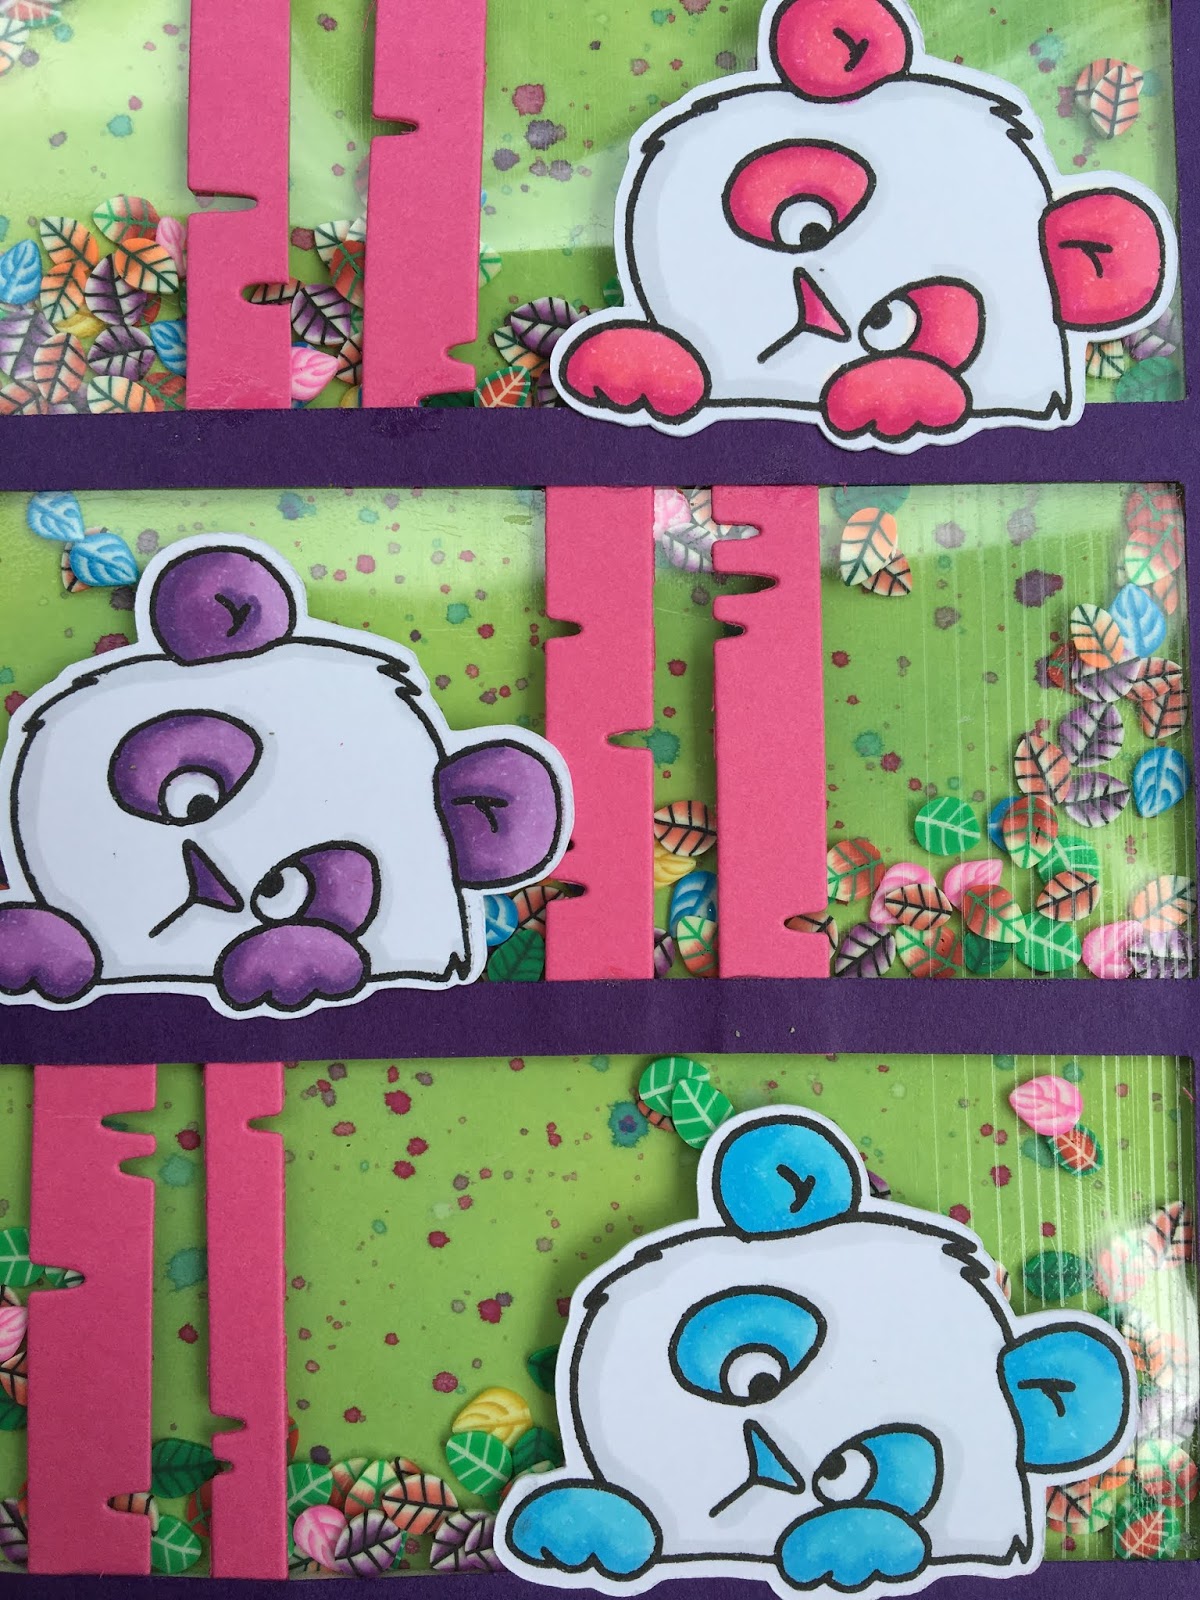
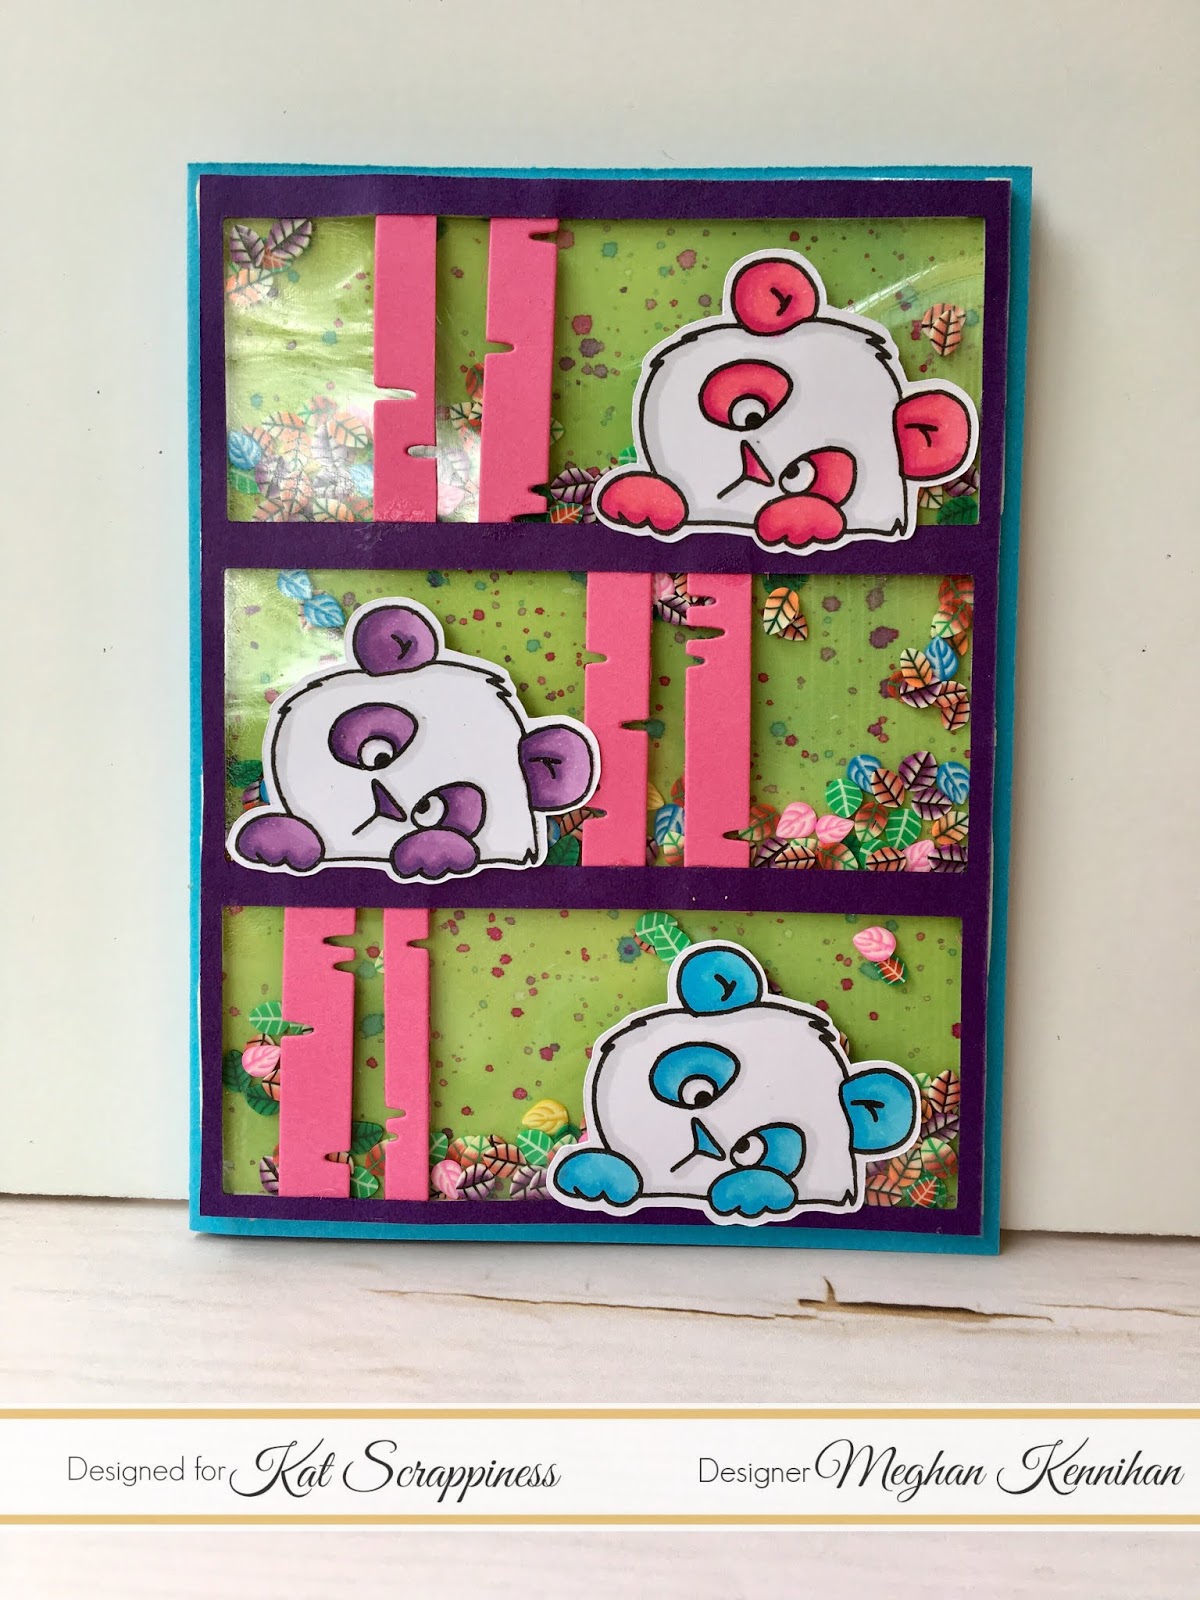
MEGHAN KENNIHAN


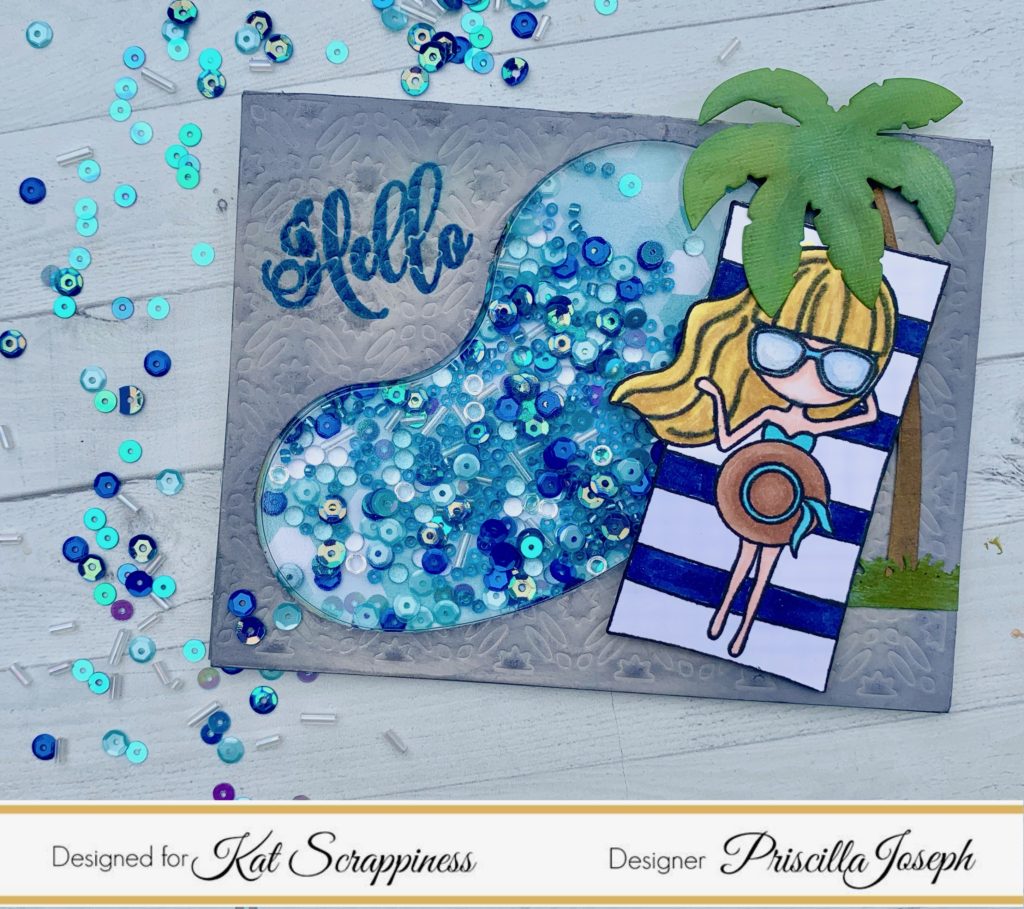
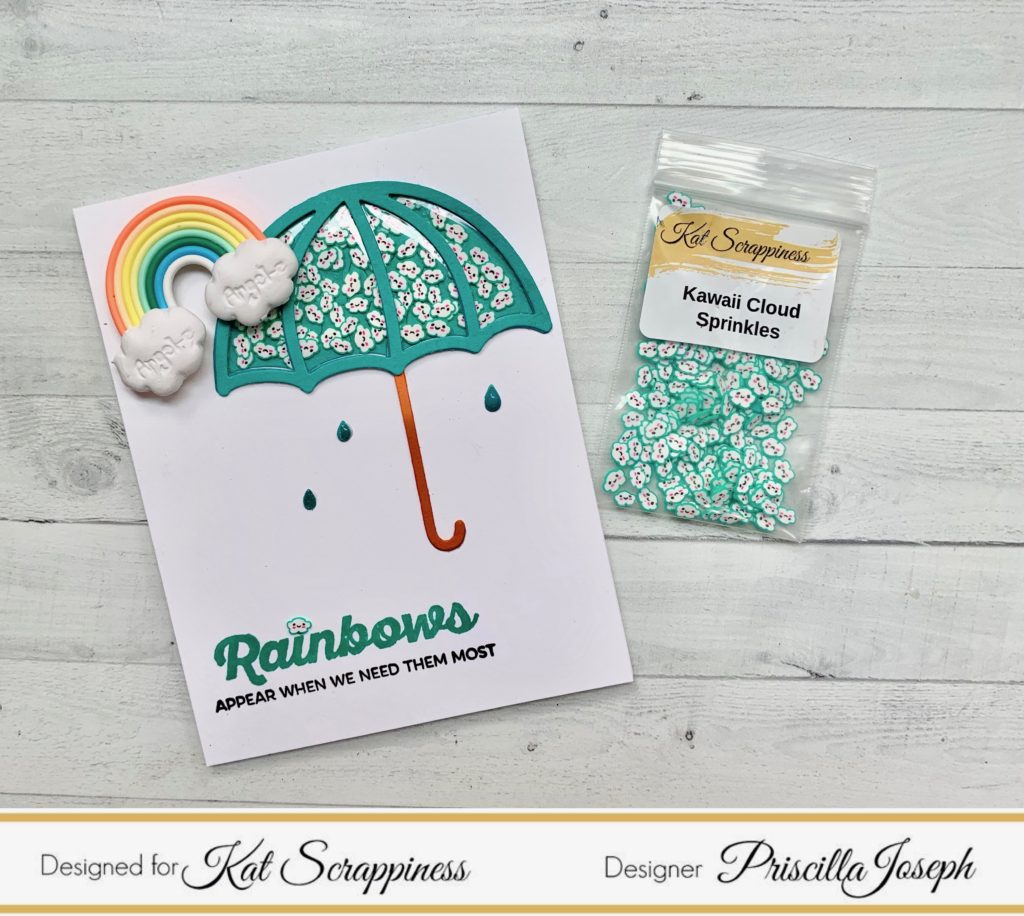
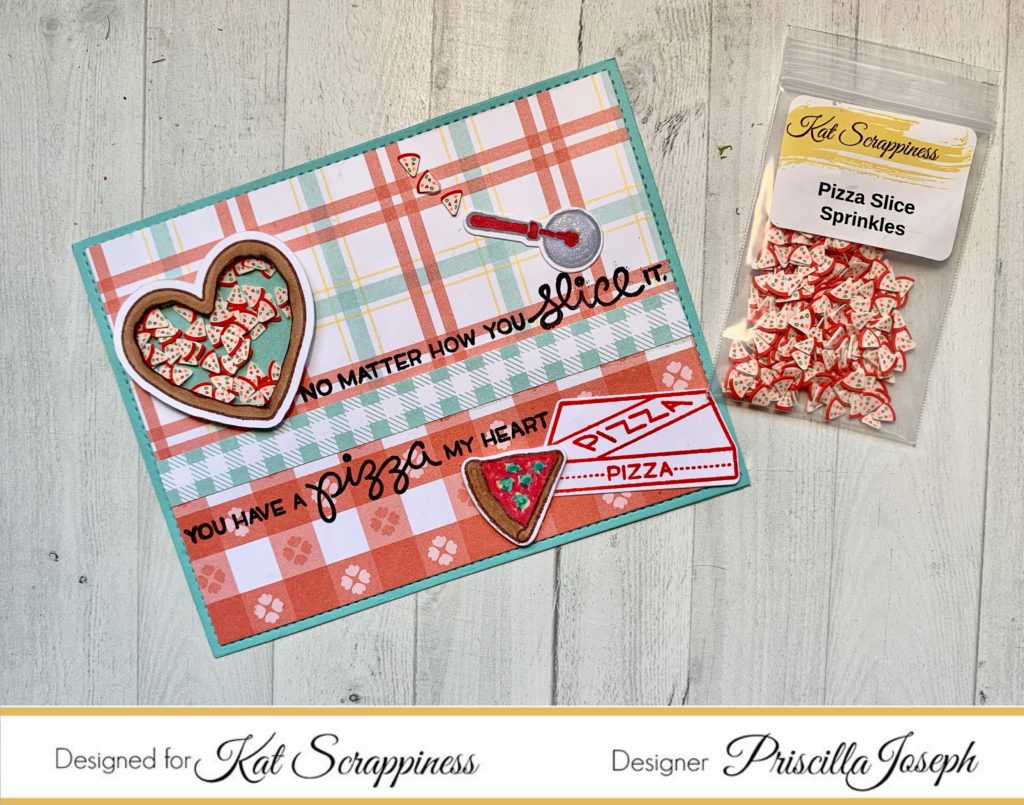
PRISCILLA JOSEPH


TINA DORNBAUM

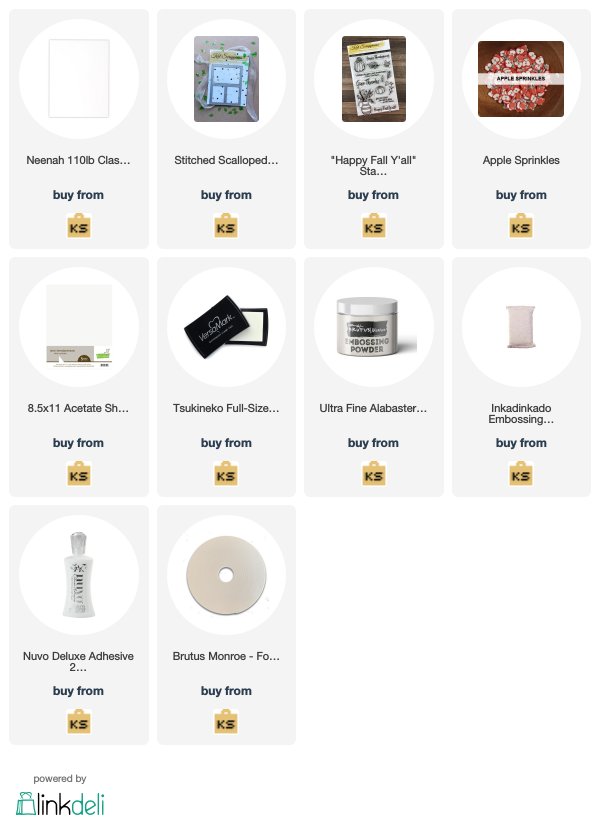
———–SUPPLIES———–