Hello, it’s Lisa from
Oh So Cute By Lisa here with you on the KS blog and today I have a fun card to share with you using some various
Kat Scrappiness dies to make this beautiful one layer card.
All the credit for my card idea goes to a video I saw recently by Cathy Zielske where she did this technique and I wanted to recreate it with some KS dies today.
Have you ever used masking paper? If not you really should give it a try! It’s a lot of fun and you can get some really cool effects with it. Essentially it masks off a part of your paper so you can make a design within a certain shape. Another use is to mask off stamped images so you can ink blend a background around them and maintain a one layer card.
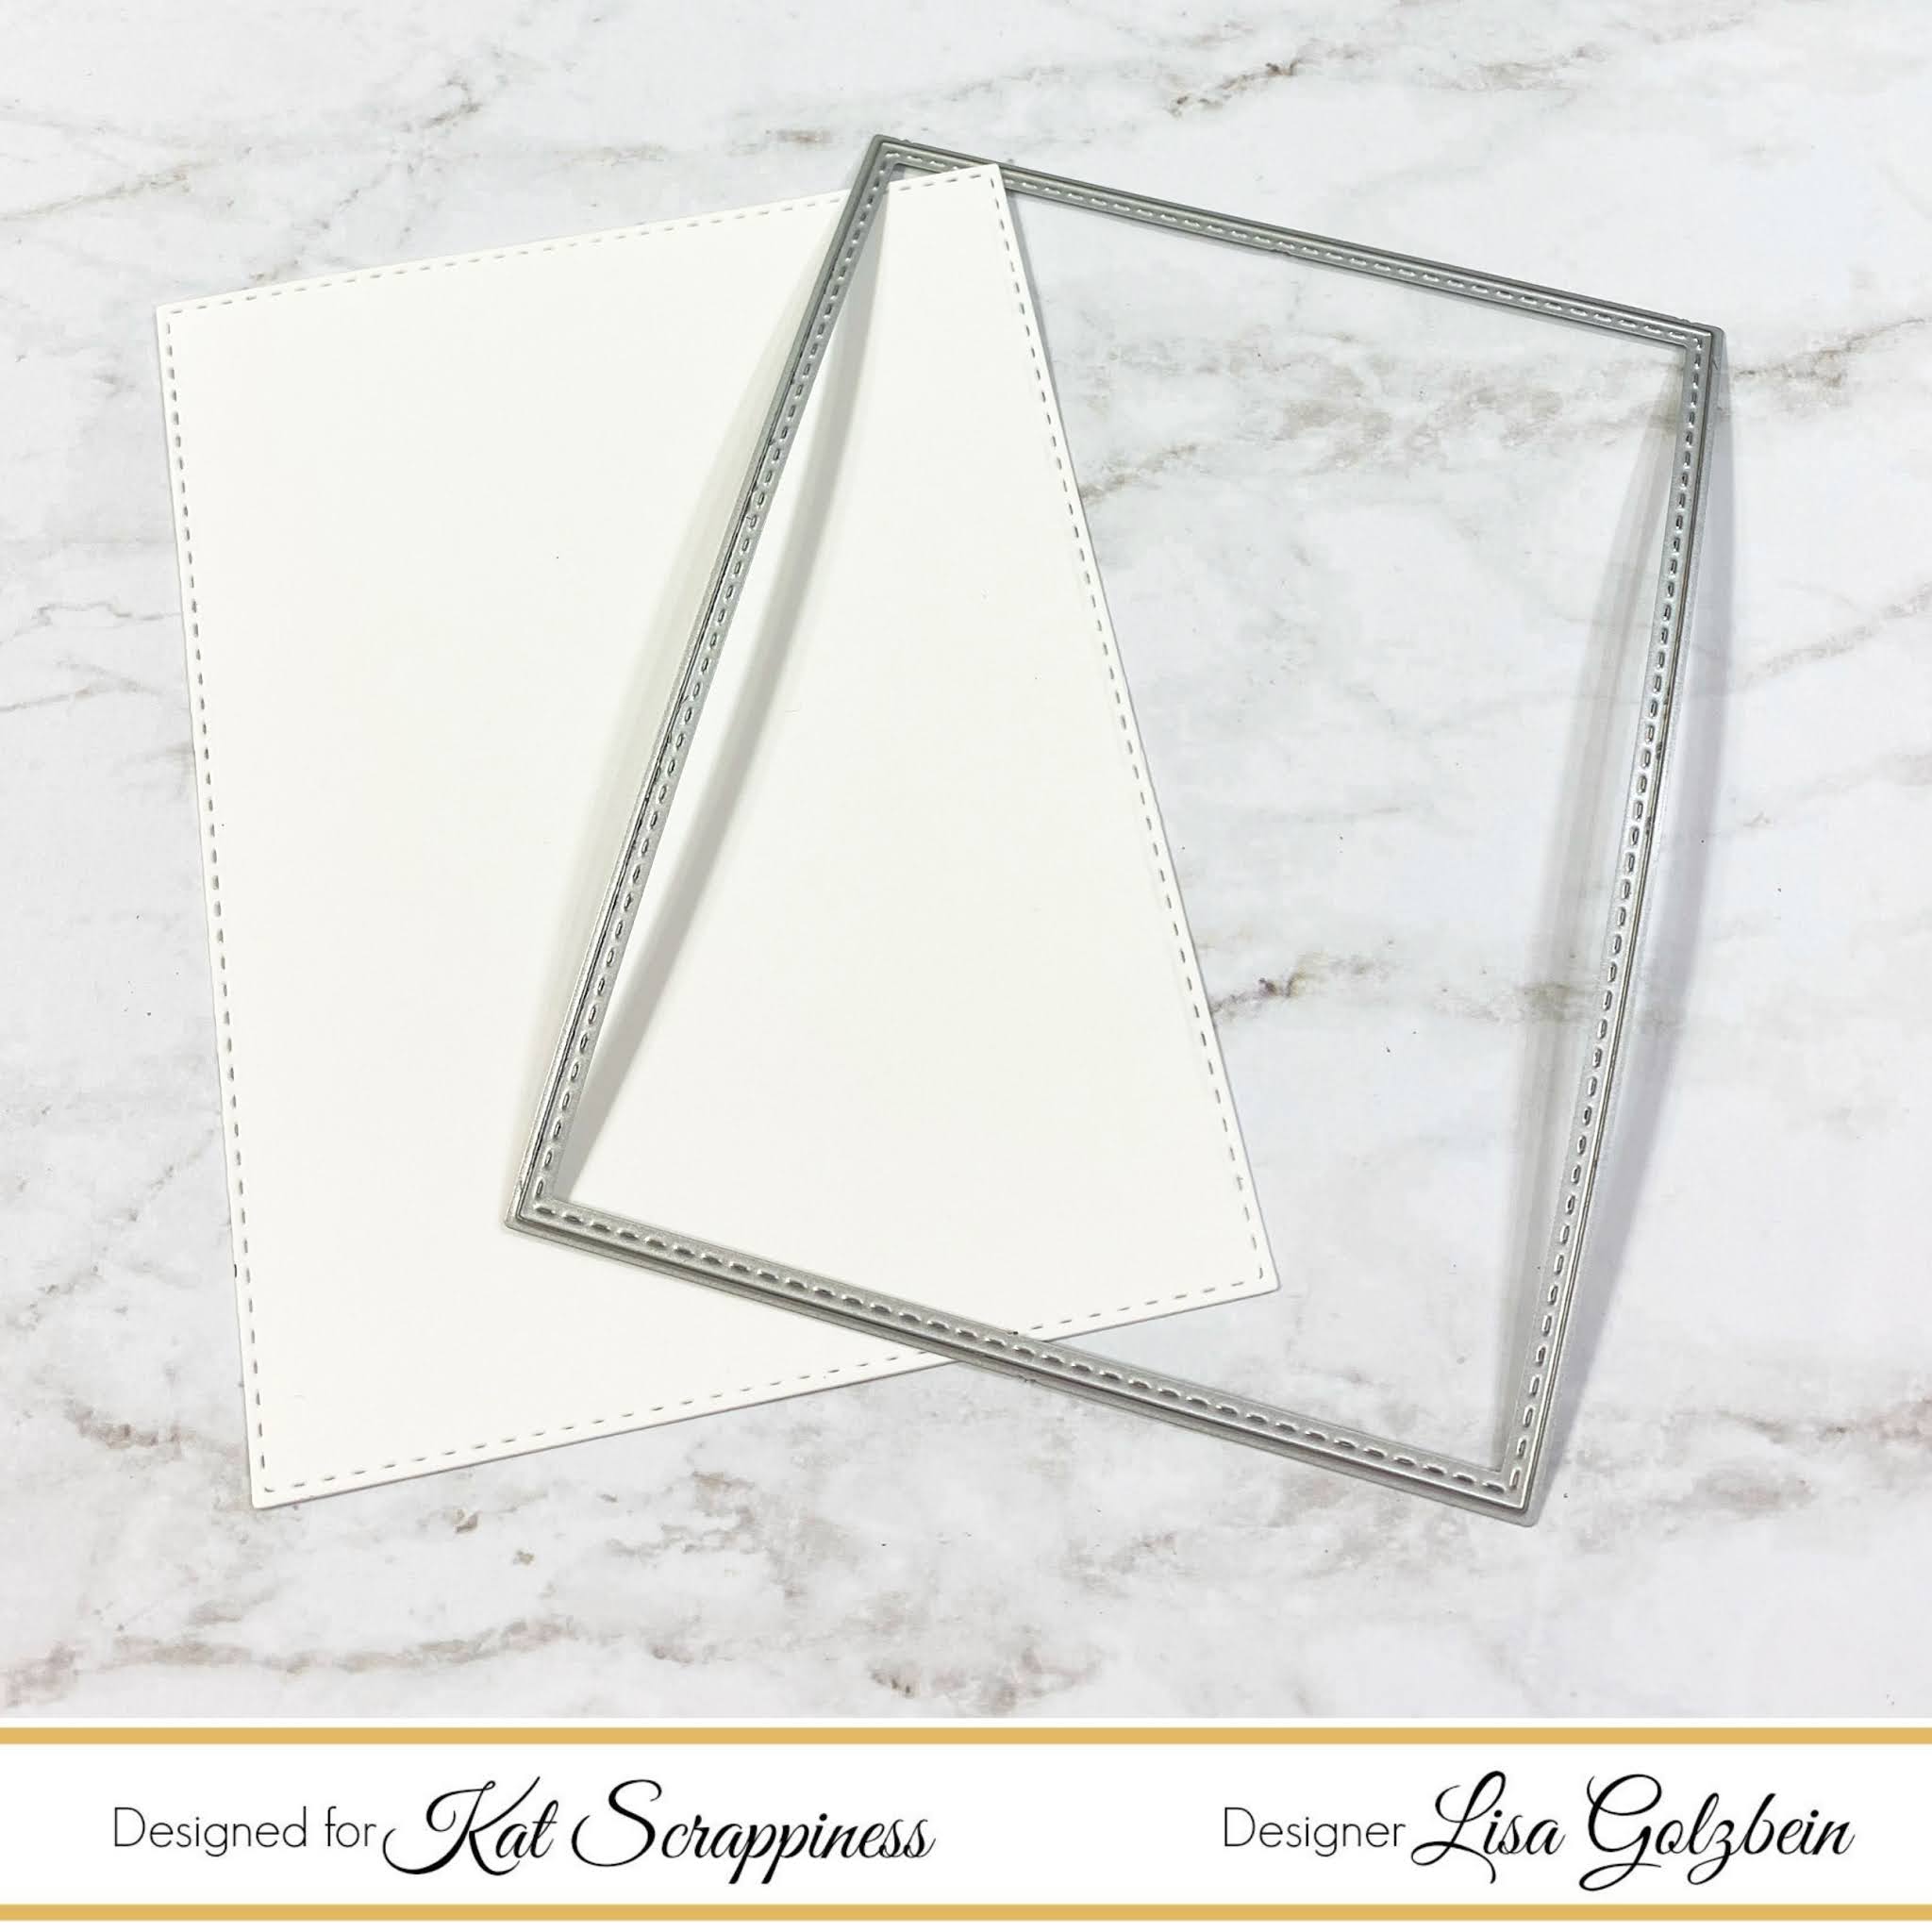
For today’s card I will be masking off my card panel using a heart shape opening so that my design will have a heart shape when I pull up the masking paper.
Here’s the process:
Next I cut out a piece of
masking paper that was just slightly larger than my panel and then I cut a heart out of the center of it using one of the hearts from the
Layering Hearts die set. Once the heart was cut from the center of the masking paper I laid the paper over the card stock panel so I could start my stamping.
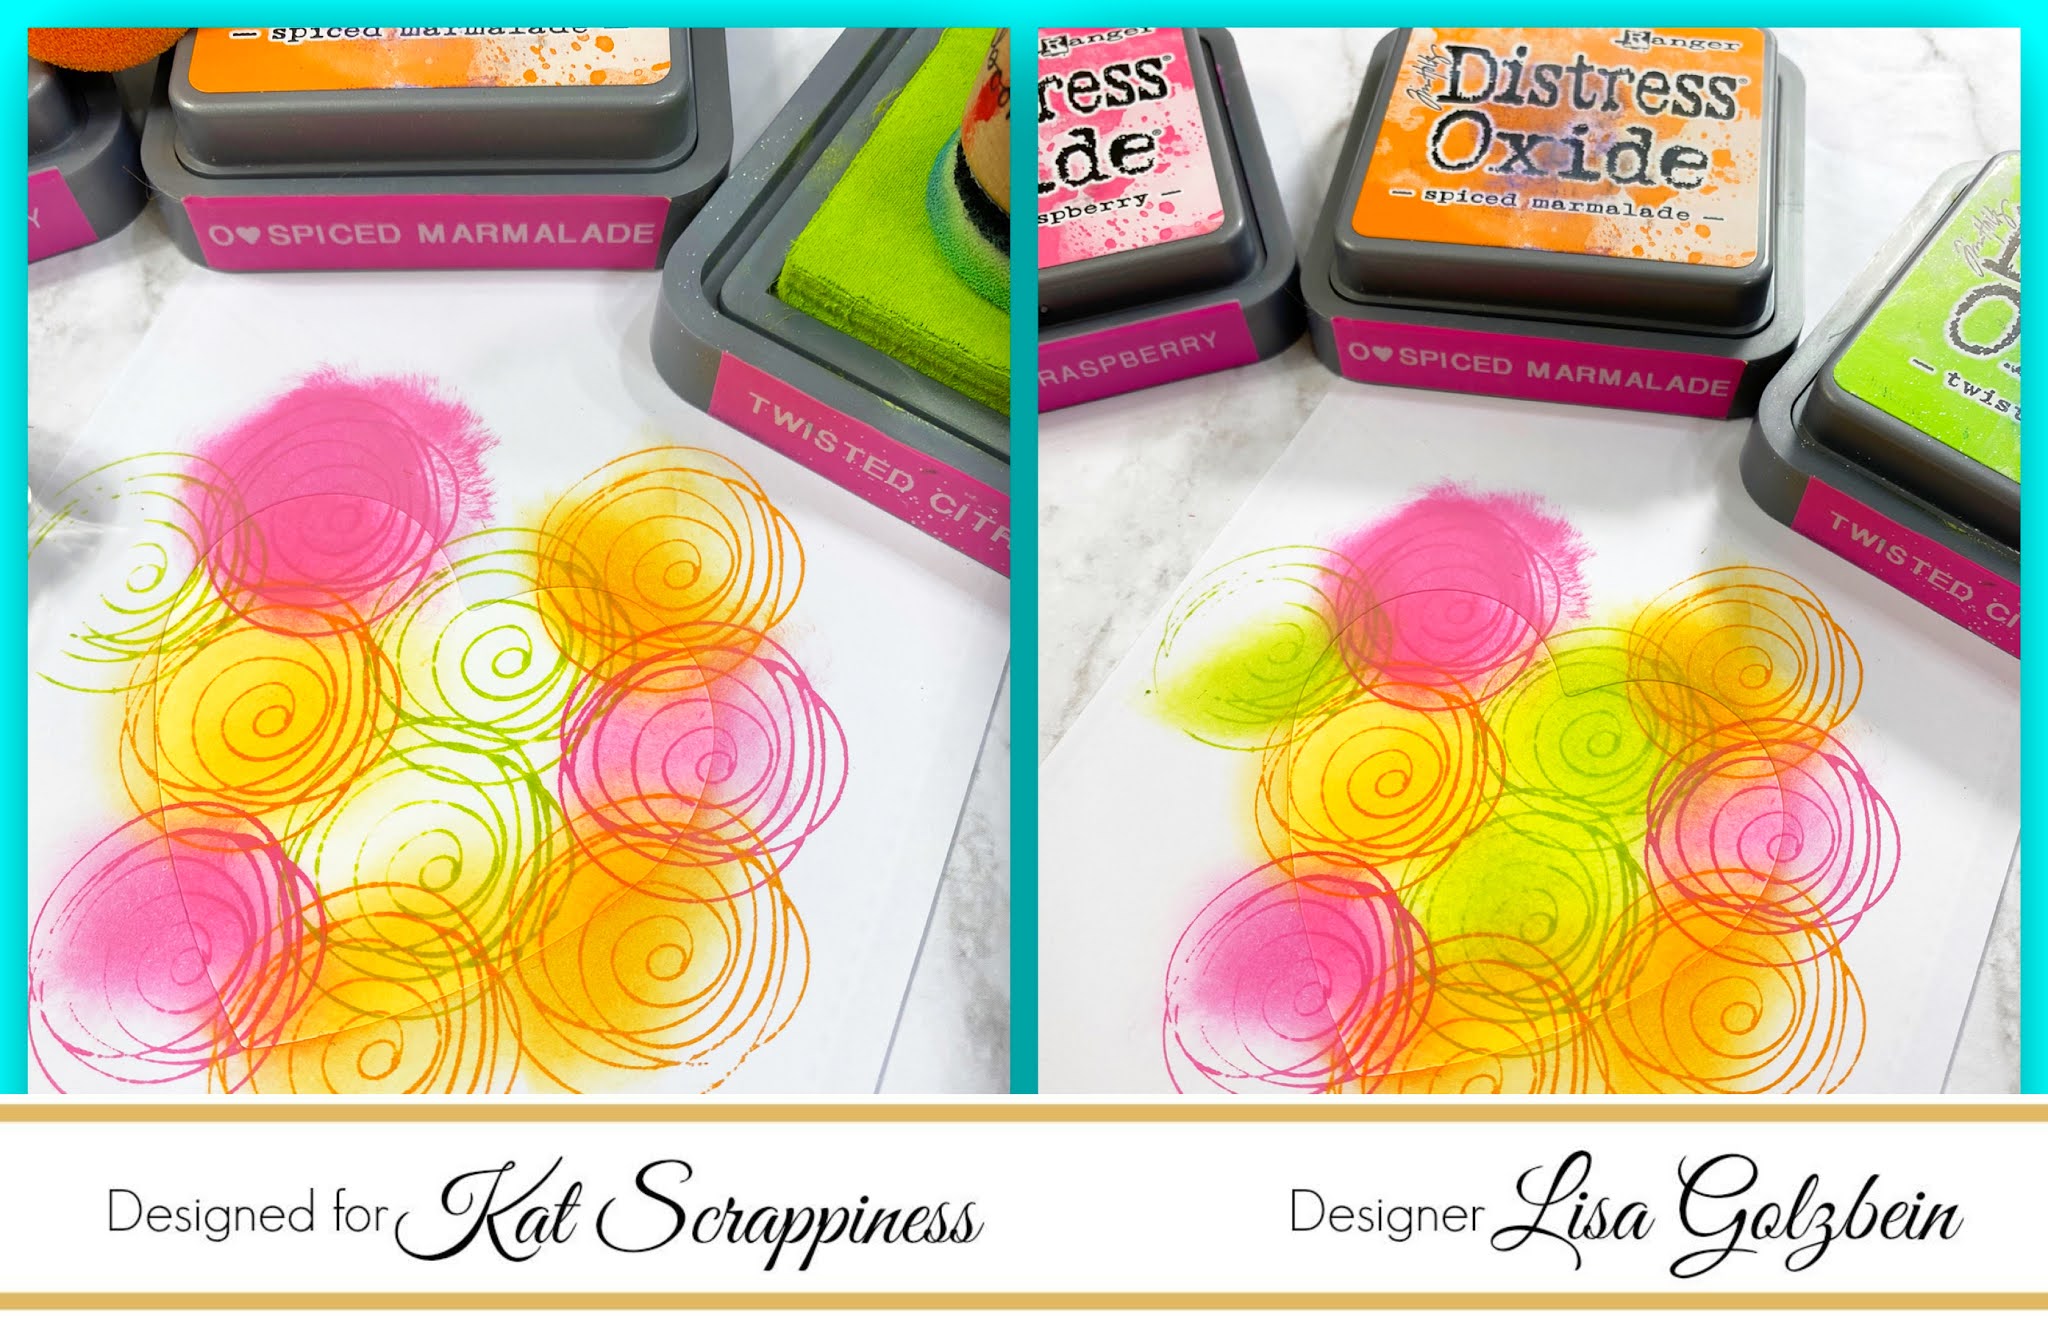
I chose a simple stamp that resembled a flower and I used 3 different distress oxide inks to stamp the flowers in the heart making sure to overlap the edges of the heart and fill it up completely. Once I stamped all of the flowers in all of the colors, I went back over each of them and did some basic ink blending in the same exact colors.
Once the stamping and ink blending were done it was time for the big reveal!
I made a very short video to show you how it looked when I pulled the masking paper off.
[youtube https://www.youtube.com/watch?v=7kyndMdYMcs]
I could watch that video over and over again, it’s so satisfying!
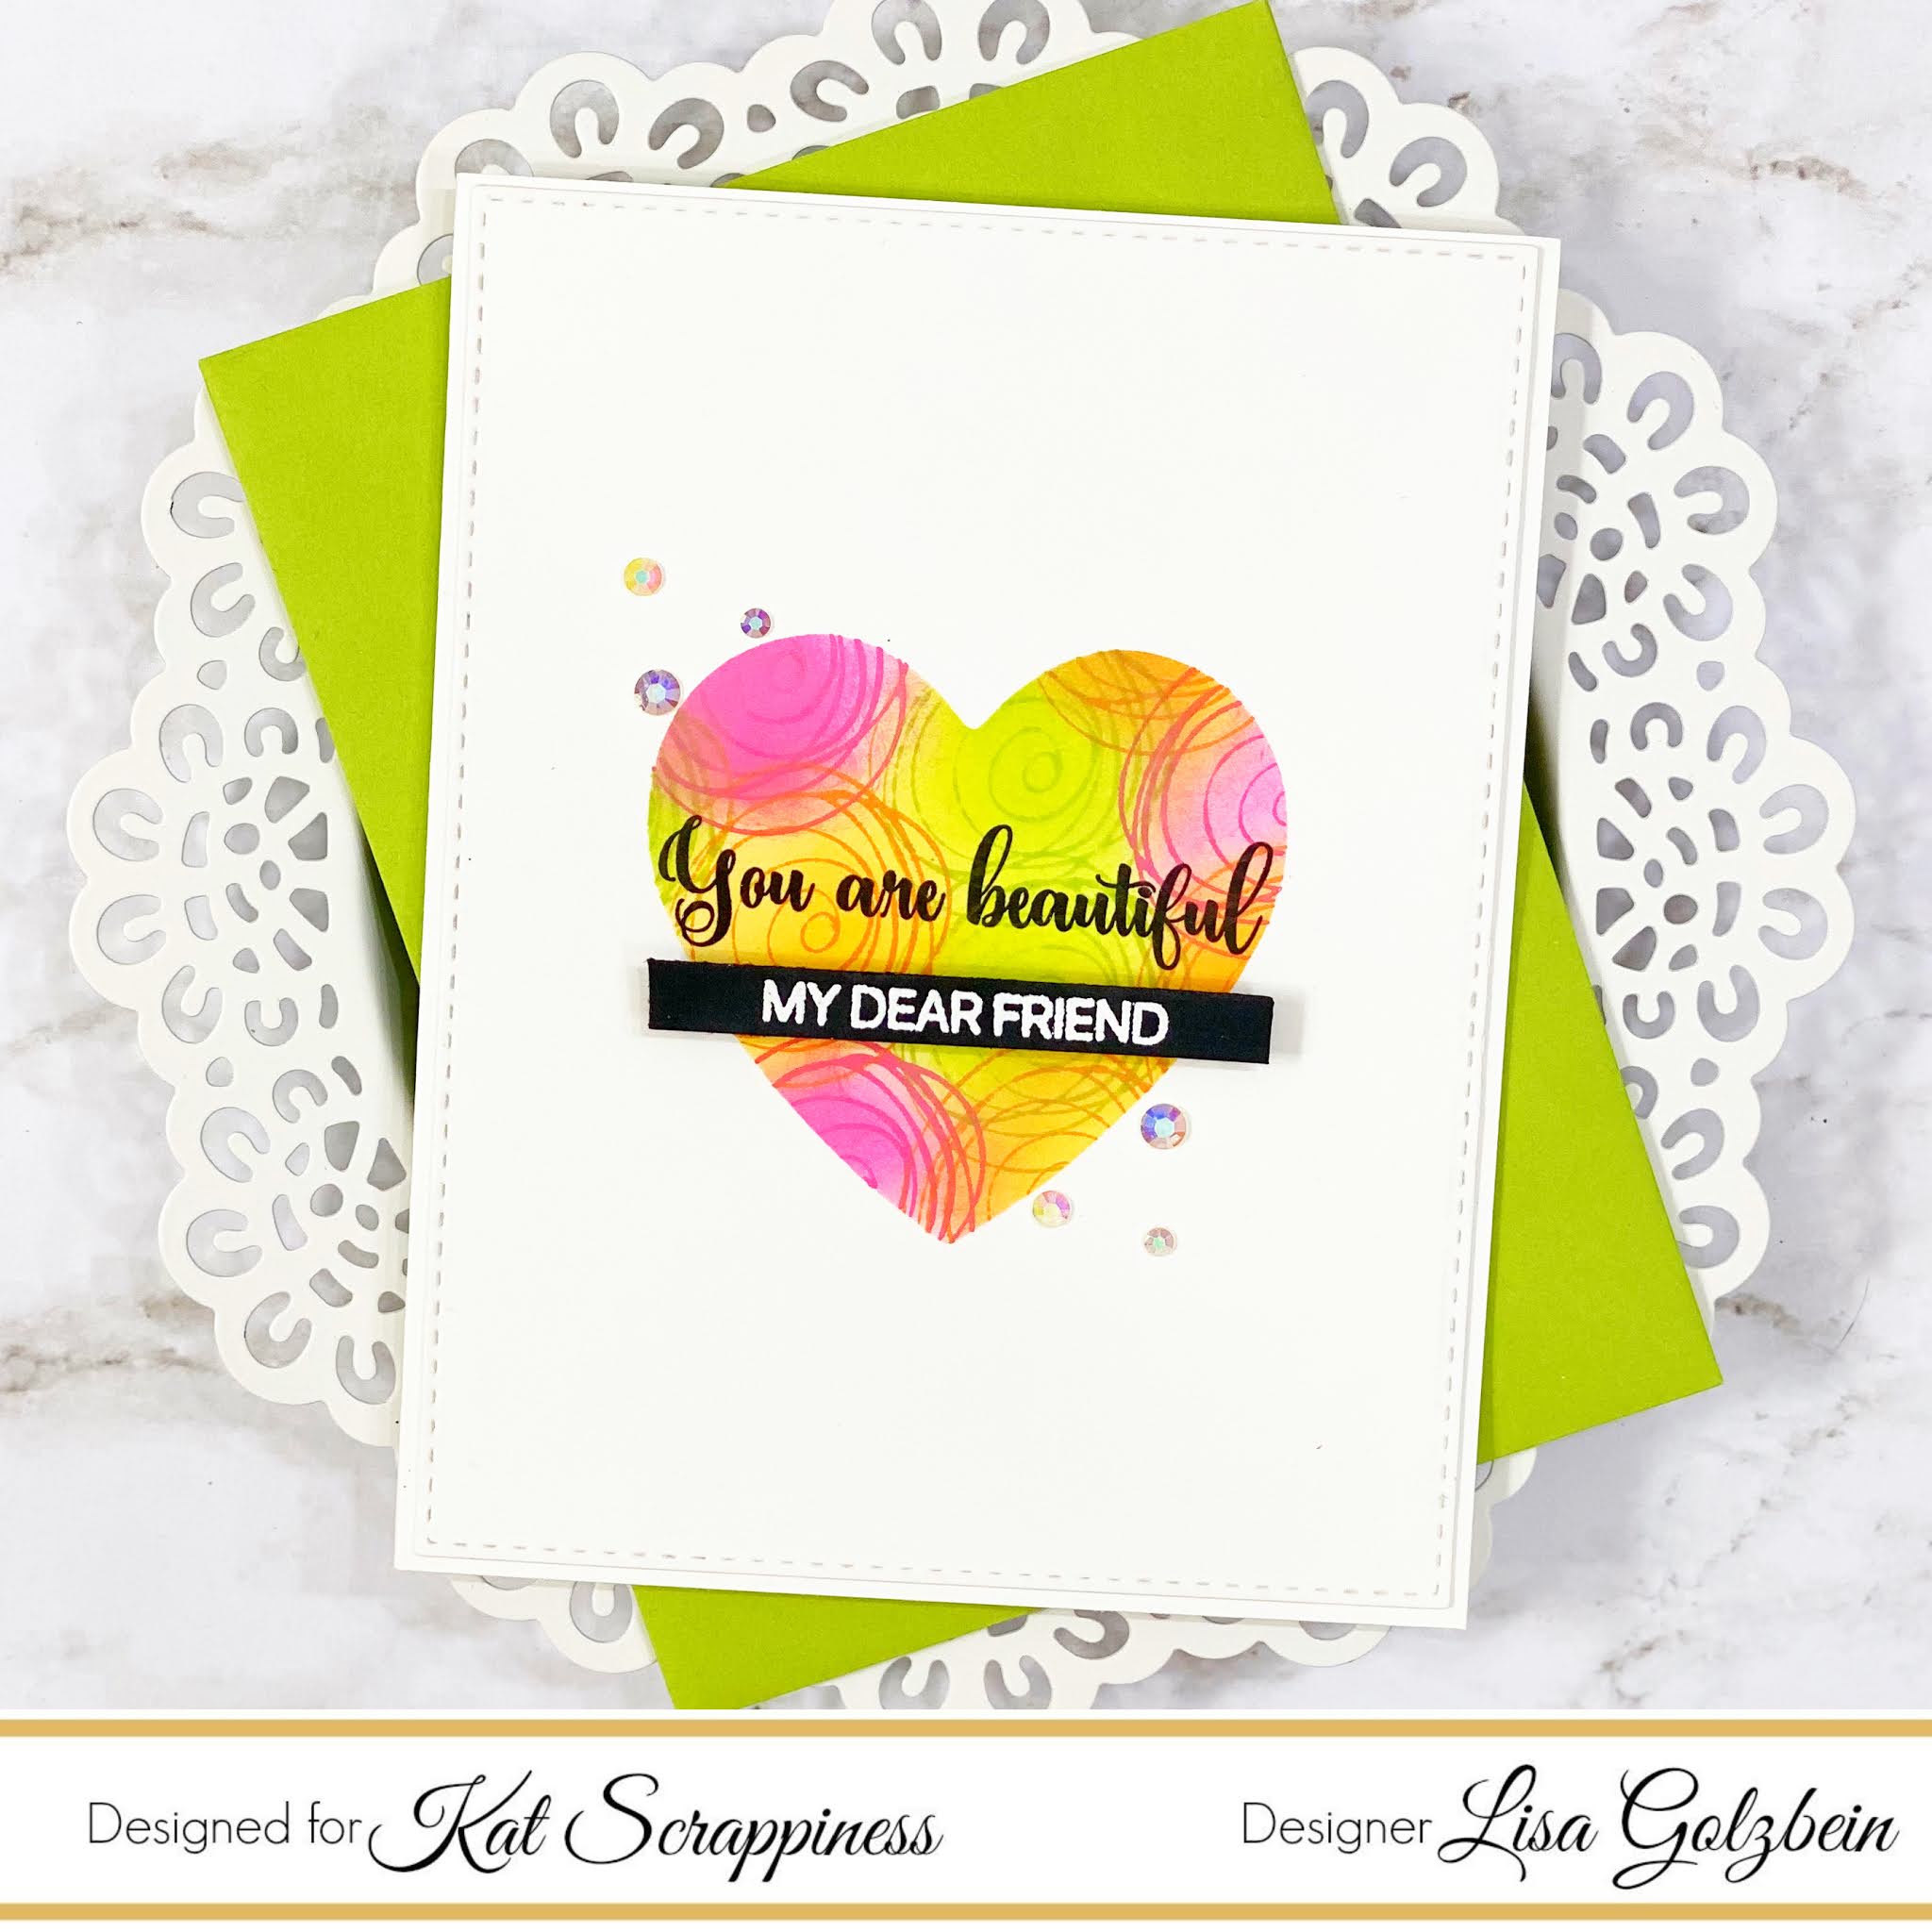
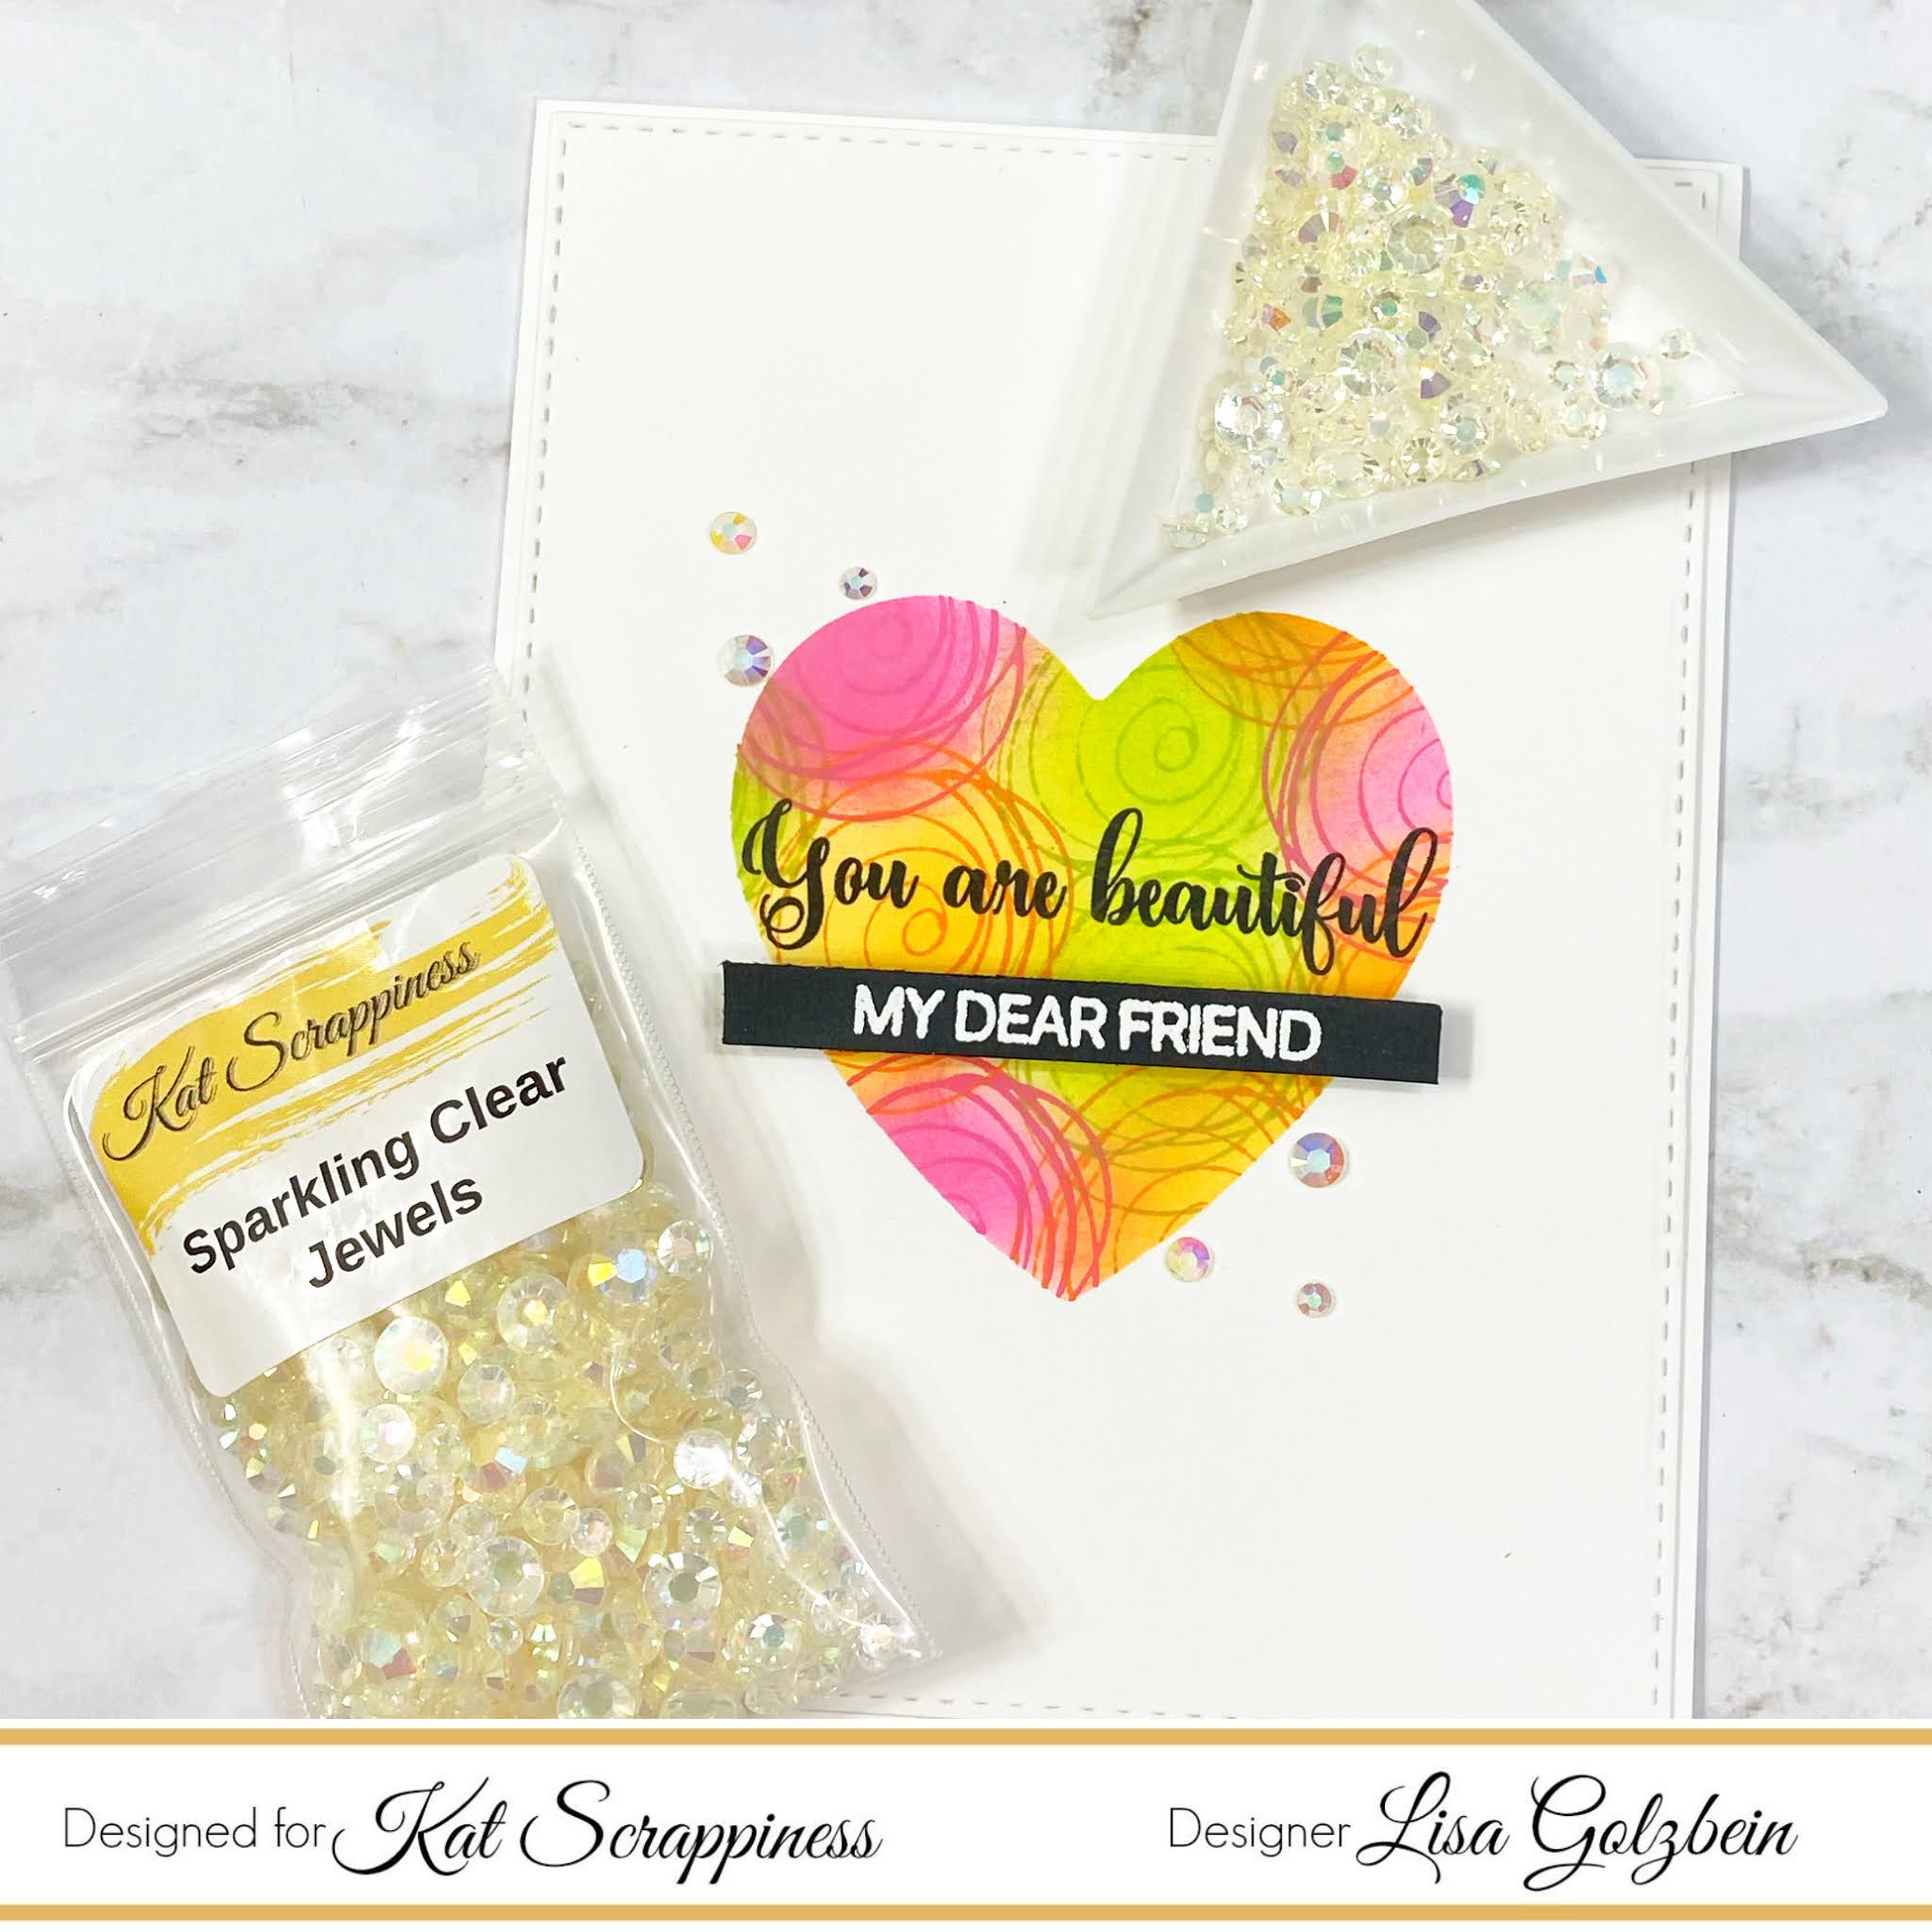
Once the heart was revealed it was time to decorate the rest of the card. I used the
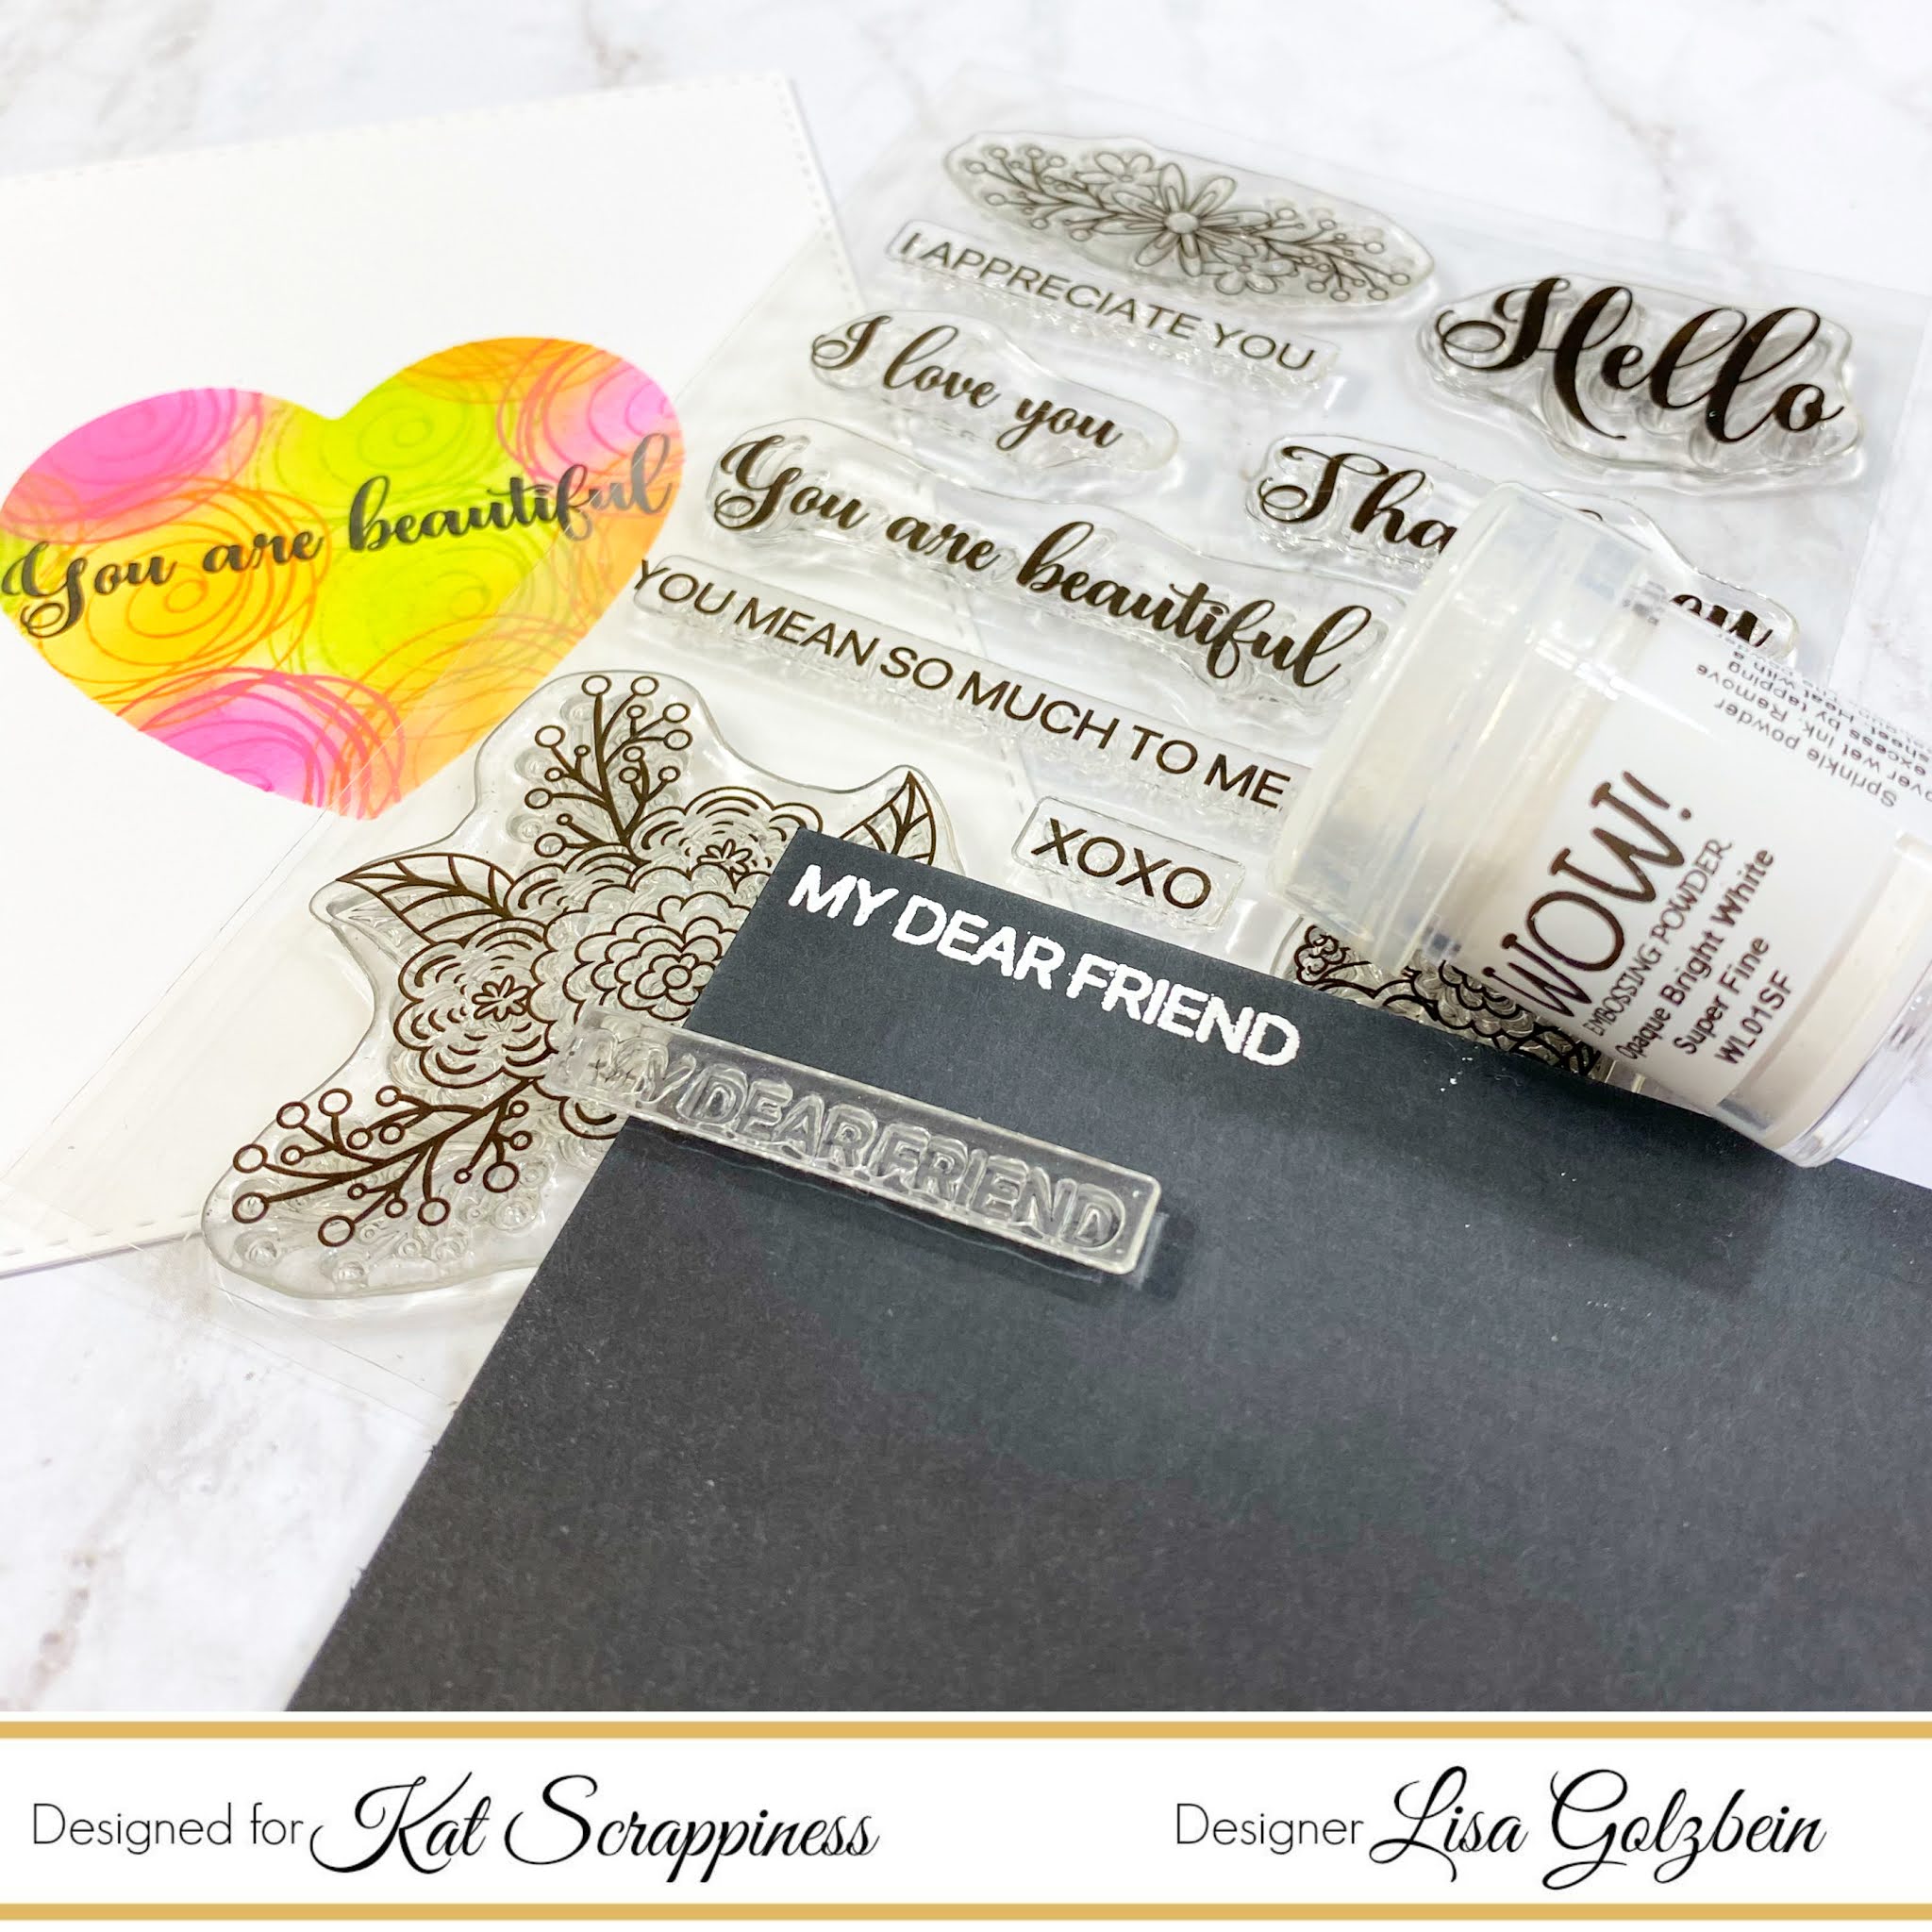
Friendship Greetings stamp set for the sentiment. In the center of the heart I stamped the “You are Beautiful” sentiment with black ink and I stamped the second sentiment on black card stock and embossed it with
WOW white embossing powder and popped it up on foam tape under the main sentiment.
And of course I cannot leave well enough alone and I just have to add jewels to all my cards!
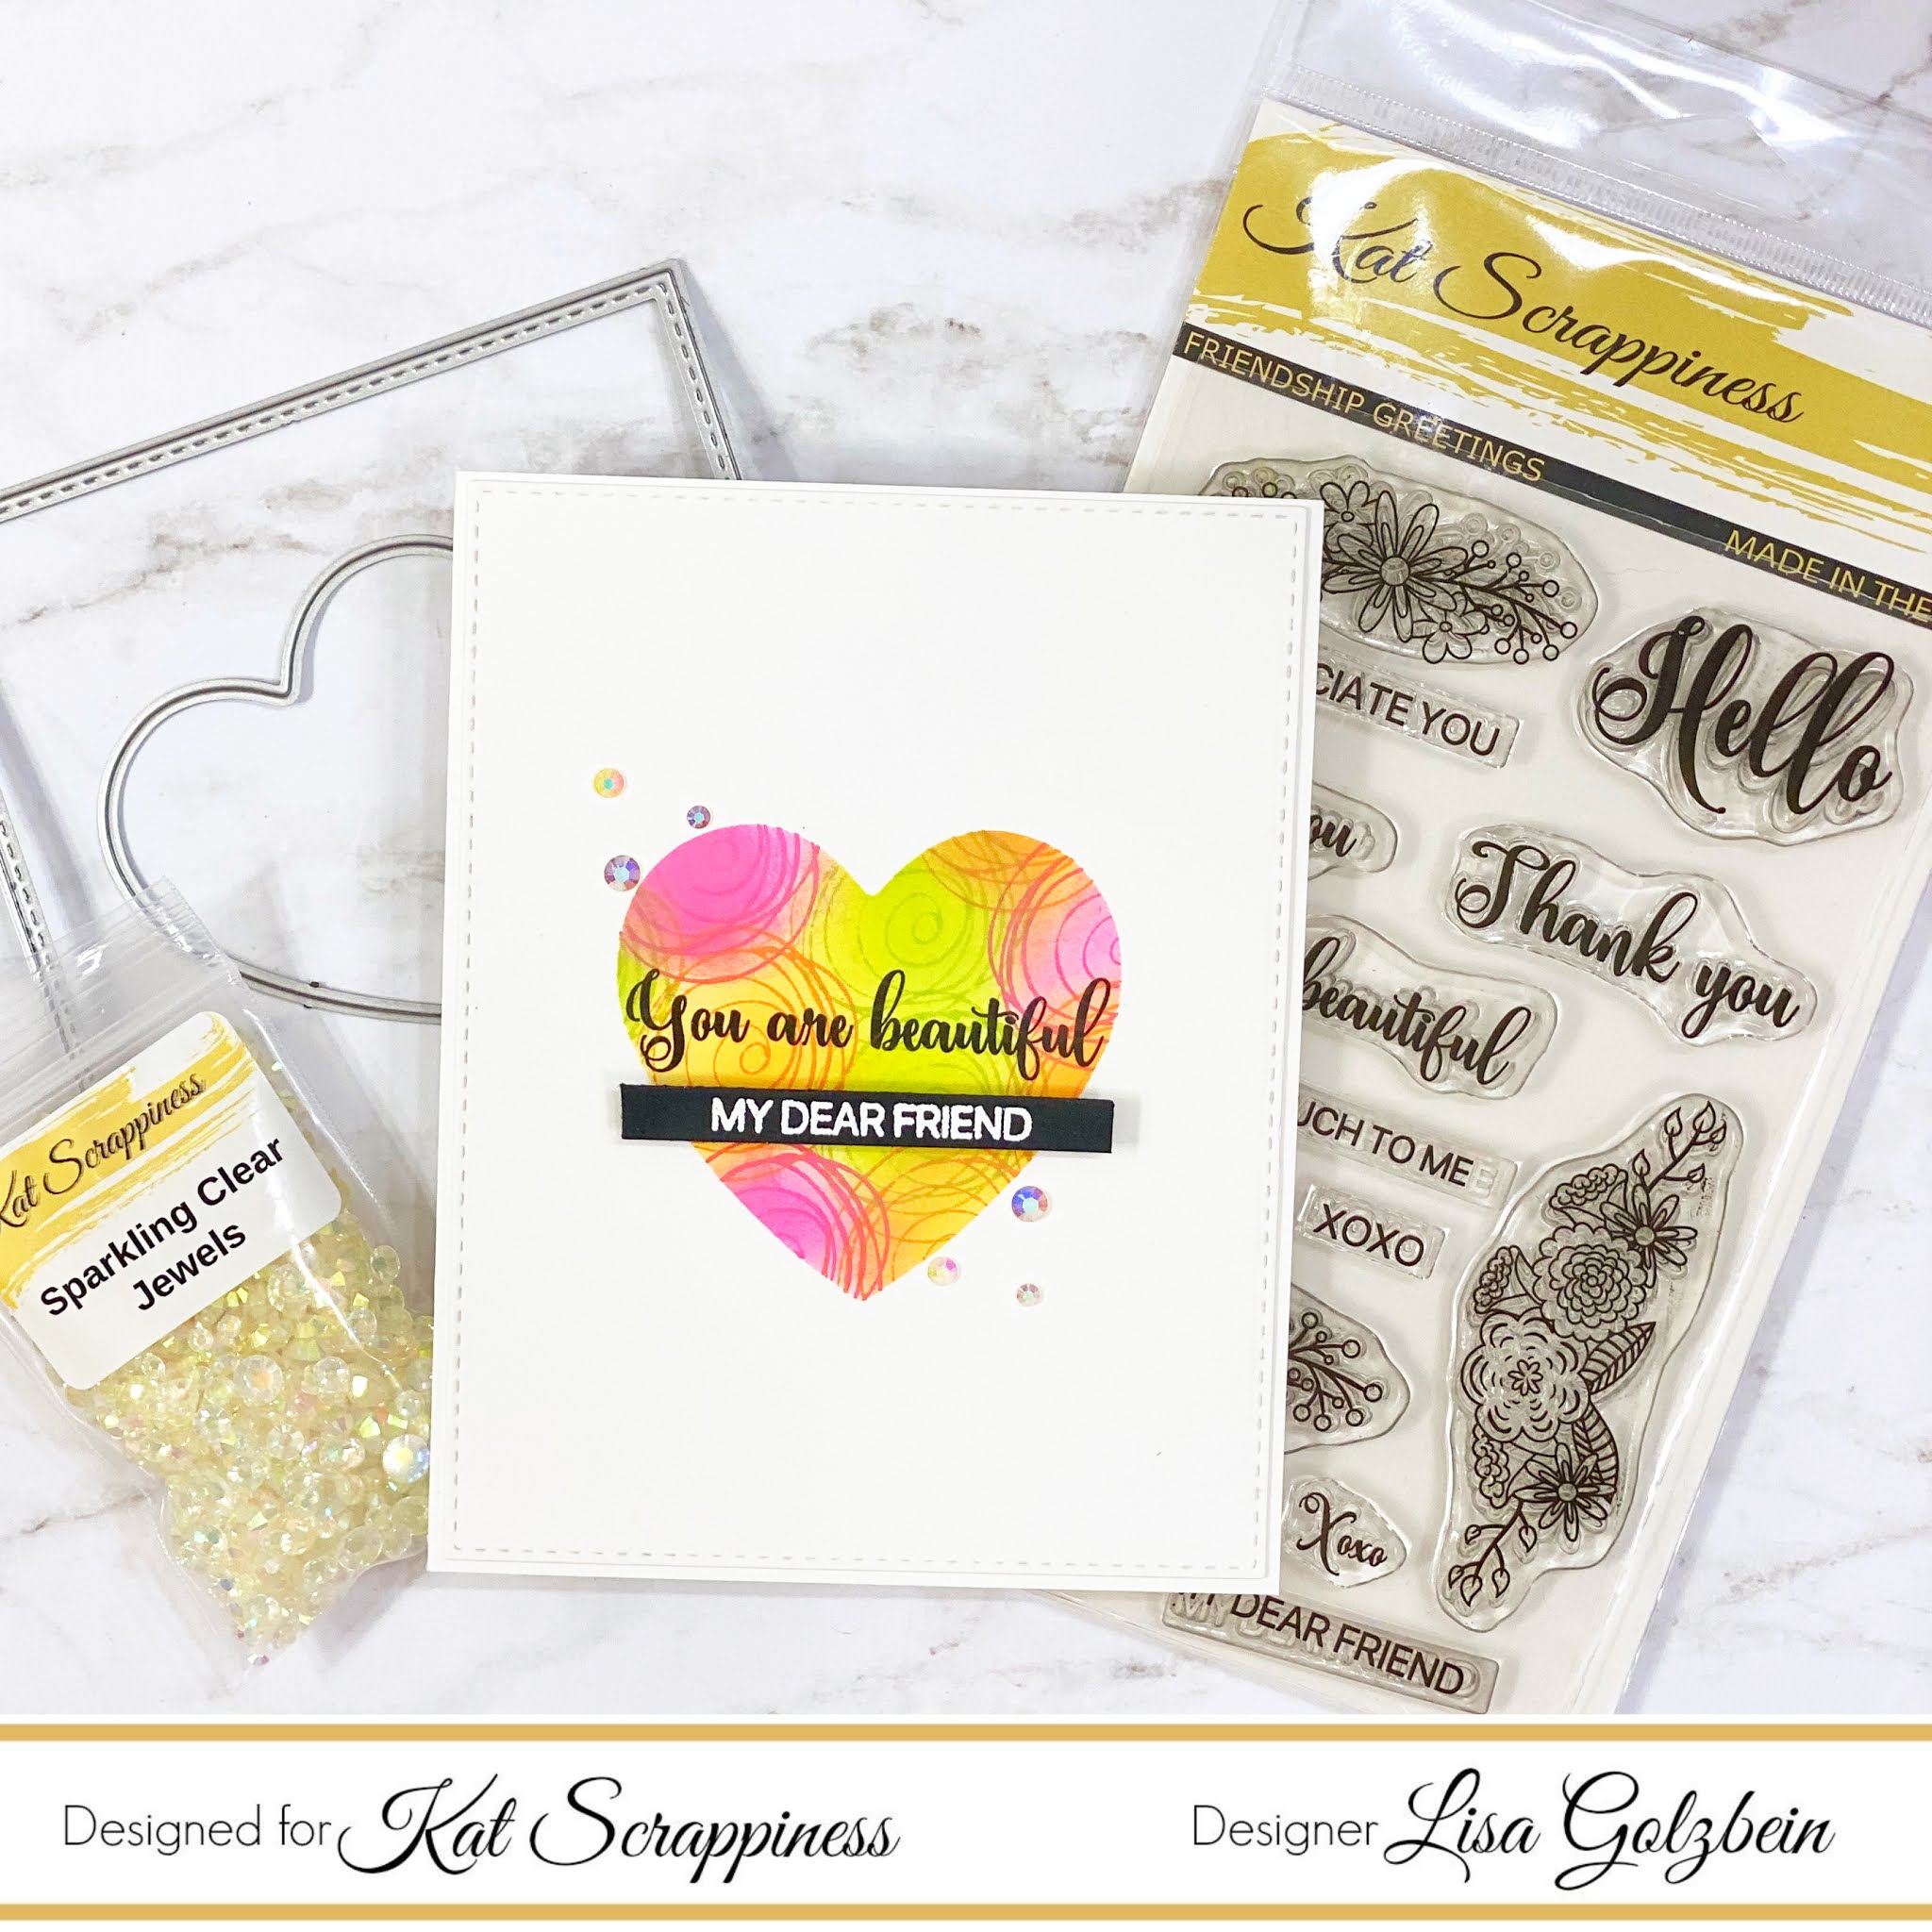
Here is one more look at my card with all of the
Kat Scrappiness dies and stamps pictured.
I really had fun making this card and if you haven’t tried masking paper on your cards I highly recommend it. There are multiple videos on YouTube showing the various techniques you can do.
Thank you so much for joining me today, I’m so glad you stopped by to check out my latest card and I hope you’ll check out all the fun stamps and dies over at Kat Scrappiness!
Don’t forget to follow
Kat Scrappiness on all
social media platforms to be alerted to new releases, sales and giveaways!
Have a great day, I already am!