I’d like to introduce you to the Quokka!
The world’s happiest animal!
Isn’t that the cutest face you’ve ever seen?

Hi, it’s Lisa here from Oh So Cute By Lisa and you might ask
why I’m introducing you to the Quokka? Well, Kat Scrappiness has come out with a new stamp set called Quokka’n Up featuring this adorable marsupial! Marsupial you ask? Yes a marsupial…… here is a brief history lesson on this adorable chipmunk looking creature.
The Quokka is found on some smaller islands off of the coast of Western Australia and is
the only land mammal on Rattnest Island. They are marsupials which means that they have a pouch that their baby Joey stays in. Just like the Kangaroo! They are herbivores and they eat grass and leaves. They live for an average of 10 years.
I’d like to thank my son Matthew for researching this adorable little guy for me. I had never heard of a Quokka up until now but Matthew knew all about them. He’s a huge animal buff and he was more than happy to provide me with some interesting facts that I’d thought I’d pass along to you.
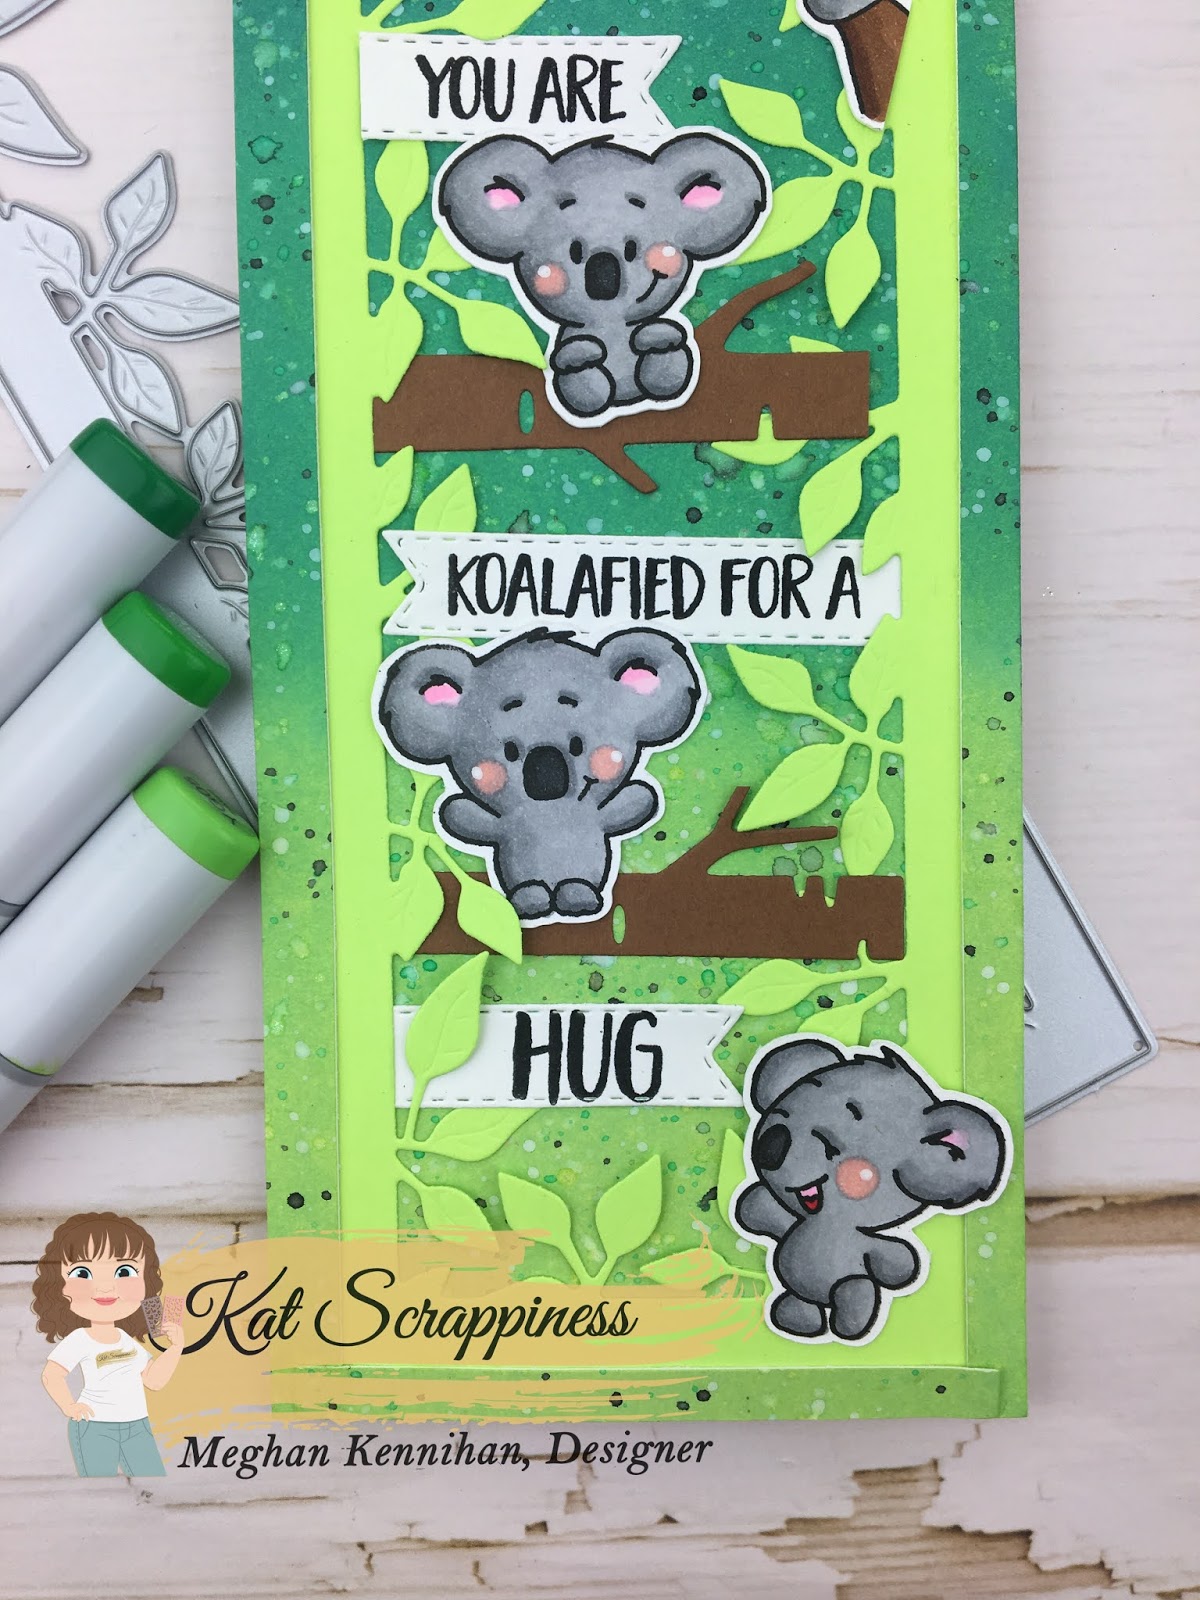
Here is the adorable new stamp set from Kat Scrappiness appropriately called Quokka’n Up!

Here are a few cards I made using this cute new stamp set with this selfie loving cutie!
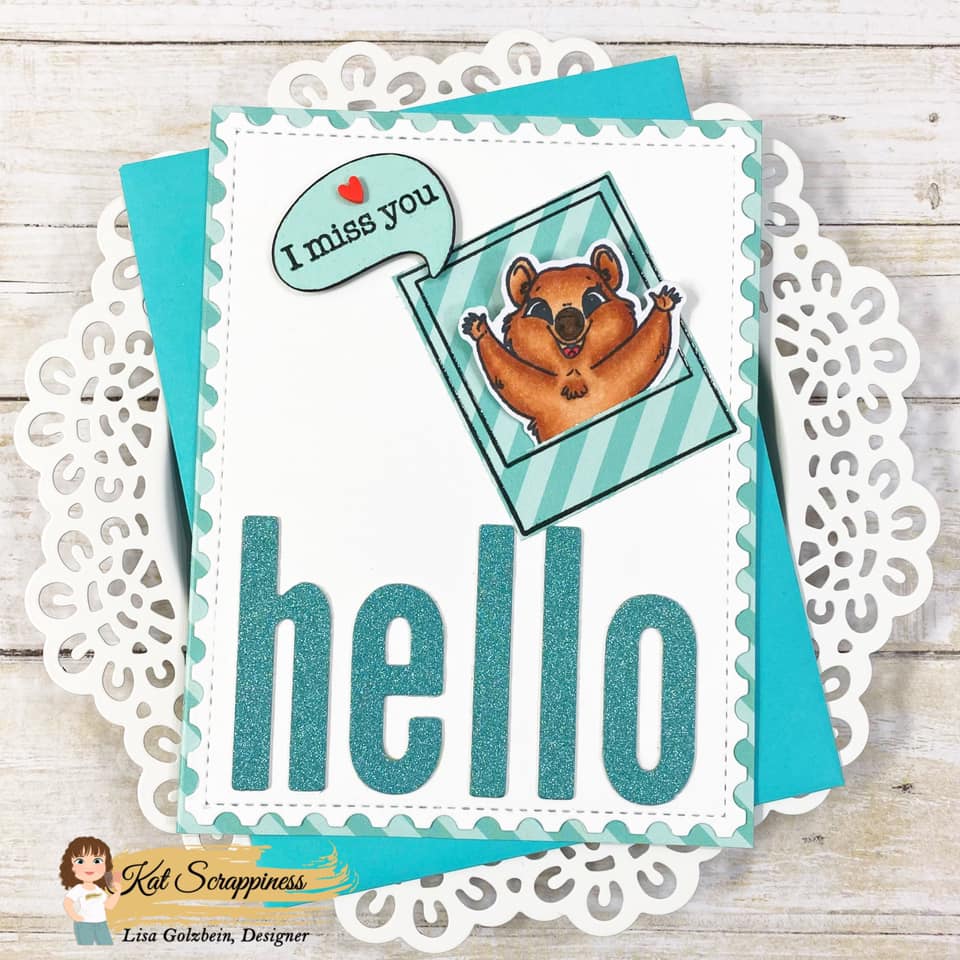
This card also uses the Stitched Postage Edge Rectangle dies and the Condensed Lowercase Alpha dies.
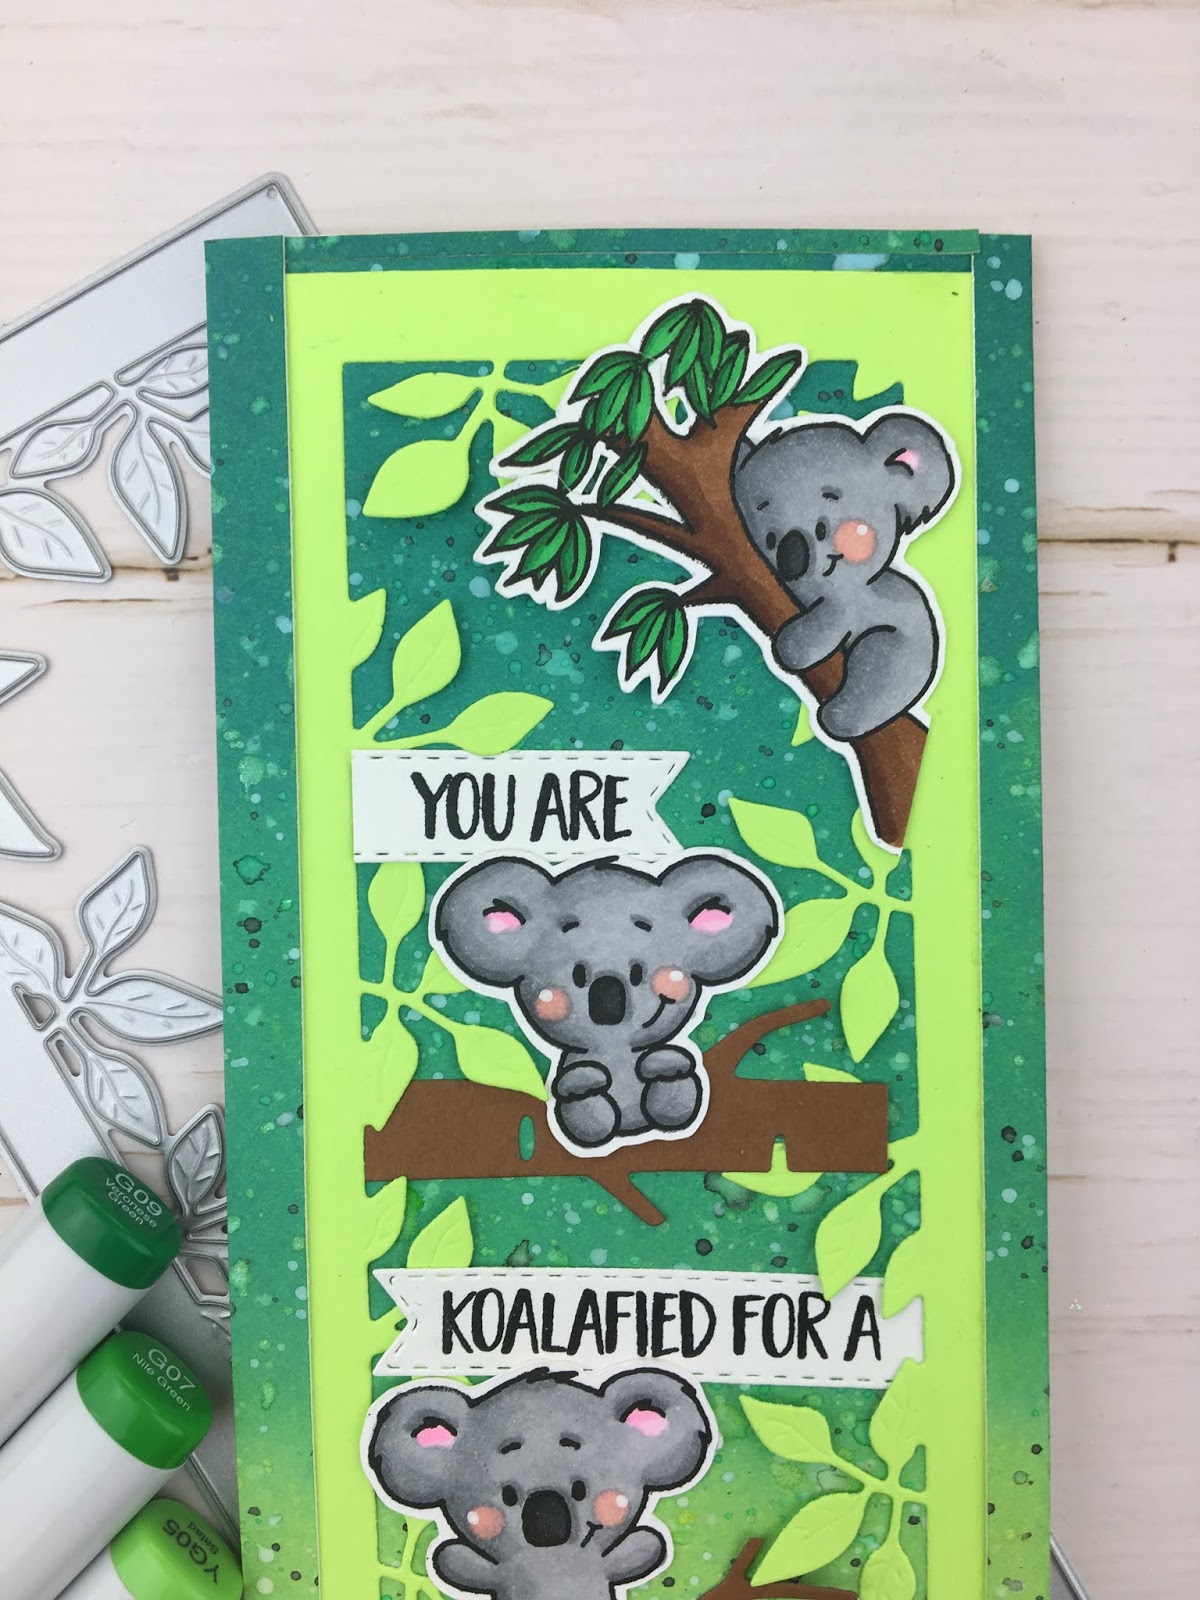
My second card is a slimline card with a bright happy scene and a Quokka couple!
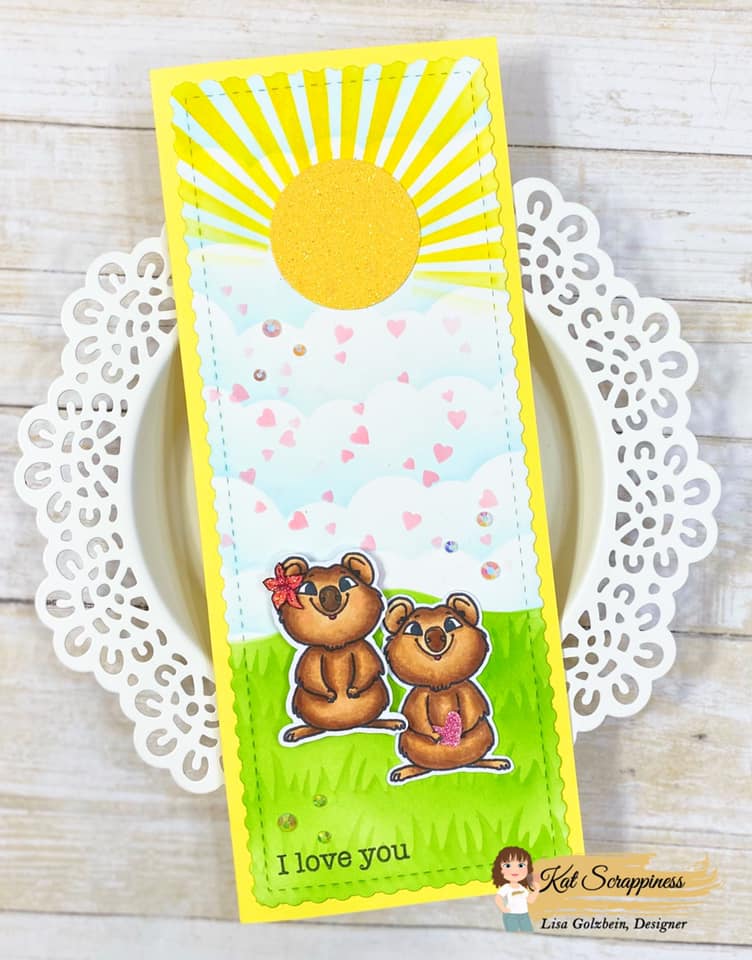
Aren’t they just adorable together! This card is also showcasing the brand new slimline dies available now at Kat Scrappiness called the Fancy Scalloped Nesting dies. I also added some fun bling on this card with the Clear Sparkling Jewels.
Thanks for joining me today and I hope you learned a little bit about this cute little animal from Australia!
Check out Kat Scrappiness for all of your papercrafting needs plus all of the sequins, sprinkles and embellishments you’ll ever need.
Don’t forget to follow
Kat Scrappiness on all
social media platforms to be alerted to new releases, sales and giveaways!
Have a great day, I already am!
🐿 Lisa 🐿