Follow:
    Giveaways, New Releases

    DECEMBER INSPIRATION POST WINNERS!!!

    So sorry it took a few extra days. We are pleased to announce the WINNERS randomly picked through Random.Org for the December Release Inspiration Post.  Thank you all for taking the time to leave a comment.   We love getting your feedback.

    If you didn’t win this time, come back next month for our New Release and we will have a giveaway again!  Please stay tuned for more inspiration from the design team.

    Day 1

    Day 2


    Please claim your prize within 48 hours and send an email indicating what you’ve won to: winners@katscrappiness.com


    Have a wonderful day!

    Design Team Projects

    My 2020 Favorites

    Happy Holidays and Merry Christmas Eve everyone!  Today I thought I would share my favorite products released this year from Kat Scrappiness.

    My favorite product this year was the Thank You with Shadow die.  I love the font and size of this die set.  I created several cards using this die set.


    Next up is the Gnome stamps and coordinating dies that were released throughout the year.  There are Summer Gnomes with an Add on set, Thanksgiving Gnomes, and Christmas Gnomes.


    Next up is the Slimline dies and coordinating slimline products that were released throughout the year.  There are nesting dies, border dies, frame dies, envelopes, acetate sheets, and patterned paper.  Here are just a few of the slimline cards I created this year.

    I have a couple of honorable mentions too.  These two dies were released early this year (which seems like 3 years ago – pre-pandemic!) – Floral Heart die and Large Filigree Egg.


    Thanks for stopping by – Happy Holidays and Happy New Year!  Don’t forget there is a sale going on right now in the shop!

    Design Team Projects

    Winter Star Shaker Cards

    Hi Crafty Friends,
    Christmas is just DAYS away! I hope you have all your gifts and cards ready to go and will be spending time with loved ones! I am sharing a few “WINTER” themed shaker cards that can be used for inspiration for LAST minute Christmas cards or tags OR thank you cards for Christmas gifts. The Kat Scrappiness Star Ornament die is so versatile for any holiday or occasion!

    Make Crafty Friends Q & A:
    Q: Do you send out Thank Yous for your Christmas gifts?
    A: Me? Absolutely, even for the smallest gift!

    Card #1: JOY Eskimo Shaker

    Card #2: Eskimo Kisses Tree

    Please use the links below to grab your goodies! No extra cost to you but GREATLY appreciated by me!

    Don’t forget to subscribe, follow, and comment on my blog for your chance to win my December Prize (see right panel) and for more giveaways and inspiration follow me on Instagram @MadeByMeghanK 

    Supplies:
    Kat Scrappiness Sugar Plum Fairy Slimline Paper Pad
    Kat Scrappiness Christmas Tree Die
    Kat Scrappiness Ornament Shaker Dies
    Kat Scrappiness Sugar Plum Fairies Sequin Mix
    Kat Scrappiness Uppercase Condensed Alphabet
    Sunny Studios Eskimo Kisses Stamp Set

    Design Team Projects

    Festive Wishes

    I Hello,

    Making a fun holiday card using Kat Scrappiness dies and stamps available on the Kat Scrappiness web site. Today’s card is all about the woodland creatures celebrating the season too.

    Started with snow capped mountains using the Mountain Scape slim line die, cut to fit an A-2 card front. Used the Kat Scrappiness Sugar Plum Fairies Slim line paper to make the mountains.

    The forest trees are die cuts from the Kat Scrappiness Crafters Essentials – Winter Die Set. I layered all the bits and pieces to create a cute and whimsical holiday card.

    Other stamps available at the online Kat Scrappiness store. Check out all the great products!


    Design Team Projects

    Christmas Village

    Happy Holidays!!  Well, Christmas is just a few days away and I for one am looking forward to sharing some Christmas Cheer with my family (and maybe a little in a glass, too!)

    My slimline card today reminds me of a Slimline Snow Globe!  I started by using the new Holiday Village Slimline Border Die and blended ink to color the houses and trees and adhering it to a navy blue cardstock background.  To form the shaker, I cut shiny silver cardstock using one of the Tri-Frame Slimline dies and adhered a piece of Slimline Acetate to the back.  I then lined the back edges with 2-side adhesive foam tape and sprinkled in Mirrored Clear Starlight Sequins and Frosty Wonderland Sequins & Sprinkles mix.  To enclose the shaker, I adhered the navy cardstock/village diecut piece.  Before adhering the slimline shaker onto the card base, I layered on a pattern from the Cozy Christmas Slimline Paper Pad to the base.

    To finish, I added the sentiment cutting light aqua cardstock using the Happy Holidays Brush Script Word & Sentiment die.

    Wishing you and yours a very Merry Christmas and a happy, healthy New Year!!


    https://linkdeli.com/widget.js?id=f5e8378456858c916708

    Design Team Projects

    Winter Forest Slimline Cards

    Hi Everyone! Priscilla here from Nubble Light Designs. Today I have two slimline cards using the new Kat Scrappiness“Forest for the Trees” slimline die.

    But first a sale! Now thru January 1st in the Kat Scrappiness shop:  All Christmas and Hanukkah products are 15% off with code BYE2020.


    The new Kat Scrappiness“Forest for the Trees” slimline die creates a stitched hillside with wonderful birch trees for hiding critters and birds in, as well as a separate stand-alone frame for the outside portion.

    For my first card, I ran the Forest slimline die through my Big Shot using a deep burgundy card stock and sponged brown distress ink along the edges. I added a gold heat embossed sentiment at the bottom, before adhering it over a gold glitter card stock layer.

    The deer is from the Kat Scrappiness “Crafter’s Essentials- Winter” die collection. See how I dipped his antlers and hoofs into gold embossing powder? Several of Kat‘s “Gold Jewels” were the finishing touch.


    For my second  card, I followed the same steps, but used a bright red card stock for the forest and a brown layer behind that I had stenciled with a slimline falling snow stencil and gold embossing paste.


    Thank you so much for stopping by! Don’t forget to check out what’s NEW in Kat’s Shop, and follow my blog and Instagram for more “Kat Scrappiness Amazingness”!

    Stay Safe . . .

    Priscilla 🌲🌲

    The supplies I used are listed and linked below.

    SUPPLIES

    Design Team Projects

    Star Ornament Shaker Slimline Card

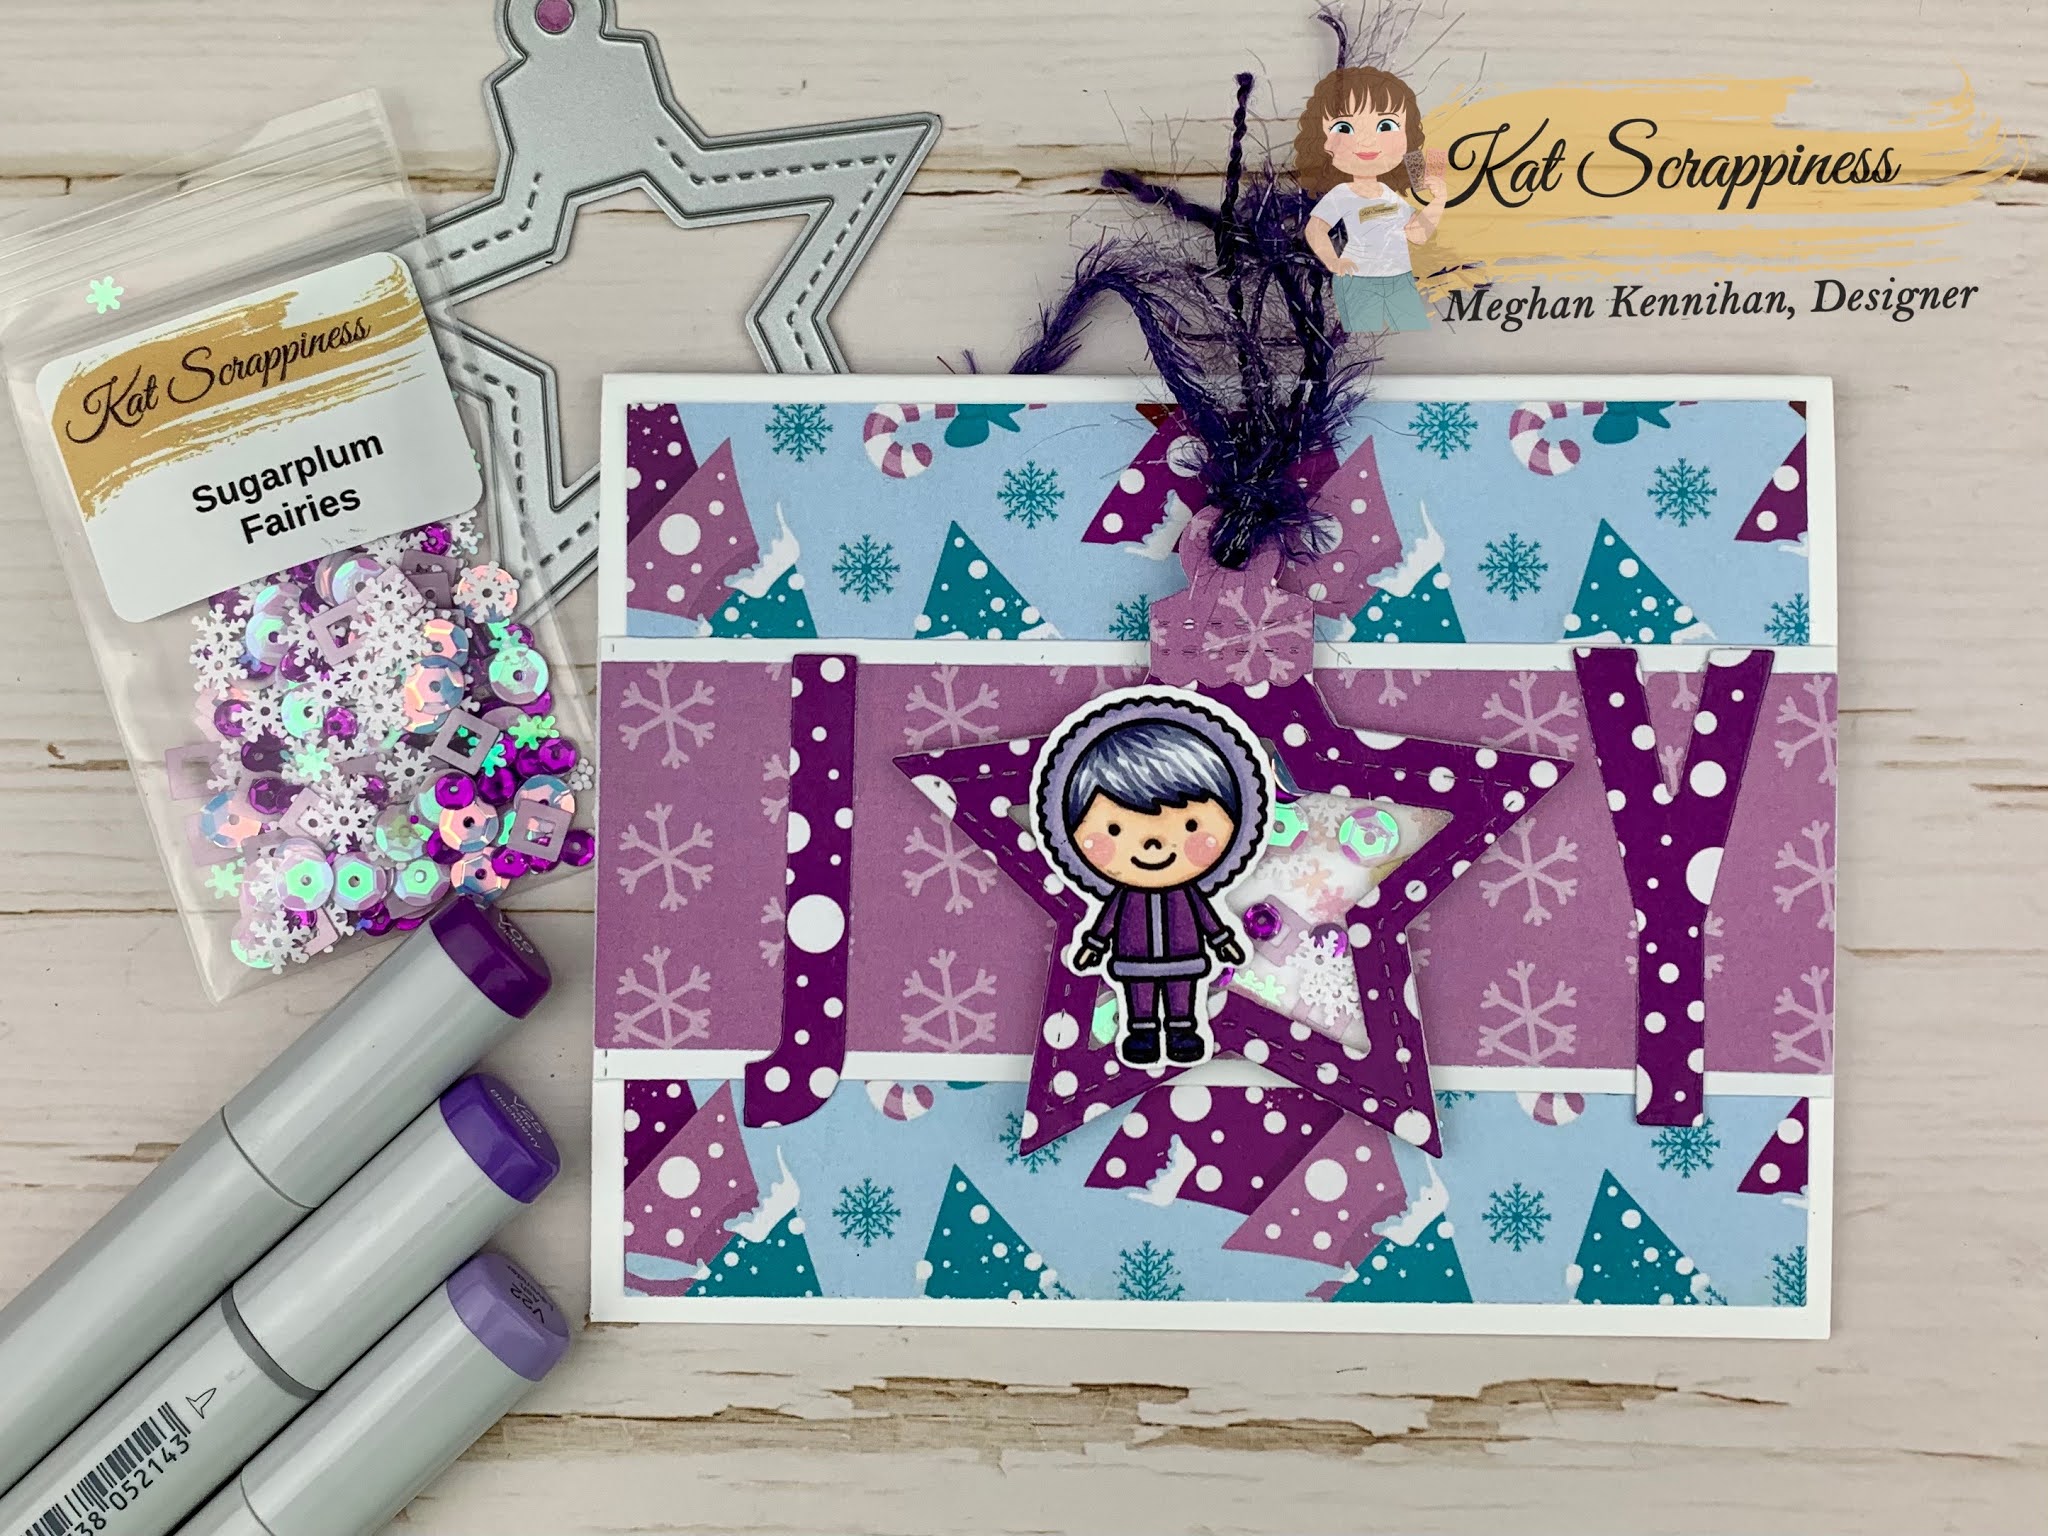
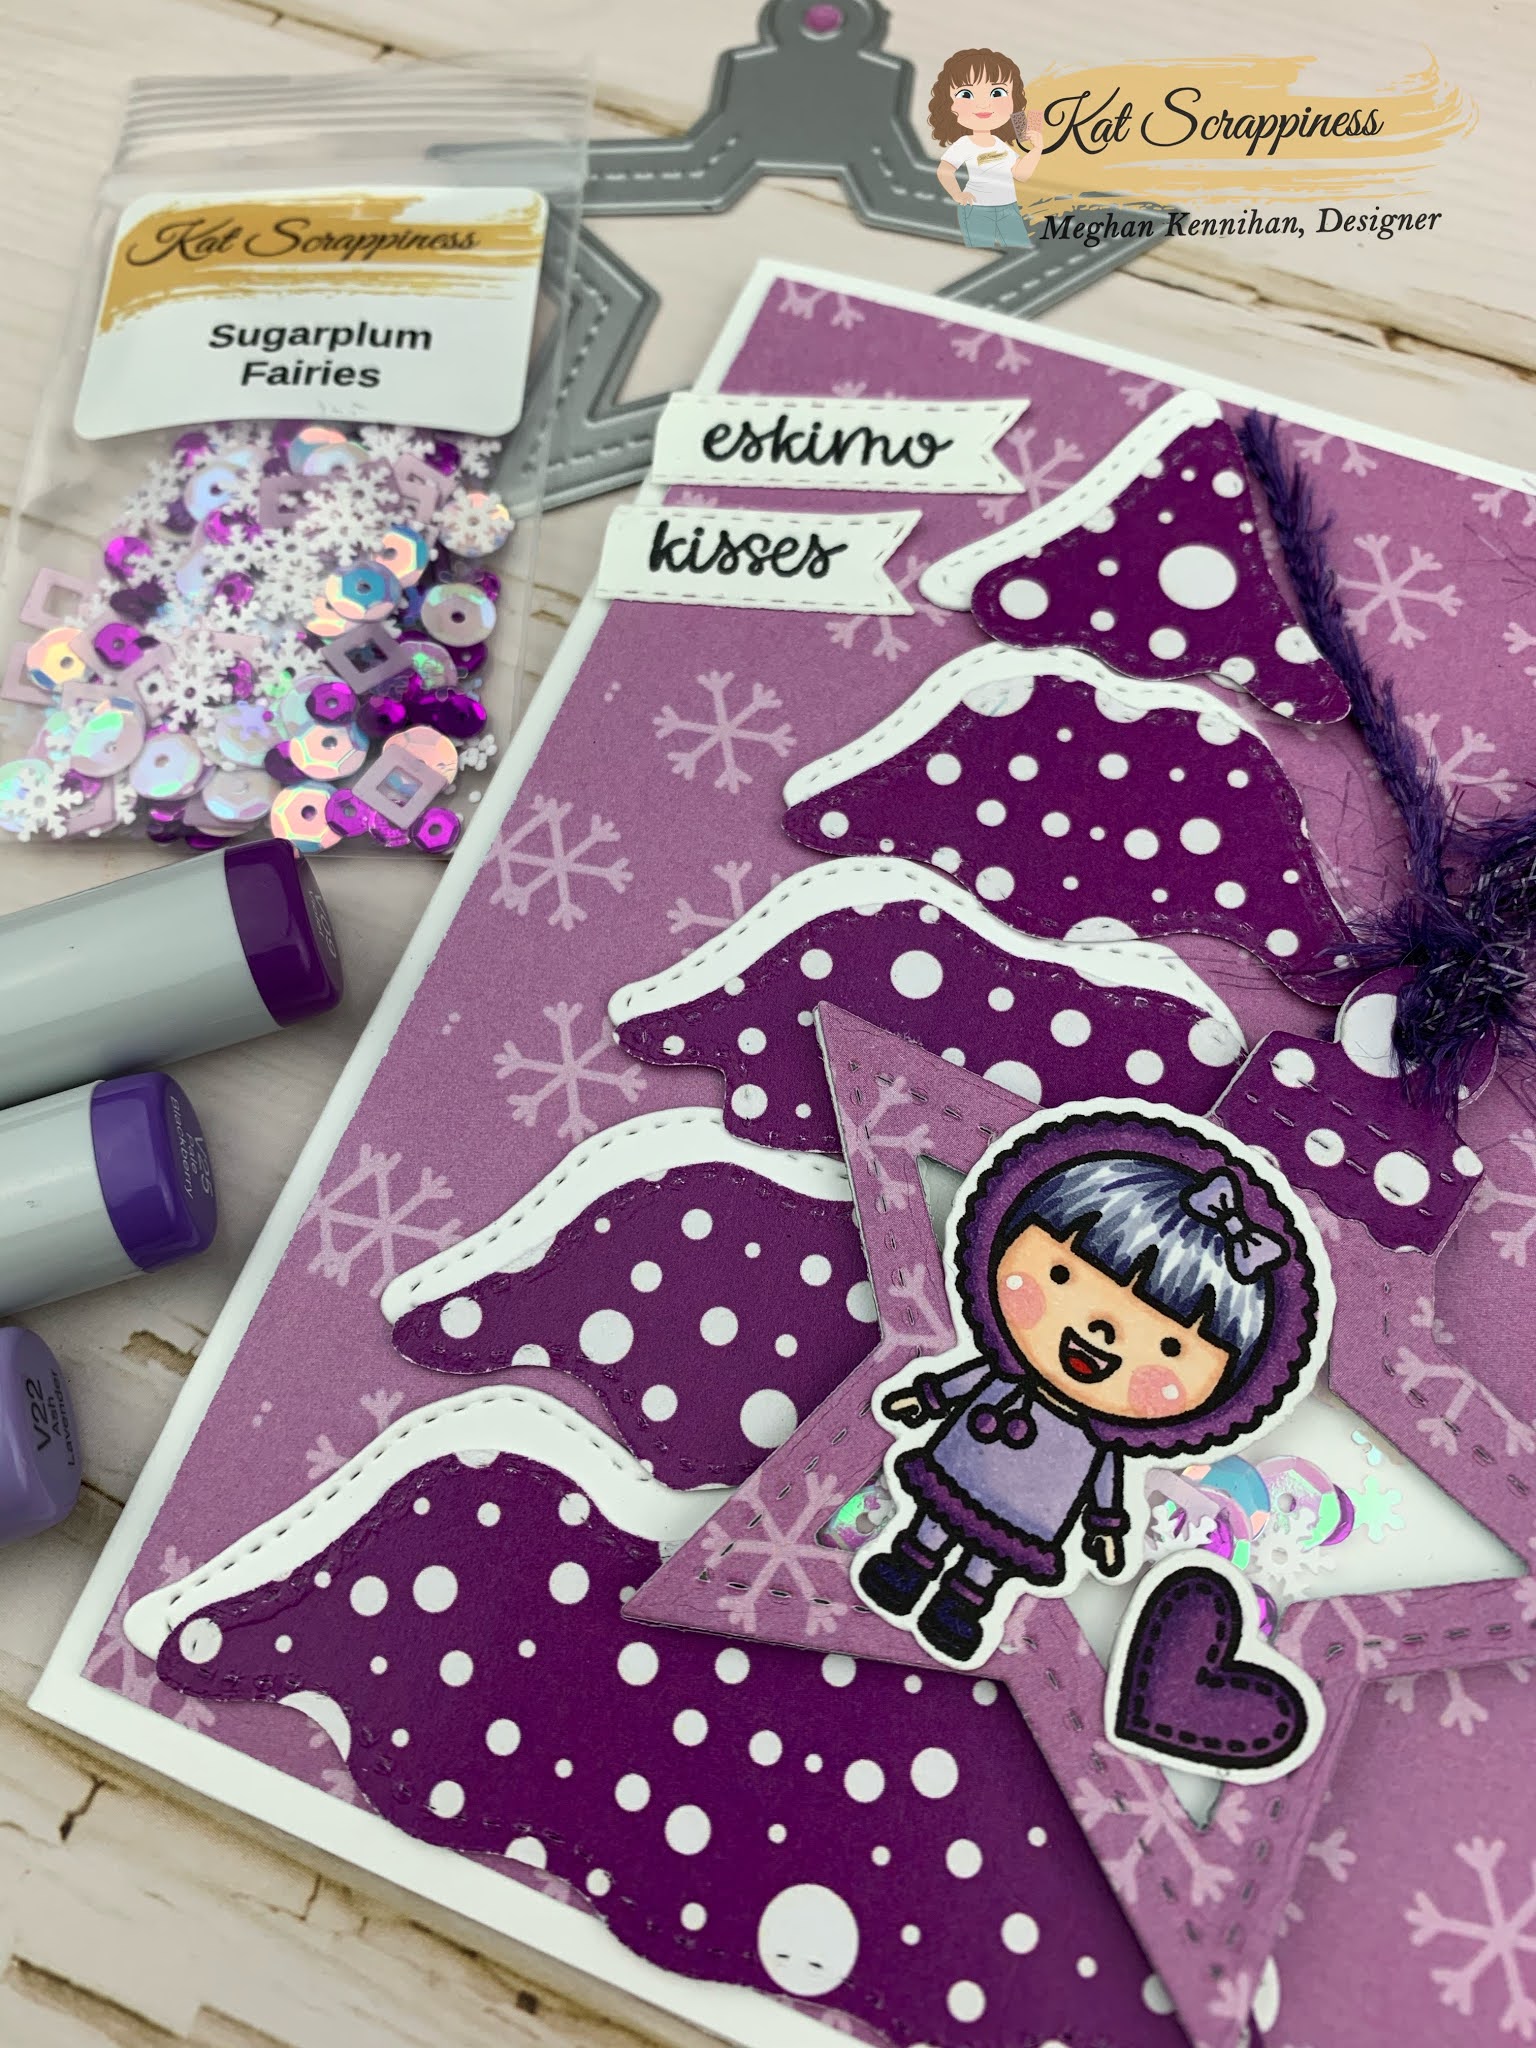
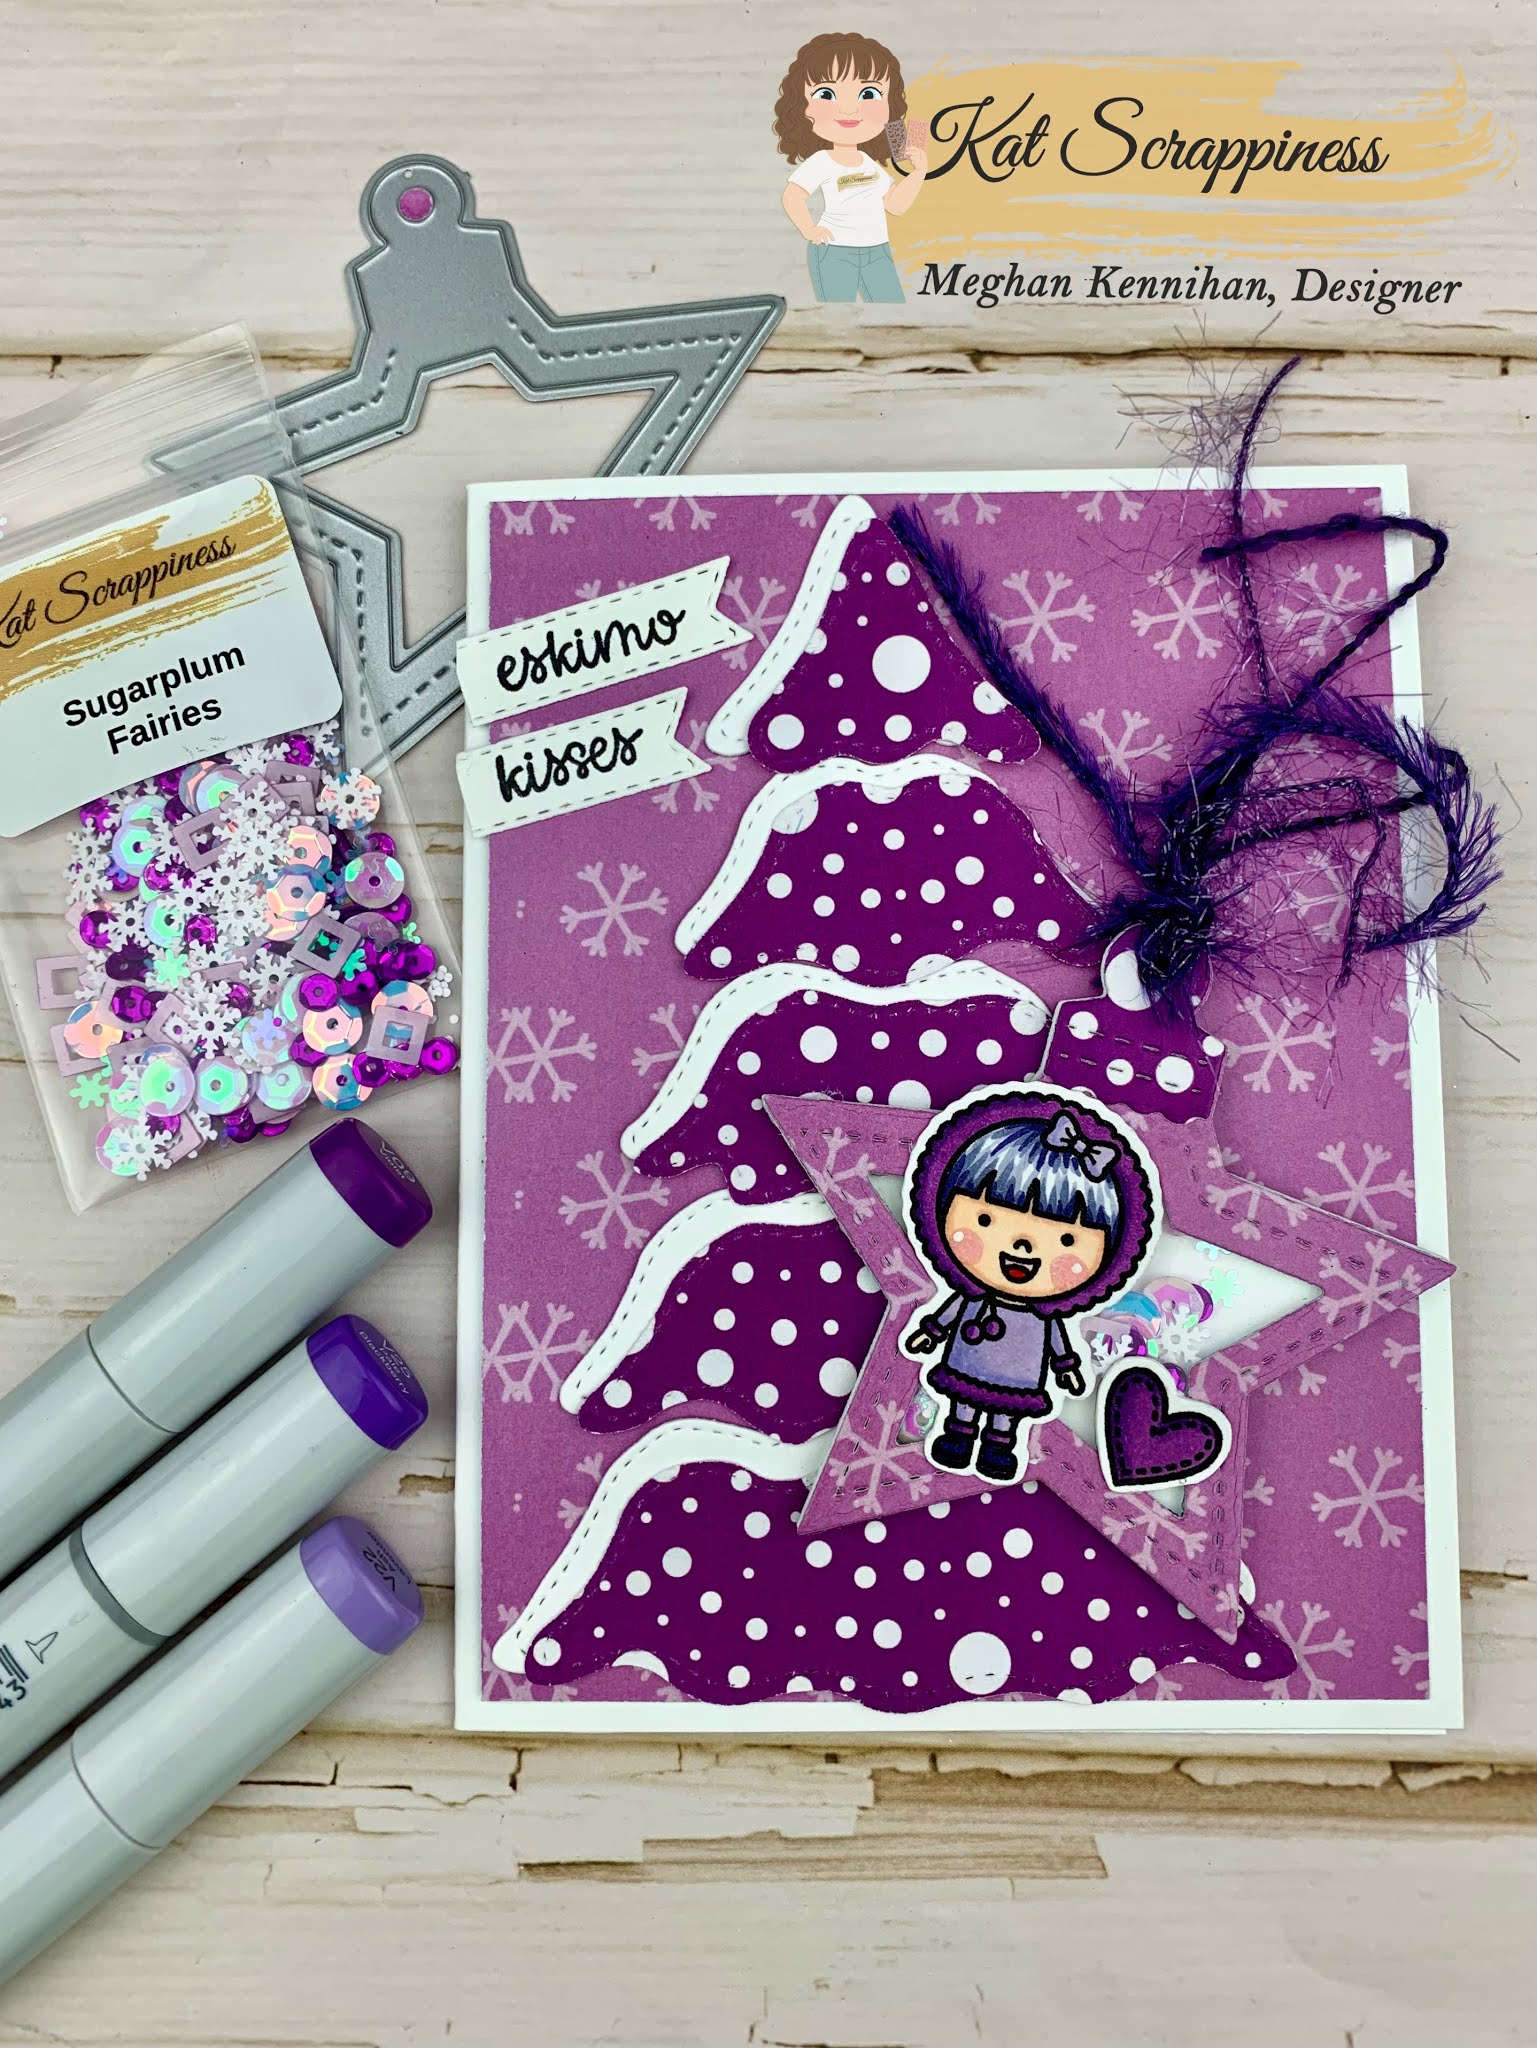
    Hi everyone, it’s Tina here. I have a fun Star Ornament Shaker Slimline card to share using all Kat Scrappiness product. Christmas Shaker Ornament dies, Cuppa Christmas Paper, Santa Baby Sprinkles, Stitched Scalloped Slimline dies, Double Stitched Slimline dies, Christmas Gnome Stamp Set and coordinating dies. Below you will find the steps to create your own card.

    Step 1 – Trim White Cardstock to 7” x 8 1/2”, score at 3 1/2” and fold in half for a vertical side fold card. (Slimline)

    Step 2 – Diecut Stitched Scalloped Slimline using Cuppa Christmas Paper. Adhere to card using Nuvo Deluxe Adhesive.

    Step 3 – Diecut Double Stitched Slimline using Cuppa Christmas Paper. Adhere to card using Nuvo Deluxe Adhesive.

    Step 4 – Diecut Christmas Shaker Ornament using Red Metallic Paper for the solid star and outline star, acetate for solid star, topper Gold Metallic Paper. Adhere the acetate to the back of the outline star, adhere foam tape to the back of the outline star, add the sprinkles and adhere to solid star. Adhere metallic string and now you have a shaker which you can use as ornament for the tree. Adhere non permanent tape to the card so the shaker ornament can be removed.

    Step 5 – Stamp Christmas Gnome using Gina K Amalgam Ink. Color in the image using alcohol markers. I used Spectrum Noir Classique Markers. Diecut the image with the matching coordinating die. For added interest I used Wow Embossing Powder White Puff to the white trim of Santa’s hat and outfit. I added Glossy Accents to the candy cane. Adhere to the card using Nuvo Deluxe Adhesive to the left side.

    Below you will find the link to all the products used. Thank you for stopping by and Happy Holidays everyone!!!
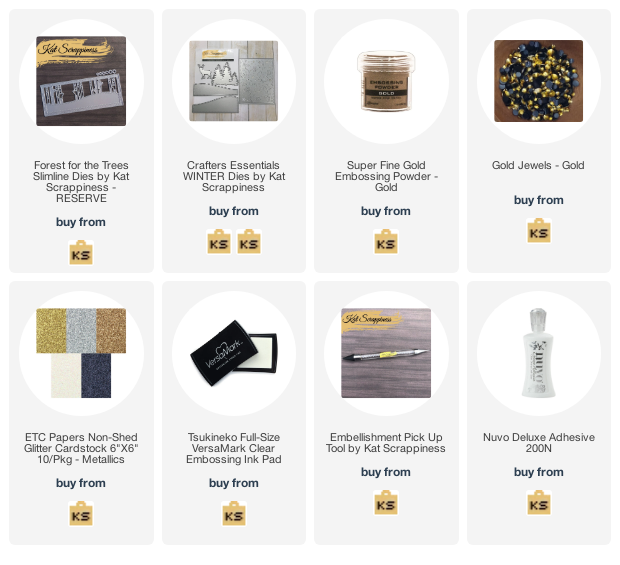
    Products Used:

    https://linkdeli.com/widget.js?id=f5e8378456858c916708