Hi Kat Scrappiness fans! It’s Lisa here with you on the blog and today I want to share an easy…


Hi Kat Scrappiness fans! It’s Lisa here with you on the blog and today I want to share an easy…
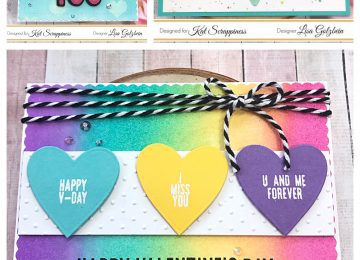
Happy New Year Kat Scrappiness Fans! I want to wish you all a happy early Valentine’s Day as well since this post…

Happy New Year Kat Scrappiness fans! Is anyone else behind right now due to the holidays? I know I am but it’s…

Hello everyone! It’s Lisa up on the blog today and I have an adorable birthday shaker card to share with you featuring…
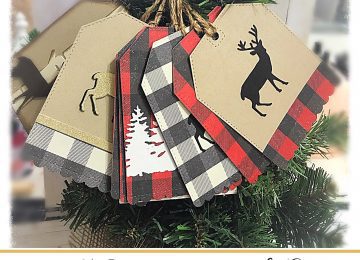
It’s Lisa here with you today on the blog and I have some simple gift tags to share with you. The one…

Hi everyone, it’s Lisa and I am back again with another Kat Scrappiness monthly challenge! I want to thank everyone who participated…

Good morning Kat Scrappiness fans! It’s Lisa here with today and and I have a fun circle shaker card to share with…