Welcome to the Kat Scrappiness February Card Challenge and the announcement of the January Card Challenge Winners! PLEASE READ THE…

Welcome to the Kat Scrappiness February Card Challenge and the announcement of the January Card Challenge Winners! PLEASE READ THE…
Hi Everyone! Priscilla here from Nubble Light Designs, Today I am sharing a mini slimline Valentine card featuring the Kat…
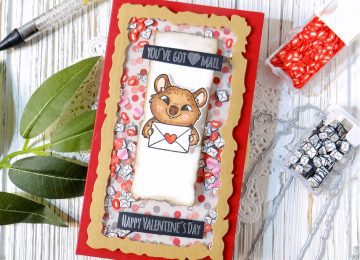
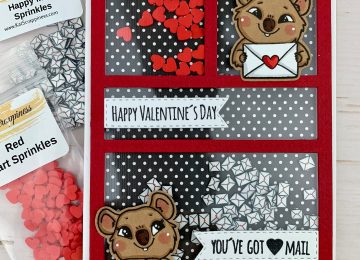
You’ve Got Mail! Many of you probably remember being in school and for Valentine’s Day everyone made a shoebox with…

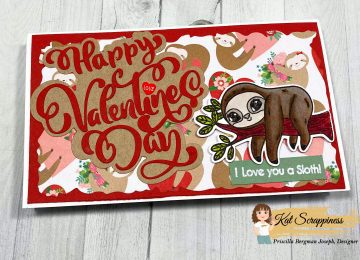
Happy Friday Crafters! Hope everyone had a great week. Today, I have a fun shaker valentine card to share with…
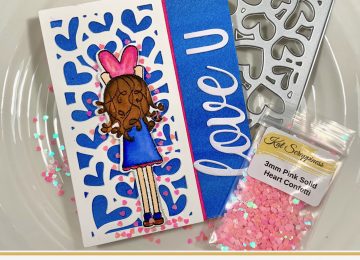
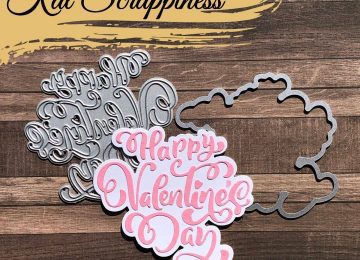
Hi Everyone, it’s Priscilla here. Today I have another Valentine’s Day card, this time featuring the new “Heart Panel Die”…
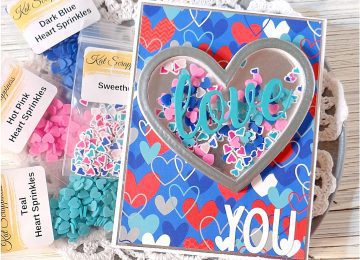
Hey, Friends! Kathy here to share a card that has me all shook up! The Kat Scrappiness Acetate & Shaker…
Hello Kat Scrappiness fans! Welcome to Day 1 of the January release! This month’s products focuses on Valentine’s Day but…