Hi there, Martha Lucia here with you! Today I am sharing a Cute Fall Stamped Card featuring the Owl Envelope Art…
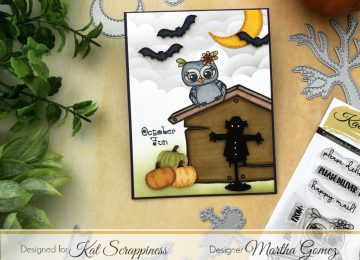

Hi there, Martha Lucia here with you! Today I am sharing a Cute Fall Stamped Card featuring the Owl Envelope Art…
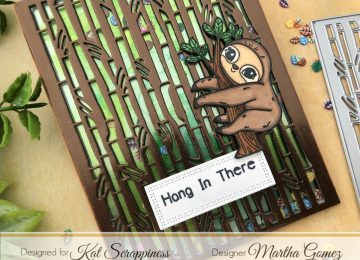
Hello crafty friends! Martha Lucia here with you! Today I’m excited to share with you a new card that I…
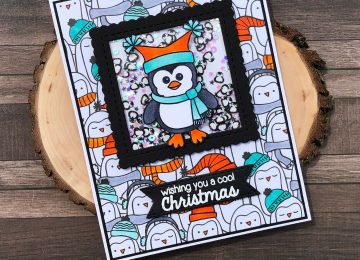
Hi crafters! Did you see all the new sprinkles and awesome acetate sheets that were released this month? So much…
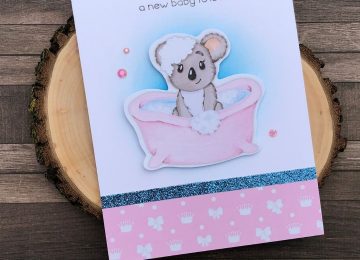
Hi Crafters! Kat recently added some mini scrapbook kits to the shop. For my post today, I have a video…
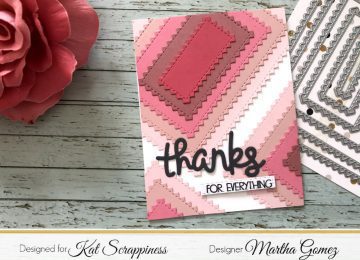
Hi there, Martha Lucia here with you. Today I am featuring the Zig Zag Hearts, Borders and Ovals Die Cuts. Let…
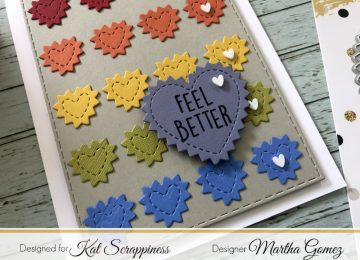
Hello friends, Martha Lucia here! As I promised you a few days ago, I have more cards to share with…
I am kind of a little bummed that it is the last day of the January release. For today’s reveal,…