Hello friends and welcome to the Kat Scrappiness October Product Release! Today we are introducing some new Design Blog…
-
-
Welcome to the Kat Scrappiness August Card Challenge and the announcement of the July Card Challenge Winners! PLEASE READ THE…
-

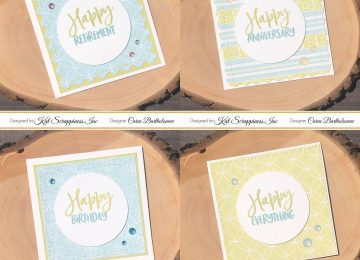
Happy Saturday everyone! It’s Caren here today on the blog. I have a set of 3×3 cards that use the…
-
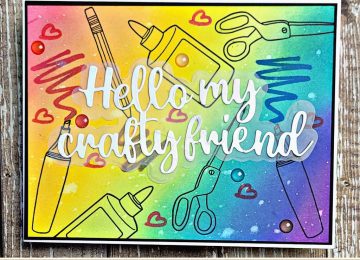
Hello my friends! Katy here and in today’s video I am showing you a simple birthday card ink blended on…
-
Hello everyone! I am so excited about being asked to be a guest designer for the months of November and…
-
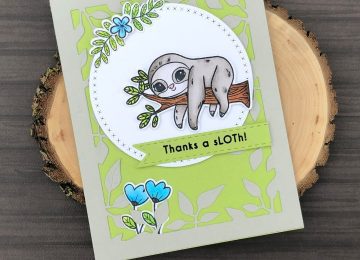
Happy Sunday, hope everyone is having a great weekend so far. We are having a Critter Instagram Hop right now…
-
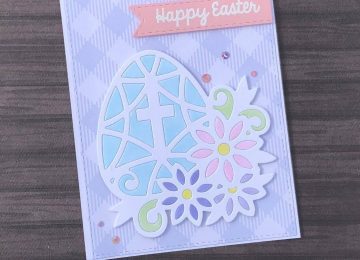
Happy St. Patrick’s Day everyone! I hope everyone is staying safe and healthy, it’s a crazy and weird time. Today…