Hi Everyone, it’s Priscilla here. Today I have three cards using the Kat Scrappiness “Wood Grain Frame Die.” It is…
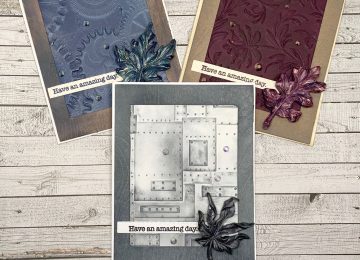

Hi Everyone, it’s Priscilla here. Today I have three cards using the Kat Scrappiness “Wood Grain Frame Die.” It is…
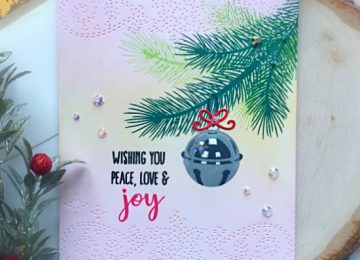
Welcome back to the blog Kat Scrappiness fans, it’s Lisa here with you today! I have a fun Eclipse card to…

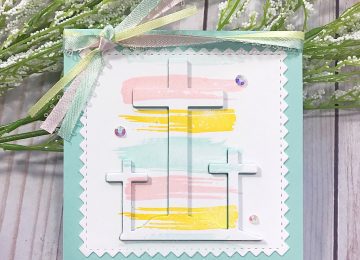
Hello Kat Scrappiness fans! It is the first day of the January reveals and we are super excited to show…
Hello everyone! Maria here on the blog today. Have you joined our Blog Hop to benefit the Coffee Oasis Youth…
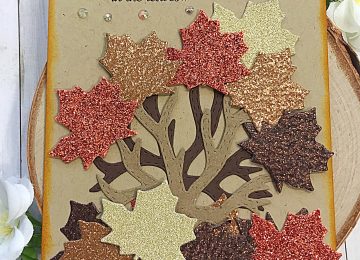
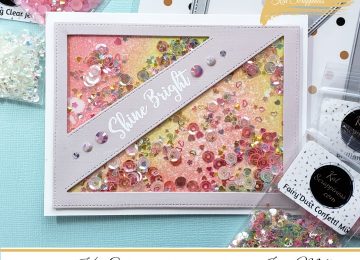
Welcome back to the blog Kat Scrappiness fans! It’s Lisa here today and I have a sparkly card to share with you!…
Hello everybody! Design Team Member Jana stopping in today to share a quick tutorial on how I created a beautiful…