Hi Everyone, it’s Priscilla here. Today I have two shaker cards that feature Kat‘s new sprinkles and acetate sheets from…
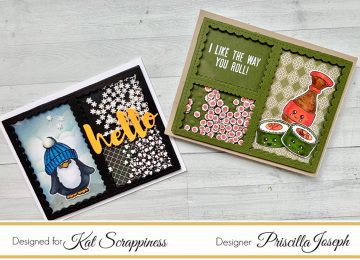

Hi Everyone, it’s Priscilla here. Today I have two shaker cards that feature Kat‘s new sprinkles and acetate sheets from…
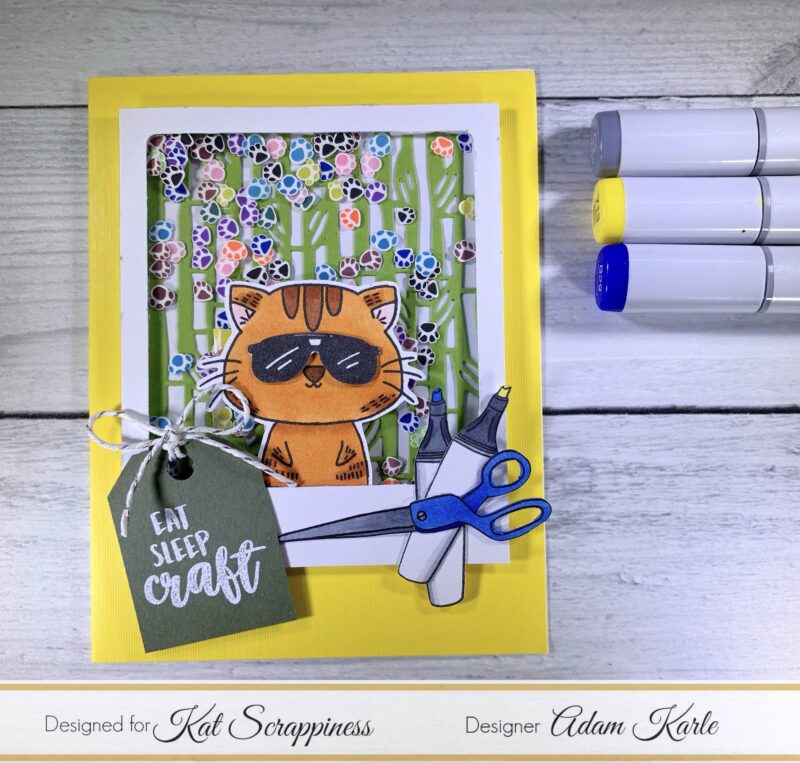
Hi Crafting Friends, this is Adam and this is my first blog post for Kat Scrappiness. I am very excited…
Hi crafters! Did you see all the new sprinkles and awesome acetate sheets that were released this month? So much…
Hi Everyone, it’s Priscilla here. Today I have a shaker card that pays “homage” to summer. I know . ….

Hi Everyone, it’s Priscilla here. Today I have two shaker cards to share with you using small die cut images…
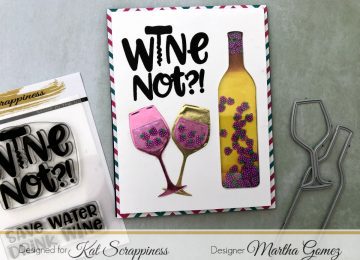
Hello crafty friends! Today I am up in Kat Scrappiness Blog featuring the Wine Not? stamp set and die cuts…
Hi there, Martha Lucia here with you. I just pop up to share with you a card with more sprinkles!…